1965 Ford F100

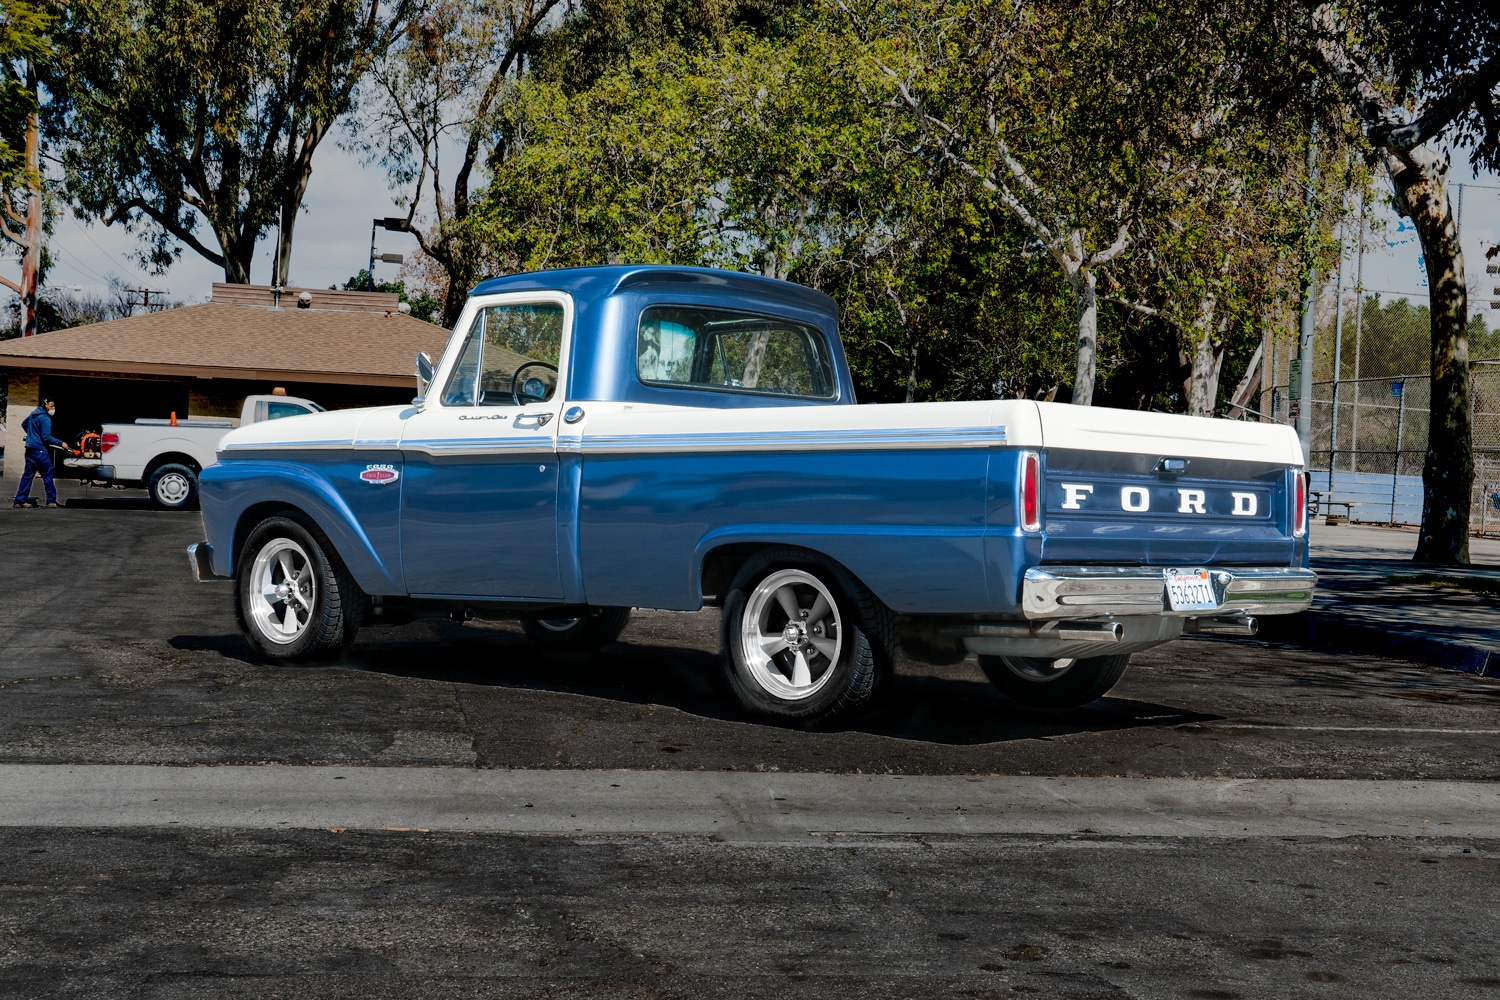
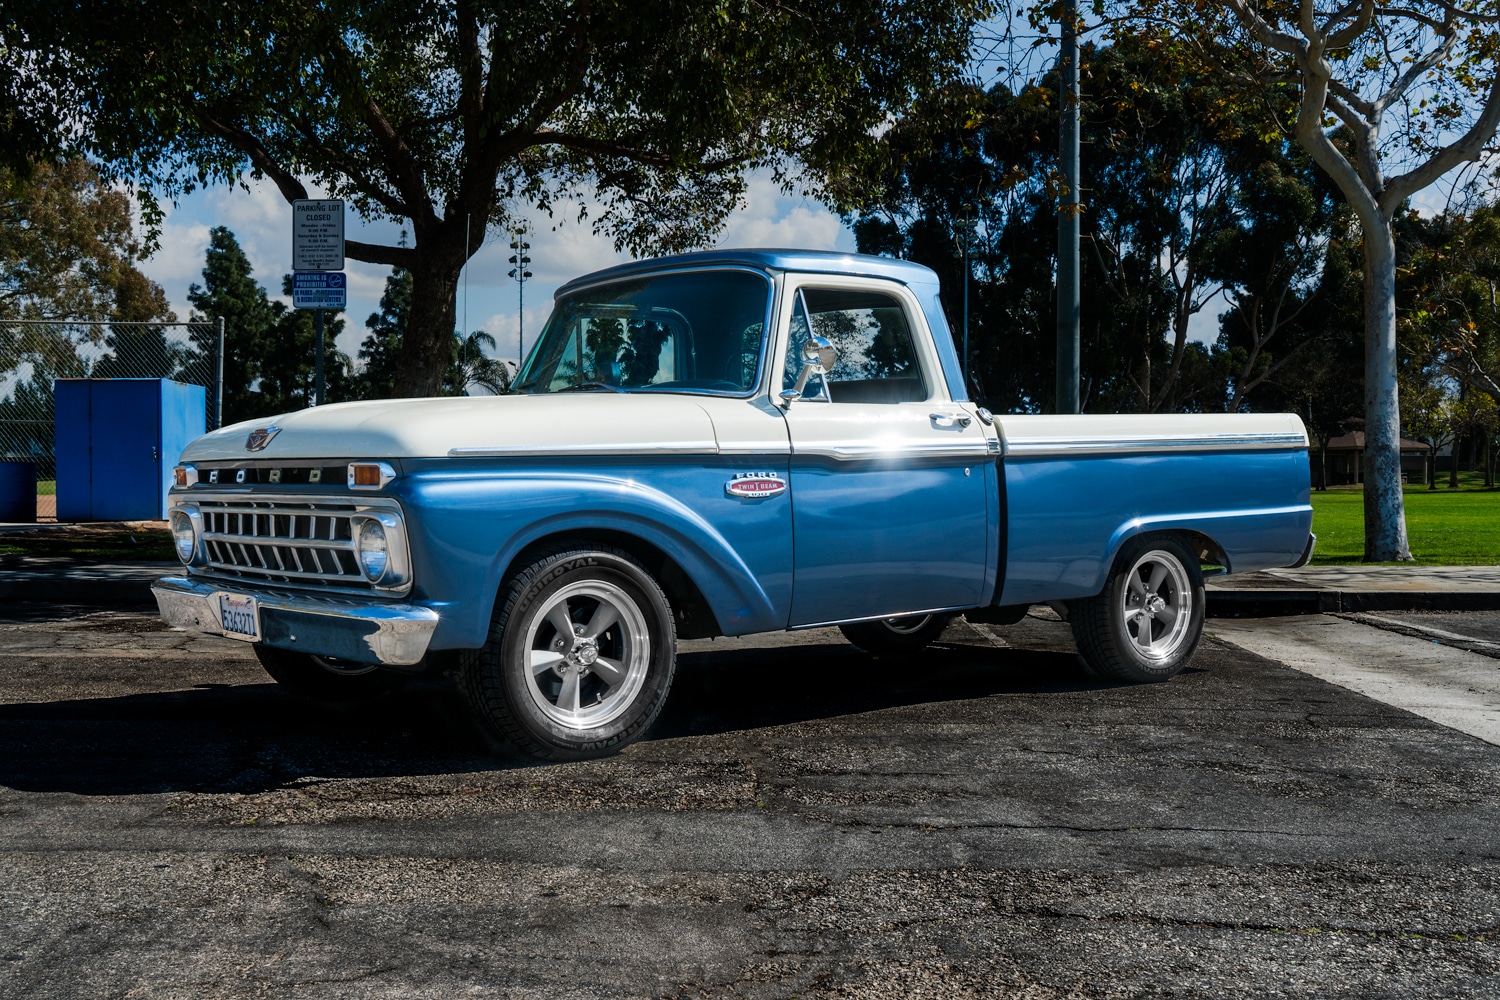
We were excited to find a 65 F100 short bed in very good shape. Somewhere in it’s past it received a Mustang GT 5 liter engine and transmission to make it go, factory front disc brakes from a 76 F150 to make it stop! It has all the right stuff to make a great restoration project!
In 1965 Lyndon Johnson was president, a gallon of gas was 31 cents and a postage stamp was a whopping 5 cents! This truck has been around a long time and is ready for some upgrades. Our 65 F100 short bed is solid has good paint and plenty of power, but it came with oversized wheels and tires, a tired interior, and a stock worn out suspension. Let's take a look at what we did to make it a beautiful, quick, head-turning daily driver.
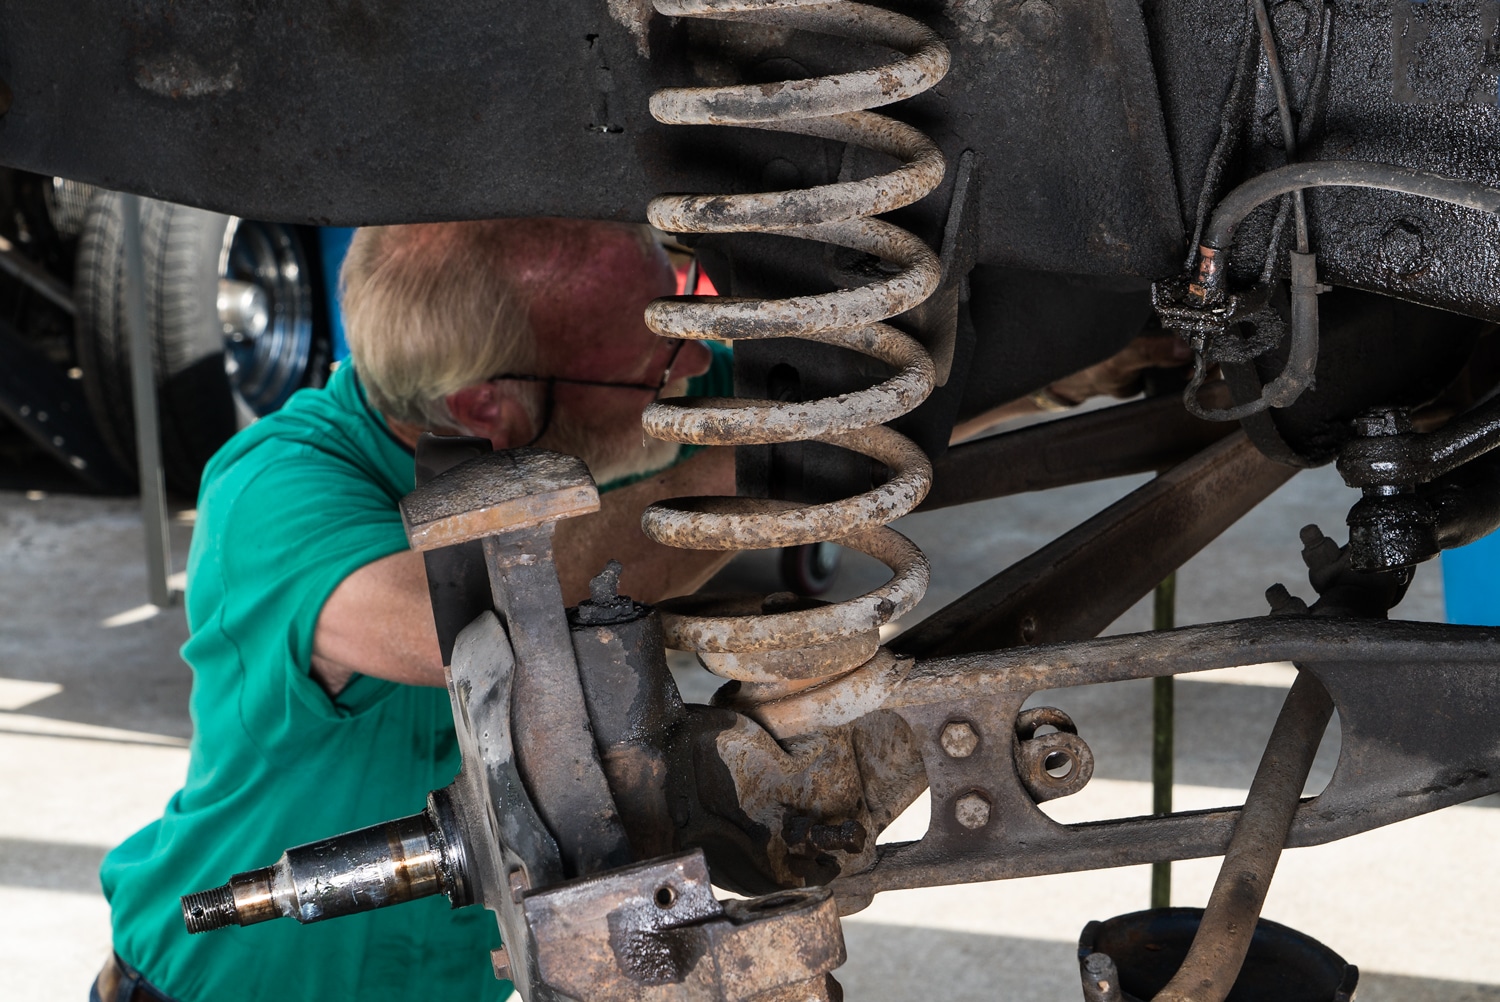
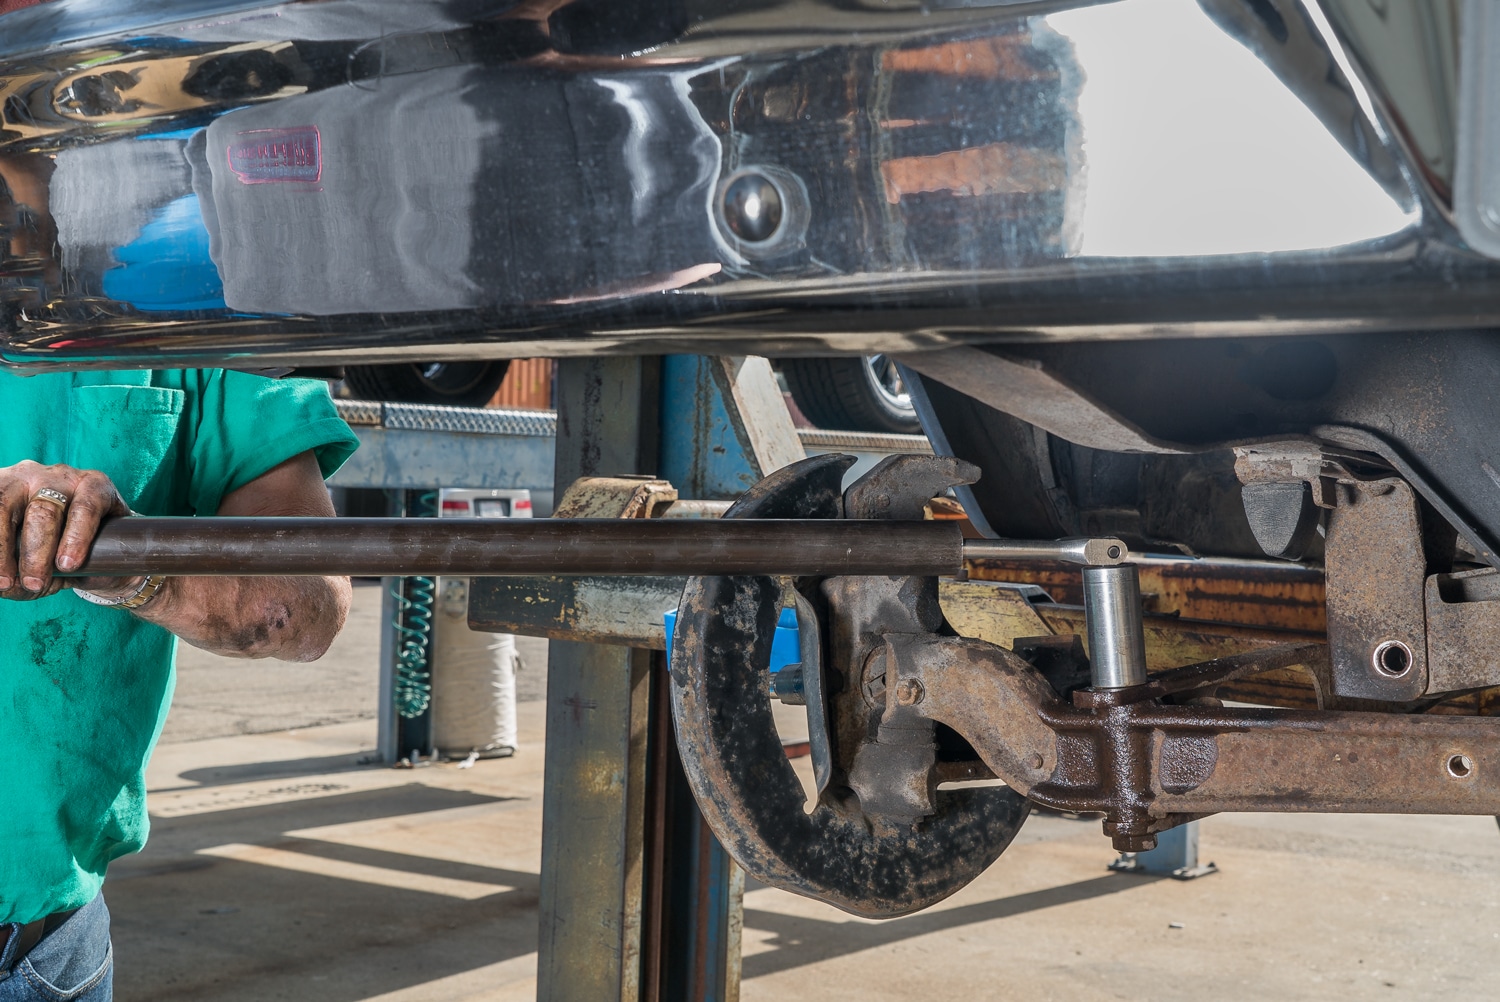
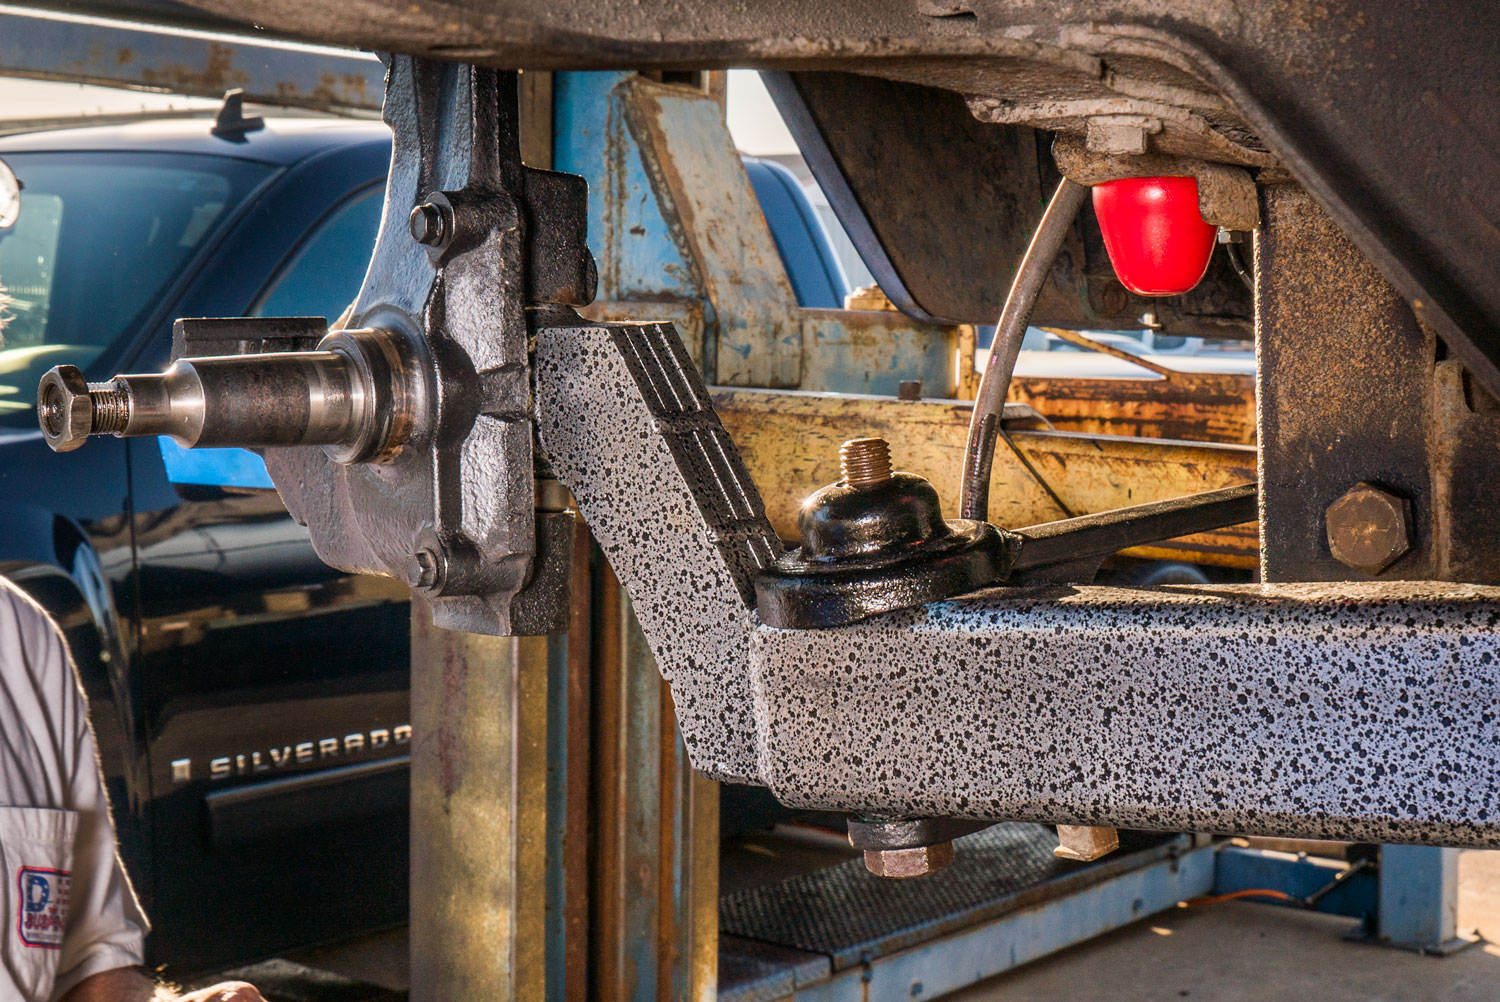
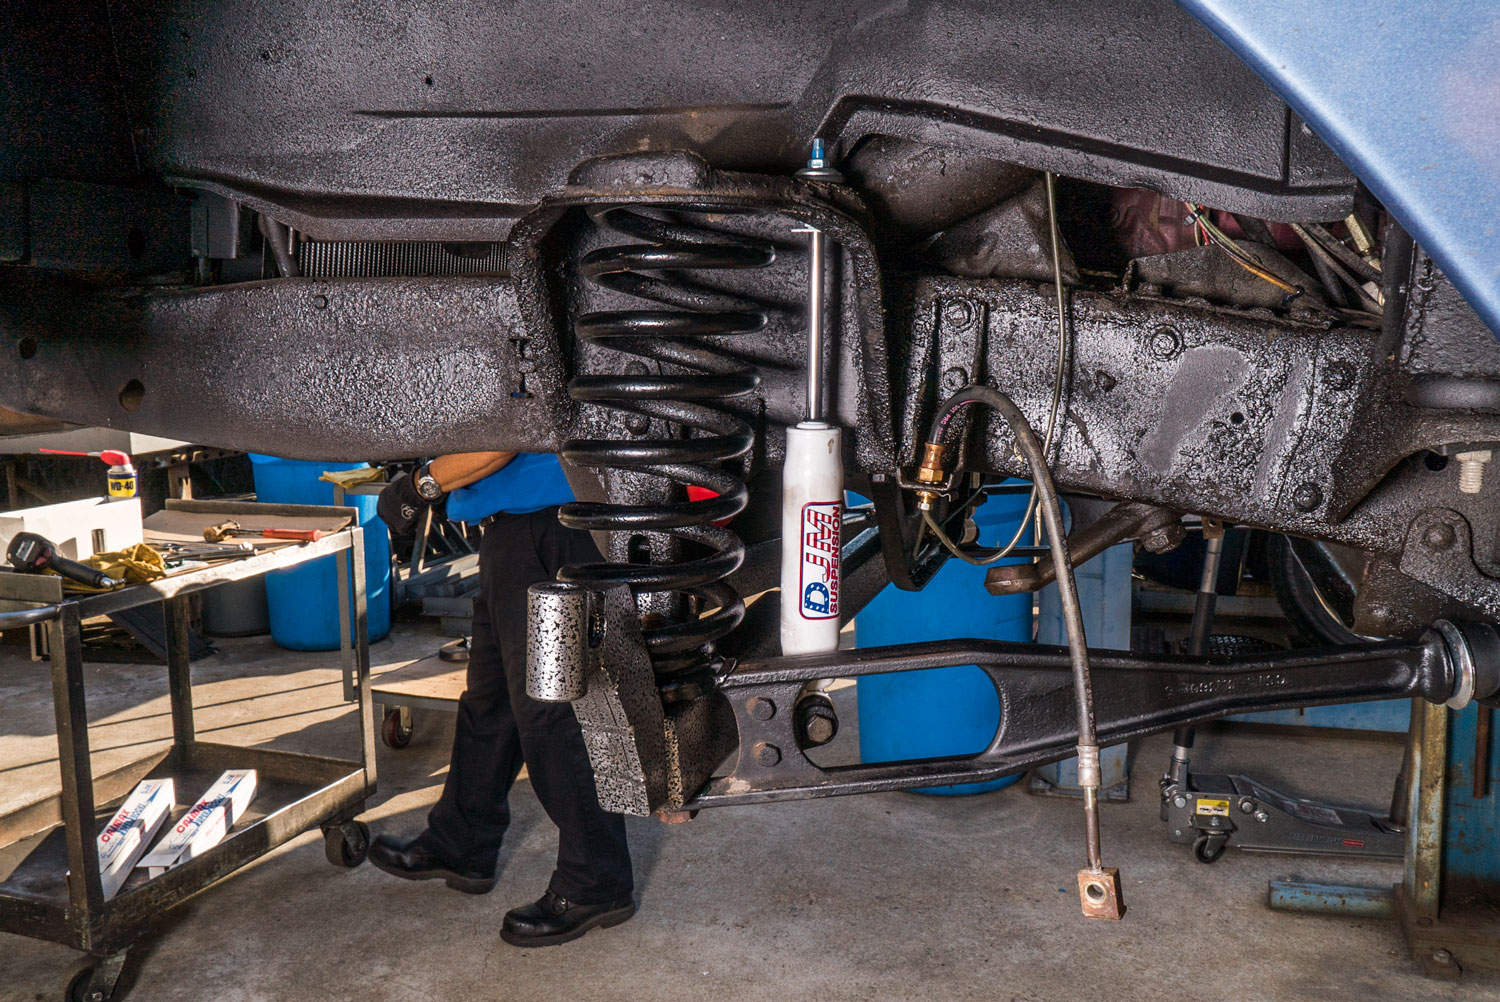
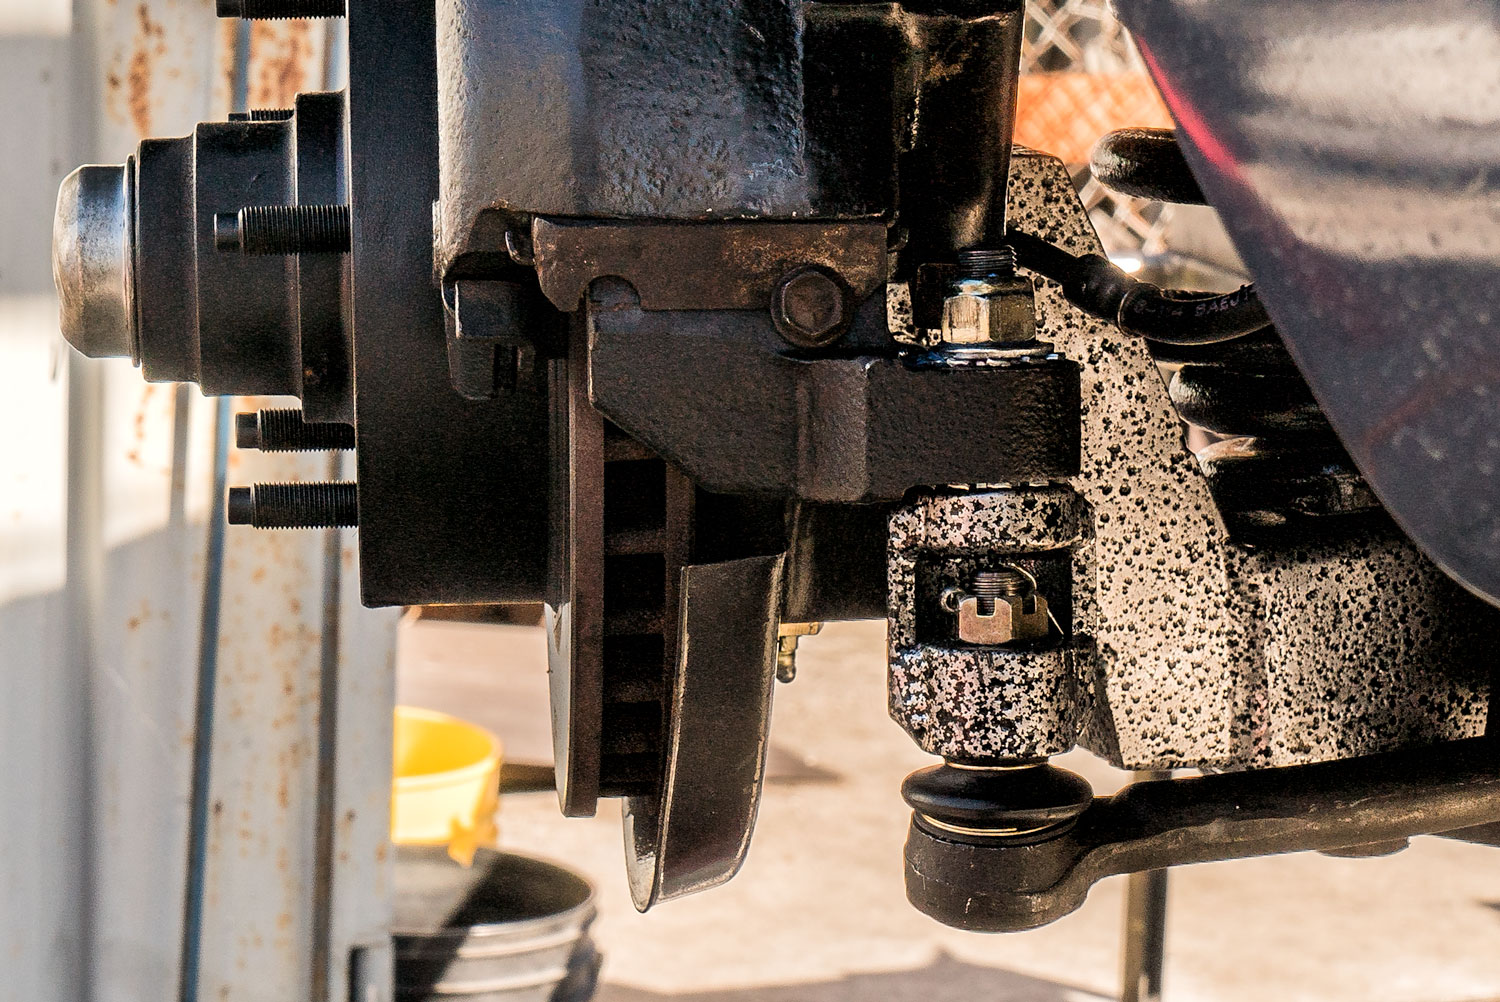
Up on the lift, the wheels come off revealing disc brakes on the front, stock for a 65 F100? Nope, these brakes (including spindles) seem to be from a 76 F150. Starting with the disc brake caliper and rotor/wheel bearings, we begin to remove the suspension.
The tie rod is popped out of the spindle then the shock is removed making the coil spring easy to remove. Note: the factory I-beam has a travel limiter that is hooked in the frame, this must be removed to gain enough travel to release spring tension so you can remove the coil spring!
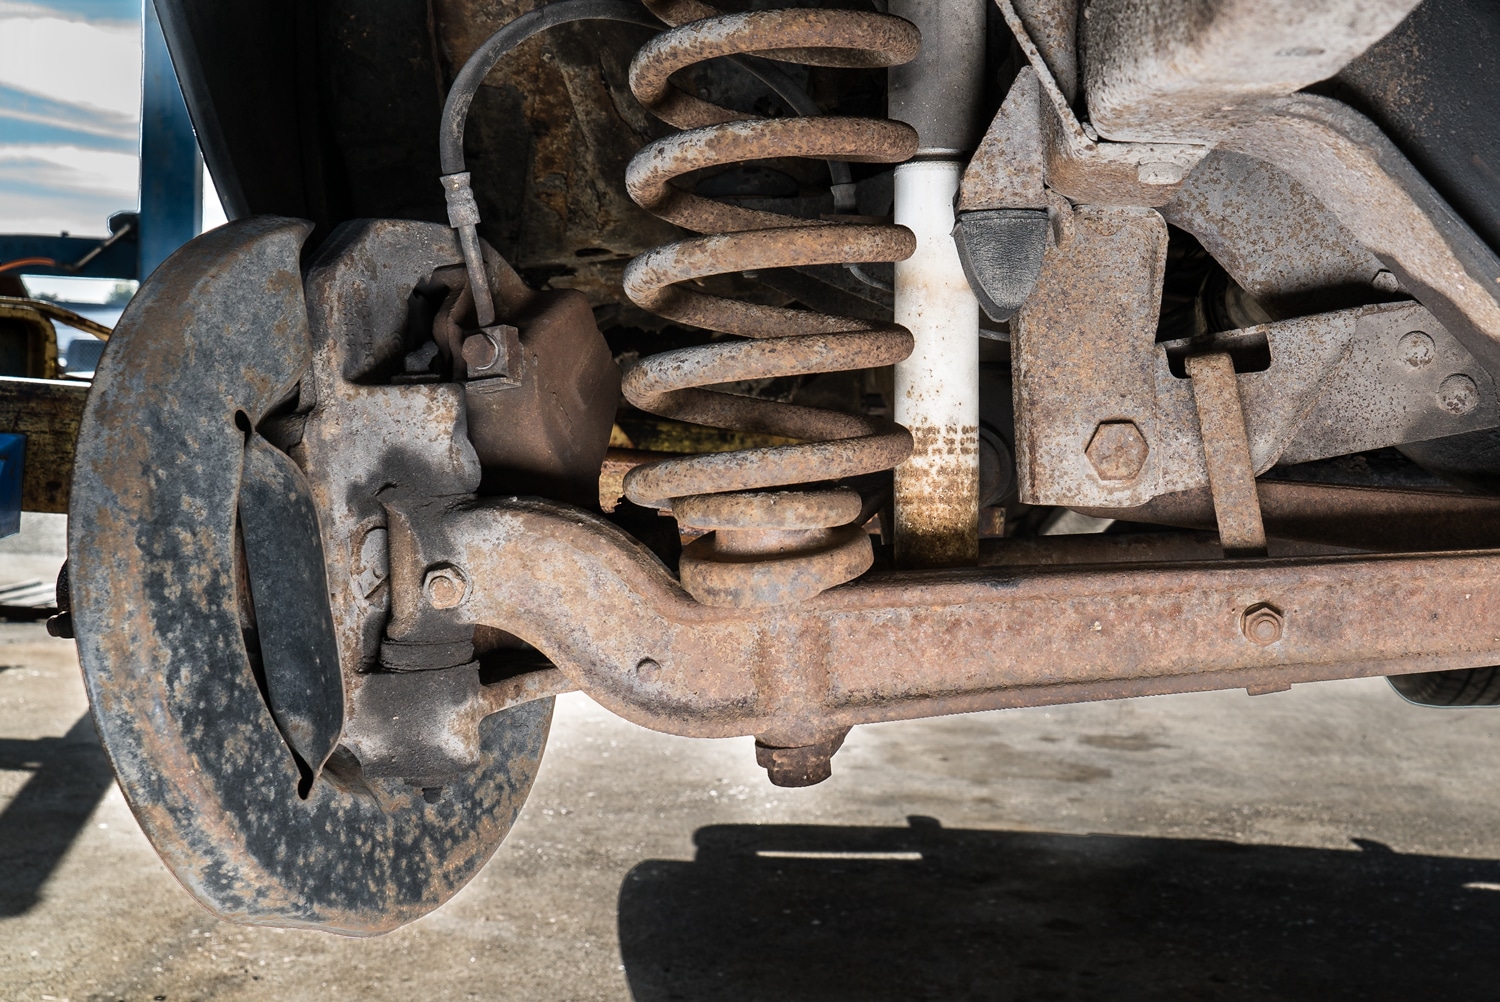
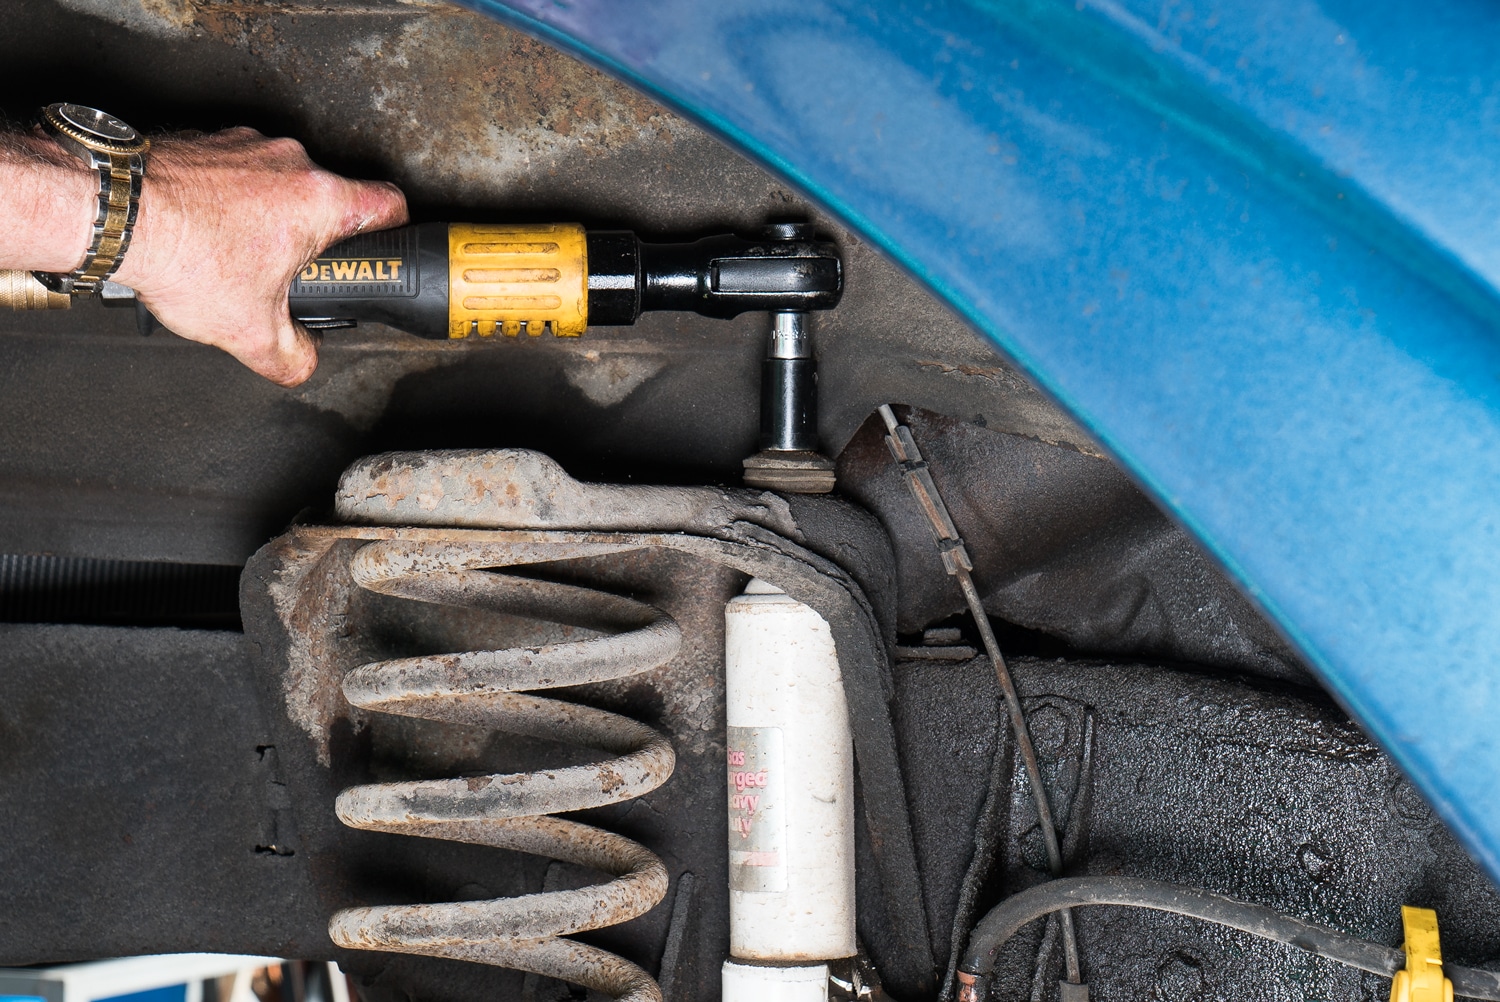
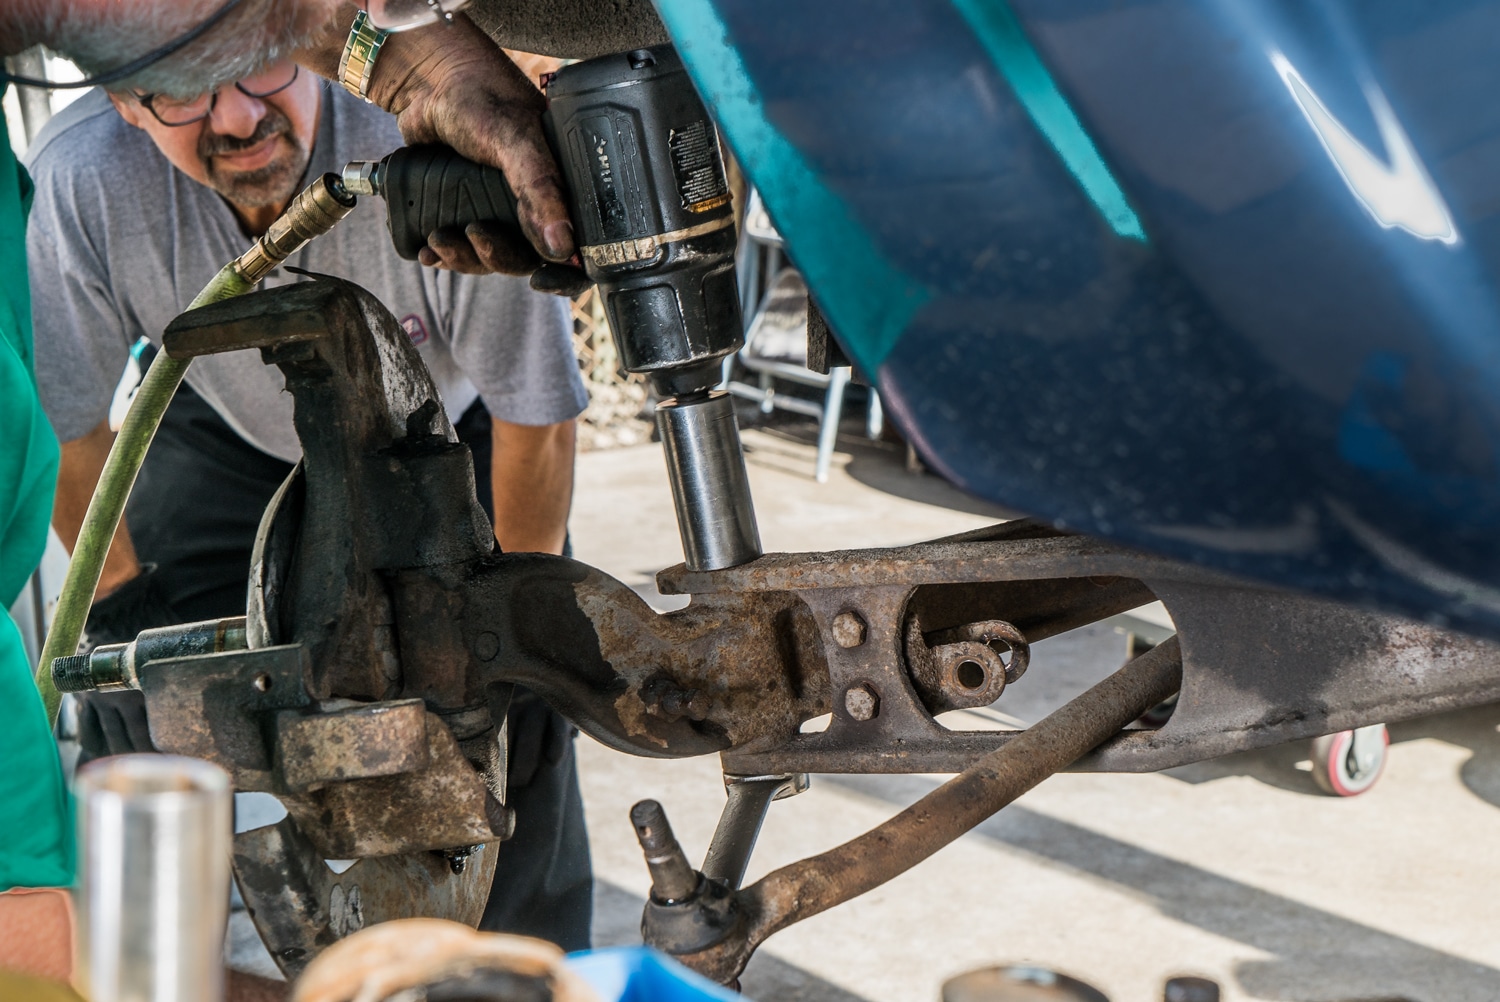
Now you can get on with breaking loose and removing the radius arm bolt. This can be a bugger, be patient this bolt has not been touched for over 50 years! After you remove the radius arm bolt you can gently coax the beam away from the radius arm and remove the pivot bolt on the other end of the beam and the entire beam can be taken off the truck! Go ahead and remove the radius arms so you can replace the bushings!
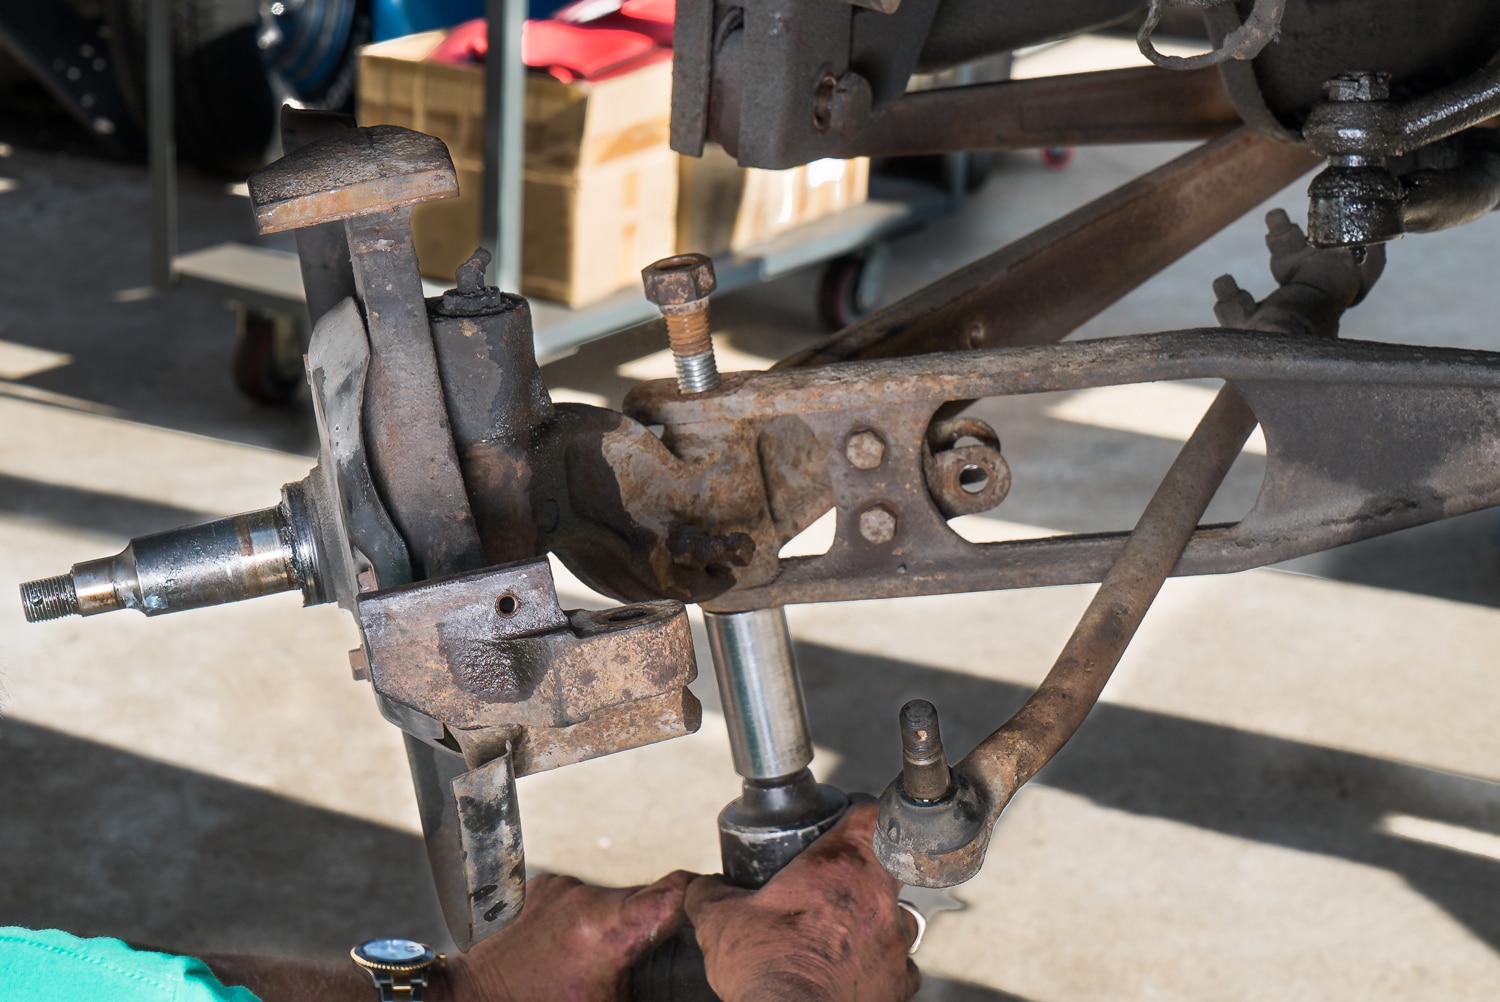

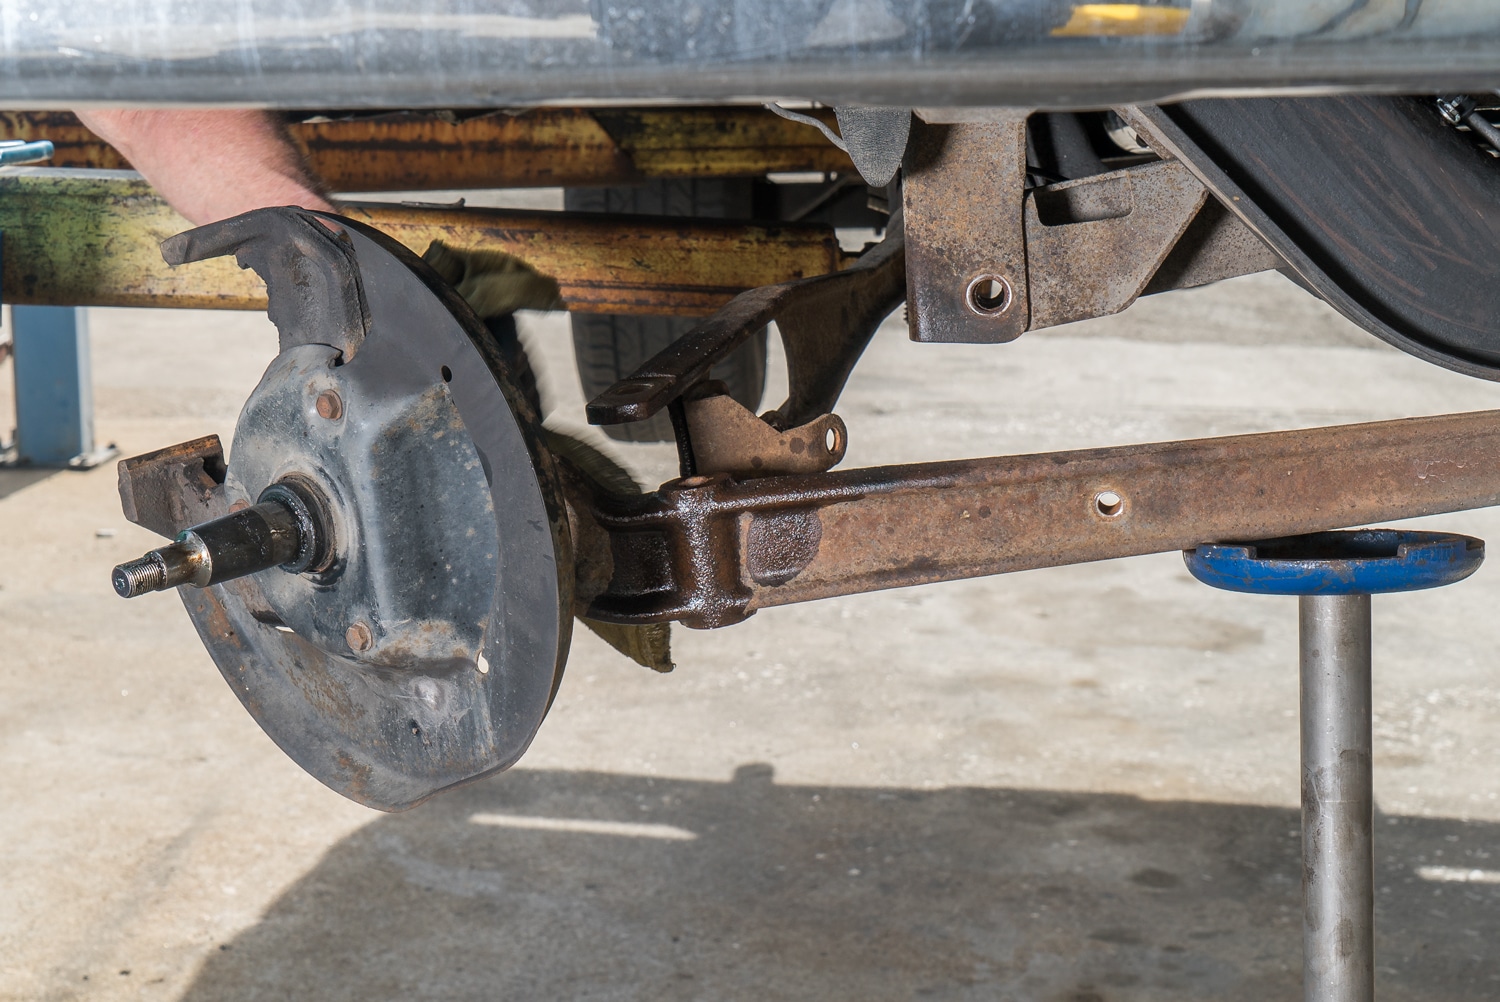
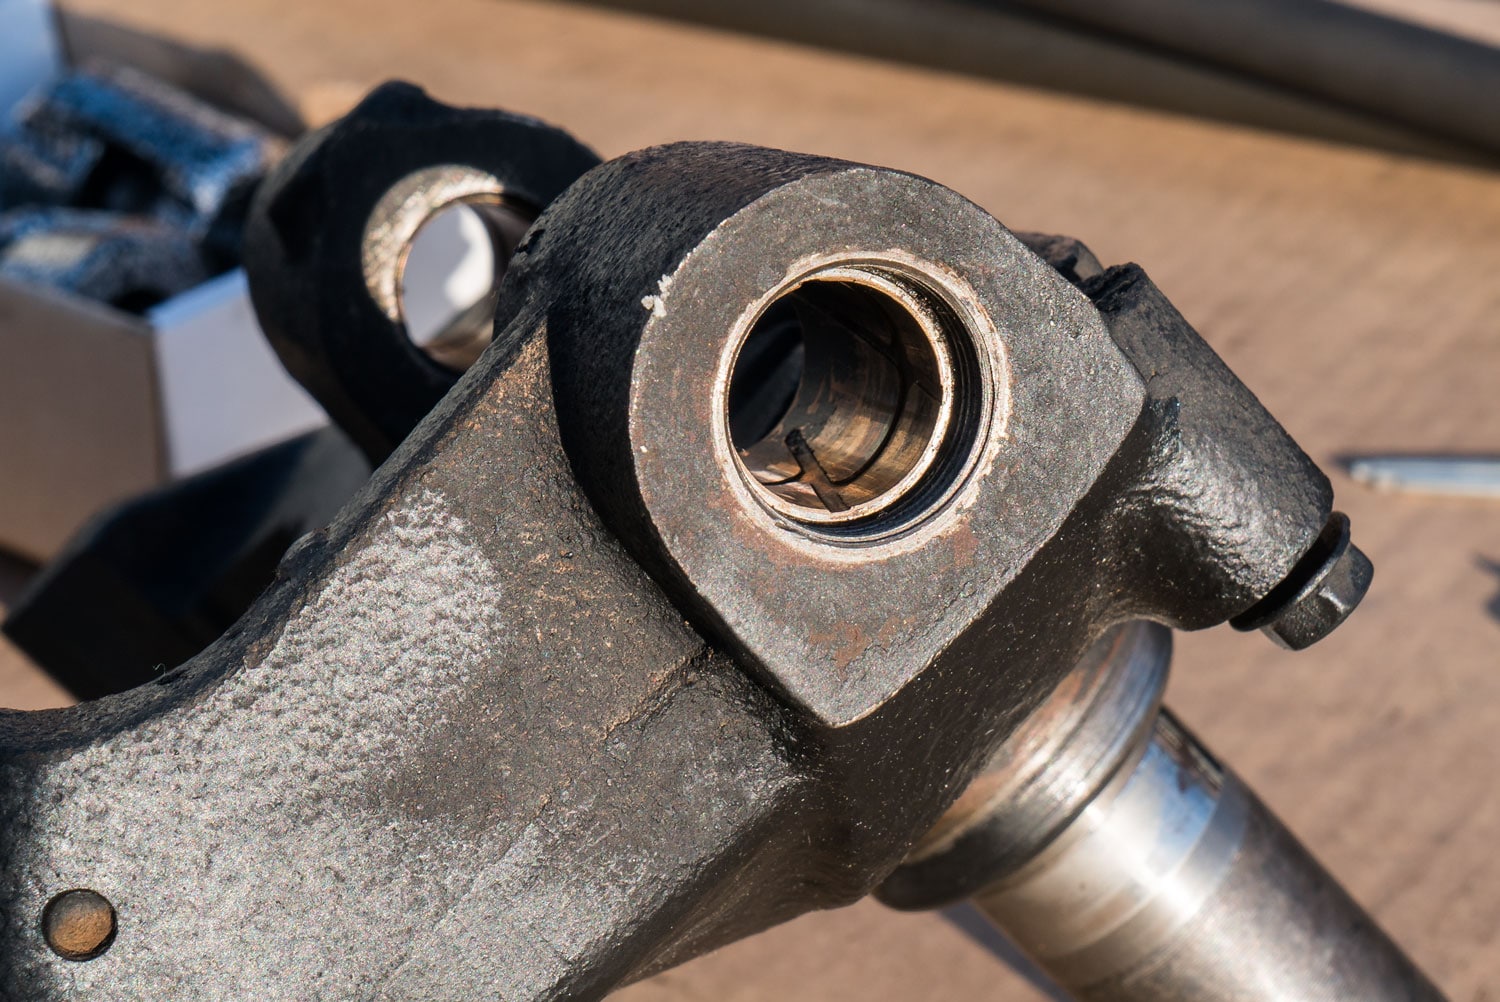
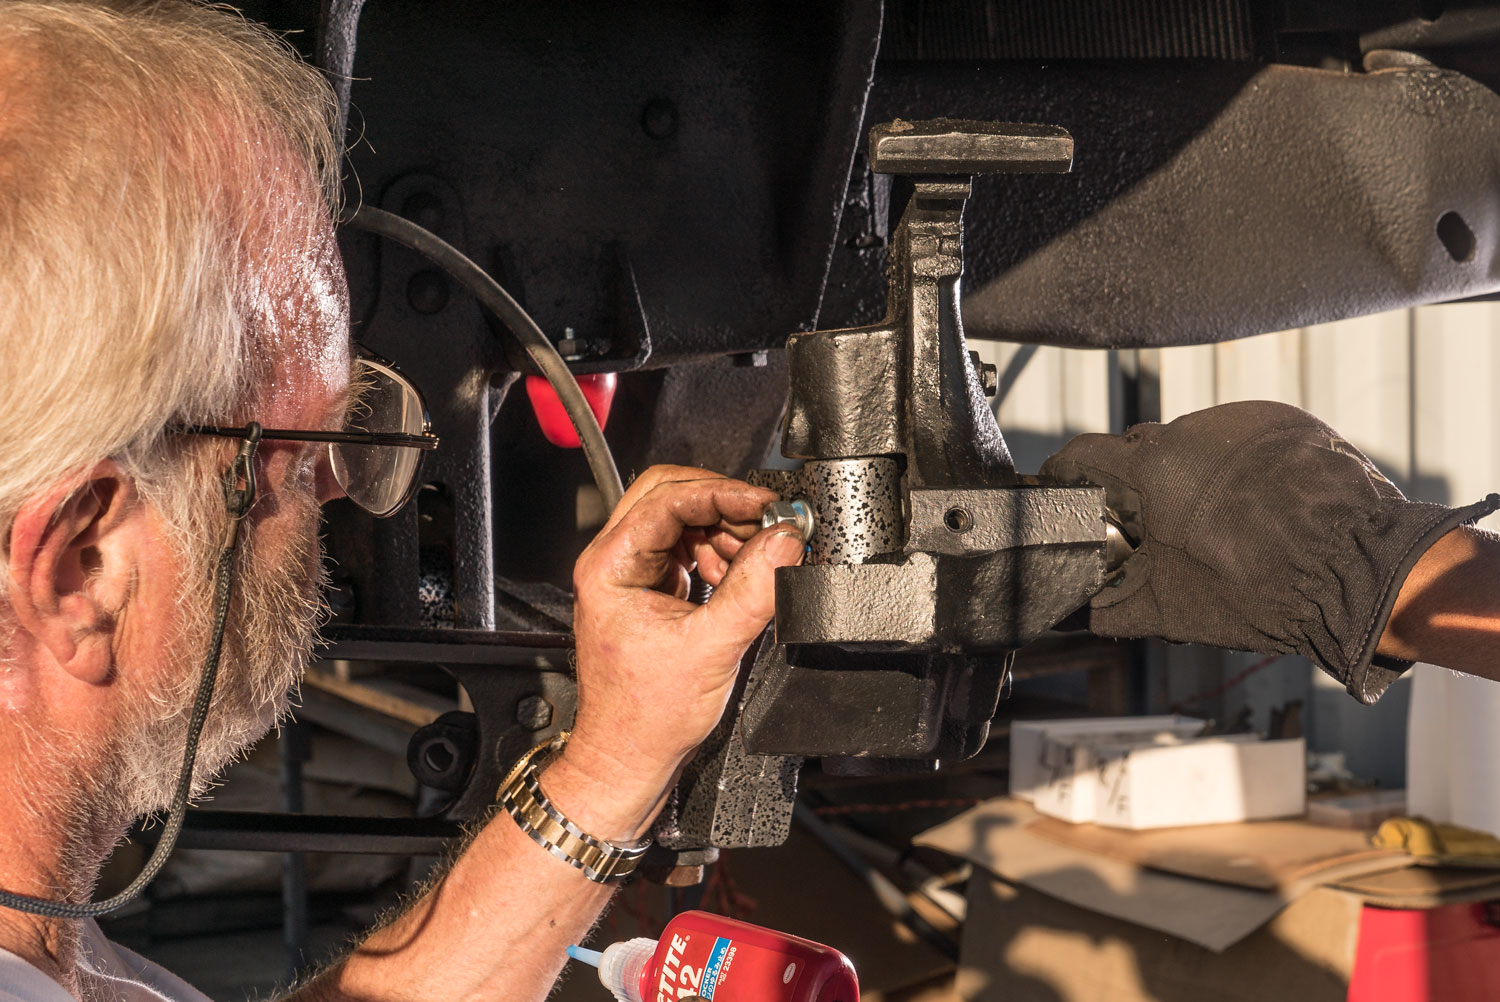
With the beams out of the truck, you can more comfortably break them down. We removed the brake backing plates fully exposing the spindles. Now you can remove the king pin locking bolt and grease caps. This gives you access to the kingpins. We used an H-Frame press to push out the old kingpins but there is more than one way to skin this cat, you can also use a local shop for help with this.
Staying organized makes installation much easier, we used this opportunity to stage our parts and part-by-part we begin to install the new DJM suspension Kit.
Be sure to follow the instructions on the radius arm bushings regarding washers, they call out which way to install your bushings and washers.
We installed the radius arms and only hand tightened before mounting the beams. Be sure to grease the pivot bushings on the beams before you mount into the radius arms and frame.
With everything hand tight it’s time to put your factory spring in place.
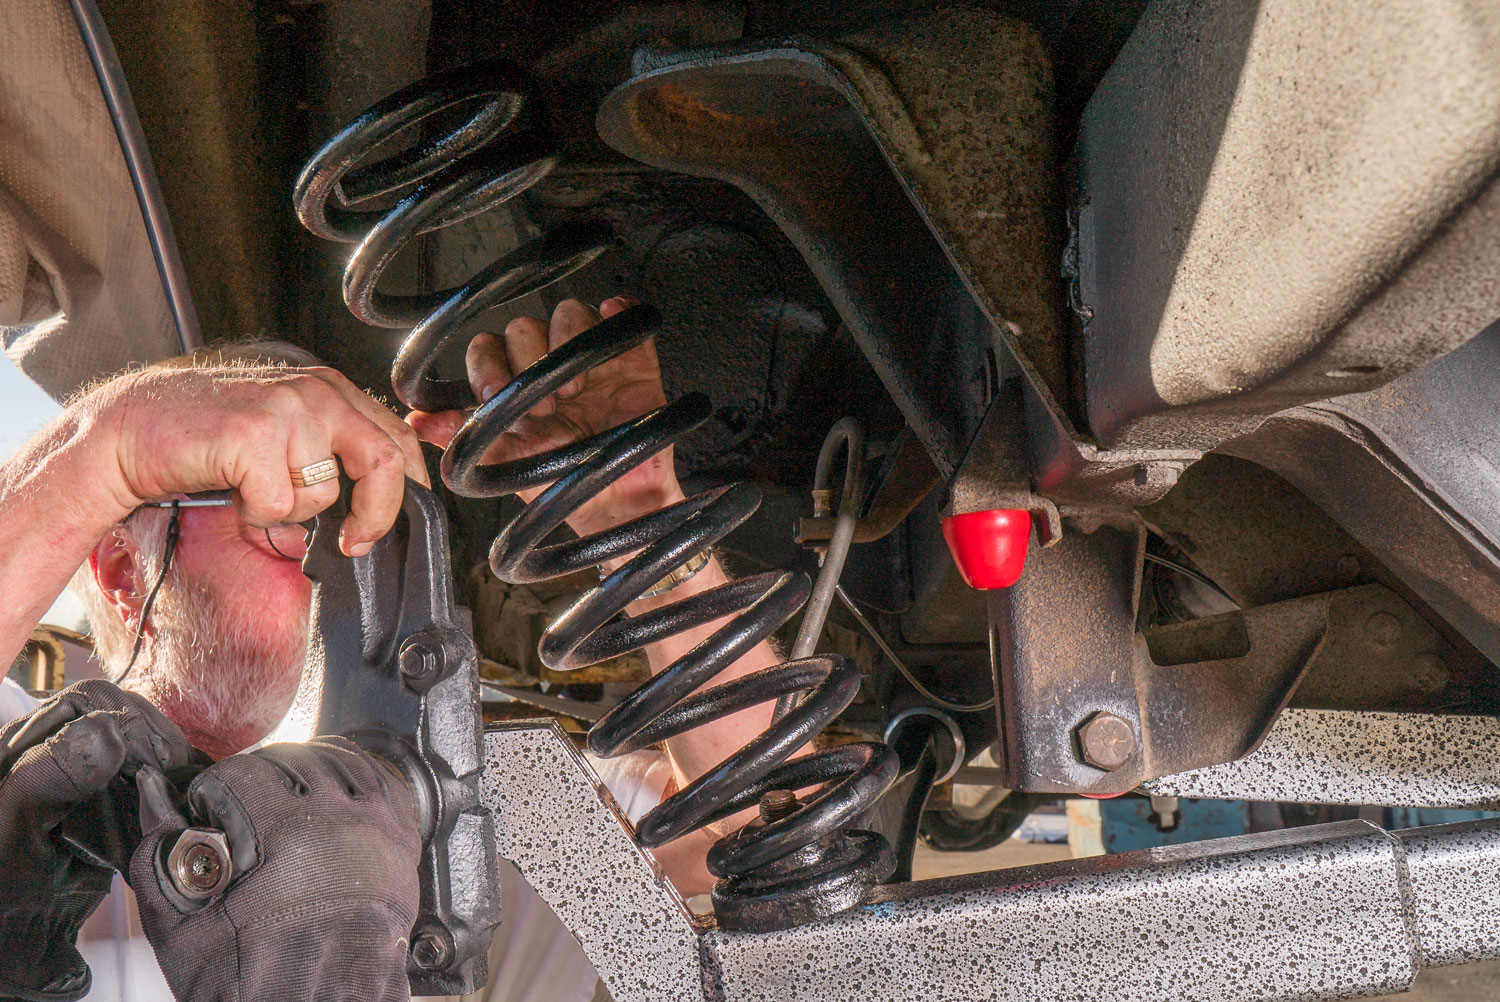
You've cleaned up your spindles, installed new kingpin bushings and reamed to fit if needed. You’re ready to assemble the spindle with your new kingpins on your DJM beams. It is smart to test fit the kingpins in the beams before you install your beams, making sure when you get to this point there are no surprises as you mount the spindles to the beams. You should be able to do this by hand or with gentle help from a dead blow hammer! Be sure also to install your new bearings correctly, the top is called out on the bearing, this is important!
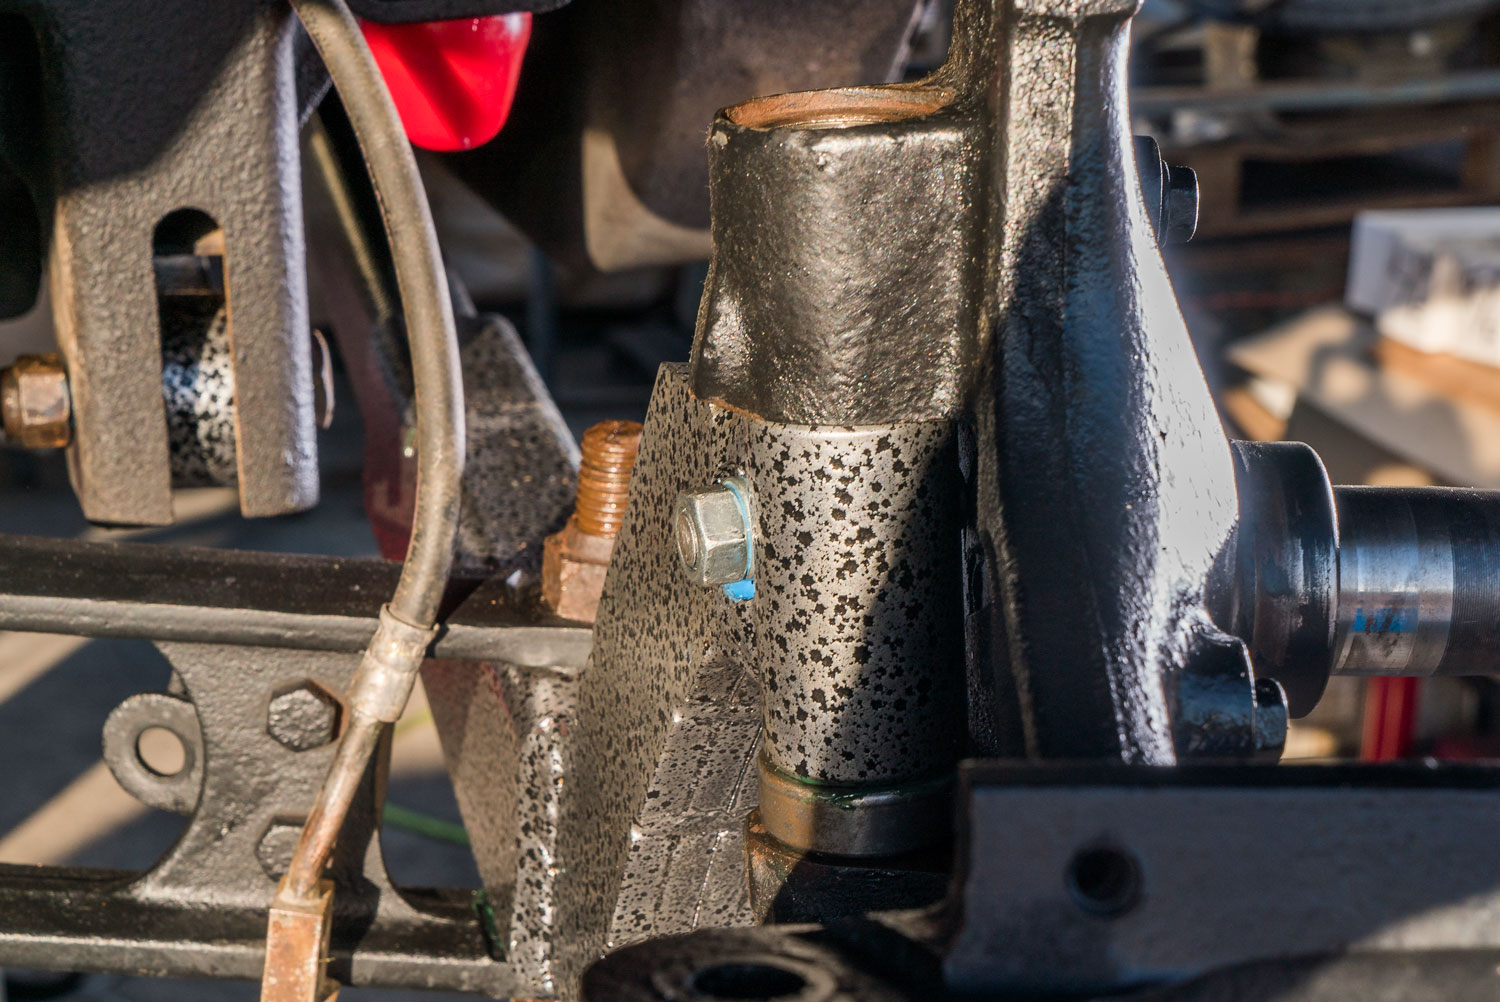
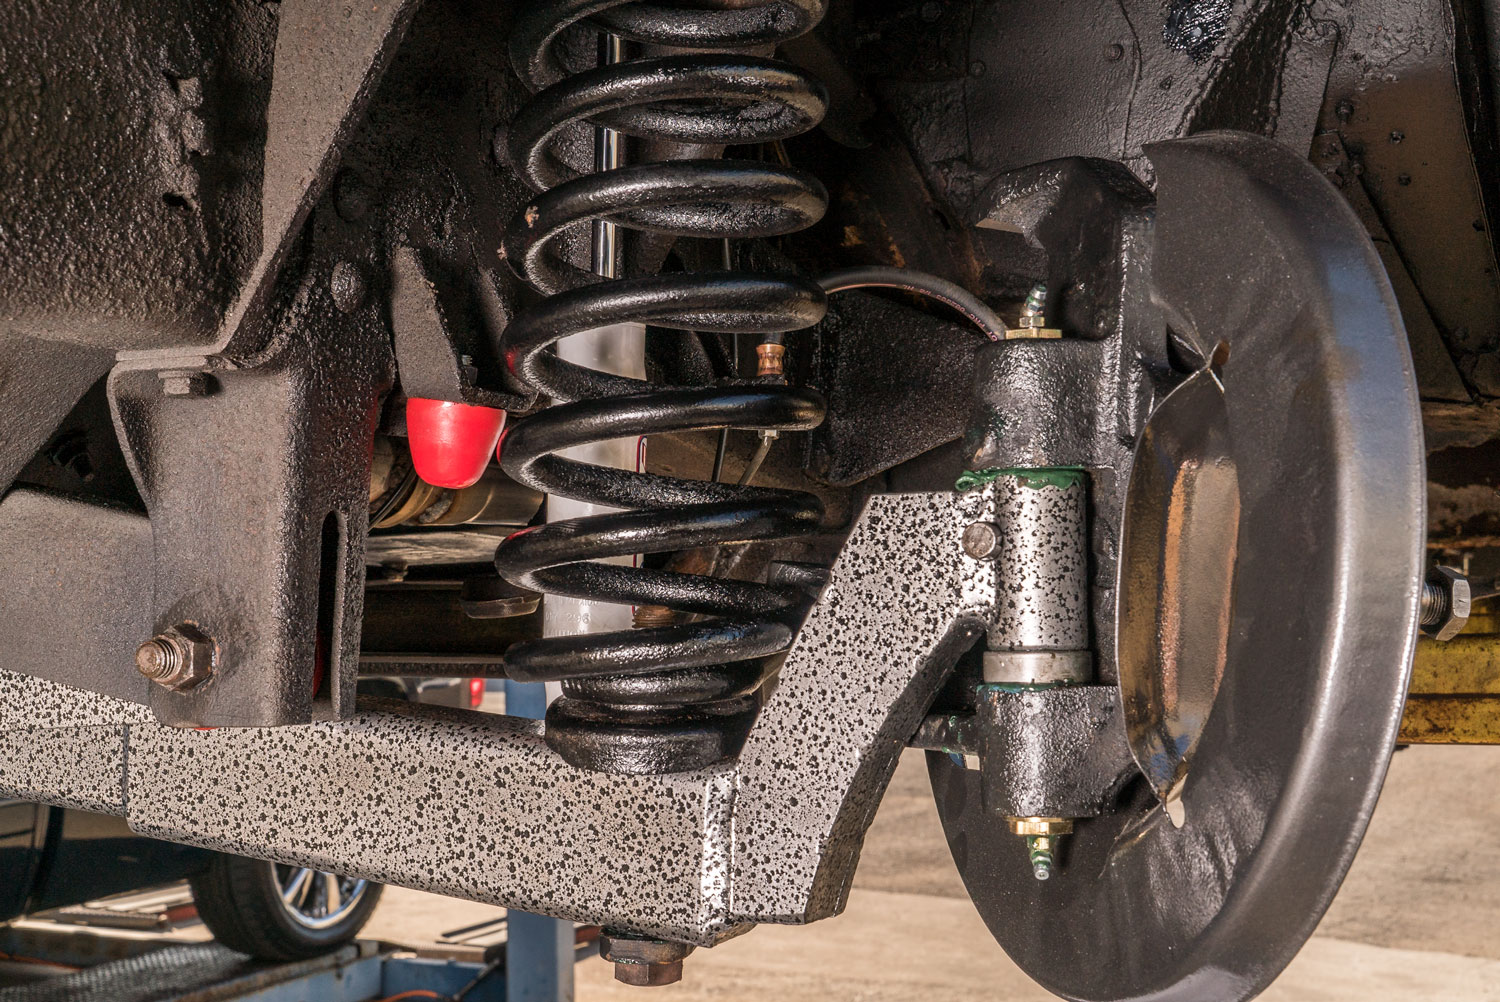
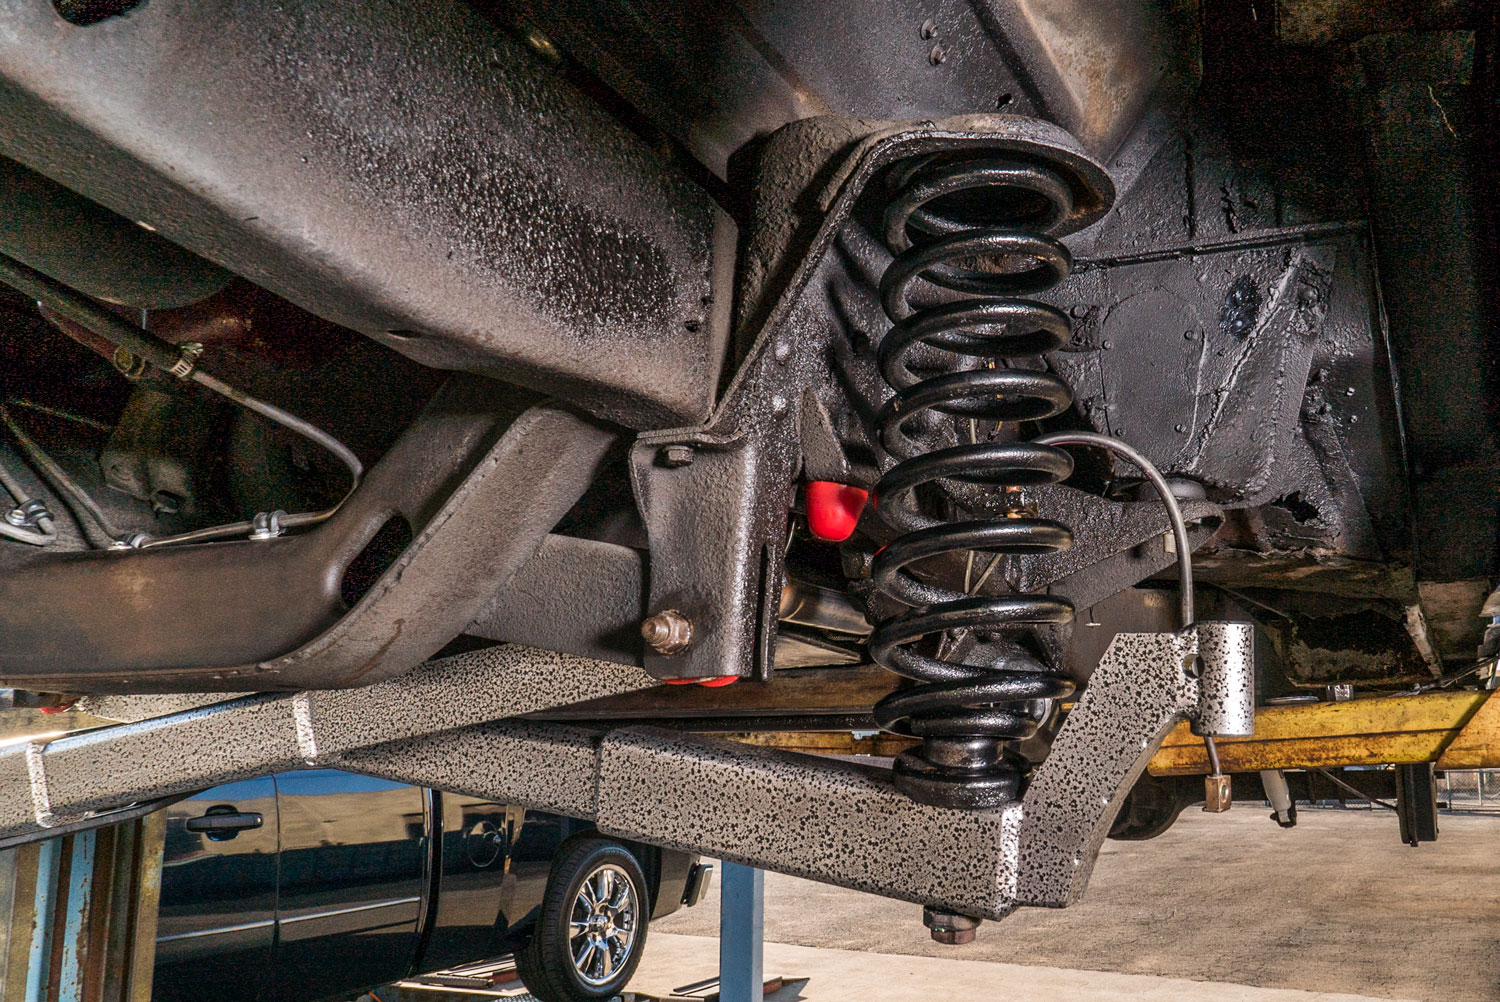
The rotors, calipers, and pads go back on as well as new shock absorbers
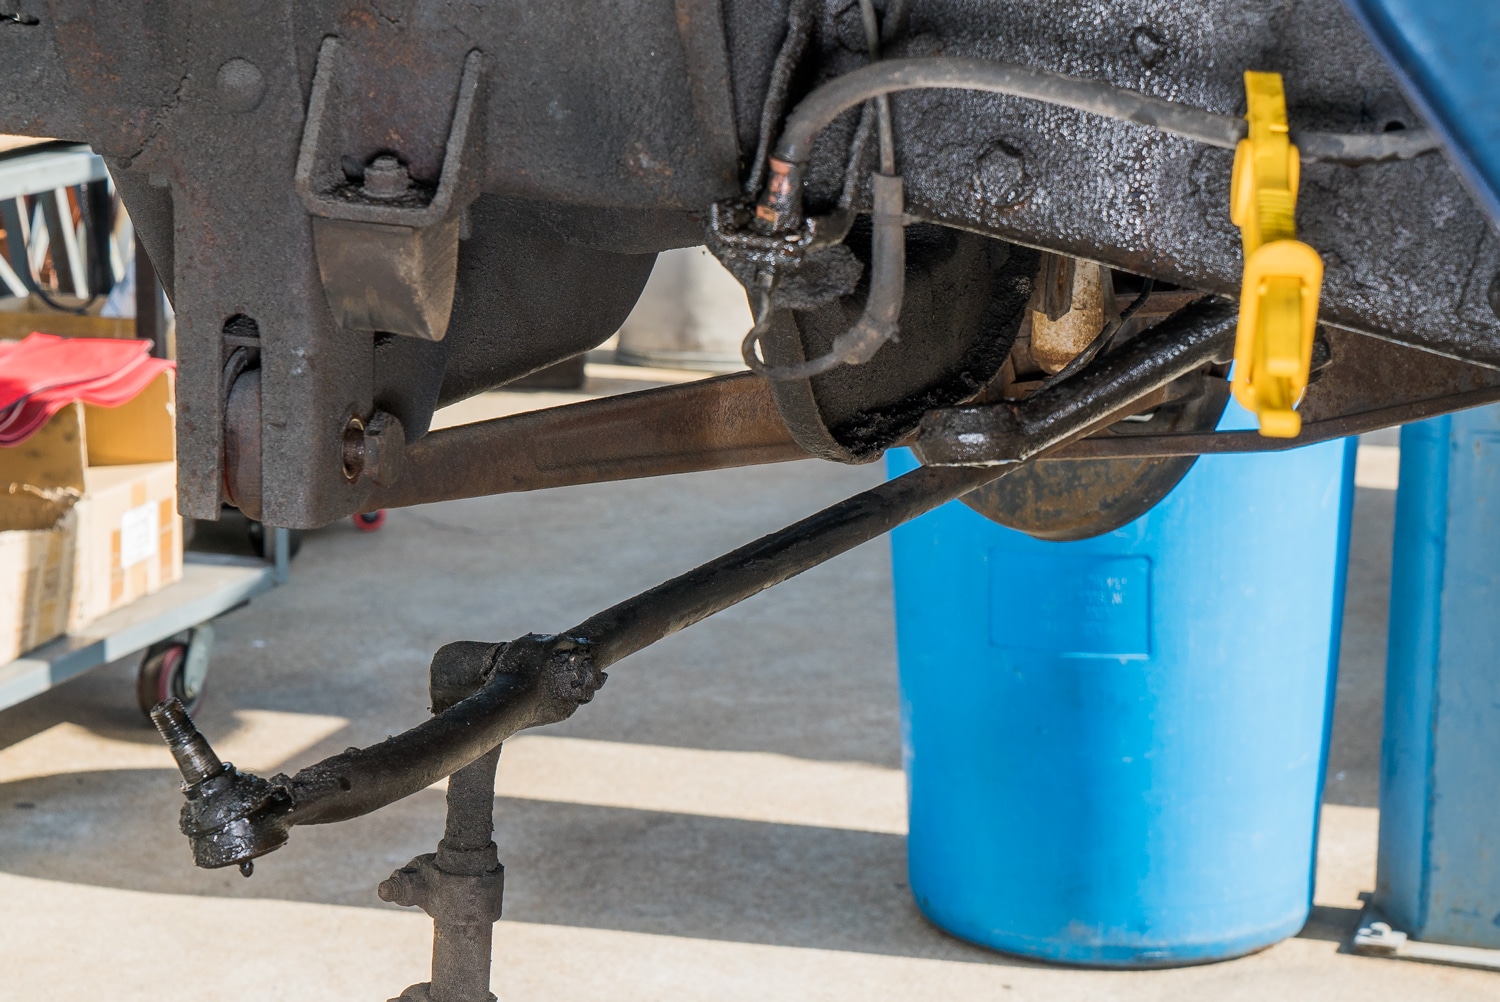
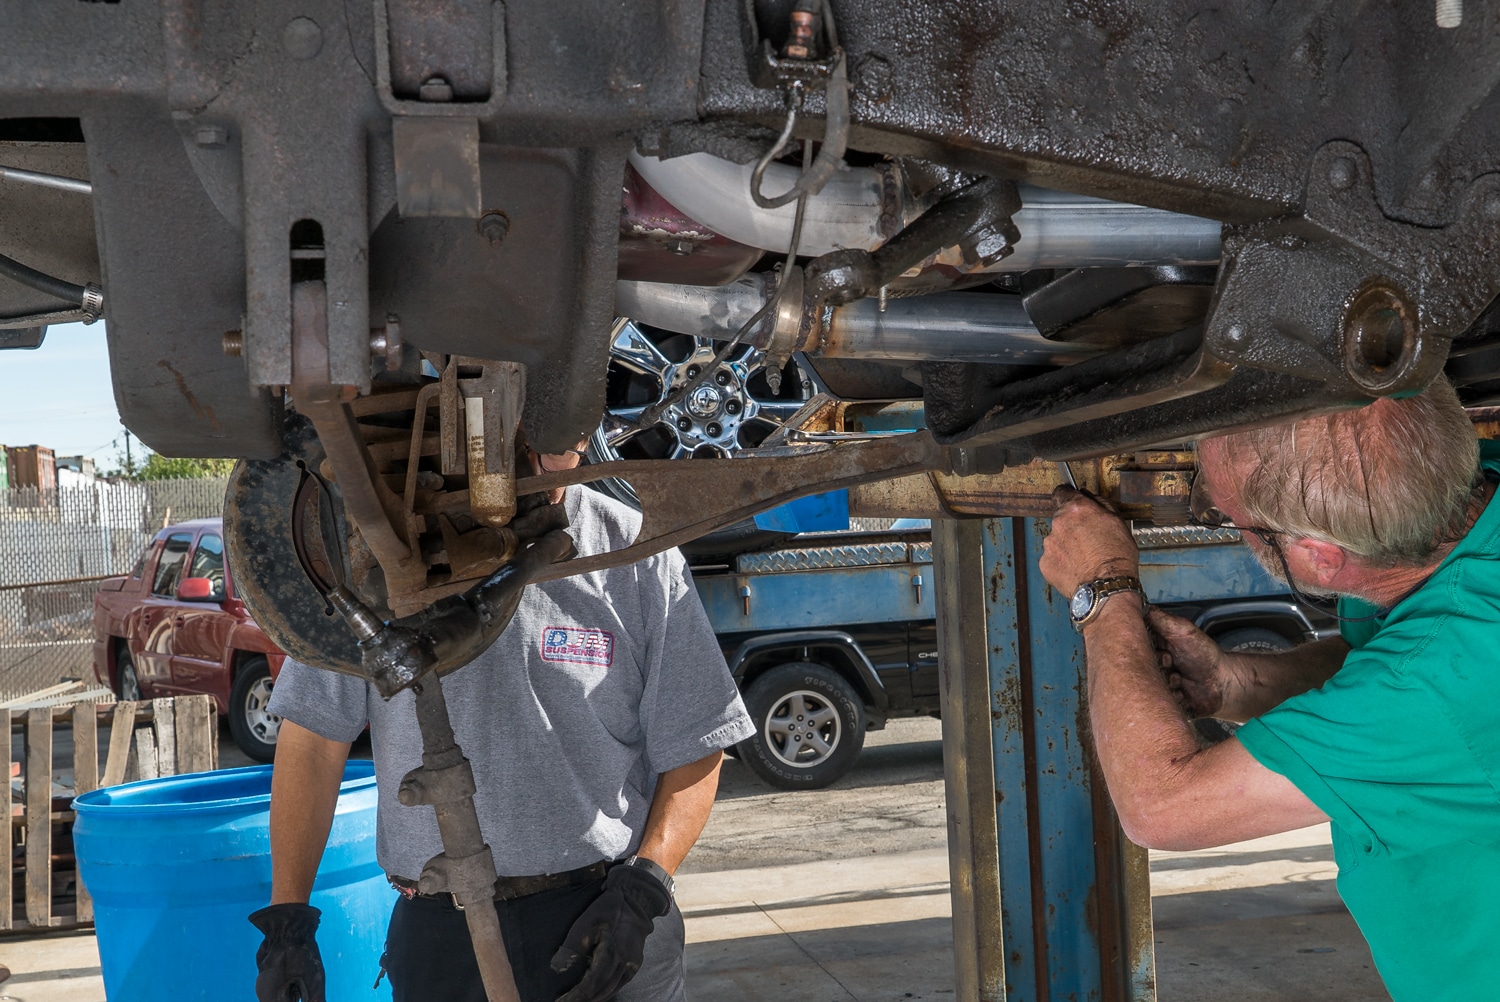
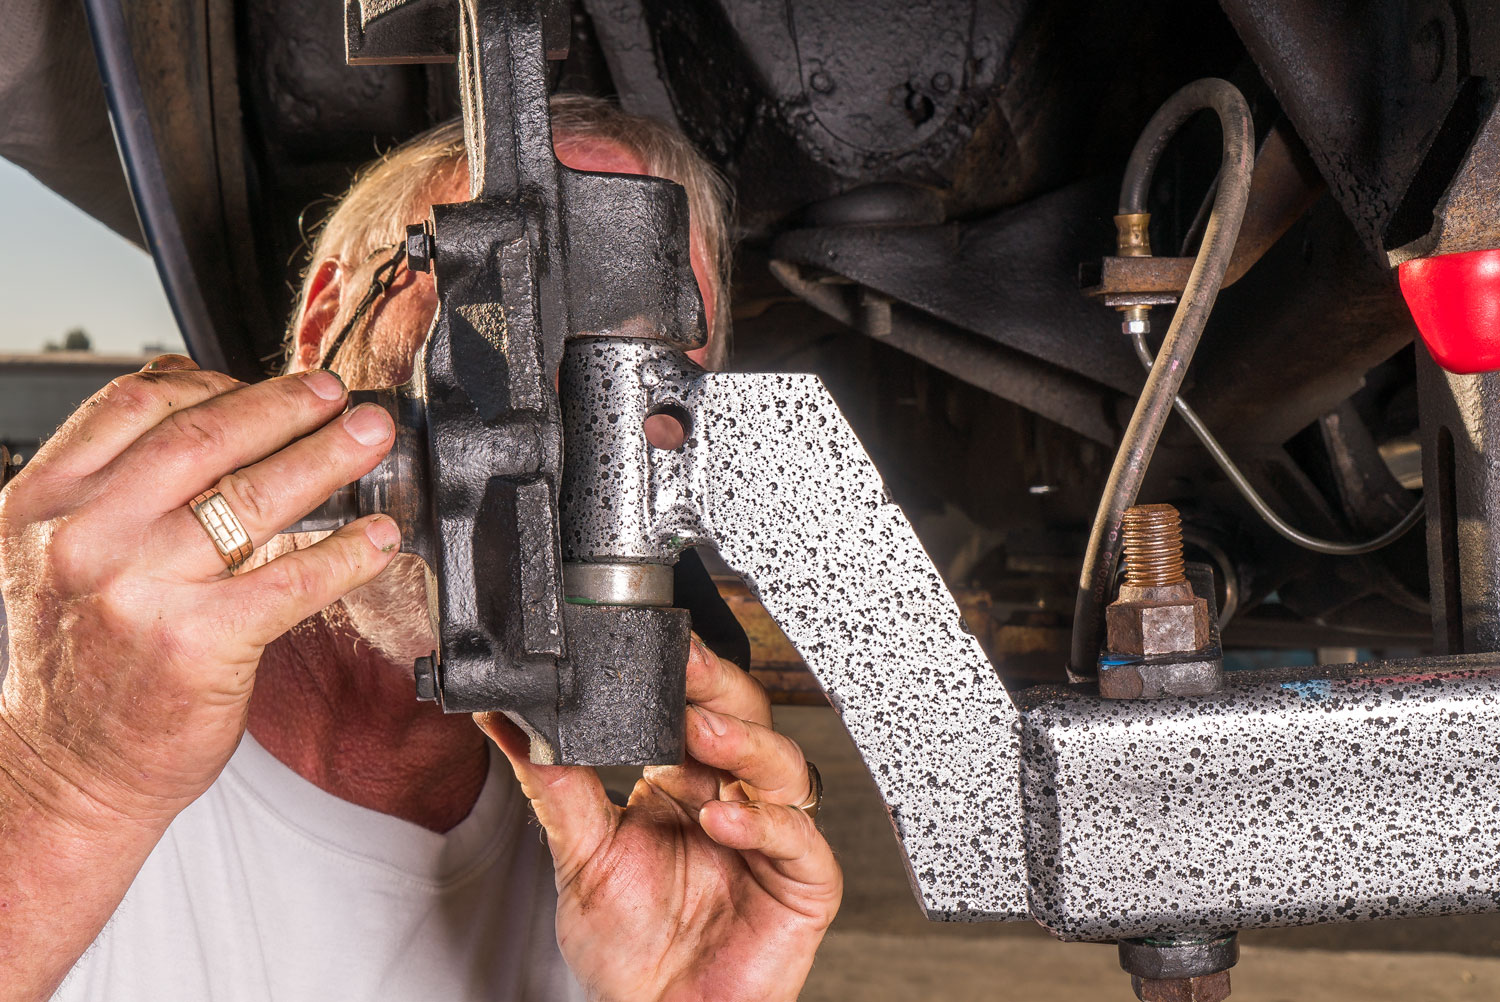
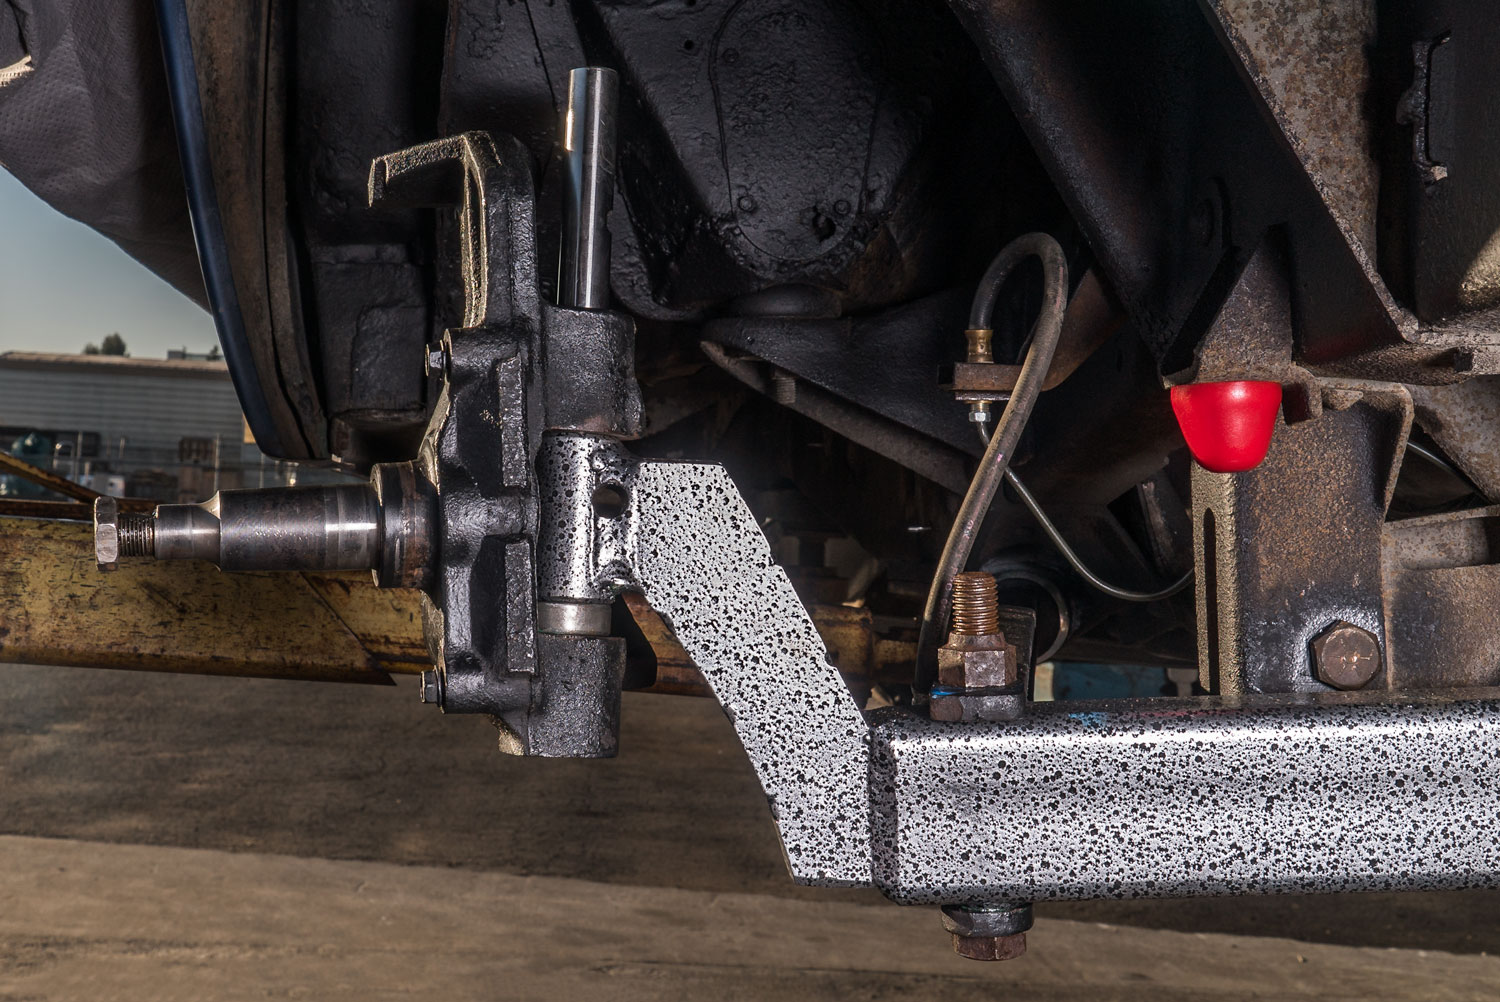
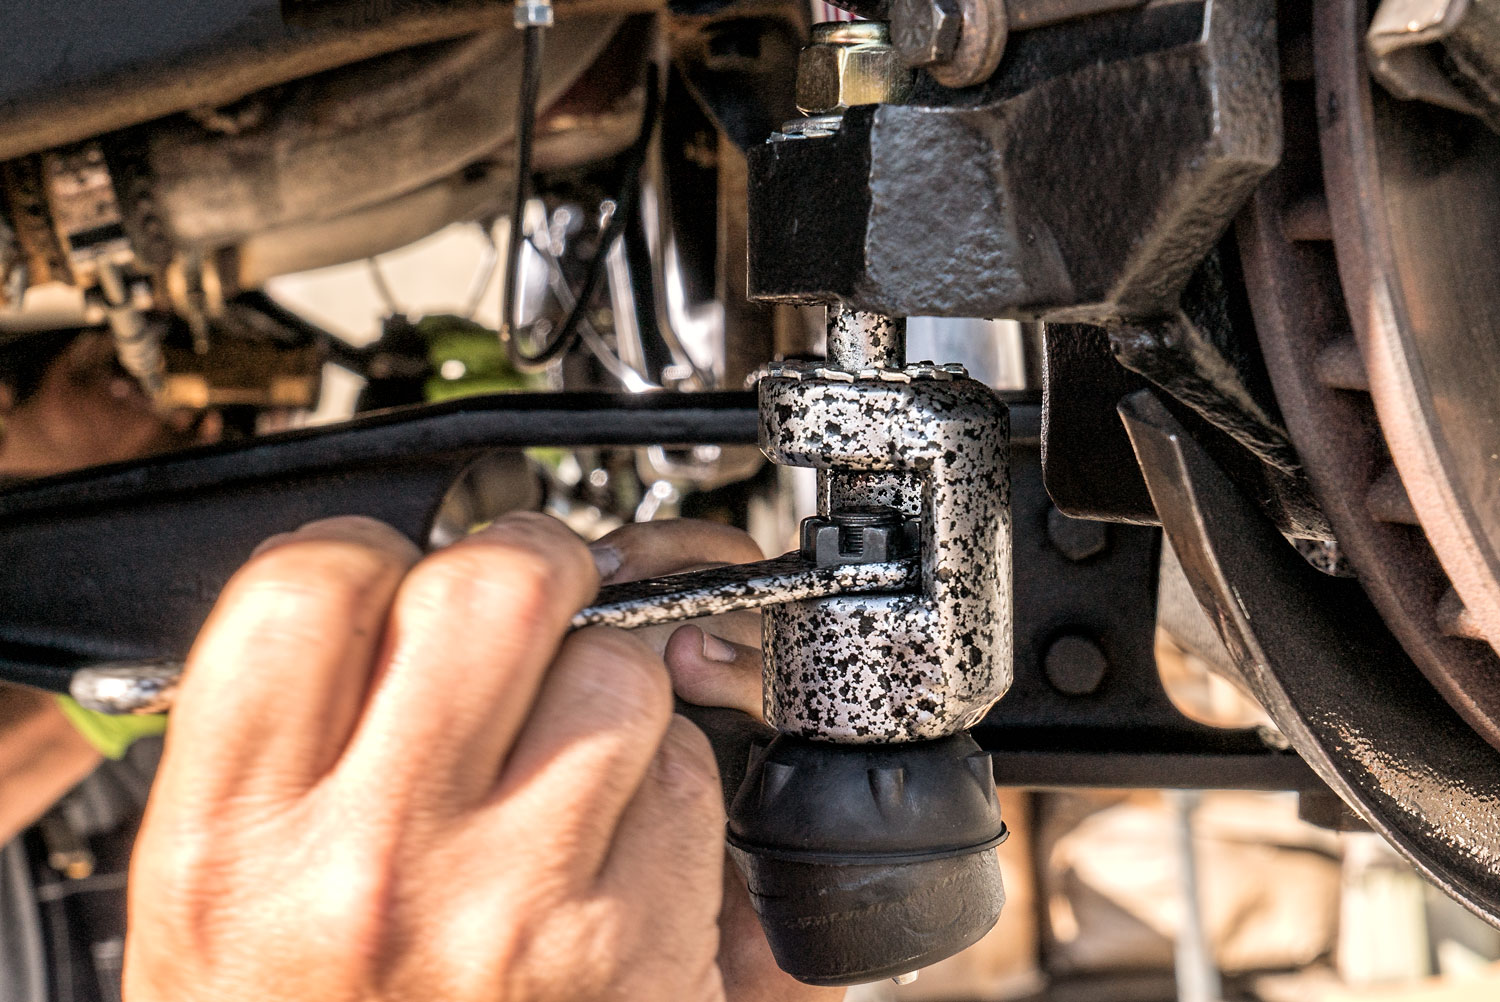
It’s time to install the new tie rods and attach the drag link. If your radius arms are hand tightened you'll have more play to get the tie rods through the radius arms. When this is done go ahead and tighten up the radius arms.


You're ready to tackle the tie rod extenders. You'll find that you cannot install the tie-rod ends in the spindles because the tie-rods have to be located inside the radius arm opening. These extenders allow you to mount the tie-rod to your spindle and keep the tie-rods in their best position, in the middle of the radius arm opening (just like factory). It is important to follow the instructions here, using the star lock washers in the proper positions. Using the supplied wrench you can install and tighten the tie-rod to the extenders after you have installed the extenders to the spindle. A good tip is to align the cotter pin hole in the tie-rod so you can easily insert the cotter pin to lock the nut in place after you have tightened the tie-rod end in the extender!

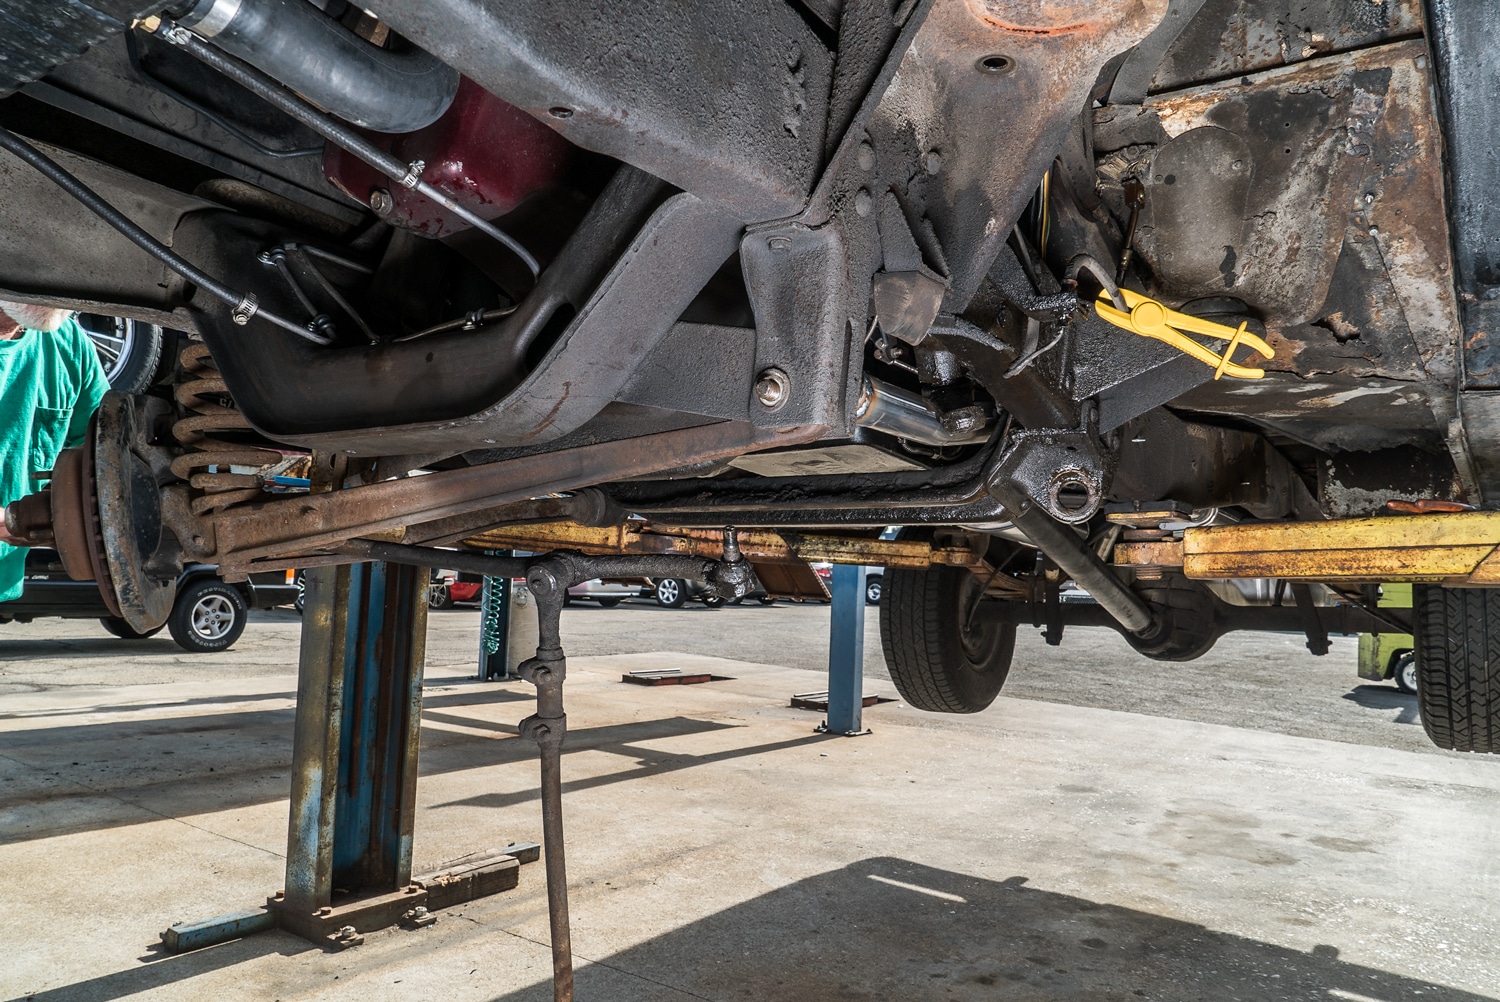
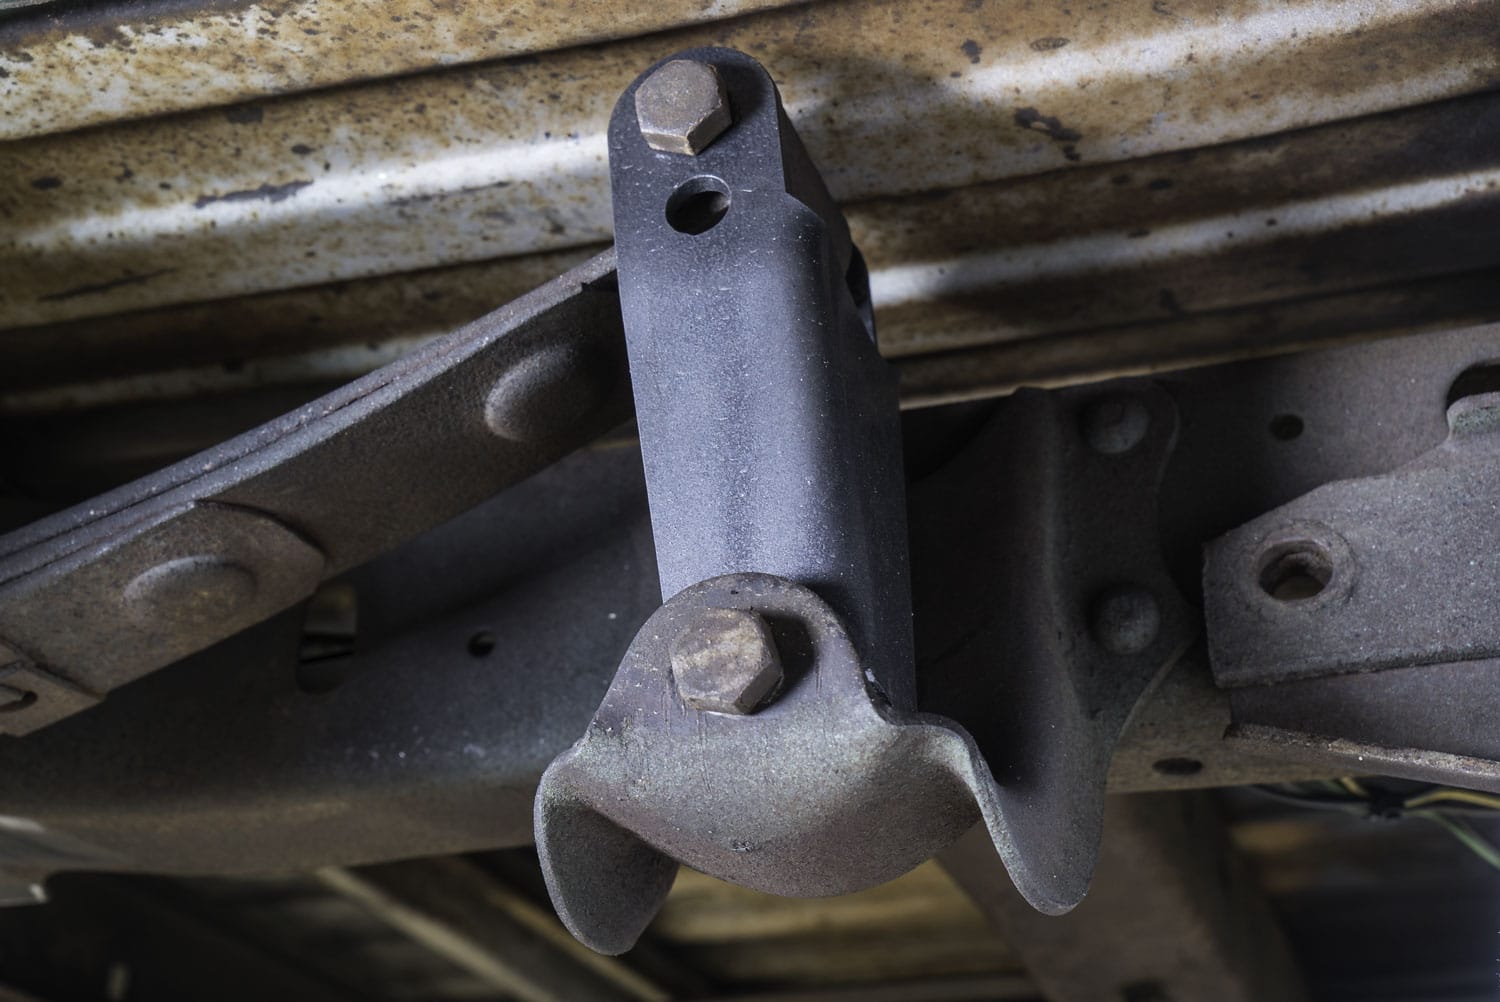
This 65 F100 only needed a set of 2” lowering shackles to get the look we wanted. You will probably want to use the 4” Hanger and Shackle kit, this kit will give you 2,3 or 4” choices to create the stance you're looking for!


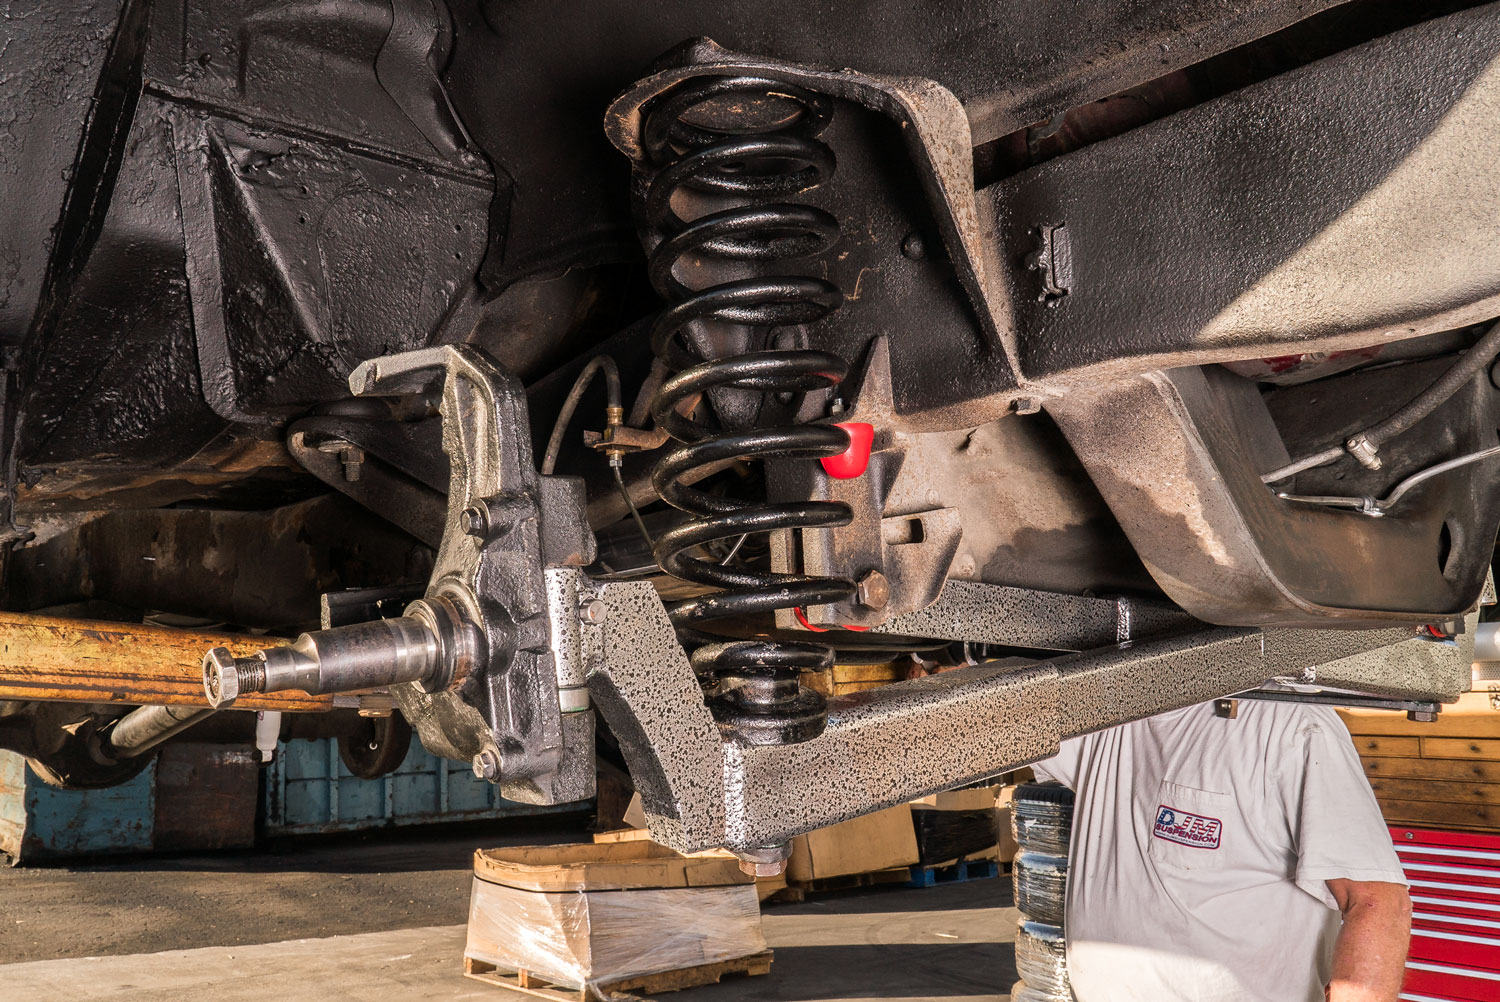
You’ve done it! Congratulations! You have an all-new front end that is 3” lower than stock, rides great, aligned, the rear is lowered just enough to get that stance and you’re ready to cruise!