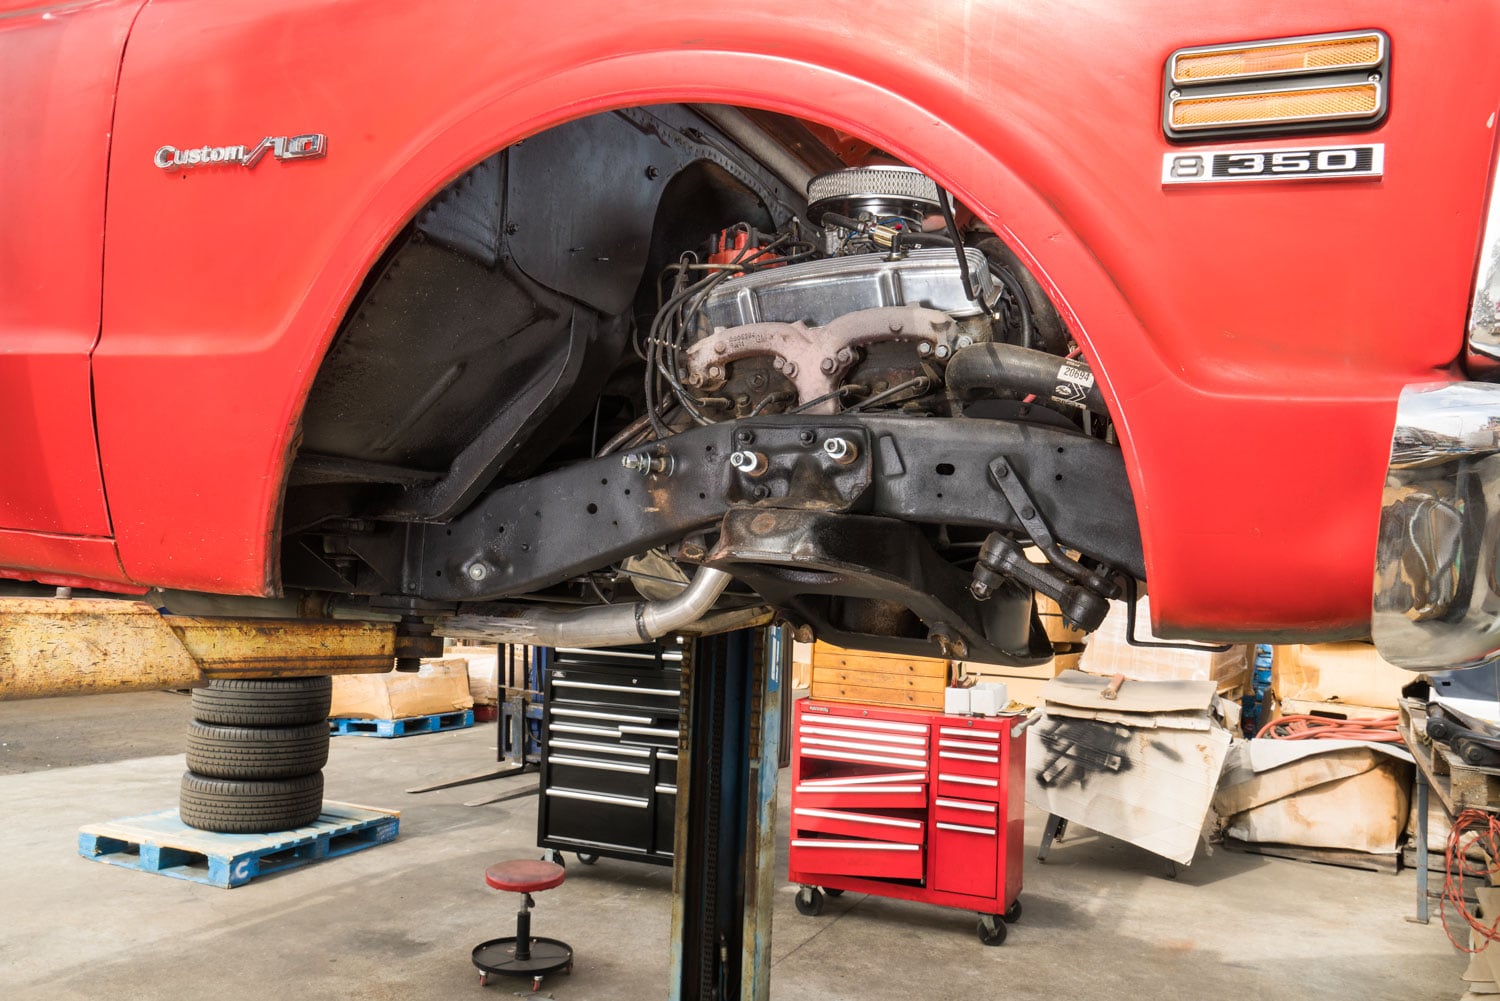
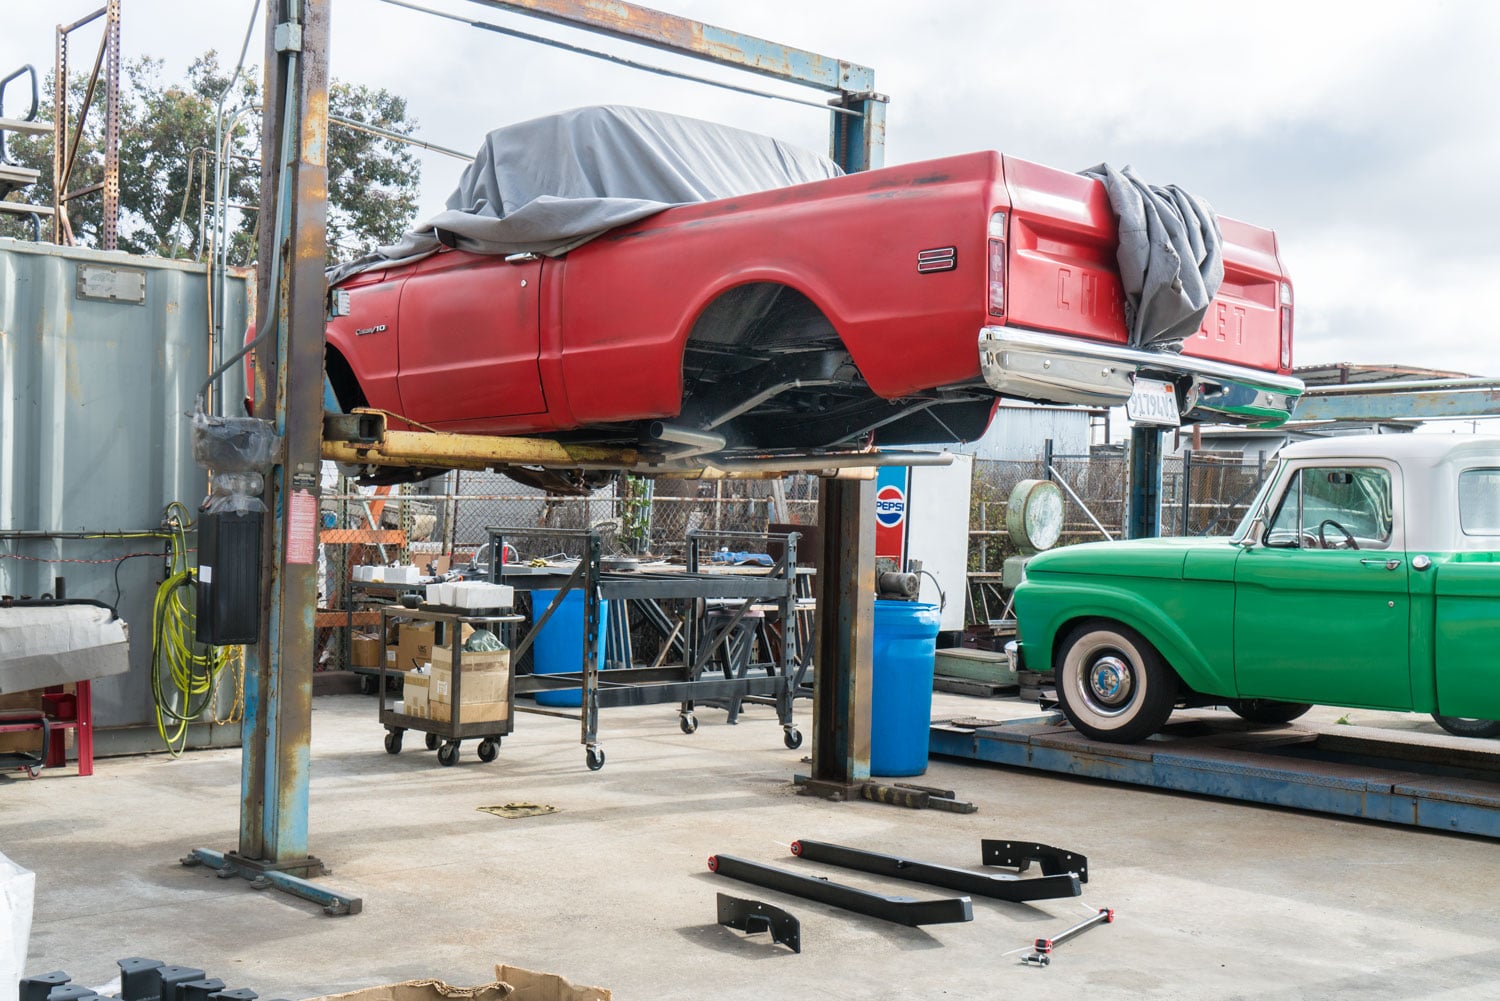
Lowering a classic truck like this 1970 Chevy C10 is a challenging but incredibly satisfying project. This truck had also been shortened to a short bed sometime in the past. The transmission had a cracked fitting, leaking ATF, so the rear brake drums had to be cut off.
Lowering a dependable street truck like this required a complete inspection followed by updates to the front suspension, rear suspension, steering, brakes, and frame.
After lowering a truck, its suspension, steering, brakes, and frame need to work together so the truck feels controlled and comfortable on the road. That was the goal during the final stages of this 1970 Chevy C10 suspension build.
We’ve already covered the main suspension parts, fitment details, and installation considerations for Chevy C10 upgrades like these. In this post, we’ll take you through the completed setup and explain how each component contributes to the truck's stance, handling, ride quality, and reliability.
Preparing the C10 for New Suspension Parts
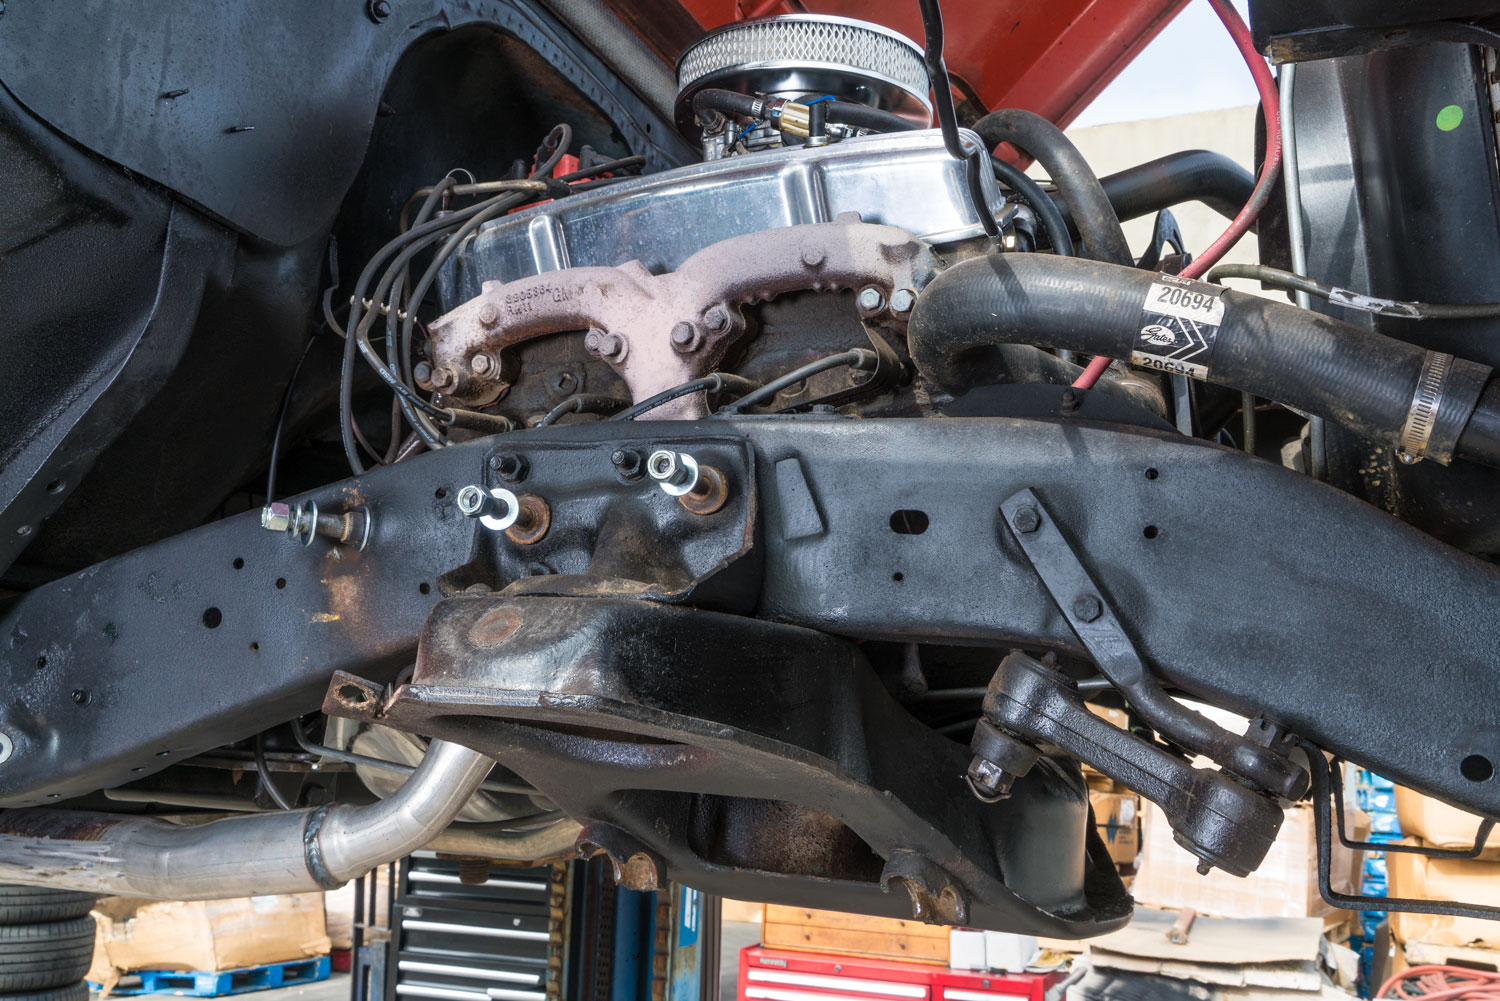
Before installing new components, we removed the old front suspension and cleaned the frame and mounting points. The fender liners were also removed and repainted. Taking them out created more space around the suspension and made it easier to reach the control-arm mounts.
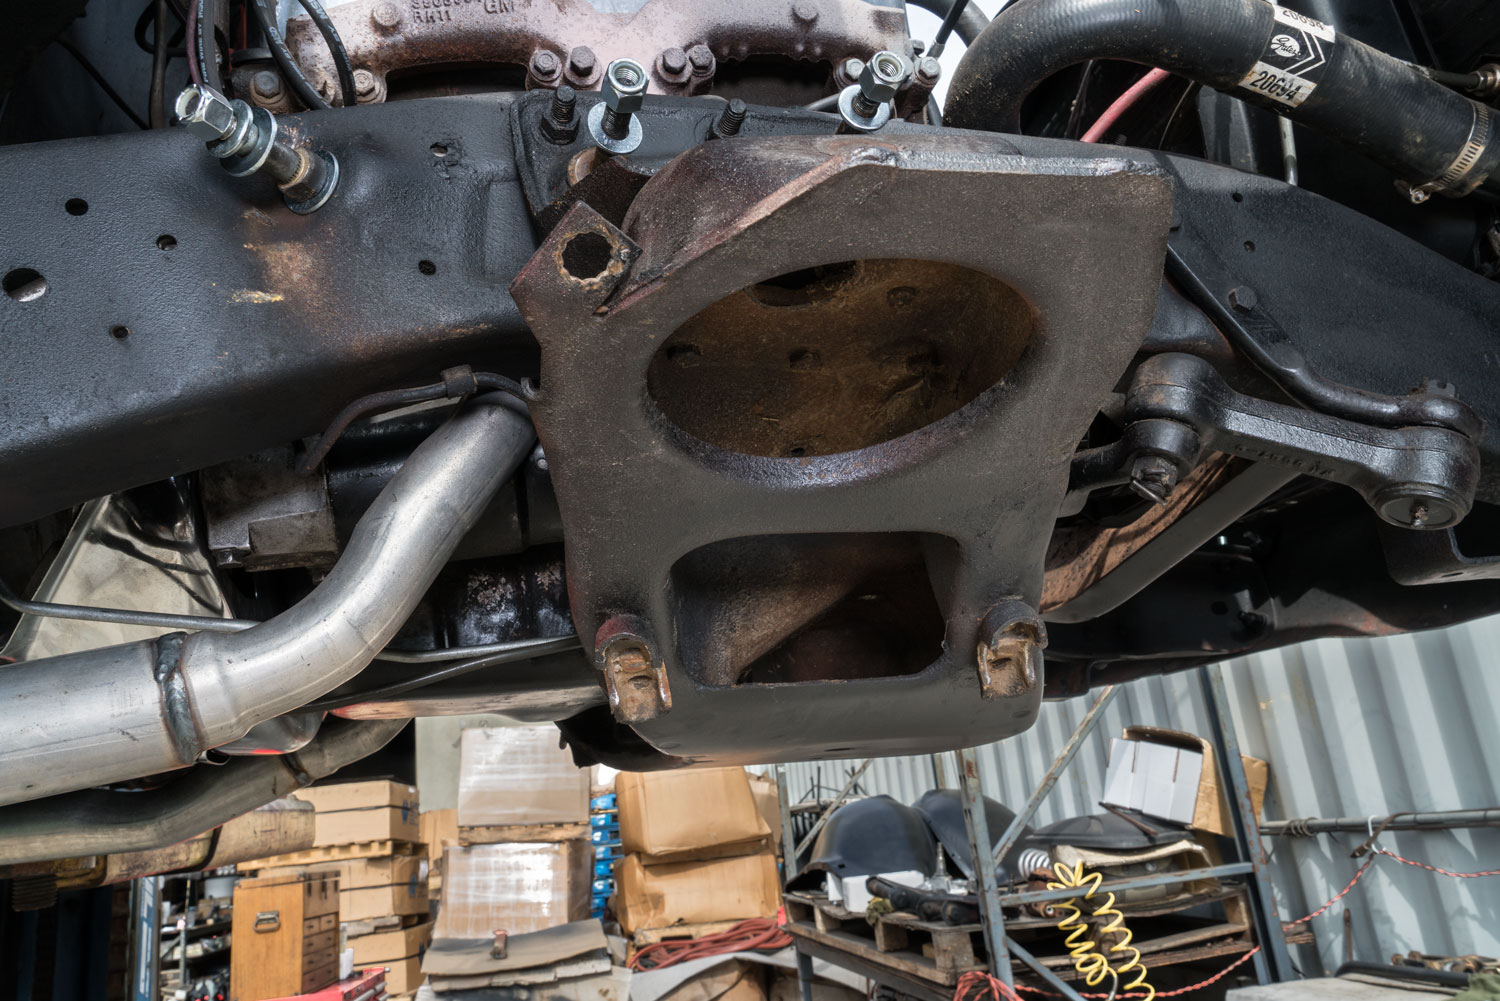
Preparation matters on any classic truck. Years of use can leave you with rusted hardware, worn bushings, damaged mounting points, and previous modifications that may not meet the needs of your new setup. On this C10, some of the old hardware had to be cut off and replaced.
Cleaning the mounting areas also made it easier to inspect the frame before installing new parts. Starting with clean surfaces and fresh hardware gave the C10 suspension parts stable mounting points and reduced the chance of old parts creating problems later.
Installing Calmax Control Arms and Lowering Springs
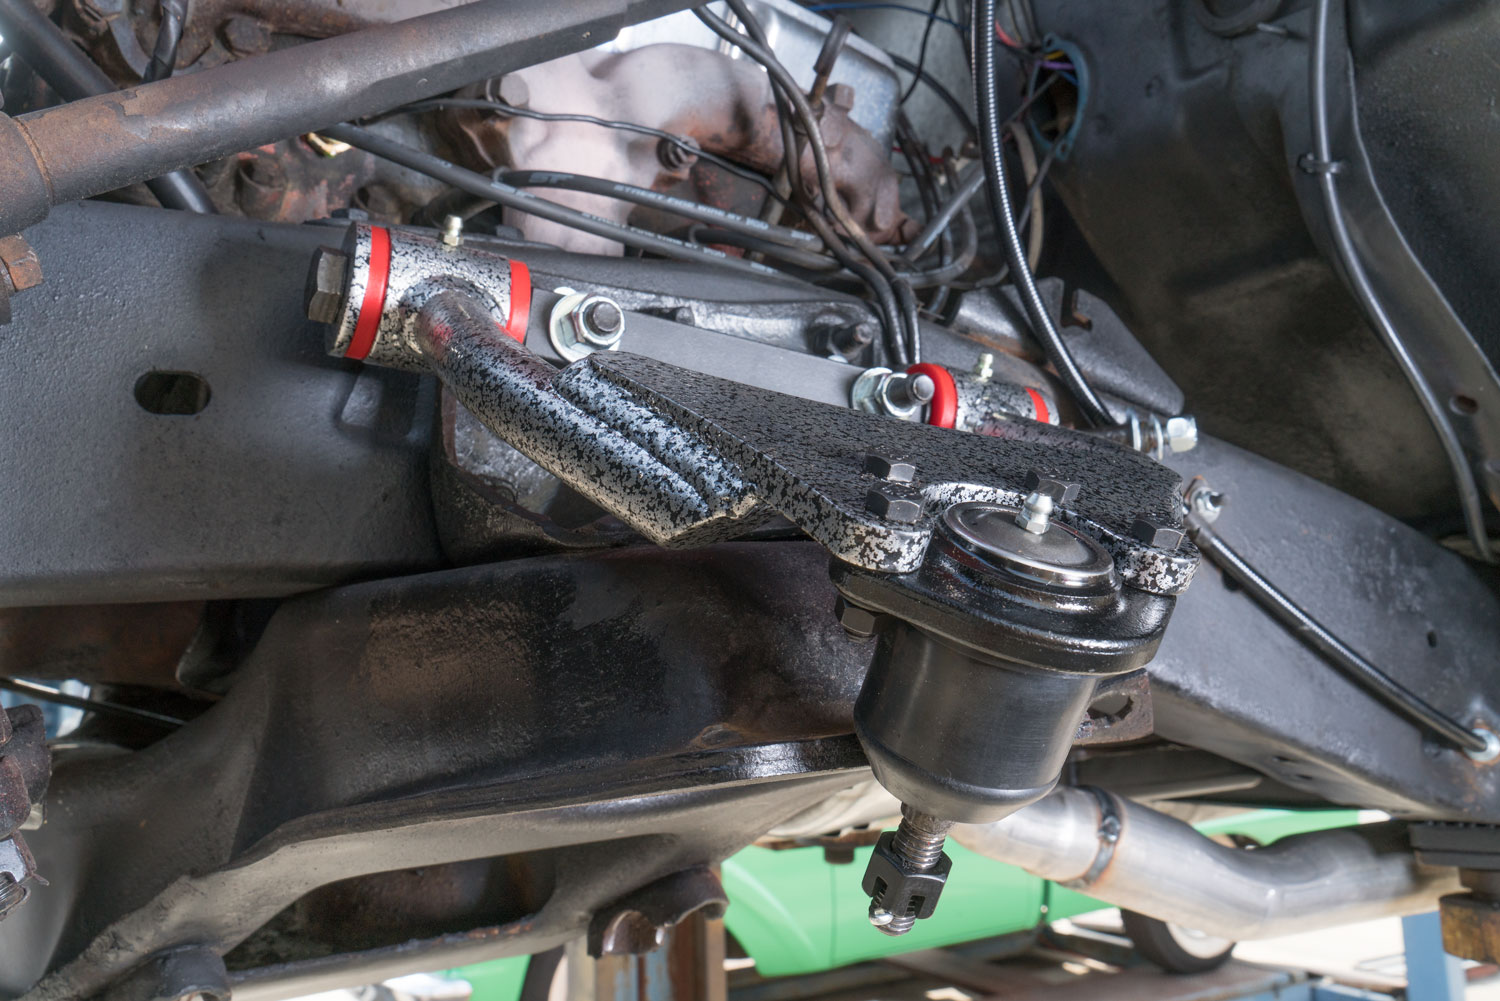
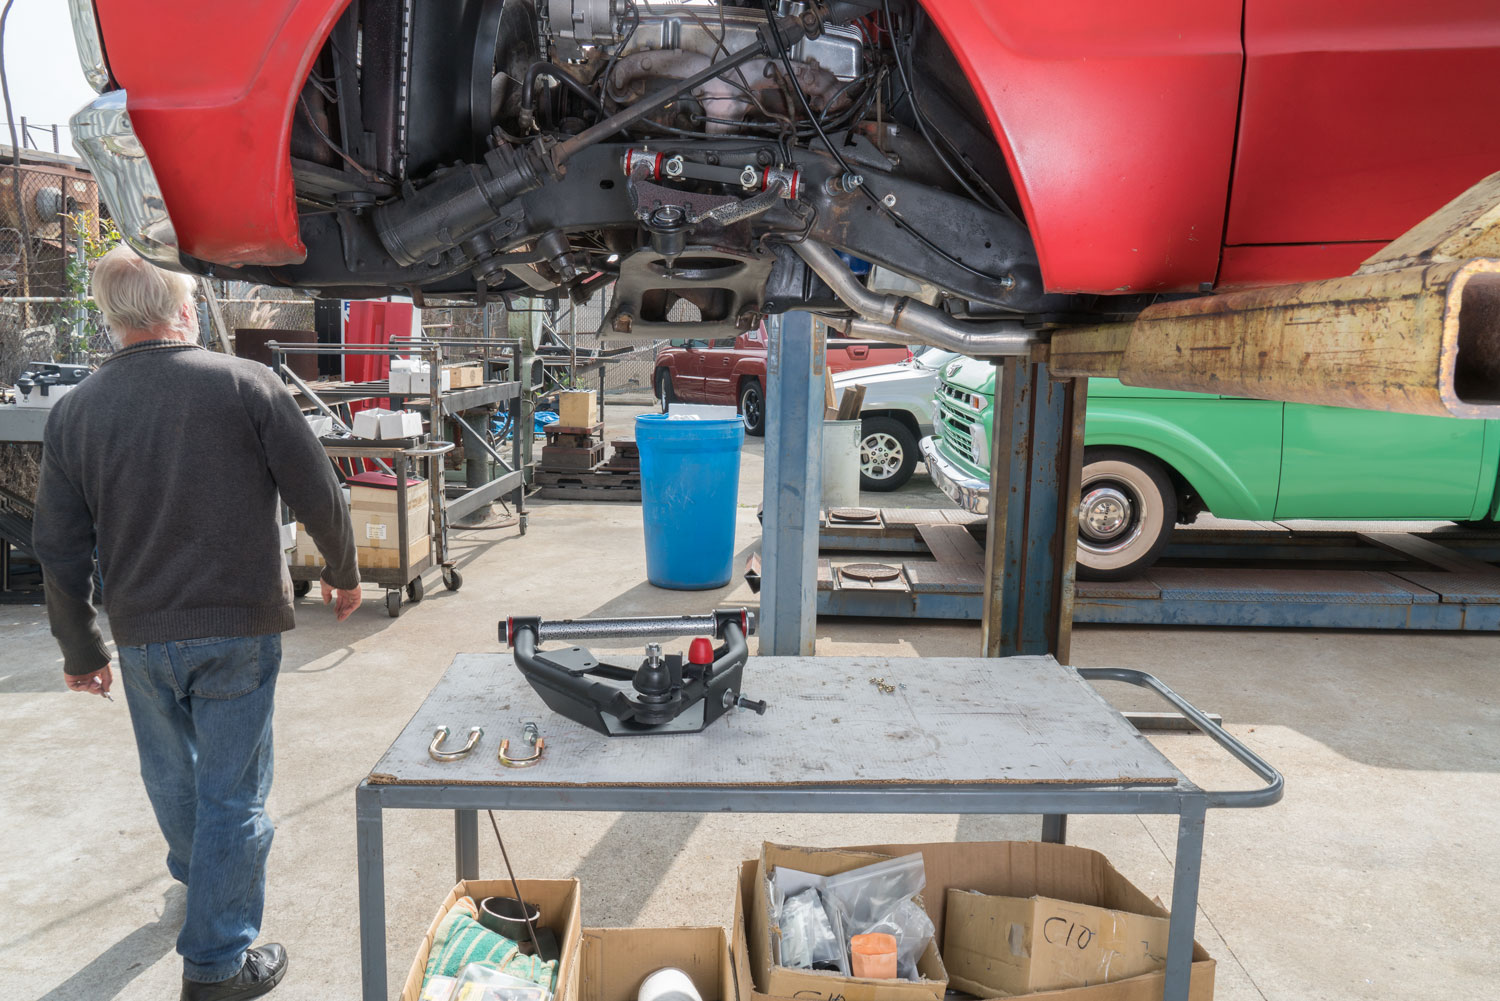
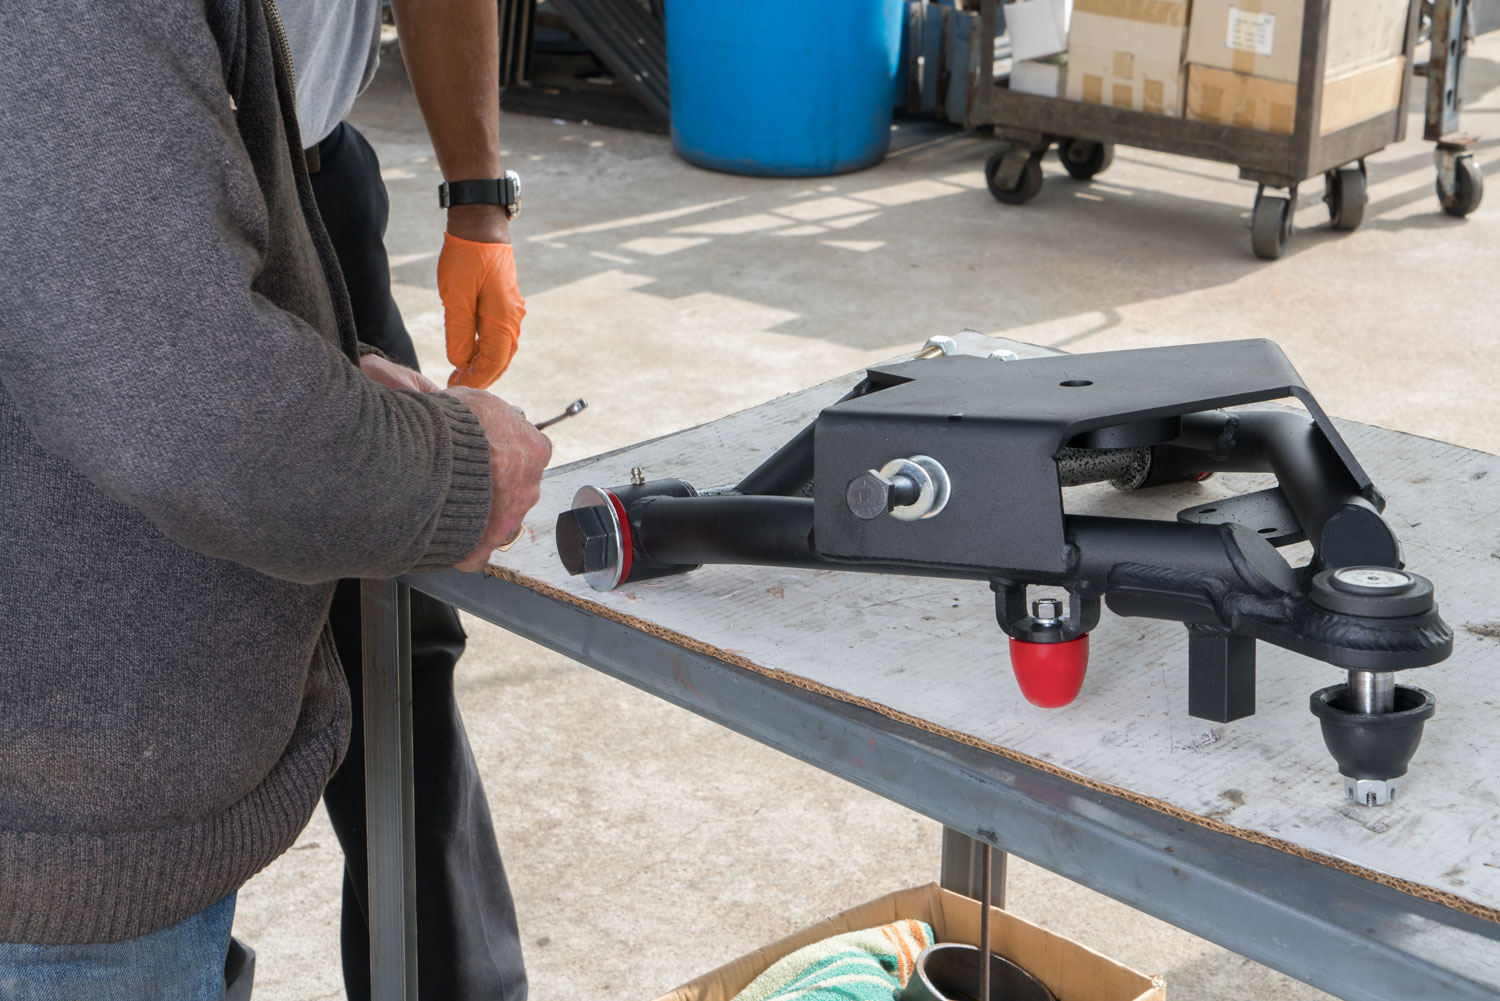
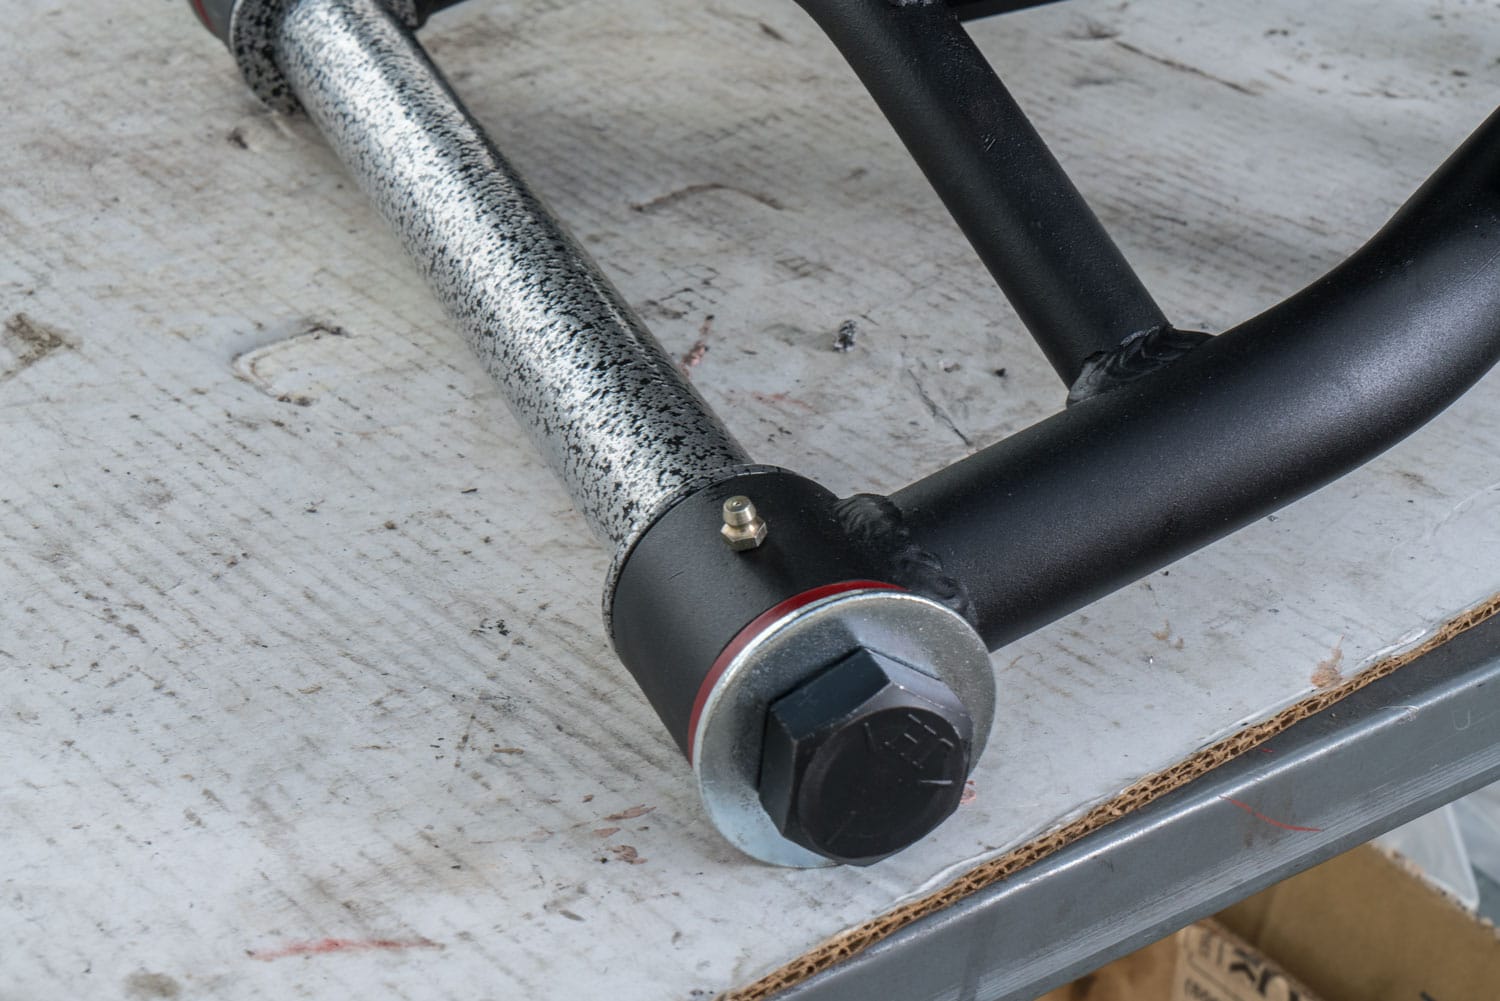
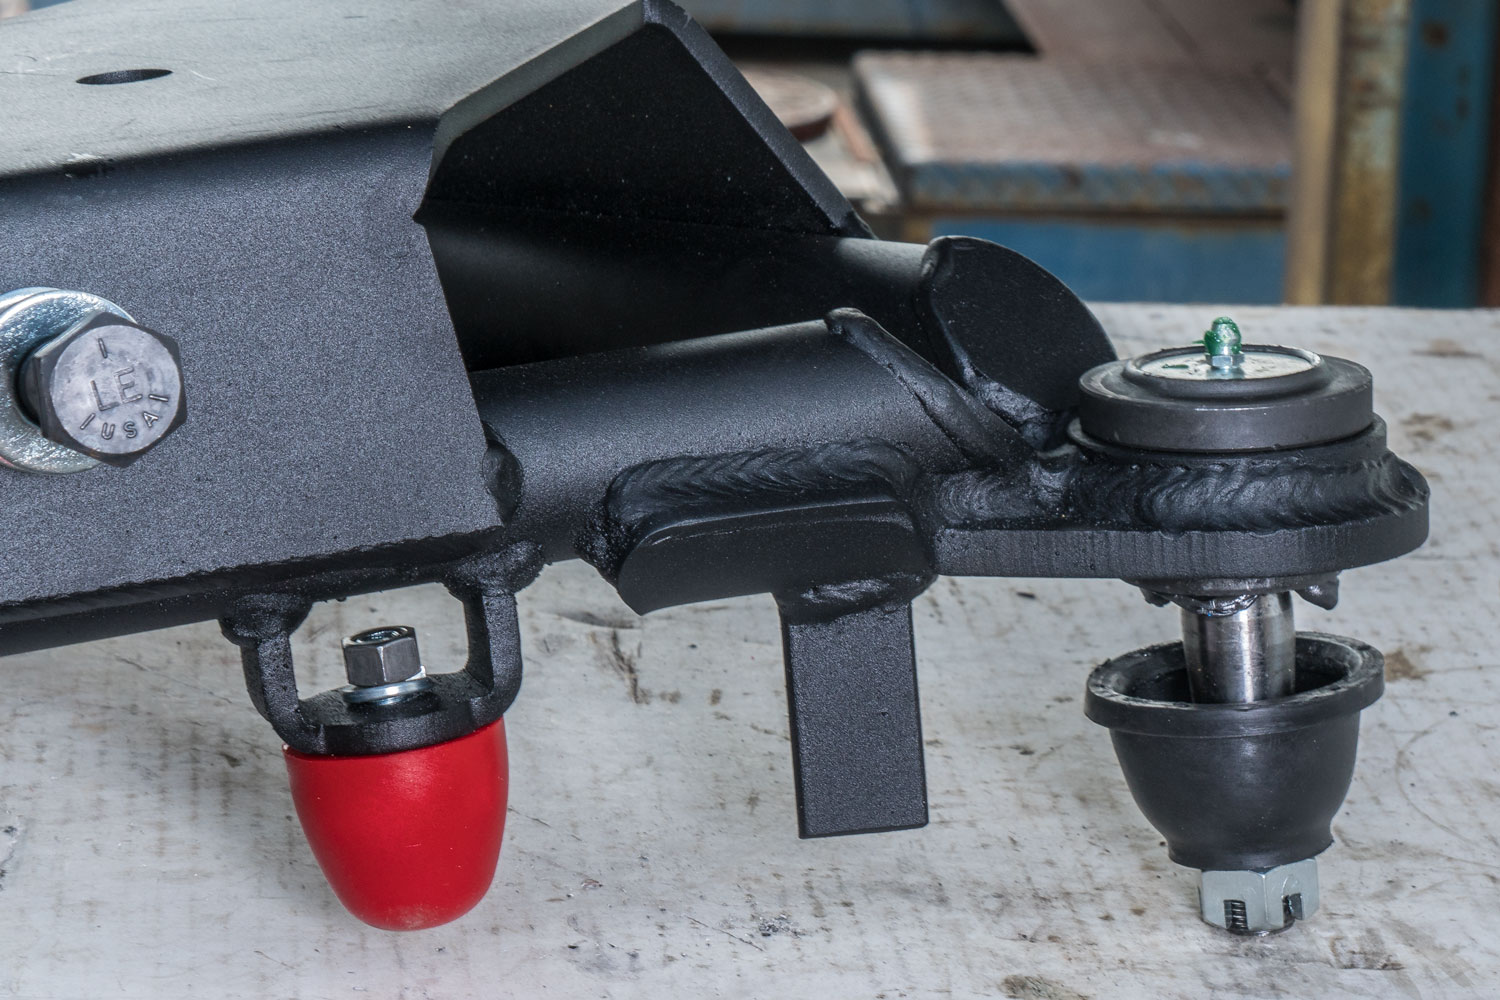
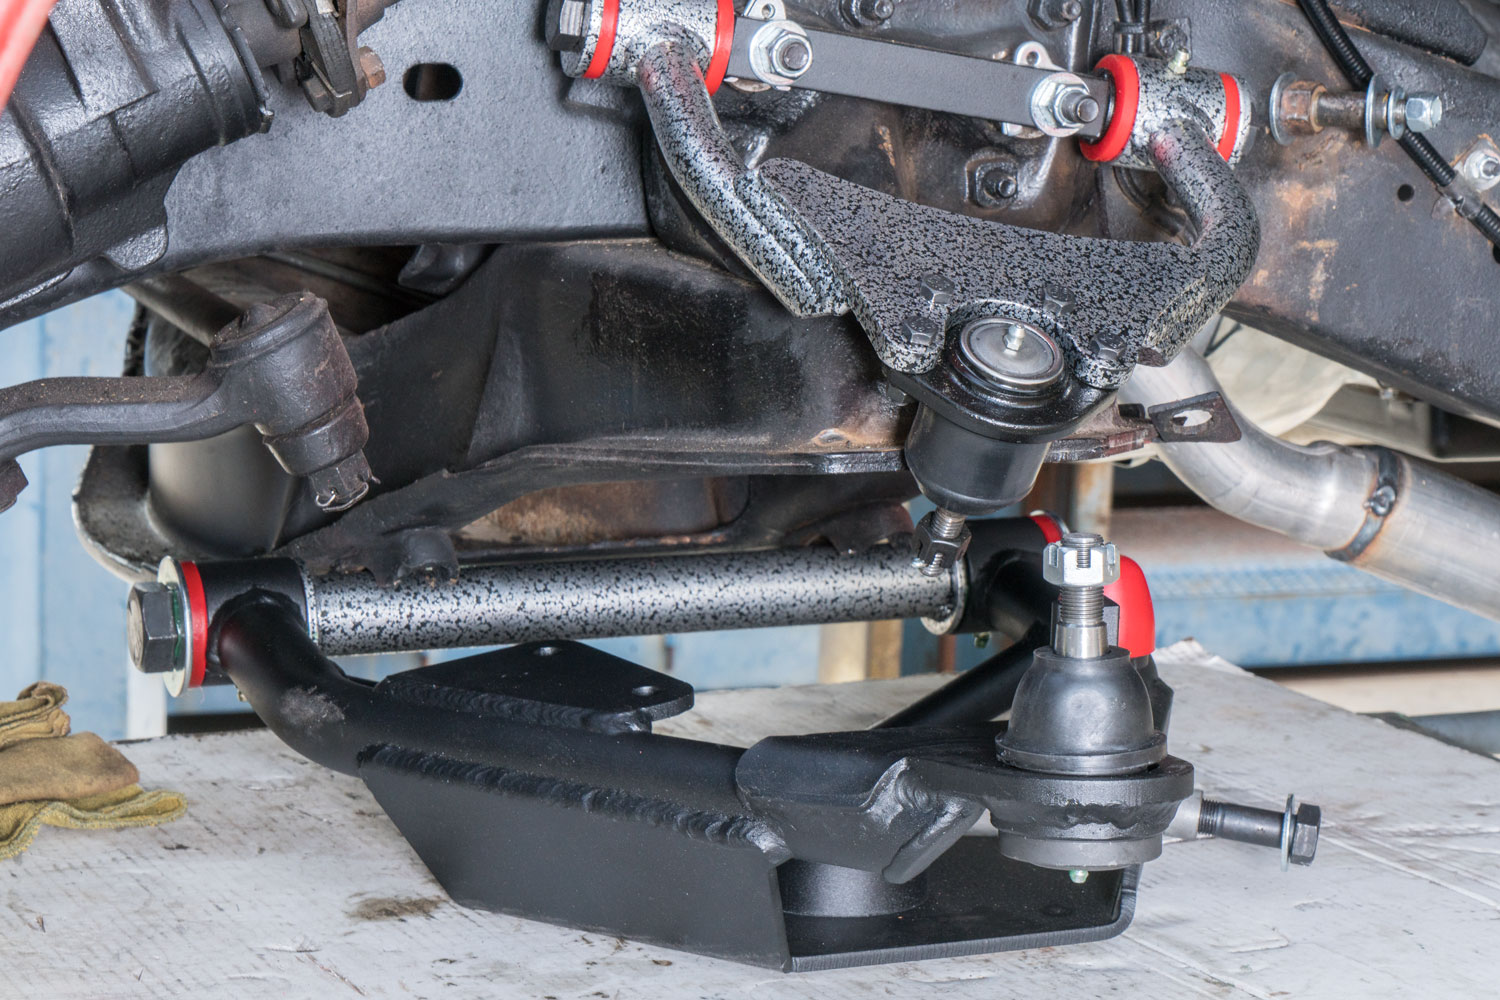
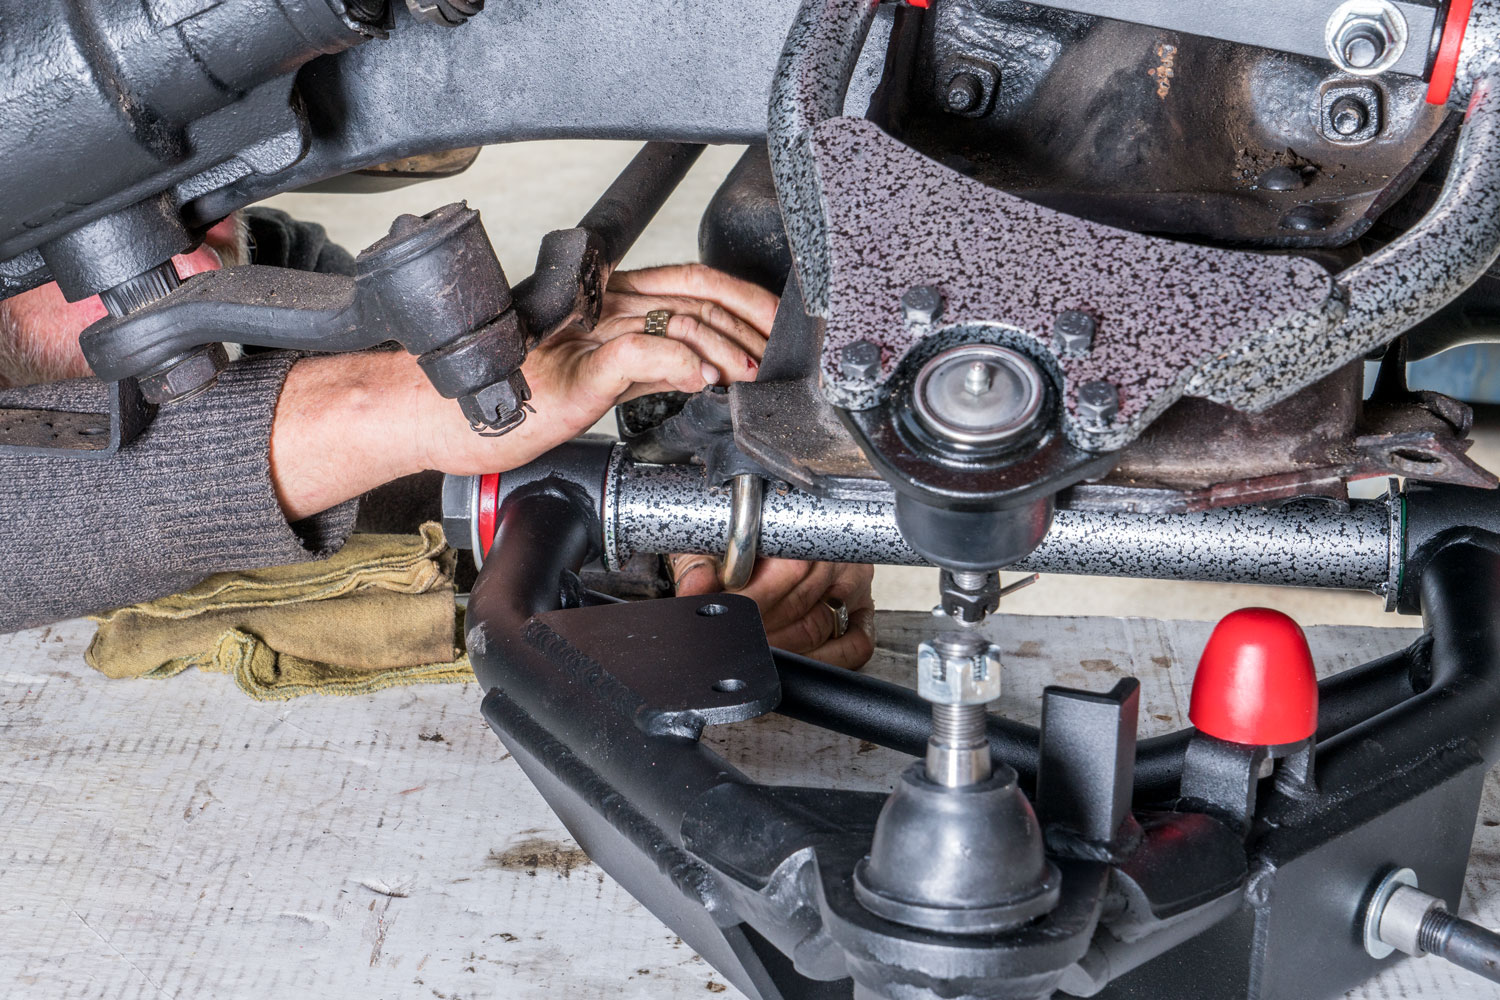
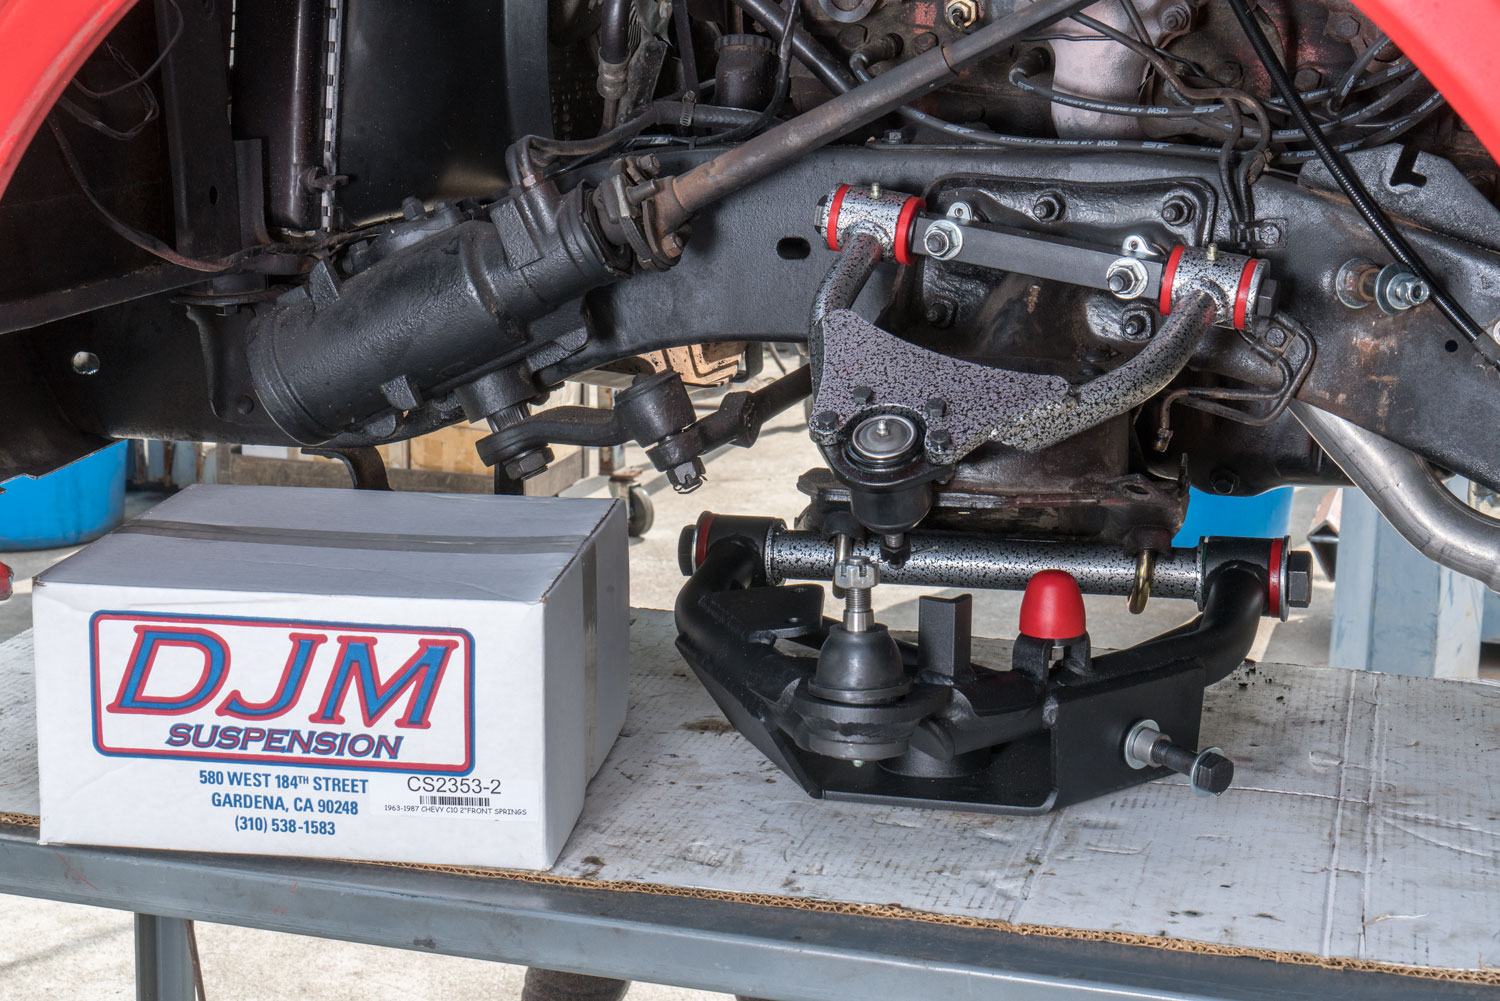
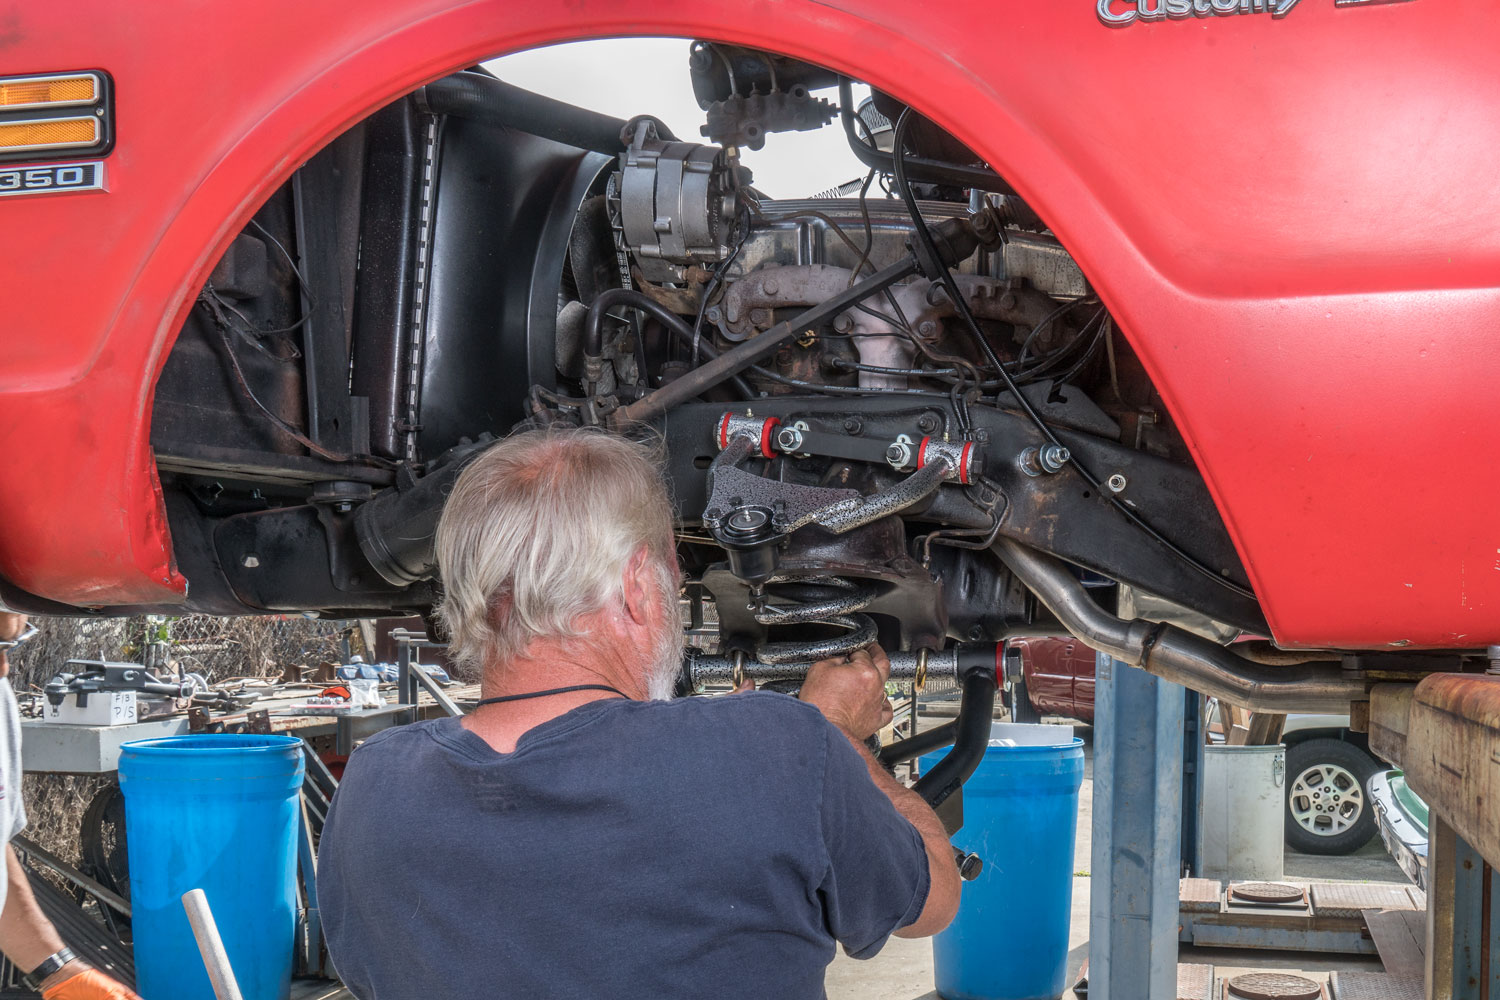
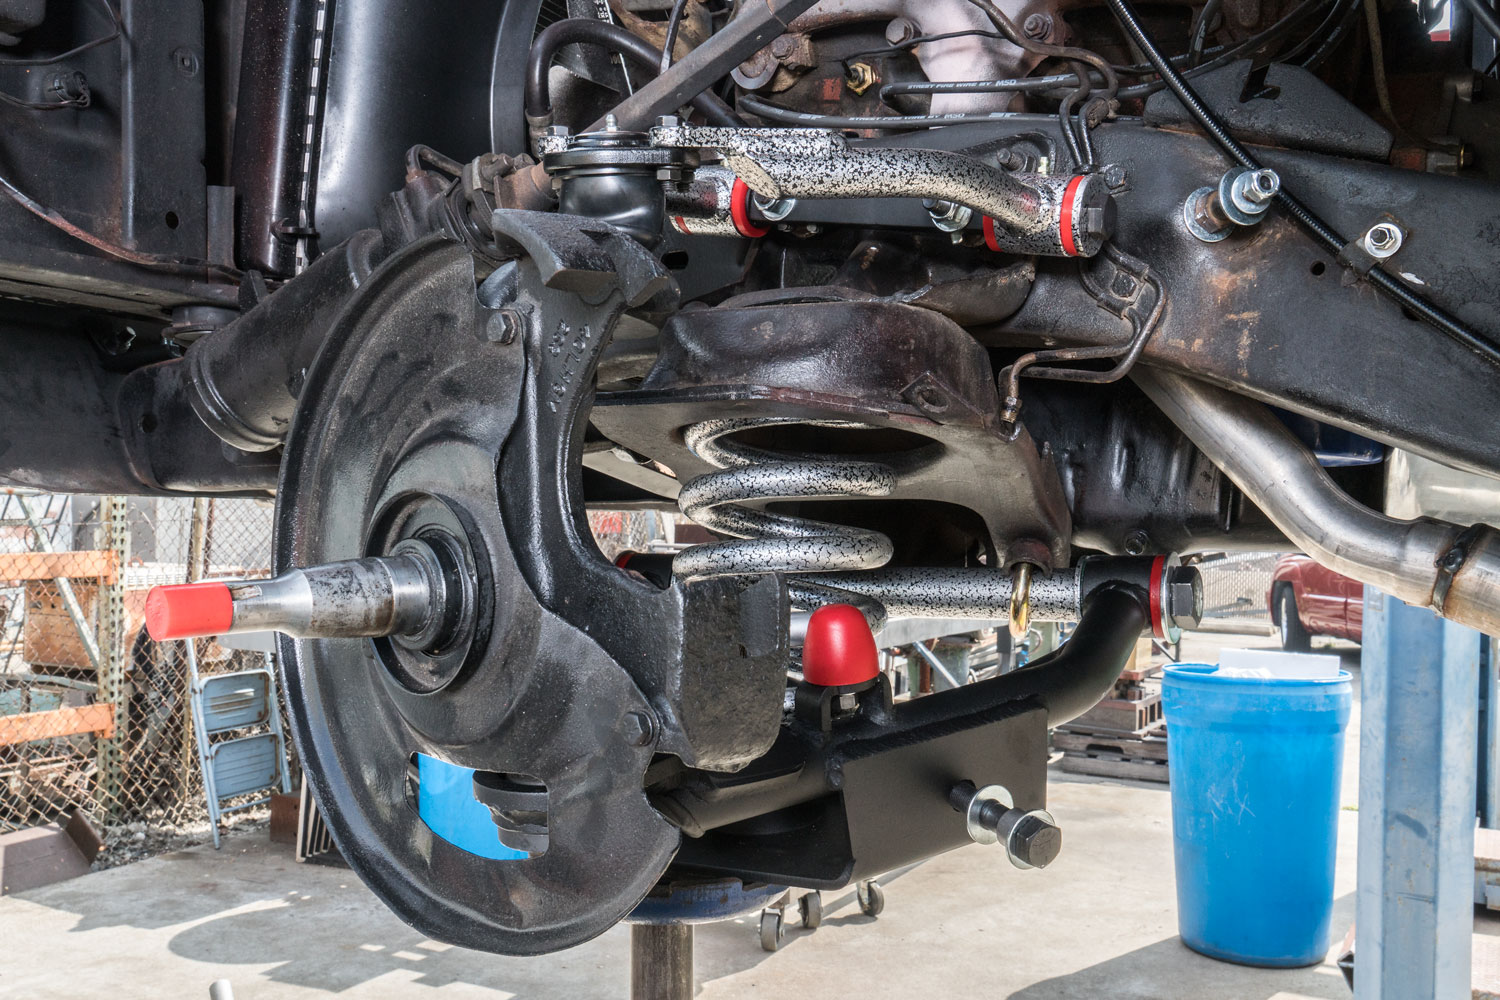
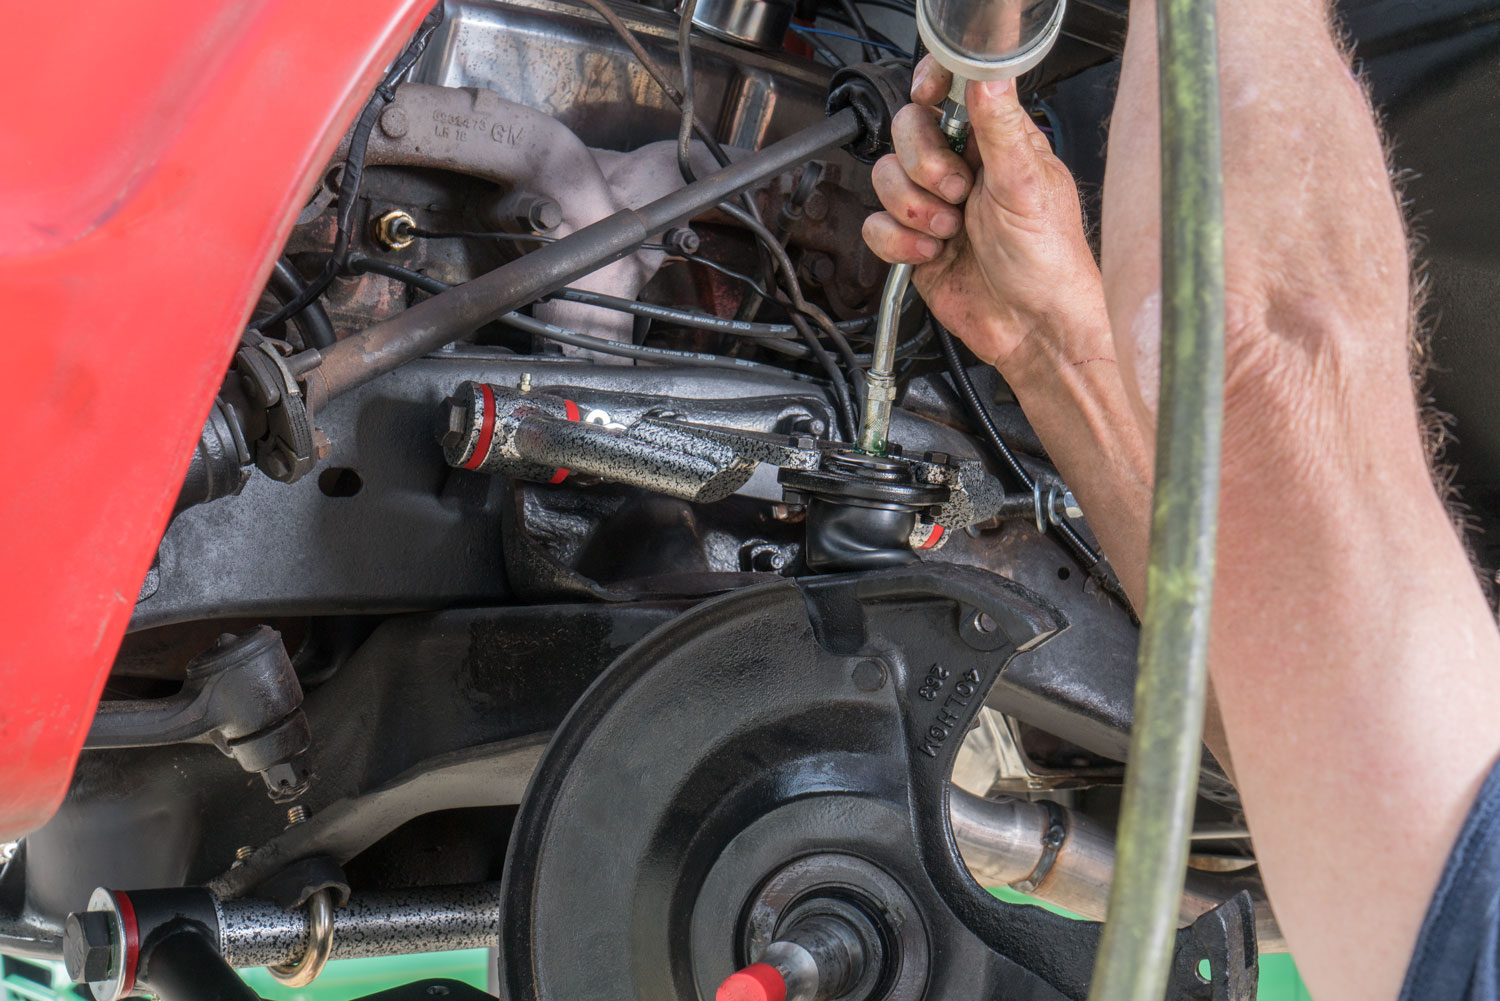
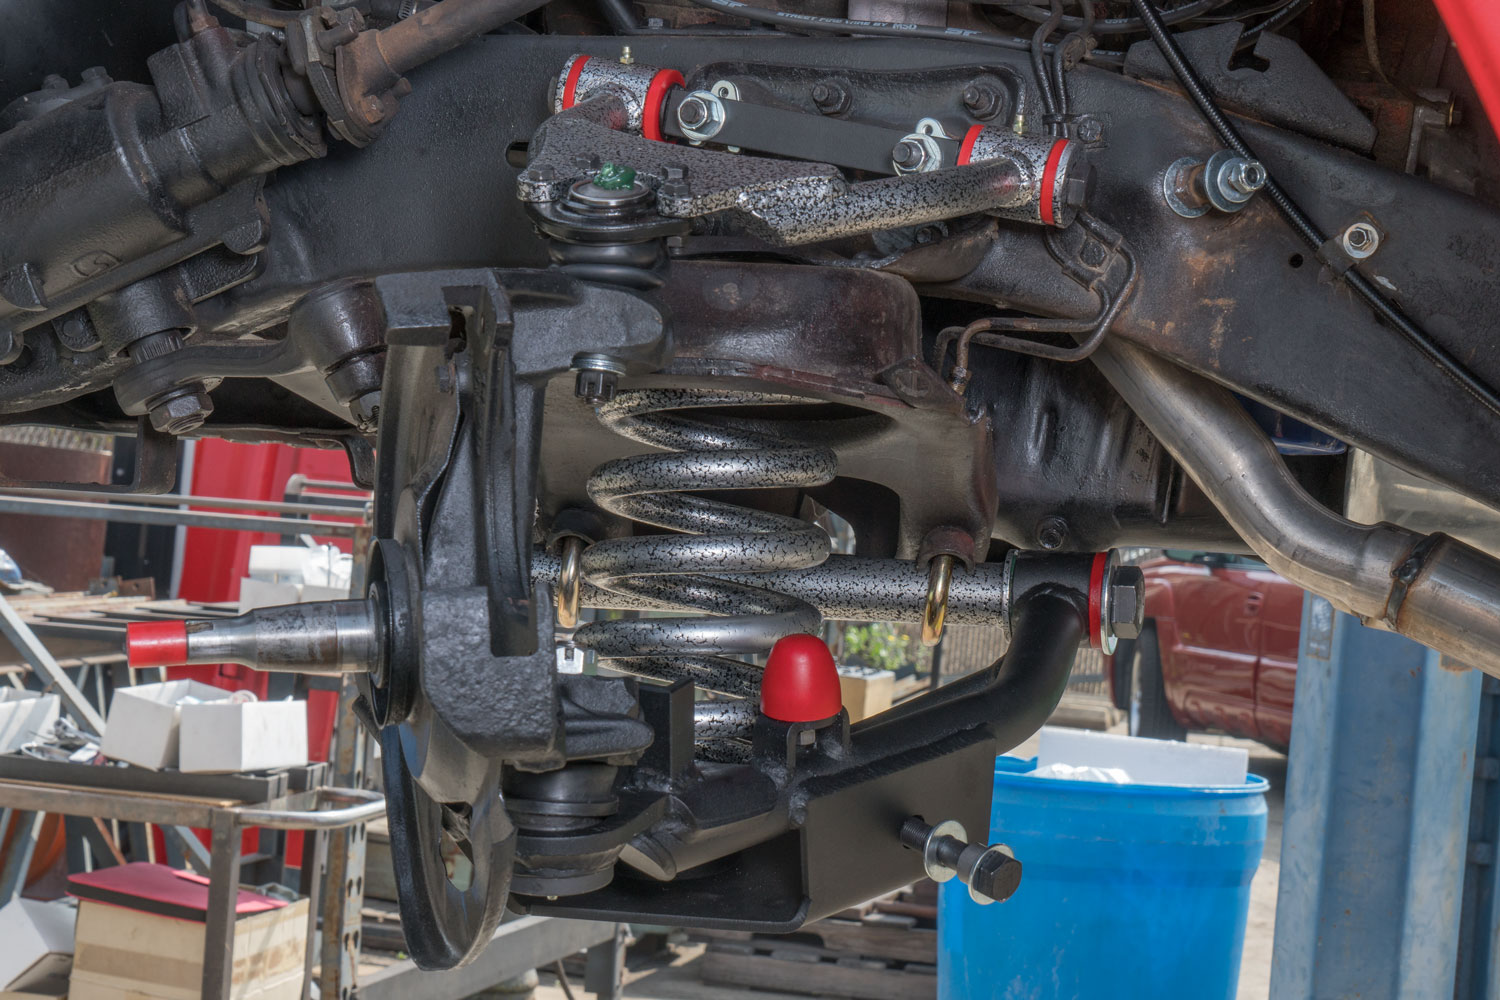
The front suspension received new upper and lower Calmax control arms. The upper arms came with new mounting shafts and urethane bushings already installed. Once the ball joints and grease fittings were added, the arms could be mounted directly to the frame.
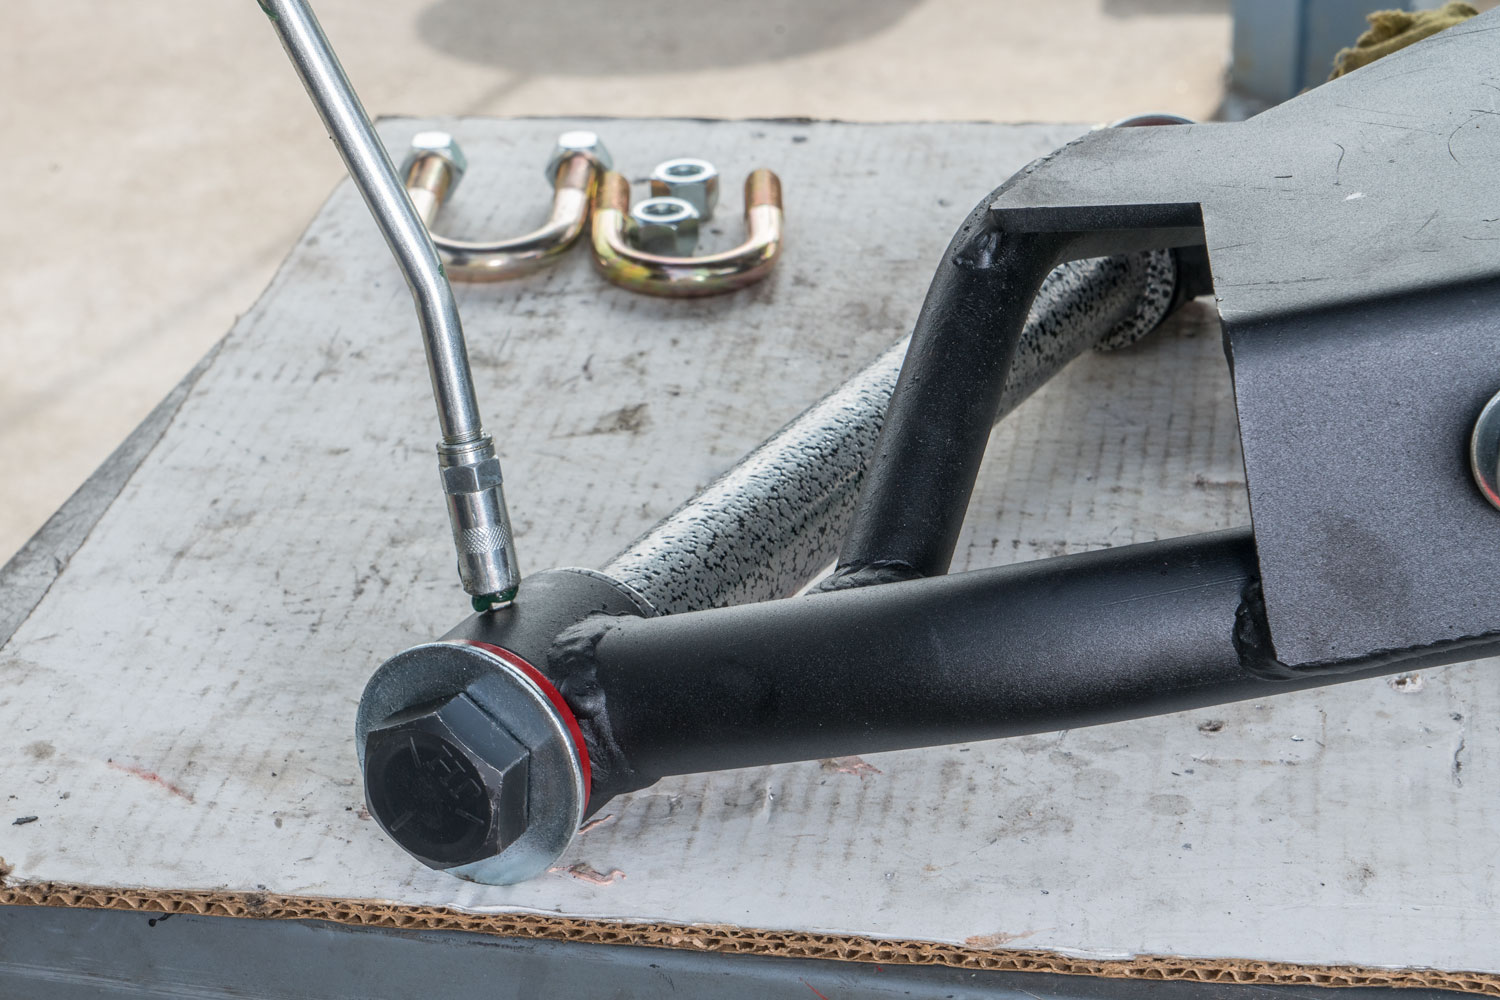
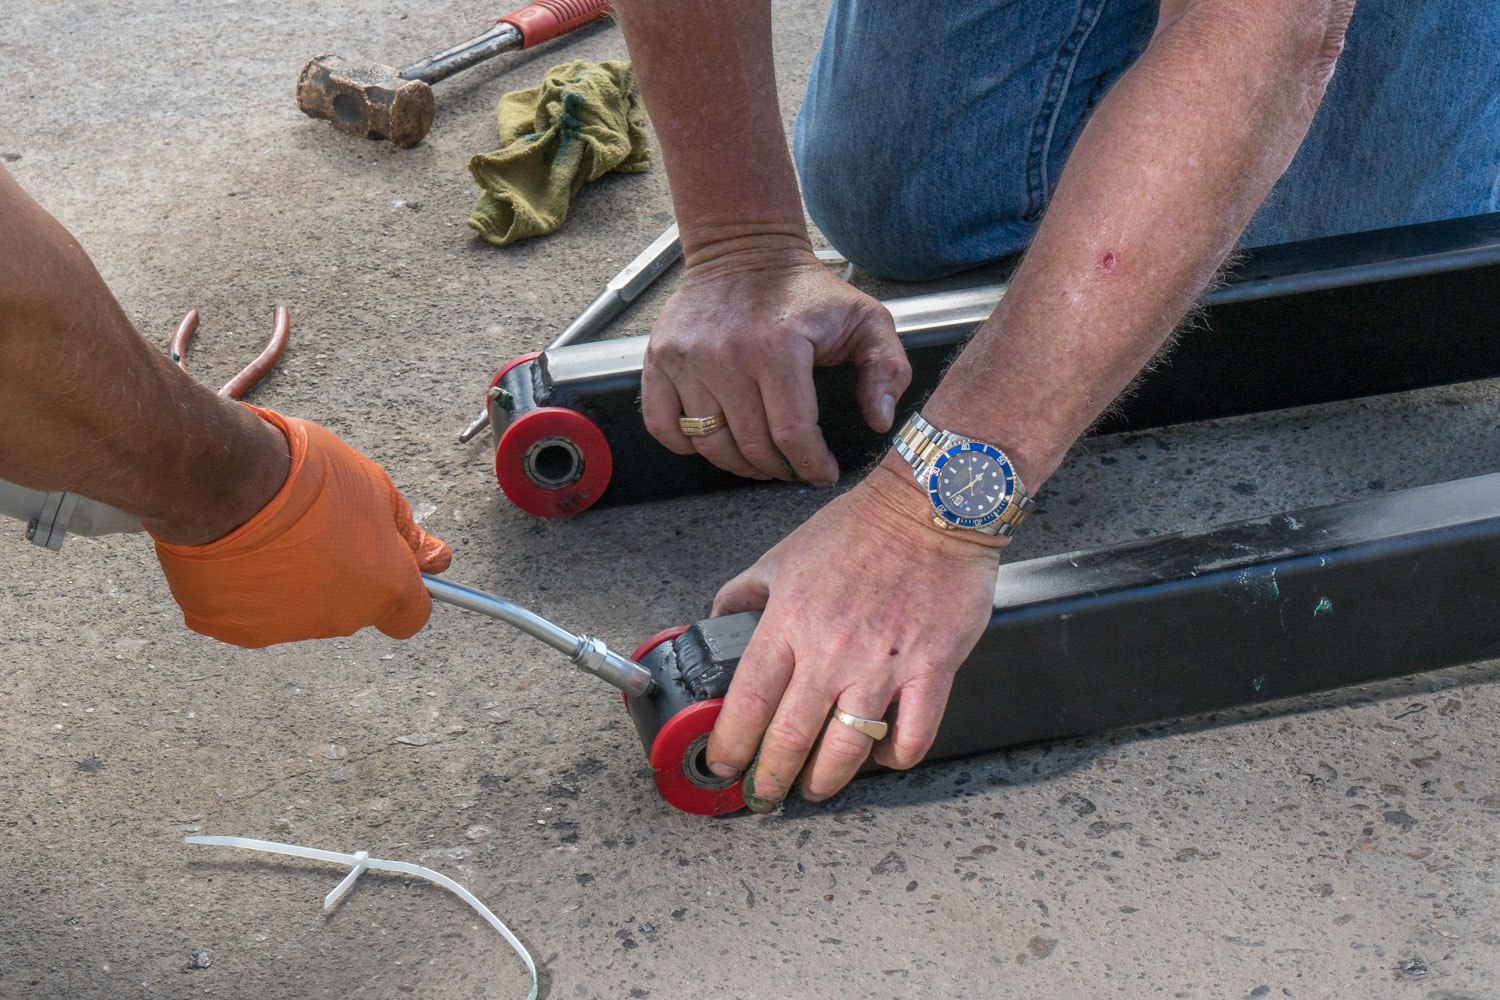
The lower control arms also came with their mounting shafts installed. Their new ball joints were pressed in before installation, which reduced the amount of preparation required during assembly. The team installed the grease fittings and lubricated the moving joints before putting the arms on the truck.
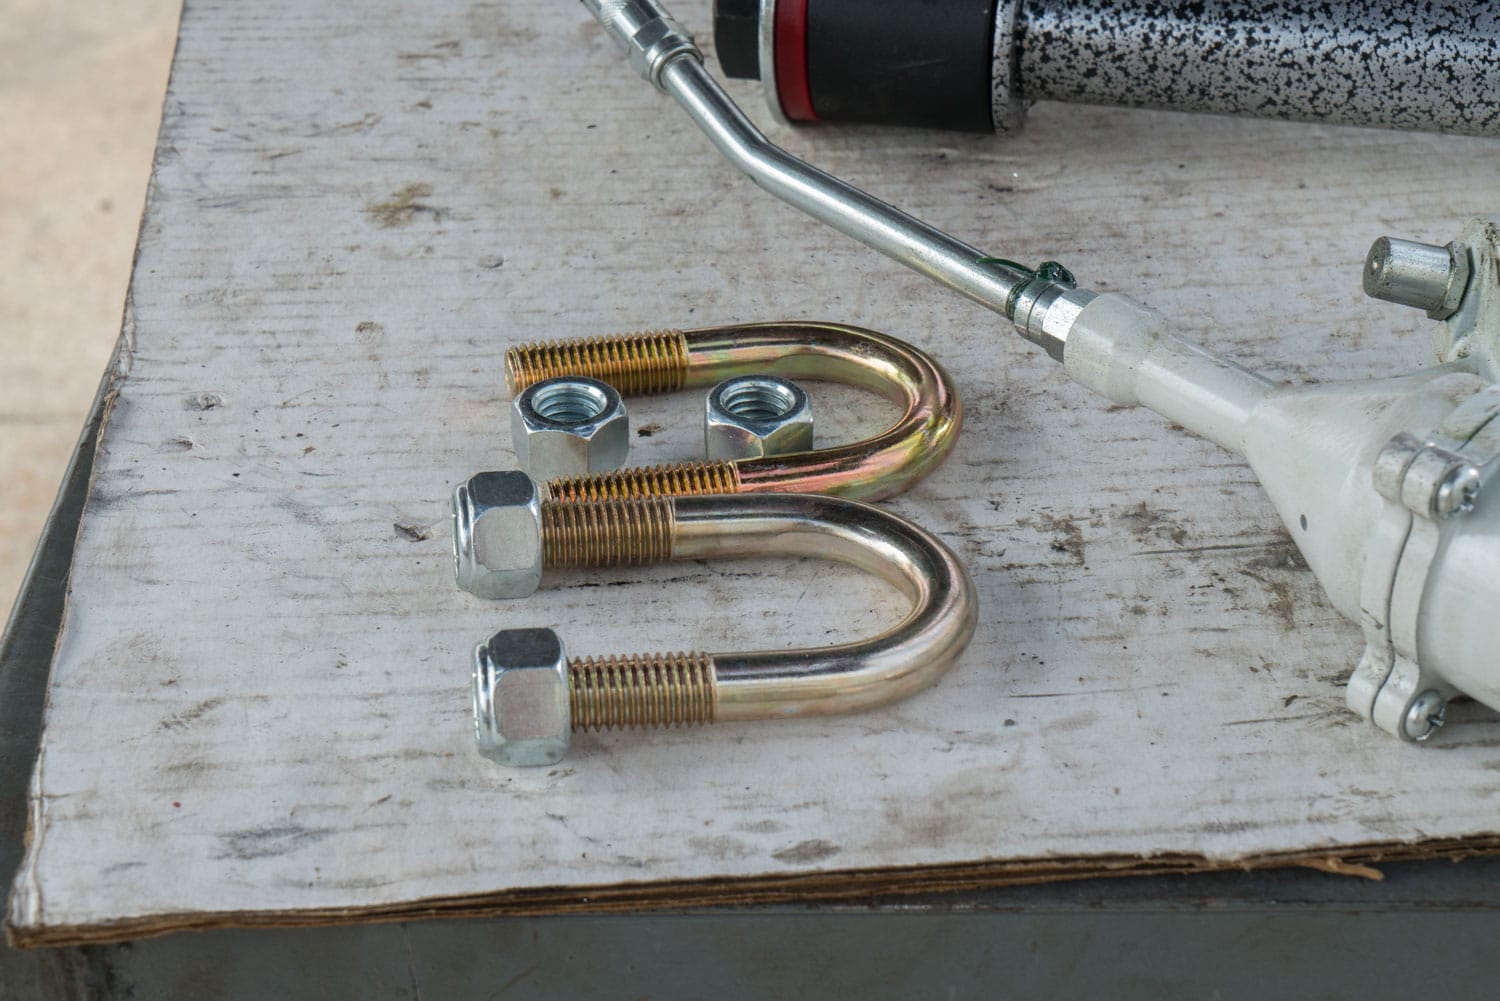
The lower control-arm U-bolts were replaced because of their age and condition. If you are working on an older C10, inspect these fasteners instead of assuming they can be reused. Fresh suspension parts cannot correct weak or damaged mounting hardware.
A 2-inch drop coil spring was installed with the Calmax lower control arms. Together, these components created a 5-inch front drop. The coil springs had to sit correctly in the lower control arms and upper spring pockets. An incorrectly seated coil can affect ride height, produce noise, and create uneven suspension movement.
All these parts are available in a complete 1970 Chevy C10 lowering kit from DJM.
Updating the Spindles, Brakes, and Steering
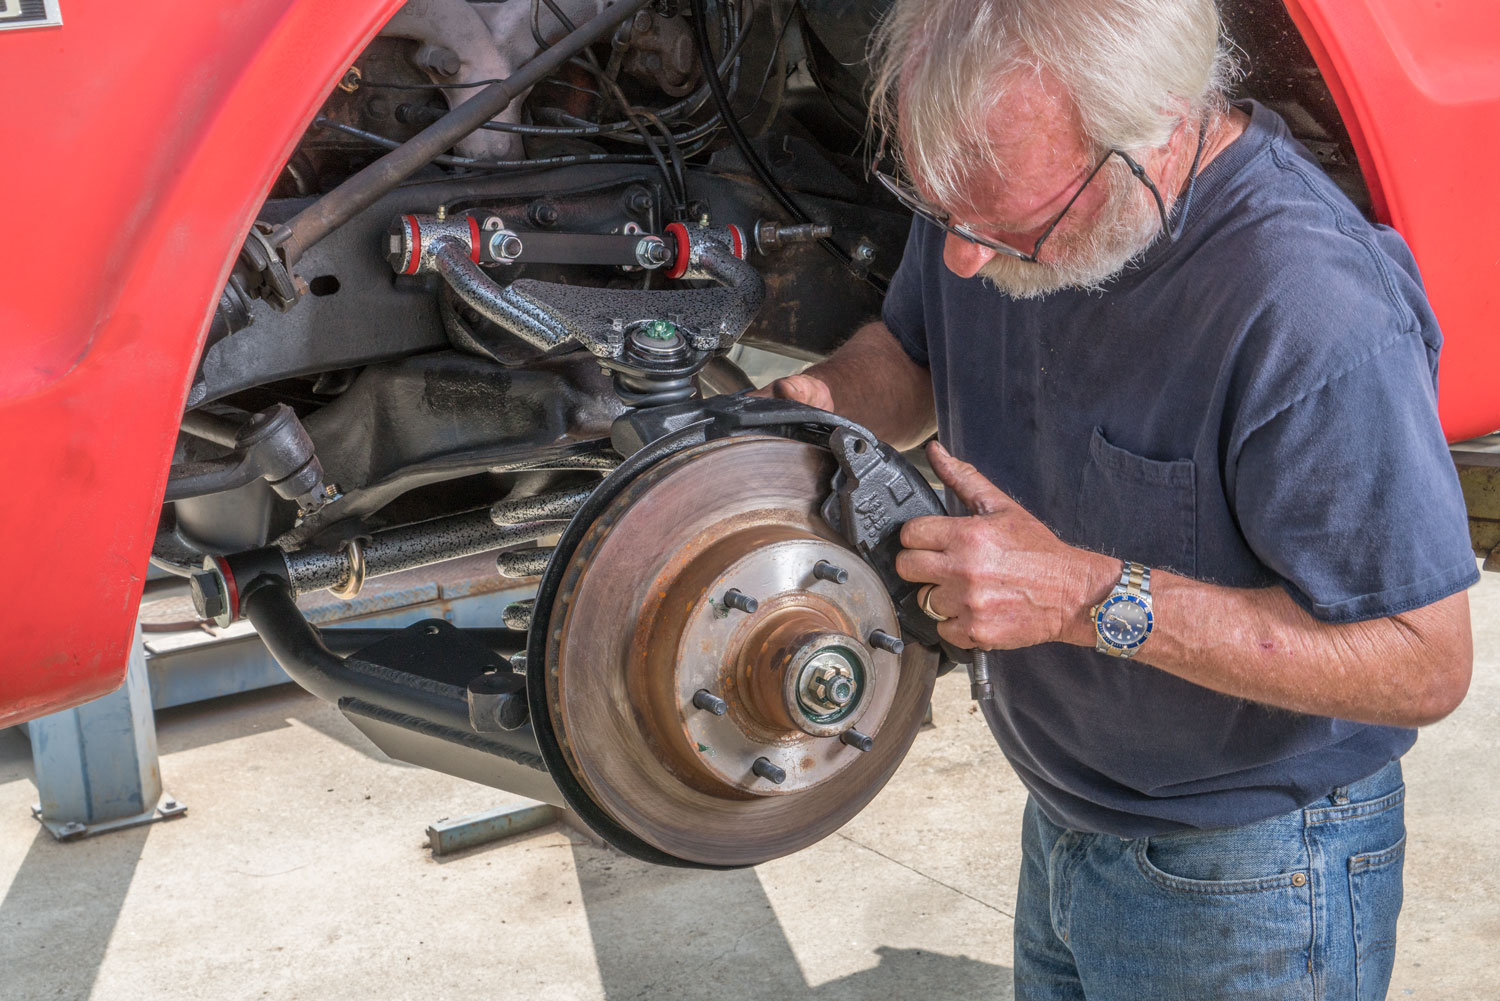
The truck had already been converted from drum brakes to front disc brakes. The completed setup used 1975 Chevy spindles with inch-and-a-quarter brakes. New rotors and calipers were installed as part of the front-end rebuild.
Brake-line orientation received close attention during assembly. If a line twists, stretches, or contacts a suspension component, it can become damaged as you steer or as the suspension travels. So, when updating your C10, check the brake lines with the wheels pointed straight and at full steering lock in both directions.
The inner and outer tie rods were updated as well. The existing inner tie-rod location required a small adjustment so we could use larger tie rods found on later, heavier-duty trucks. The updated parts fit the application and supported stronger, more precise steering.
Fresh tie rods also provide the adjustment needed during the final wheel alignment. Worn steering joints can create looseness that makes accurate alignment difficult and causes the truck to wander on the road.
Installing a 1970 C10 Sway Bar
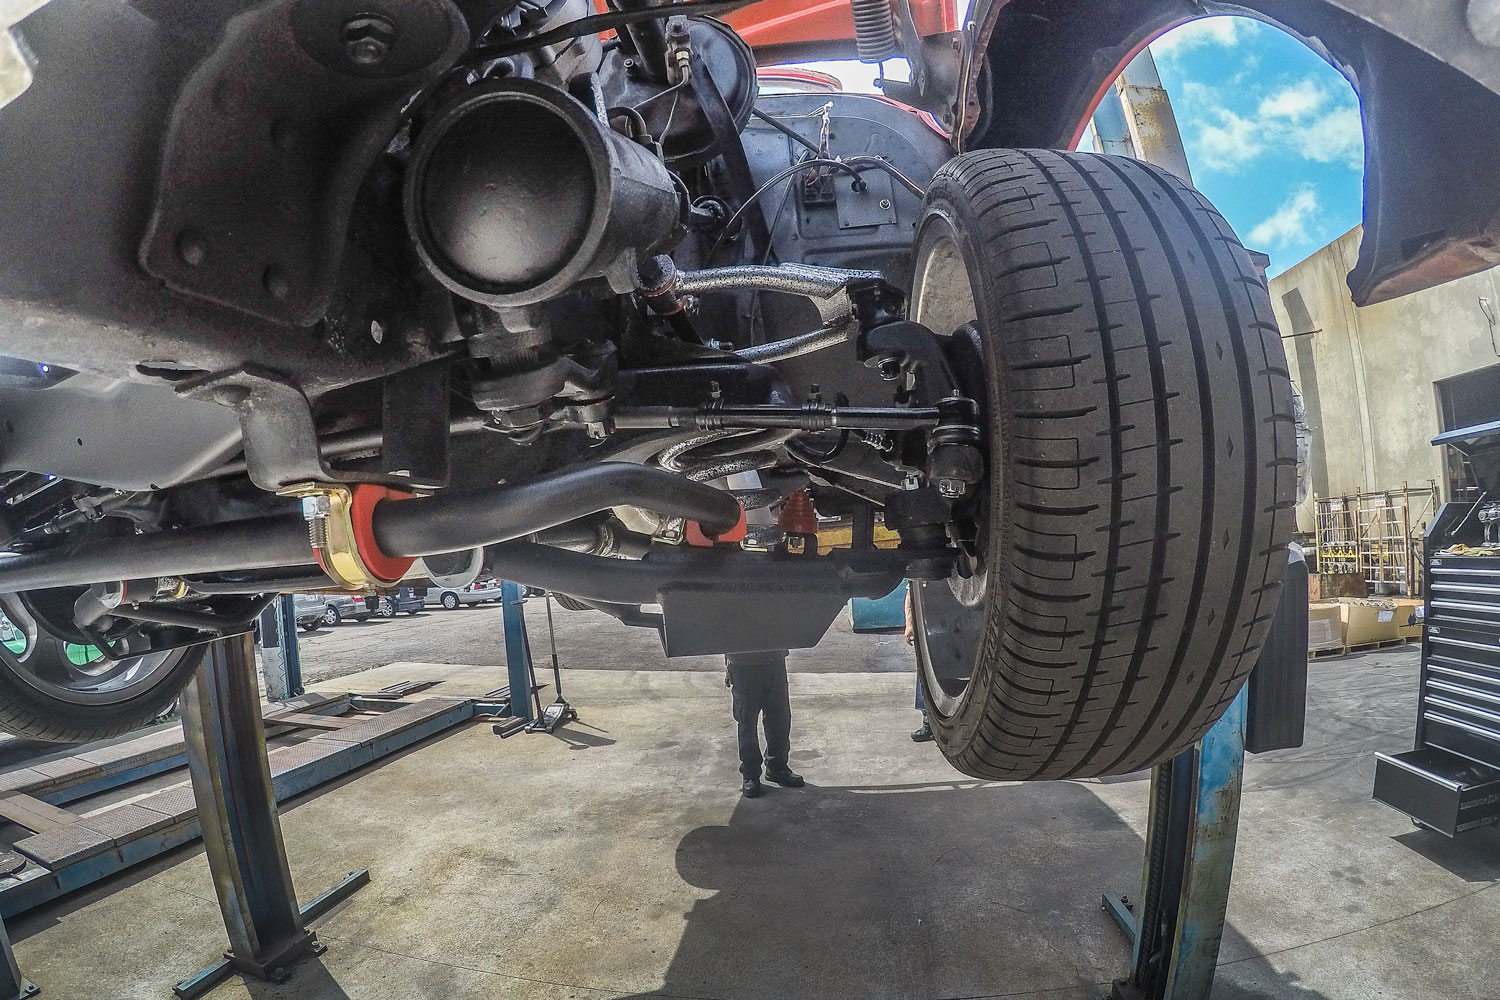
We added a used inch-and-a-quarter sway bar to the front suspension. This 1970 C10 sway bar connected the left and right sides of the suspension and helped limit body roll as the truck turns.
This part does not create the drop, but it has a noticeable effect on how the truck responds through corners and lane changes. The sway bar works with the springs and shocks to keep the body more controlled without preventing each wheel from moving over bumps.
If you plan to add a sway bar to your truck, check the bar diameter, mounting points, bushings, steering clearance, and compatibility with your control arms. While a larger bar can improve roll control, it still needs to match the rest of the suspension.
Video: A Closer Look at the Completed Suspension
The following video provides a walk-around of the nearly completed 1970 C10 suspension upgrade. You can see the Calmax control arms, urethane bushings, grease fittings, lowering springs, shocks, trailing arms, steering components, sway bar, and brake upgrades in their installed positions.
1970 Chevy C10 Suspension Build Walk-Around
The walk-around shows why this build required more than swapping springs. Each new part connects to another part of the truck, so fitment, lubrication, hardware condition, brake-line routing, and suspension clearance all matter.
Rebuilding and Lowering the Rear Suspension
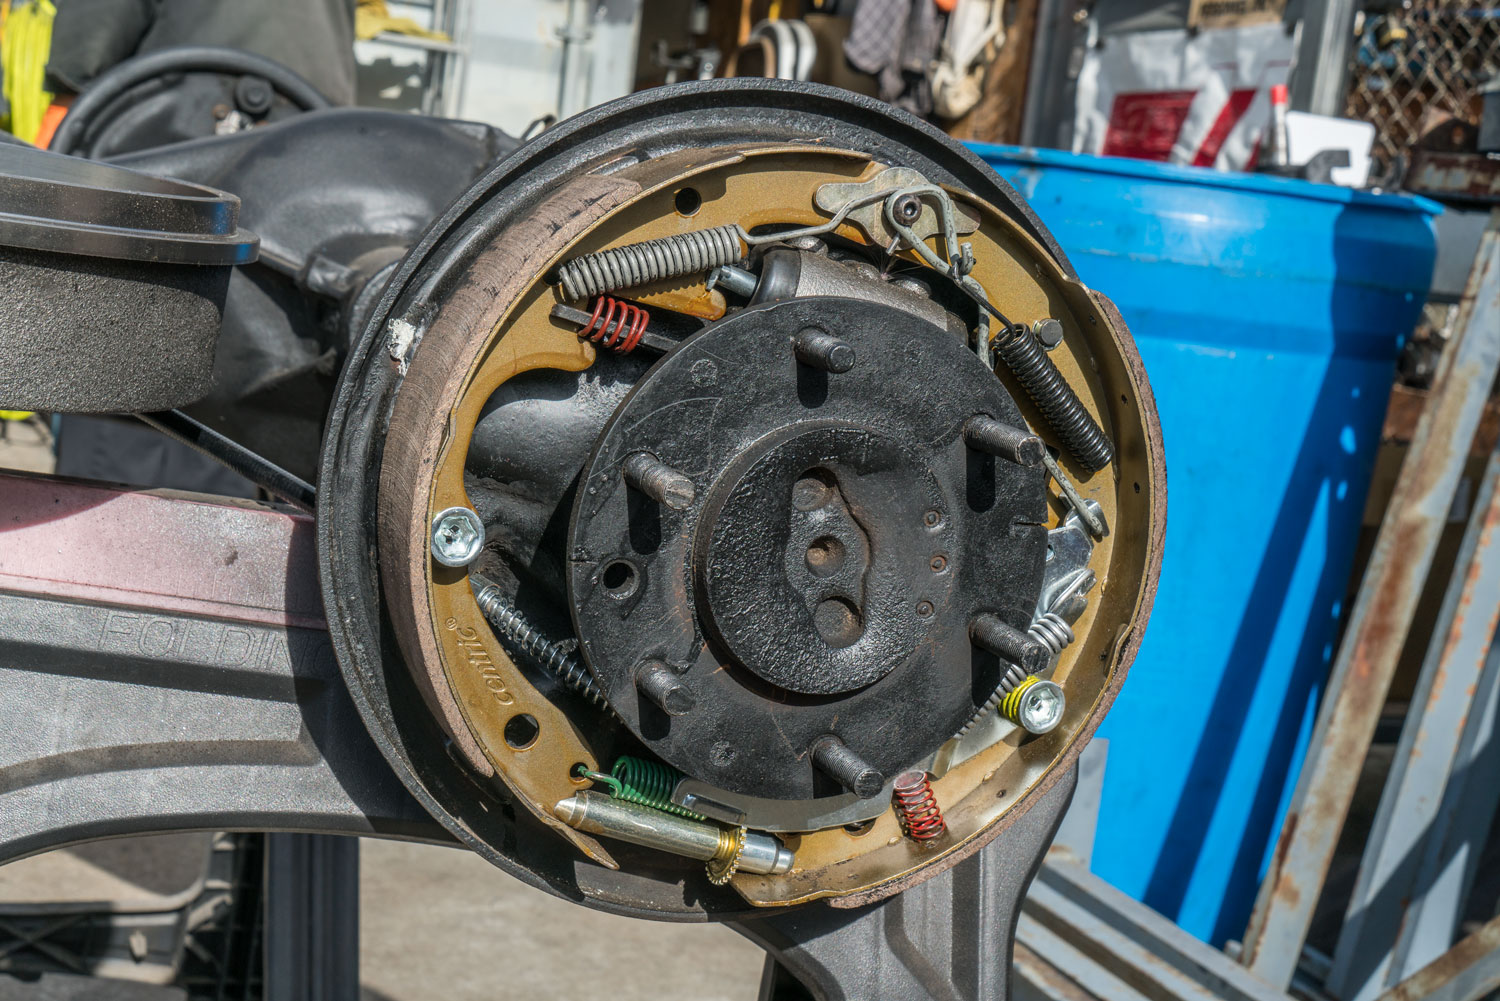
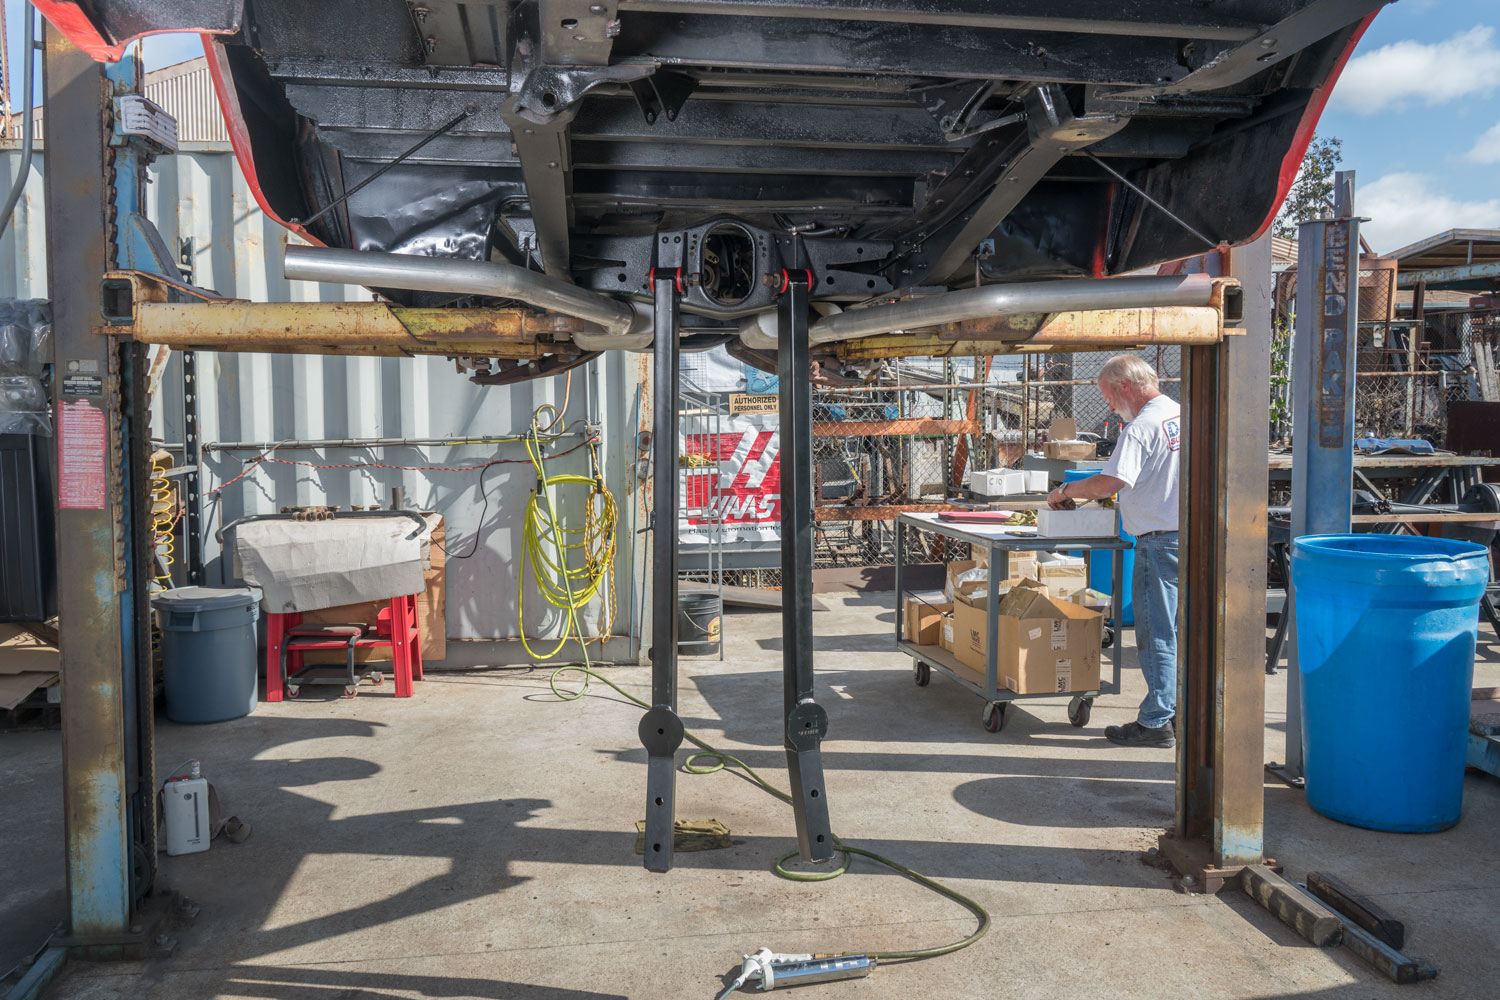
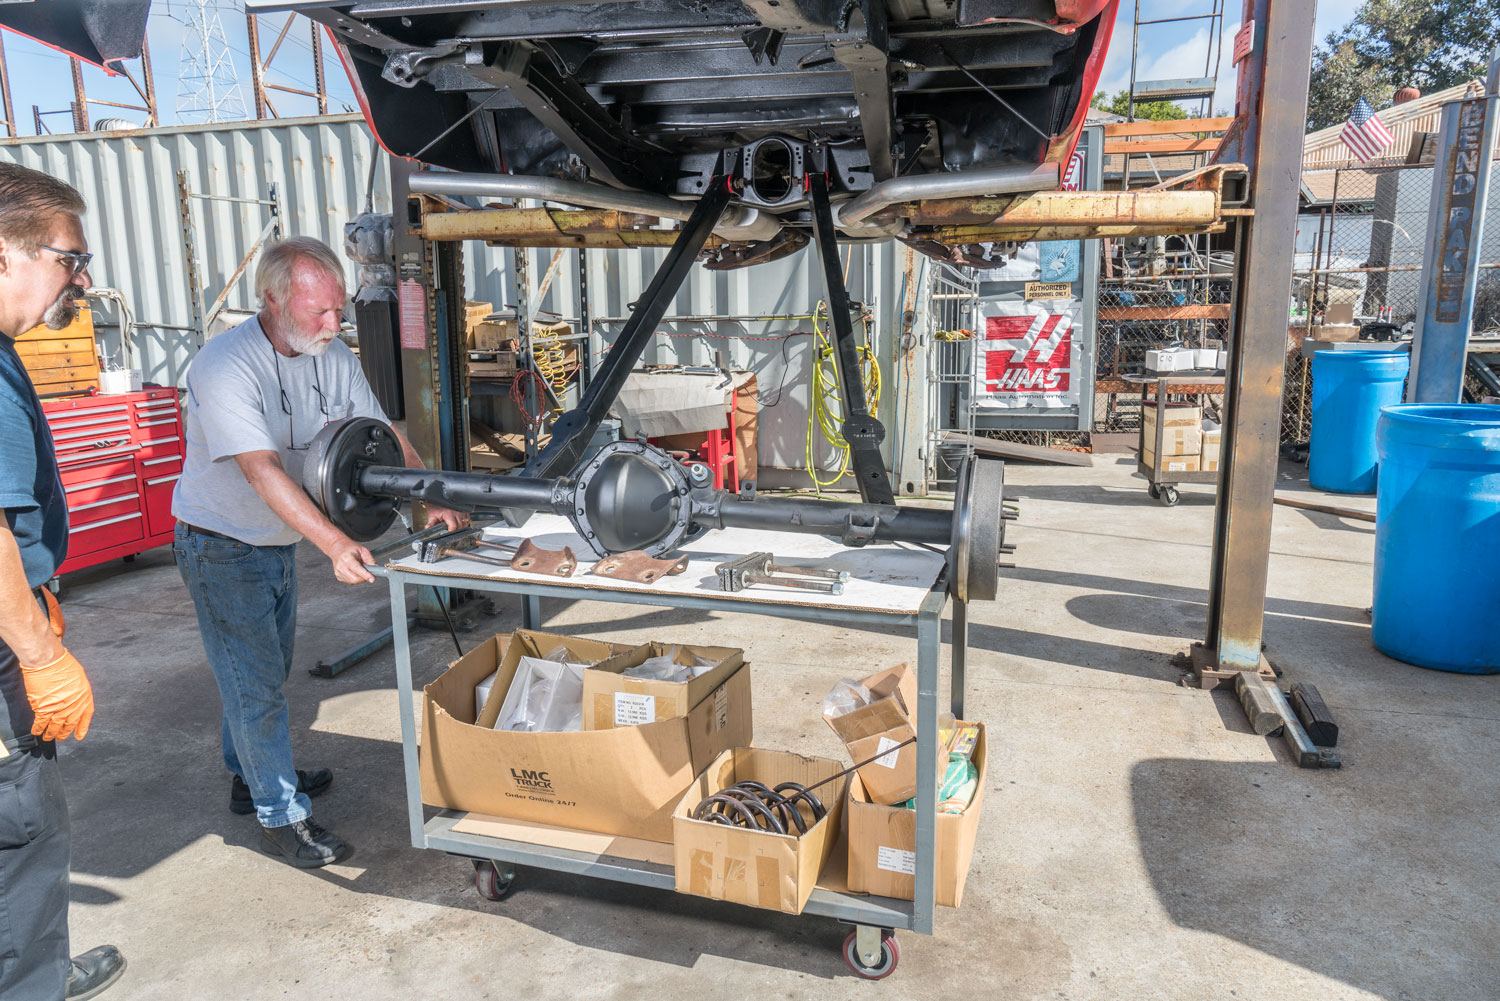
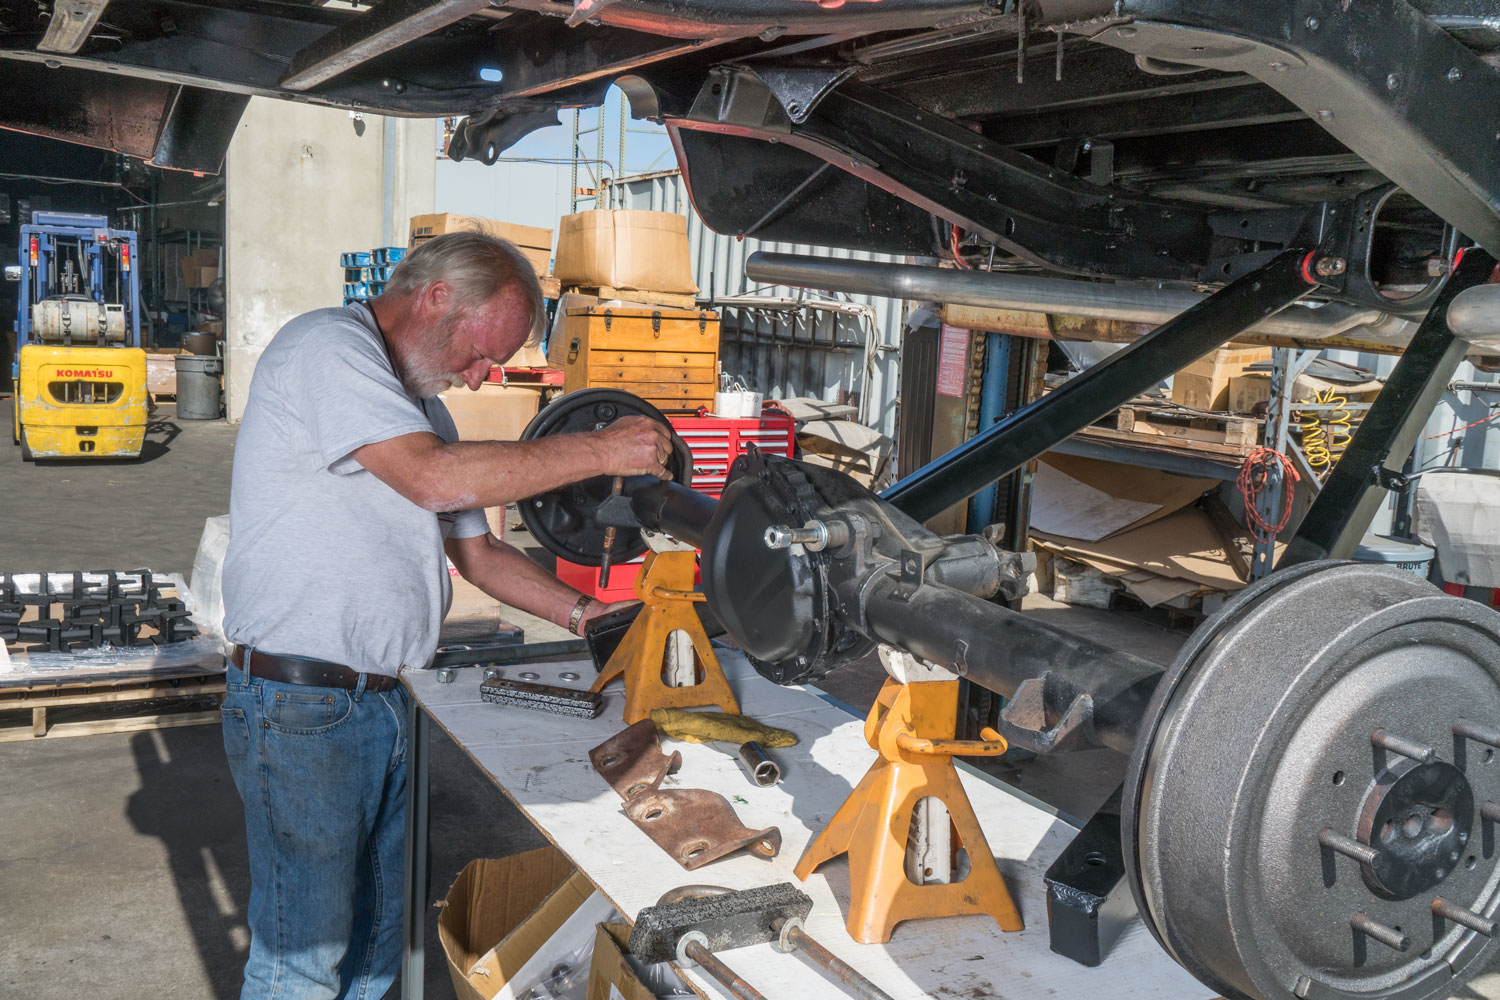
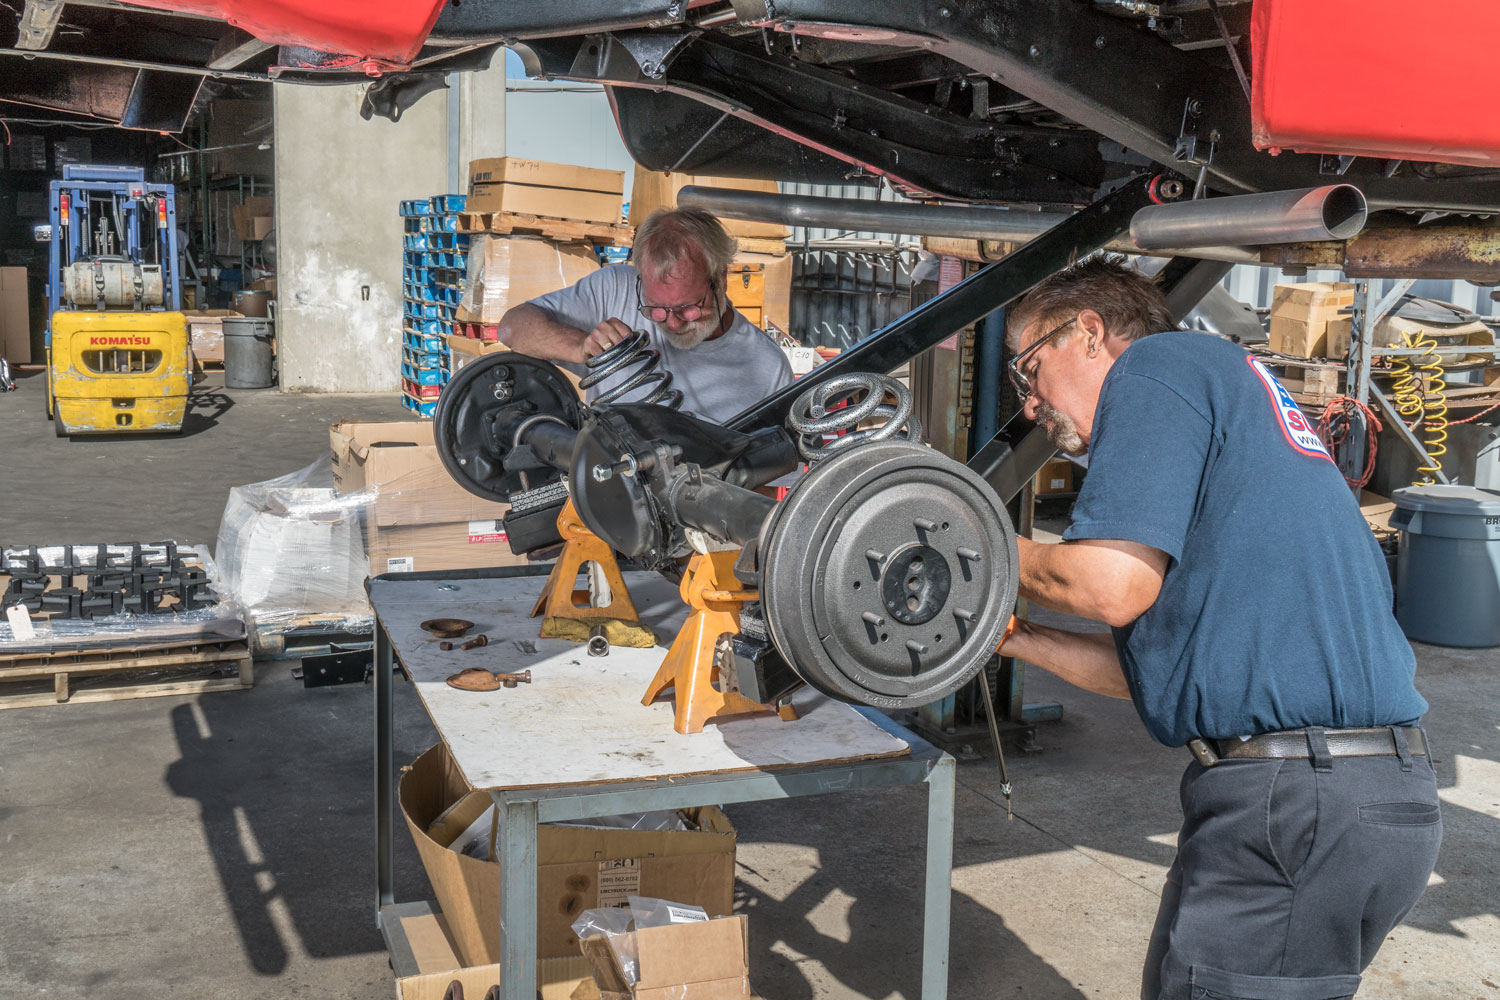
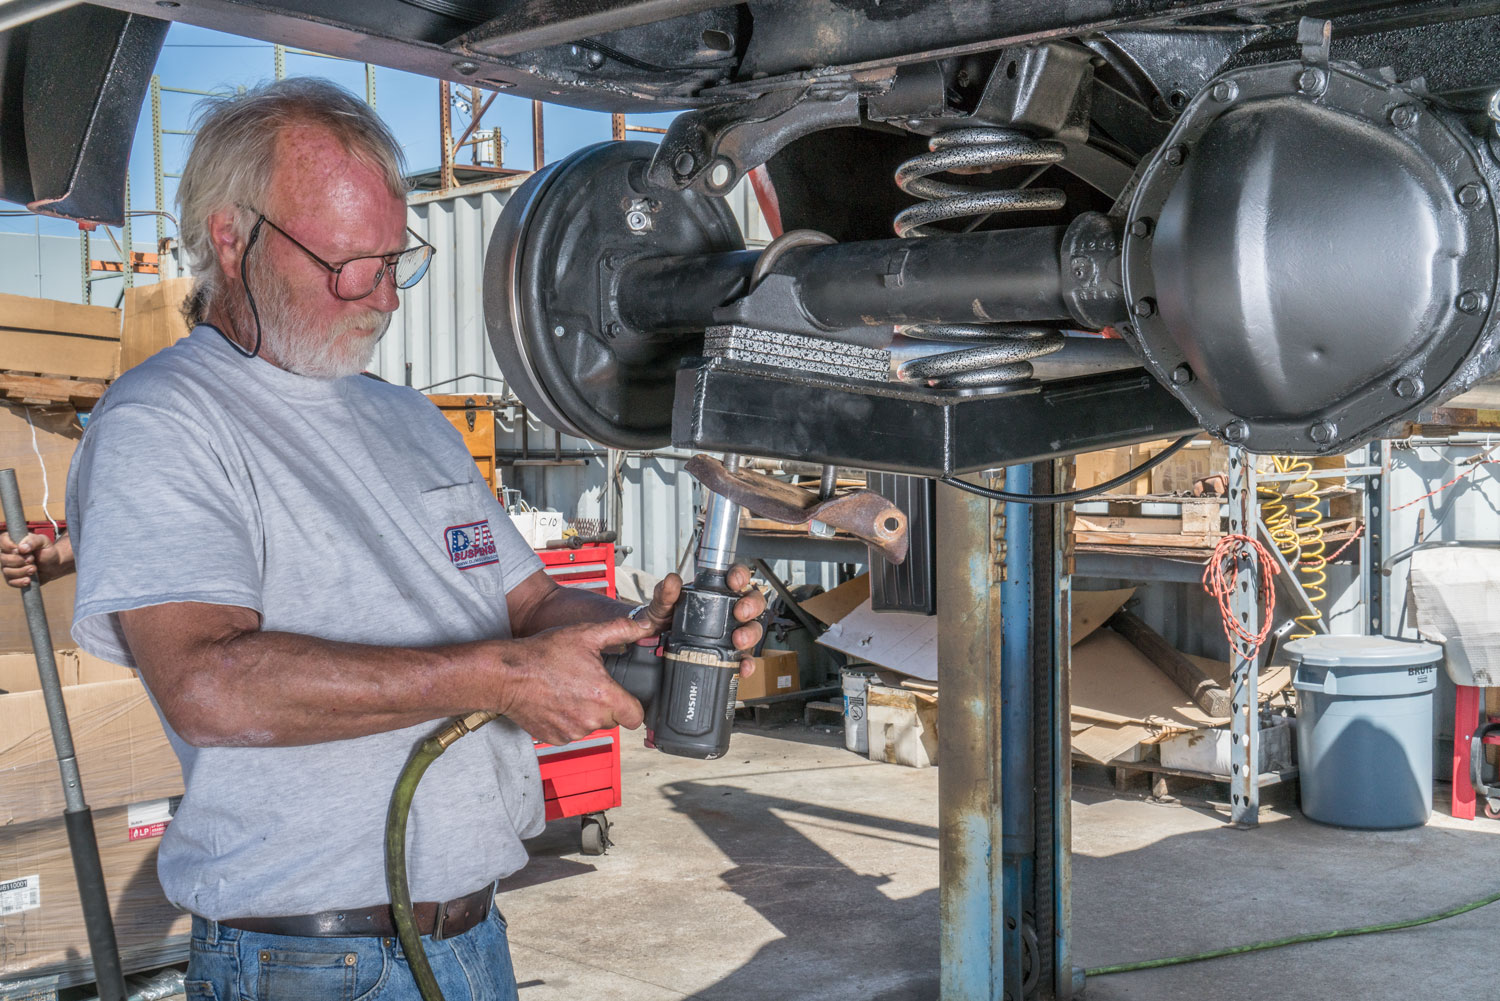
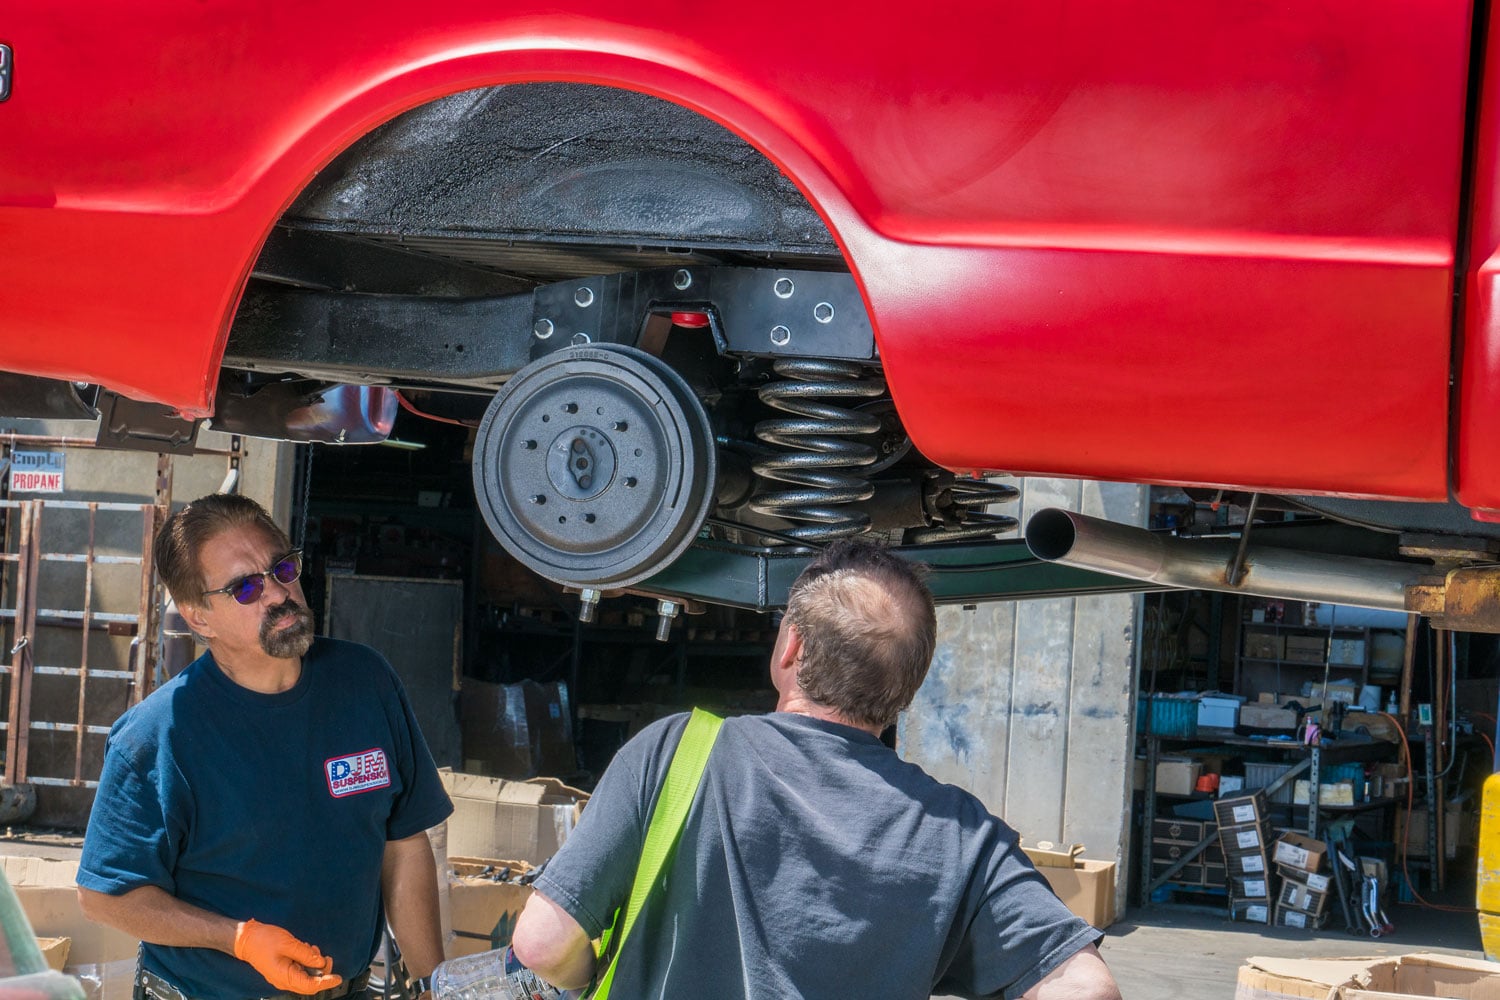
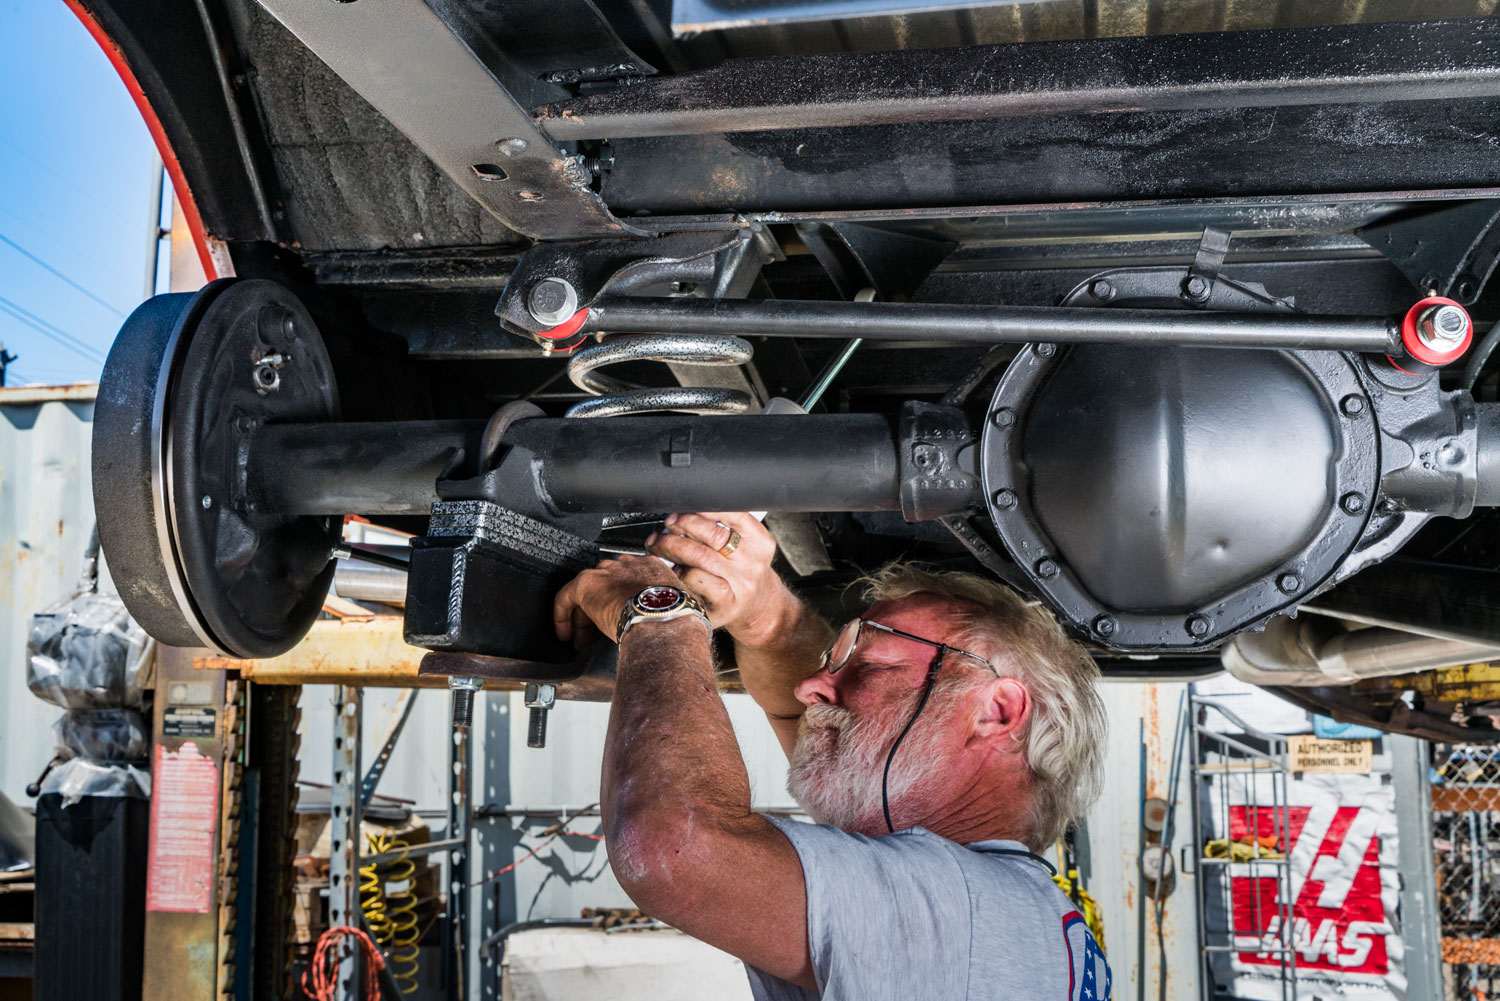
The rear suspension needed extensive work. The team removed the rear axle and found that the original brake drums had to be cut off. The condition of the brakes showed that they were no longer providing dependable stopping performance, so the rear braking system received a complete overhaul while the axle was out.
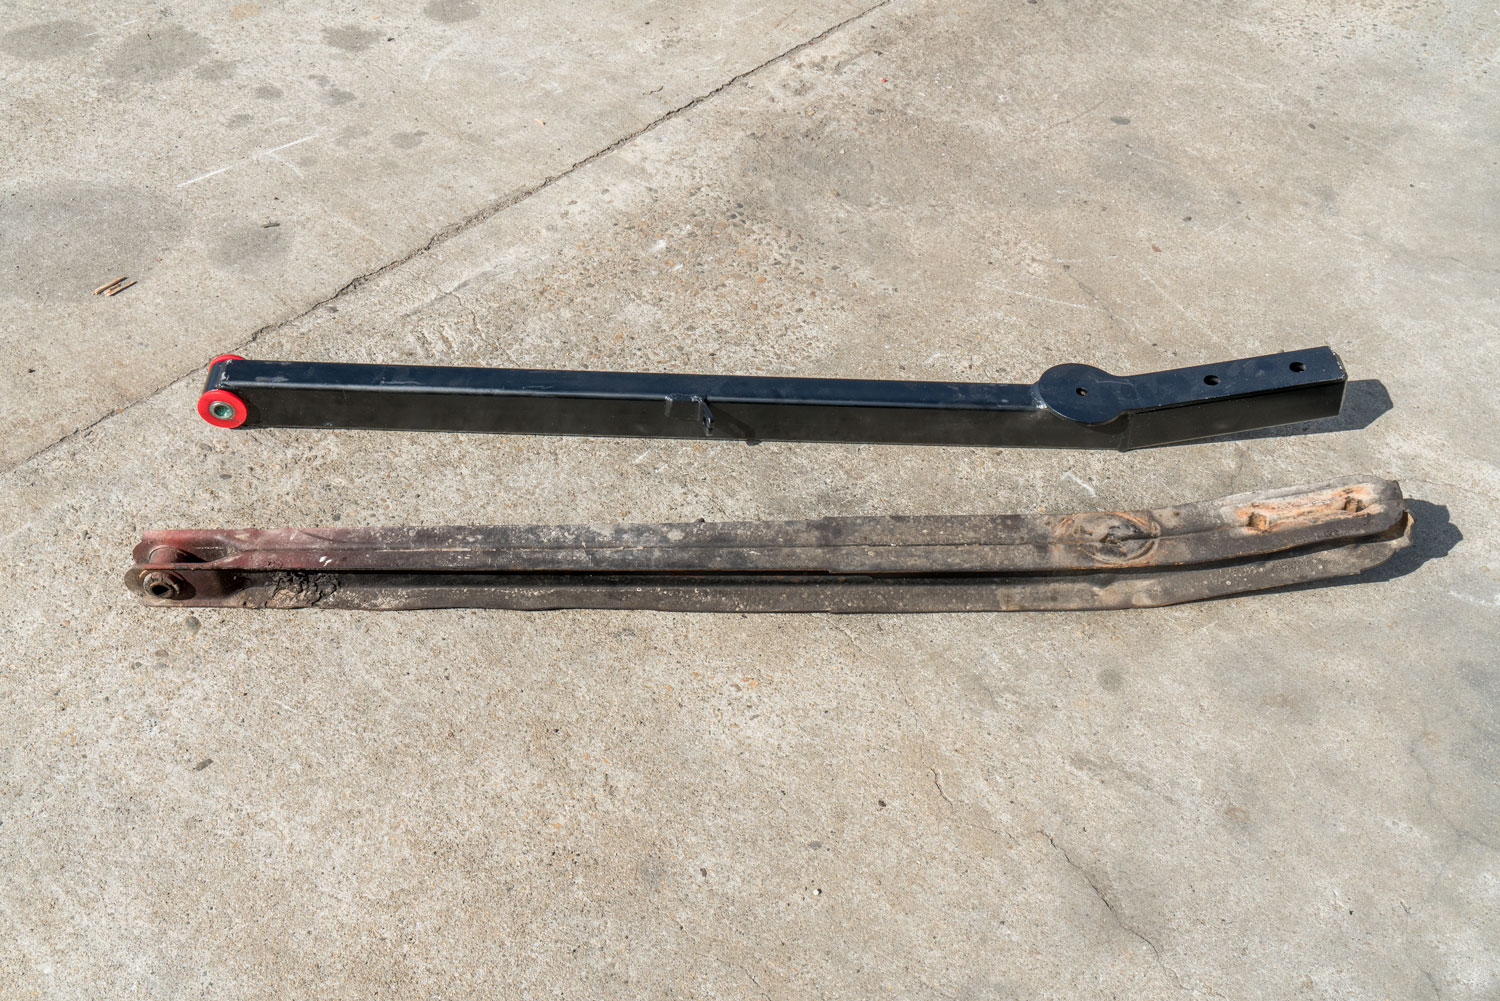
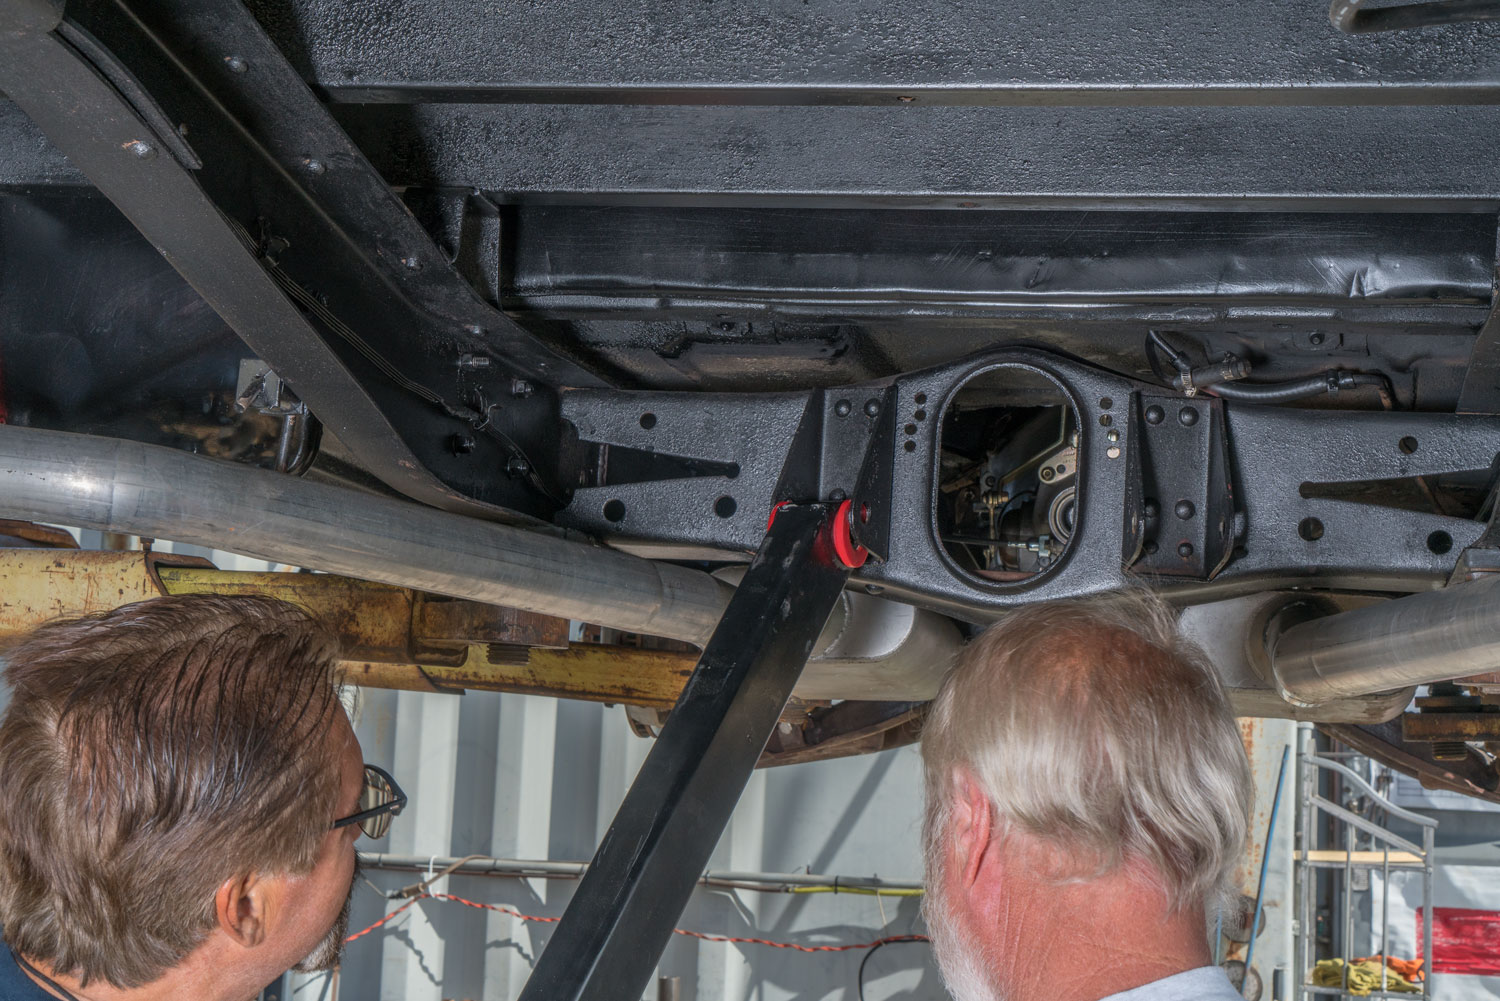
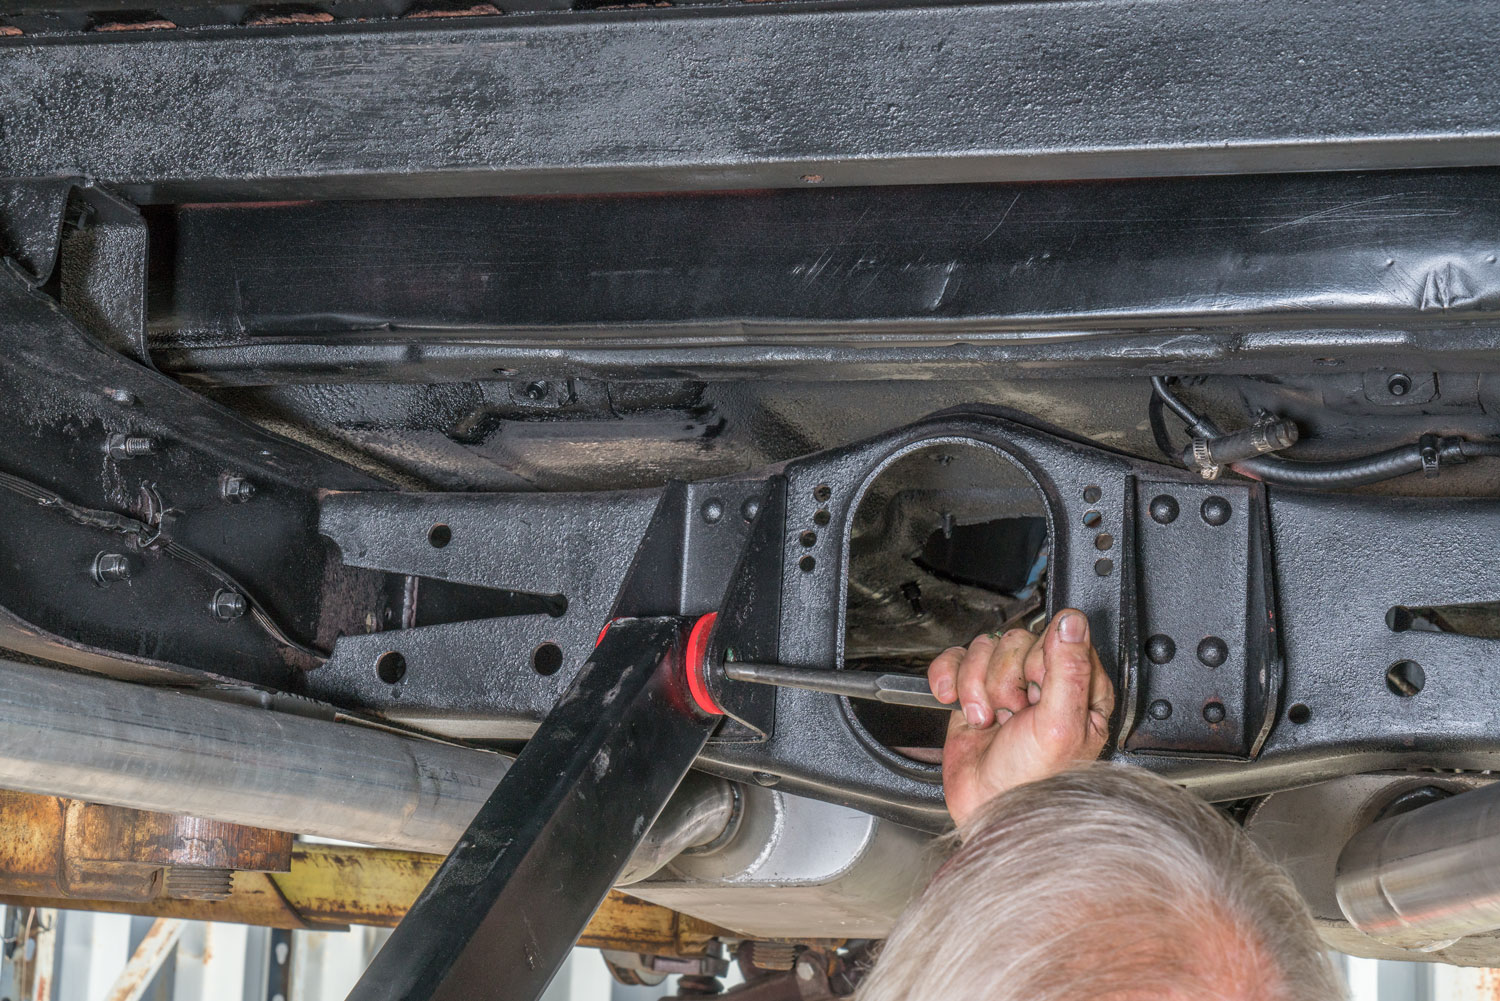
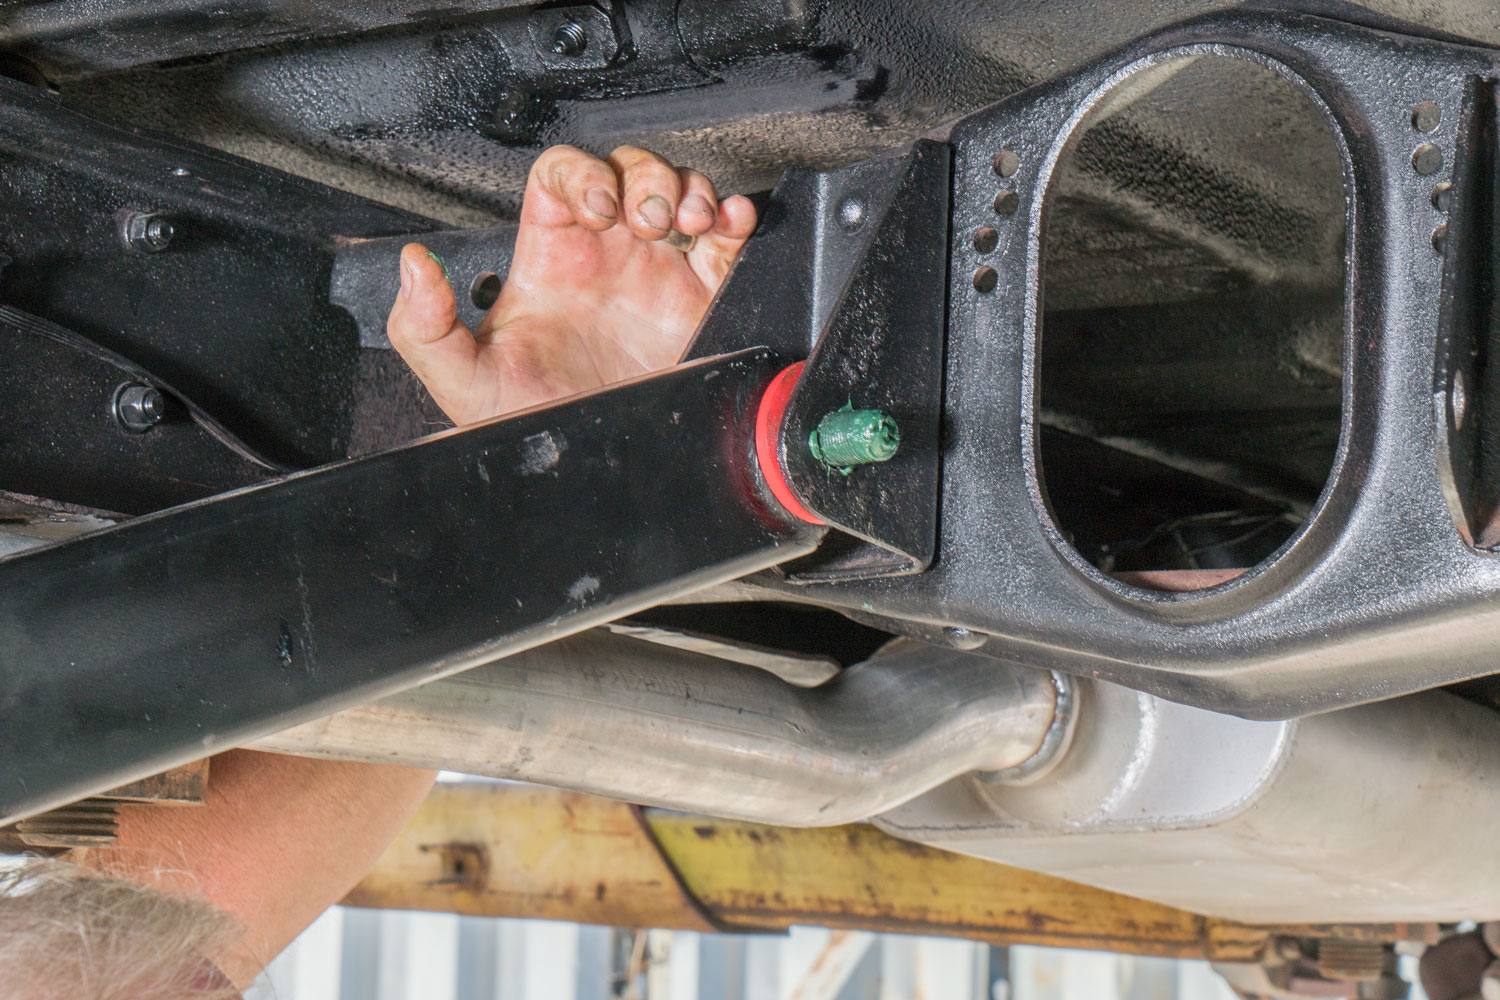
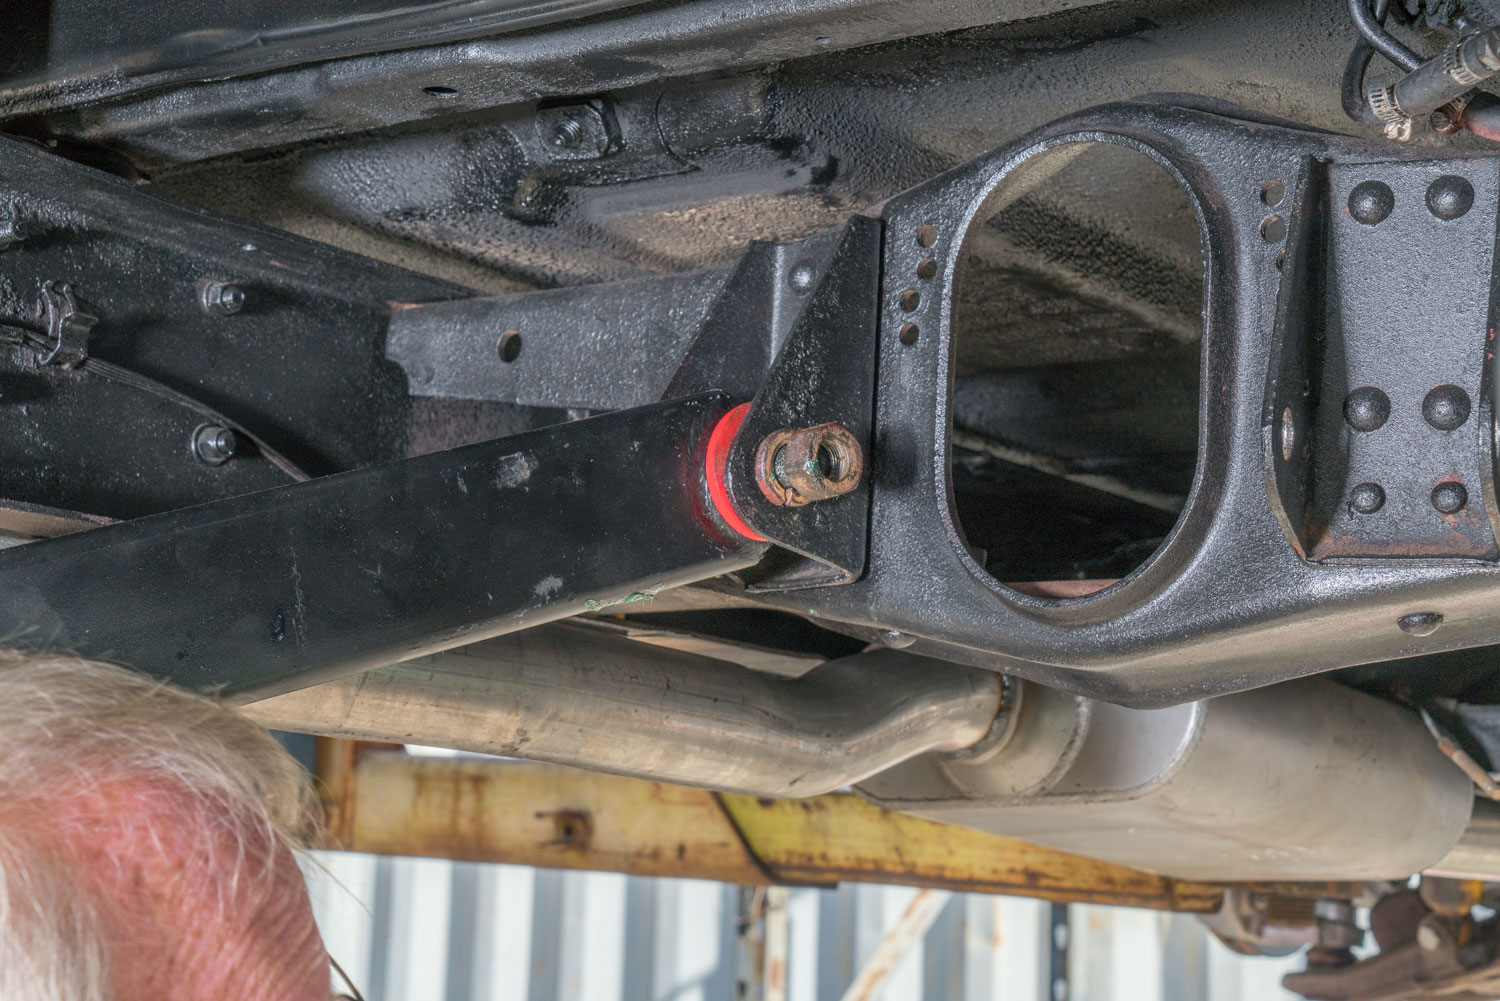
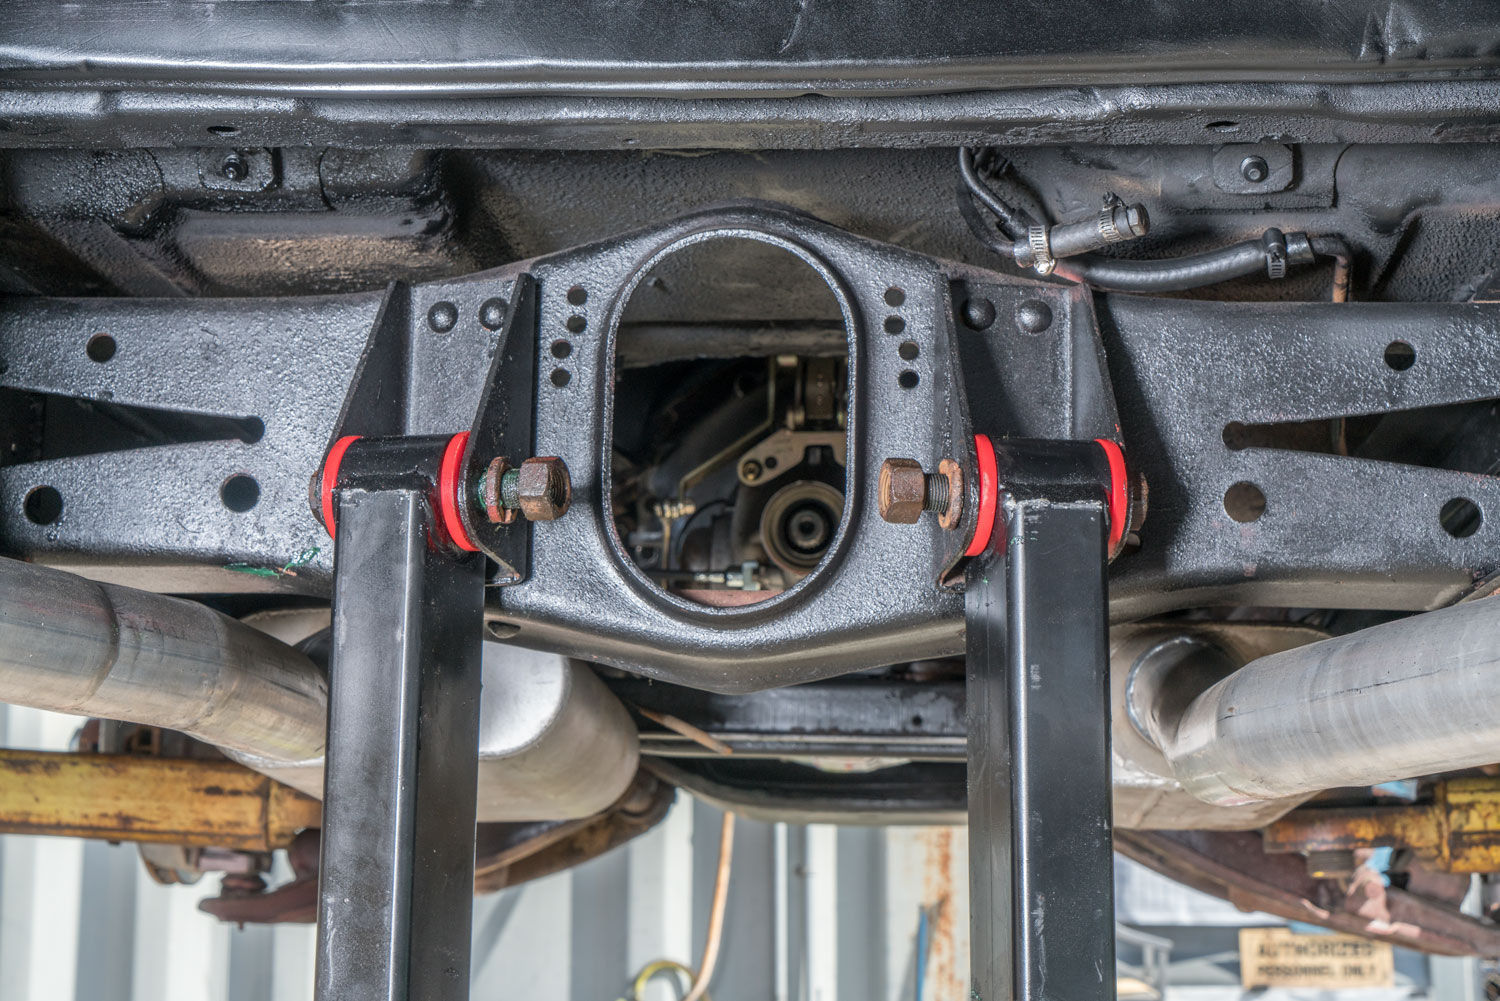
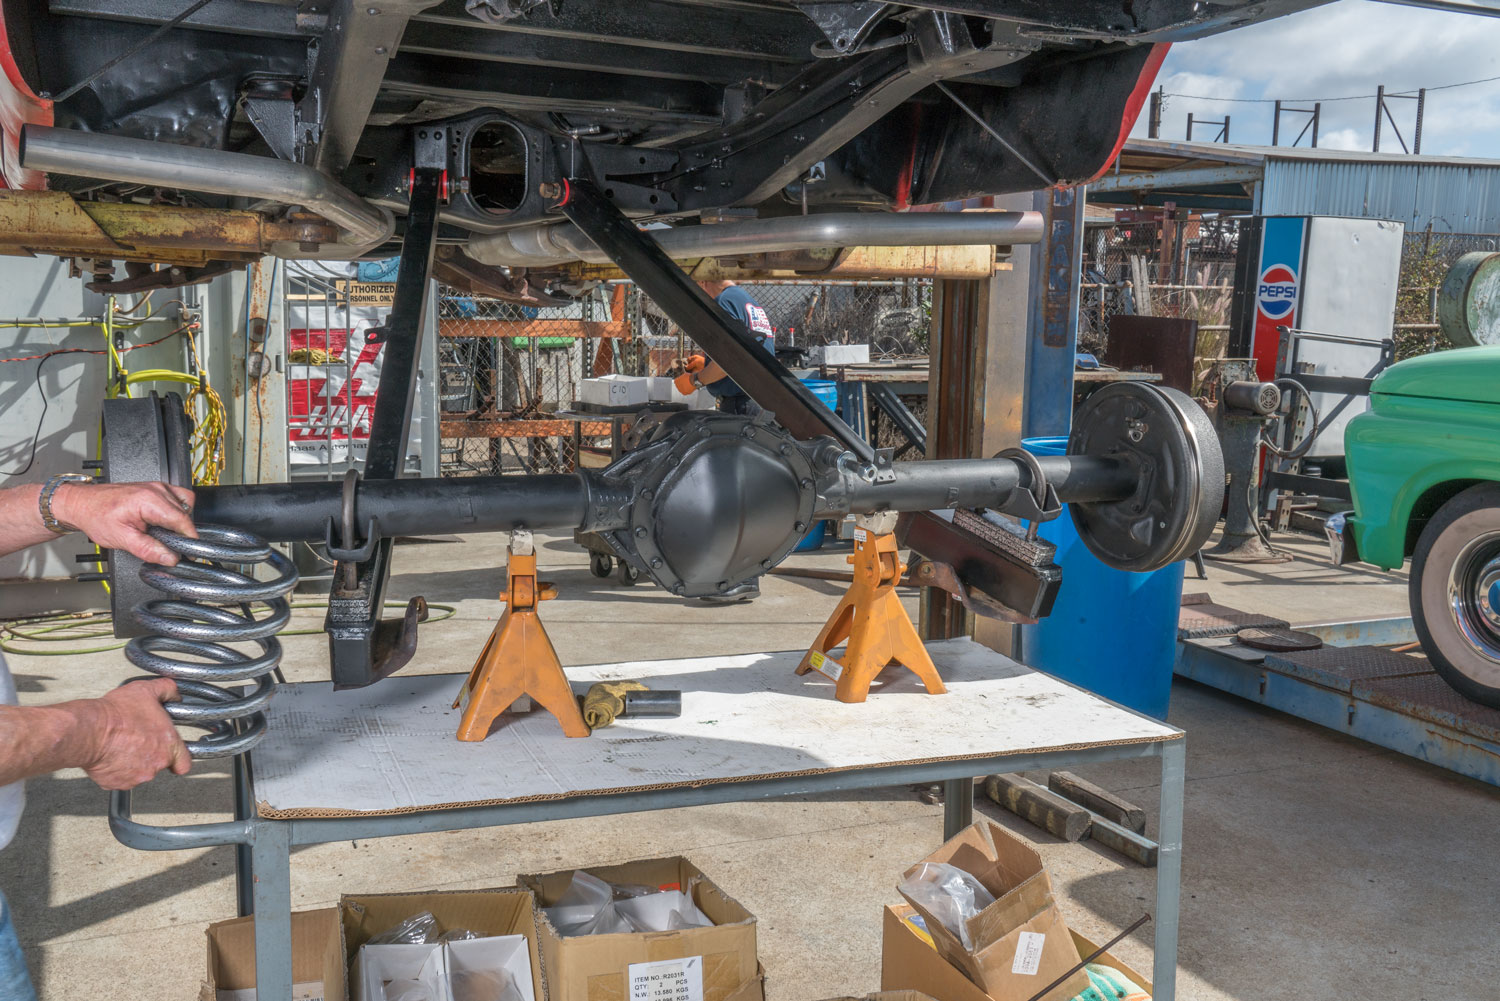
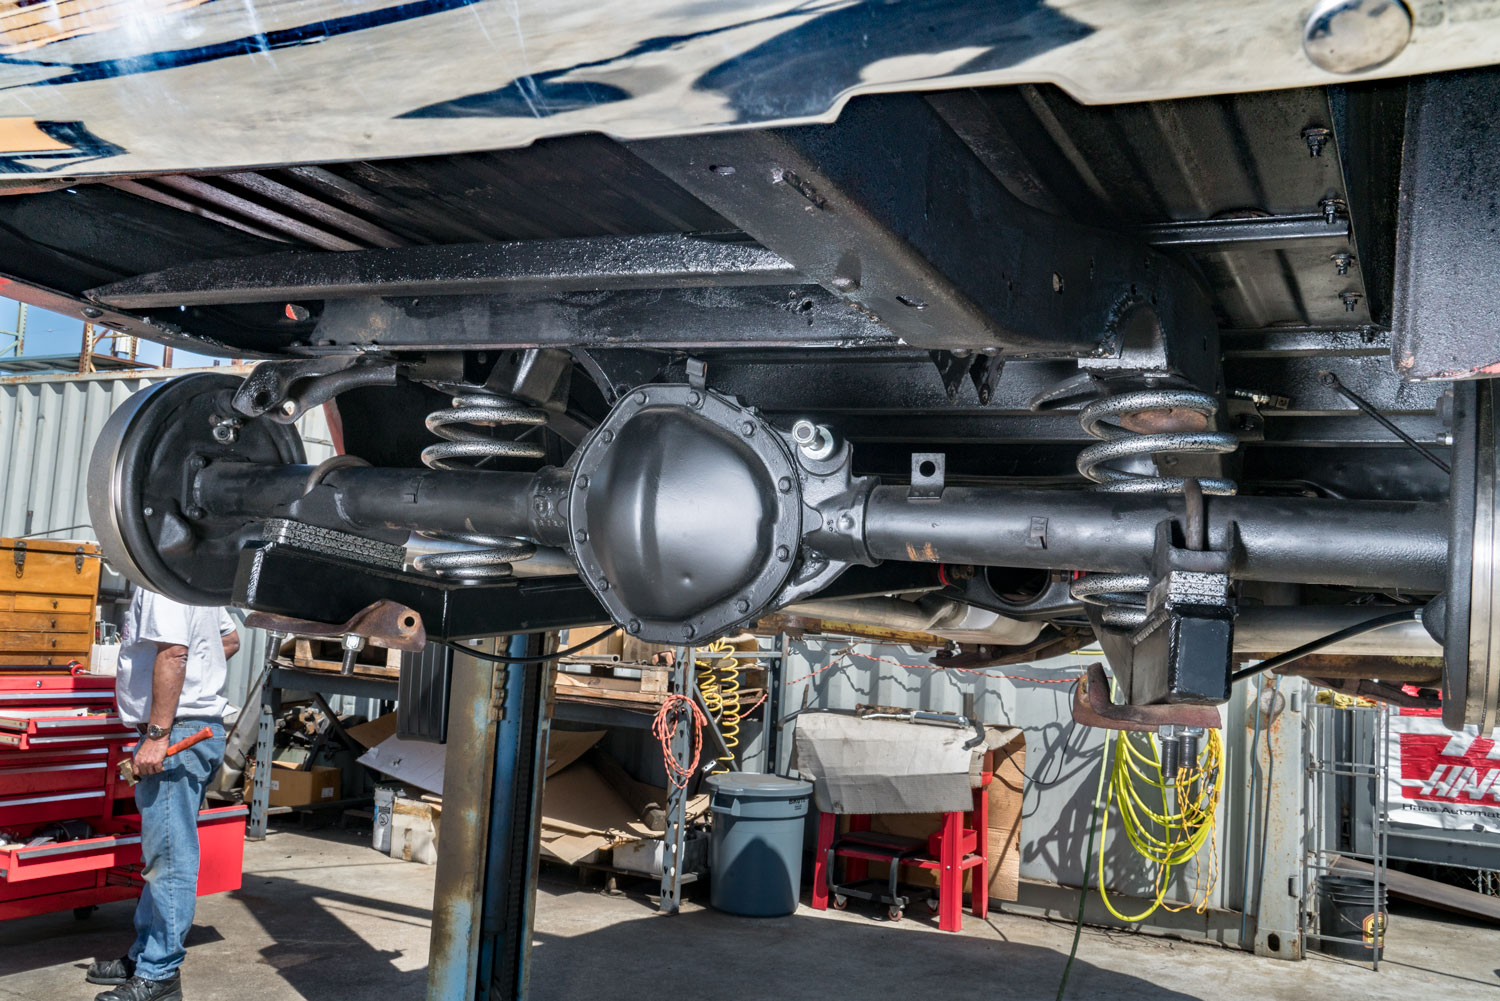
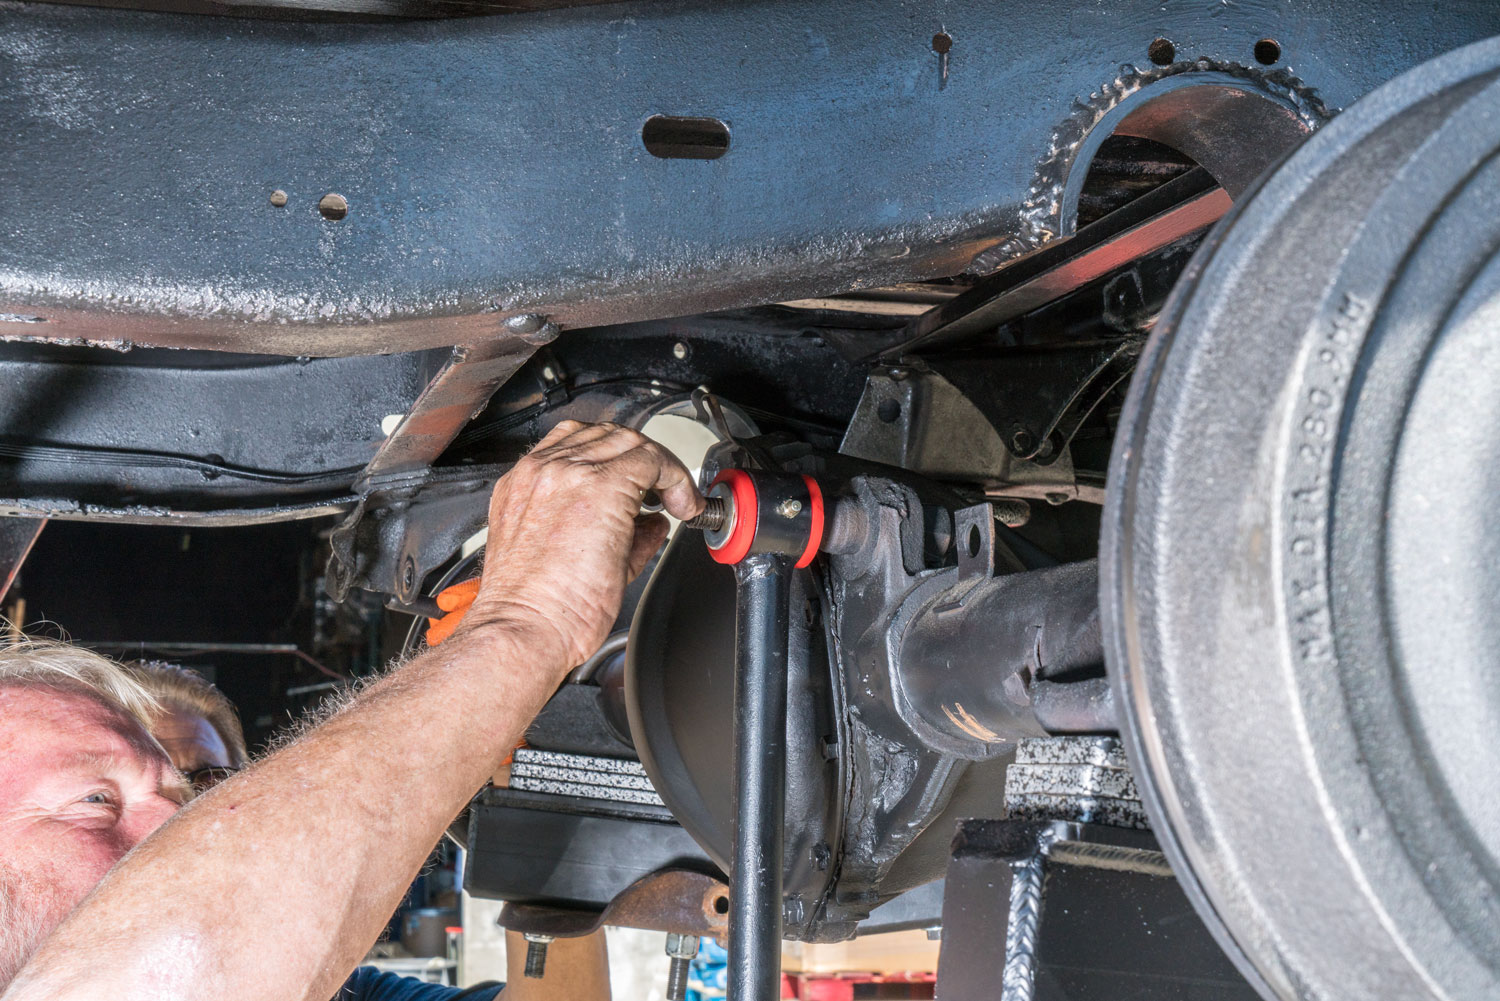
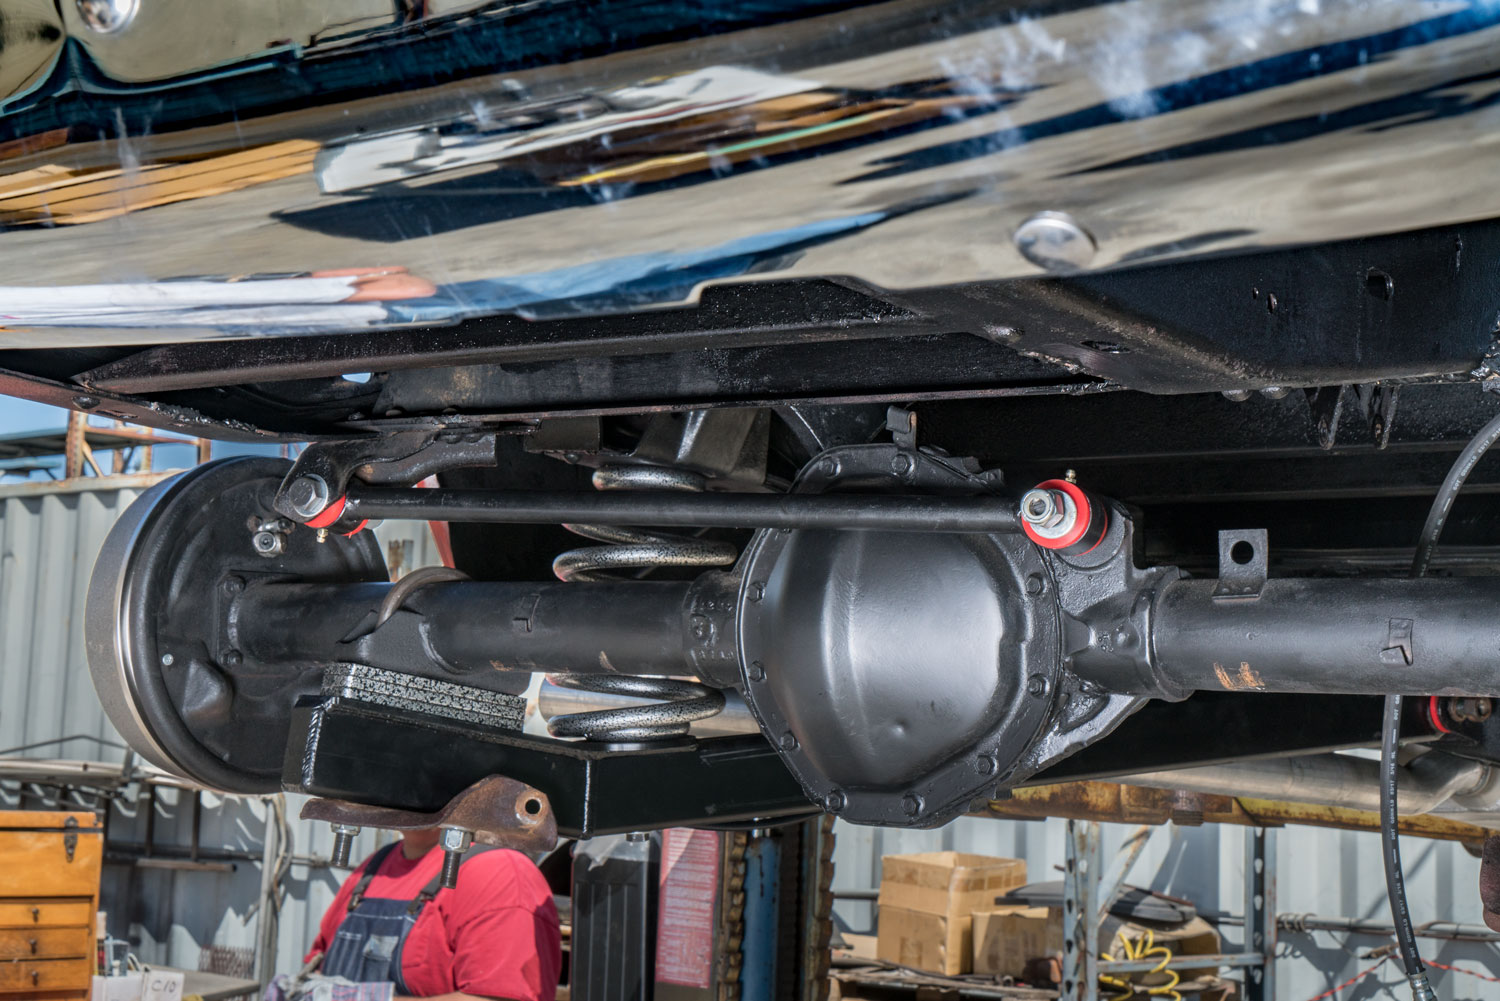
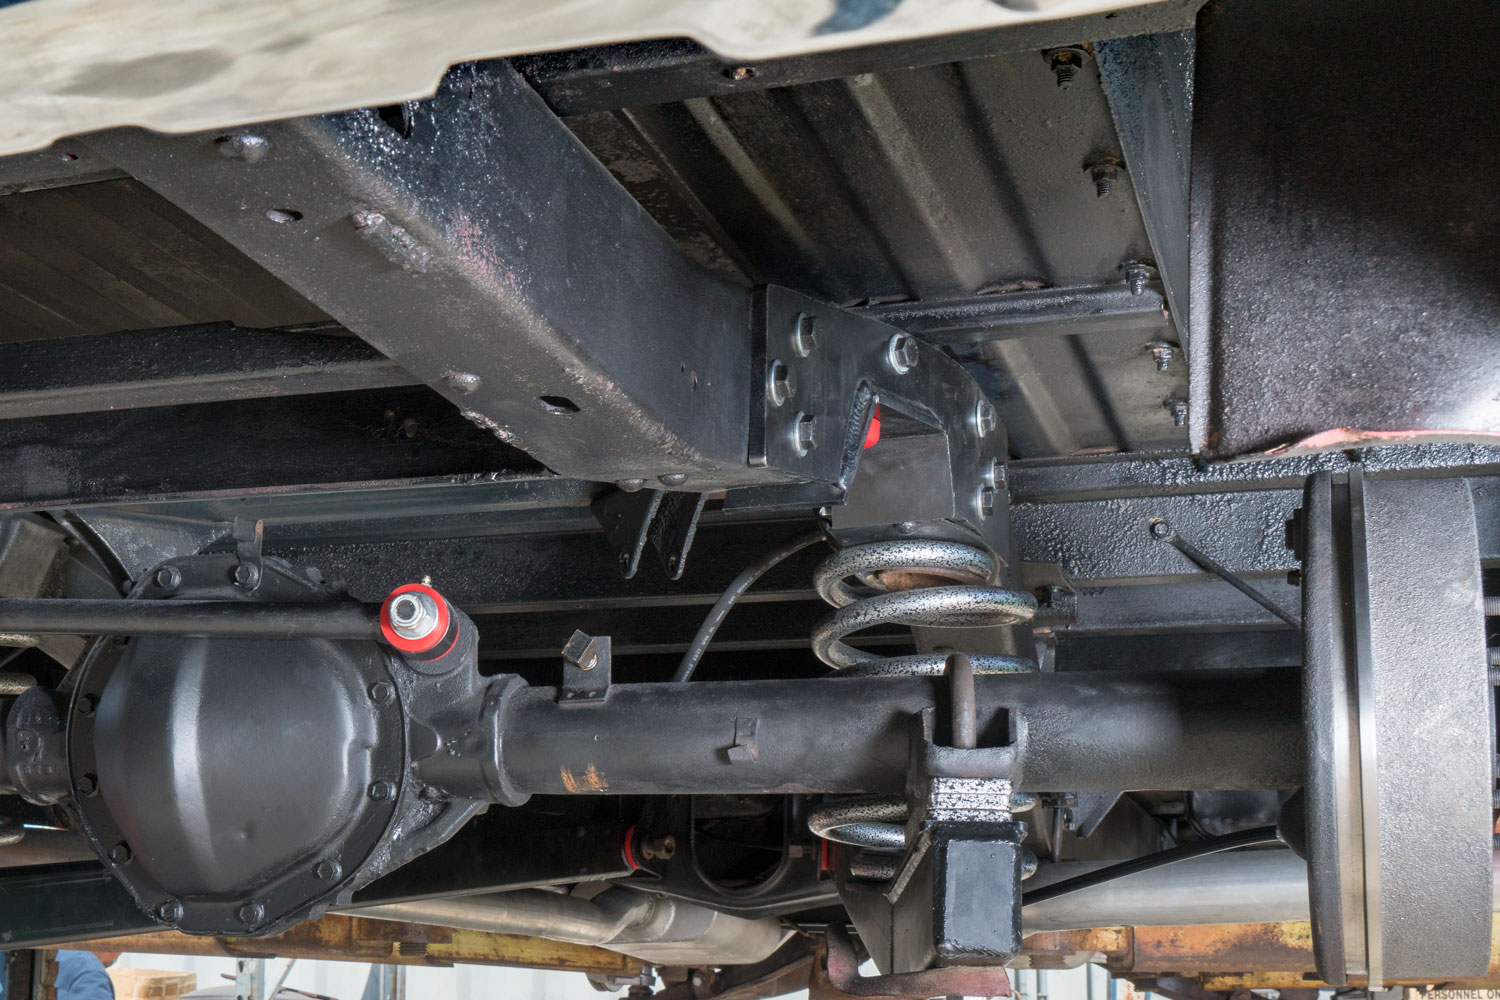
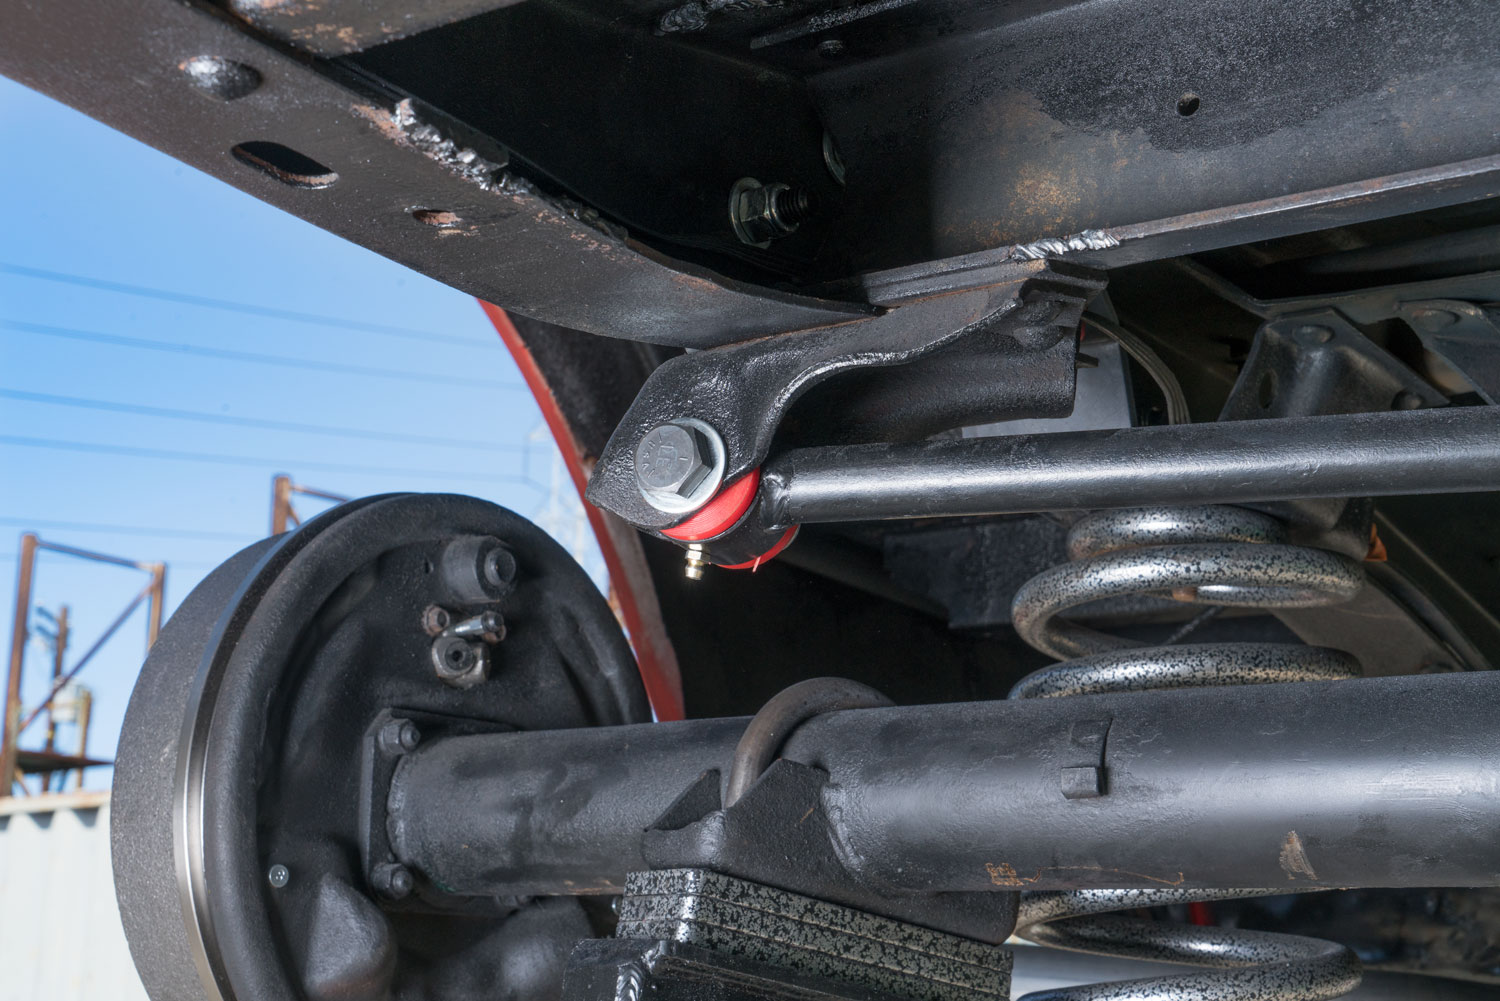
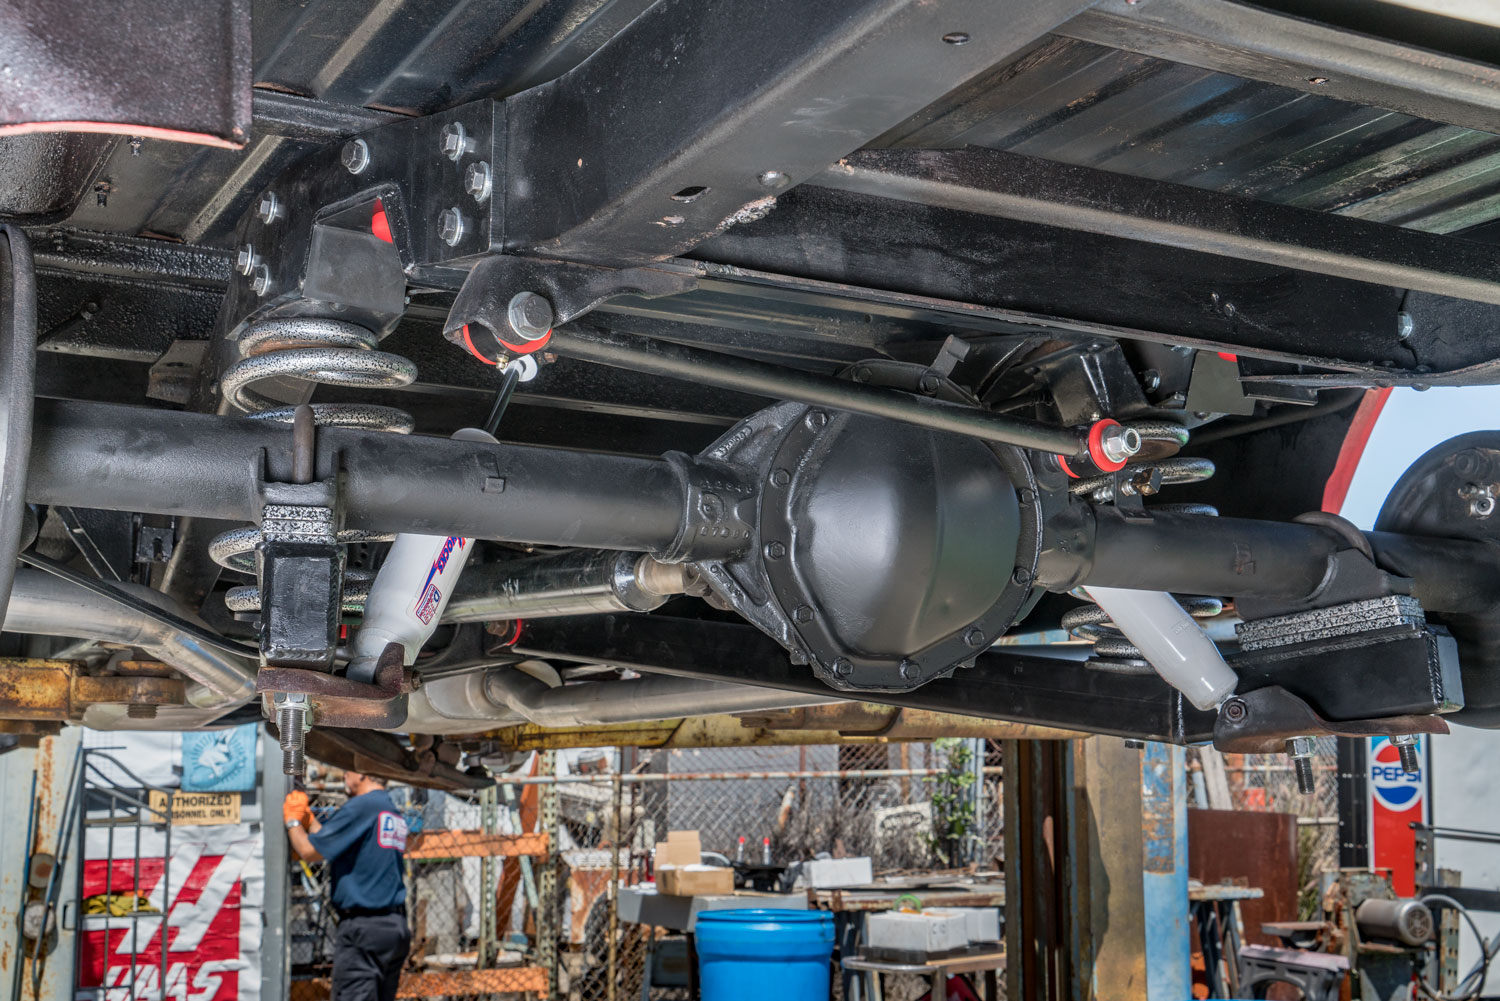
Removing the rear axle also gave the team open access to the suspension mounting points and frame. The truck received new Calmax control arms in place of the factory arms. These arms use DJM’s Twin Tube Sleeve design at the pivot bushings. The joints were greased before installation so they could move smoothly through the suspension’s range of travel.
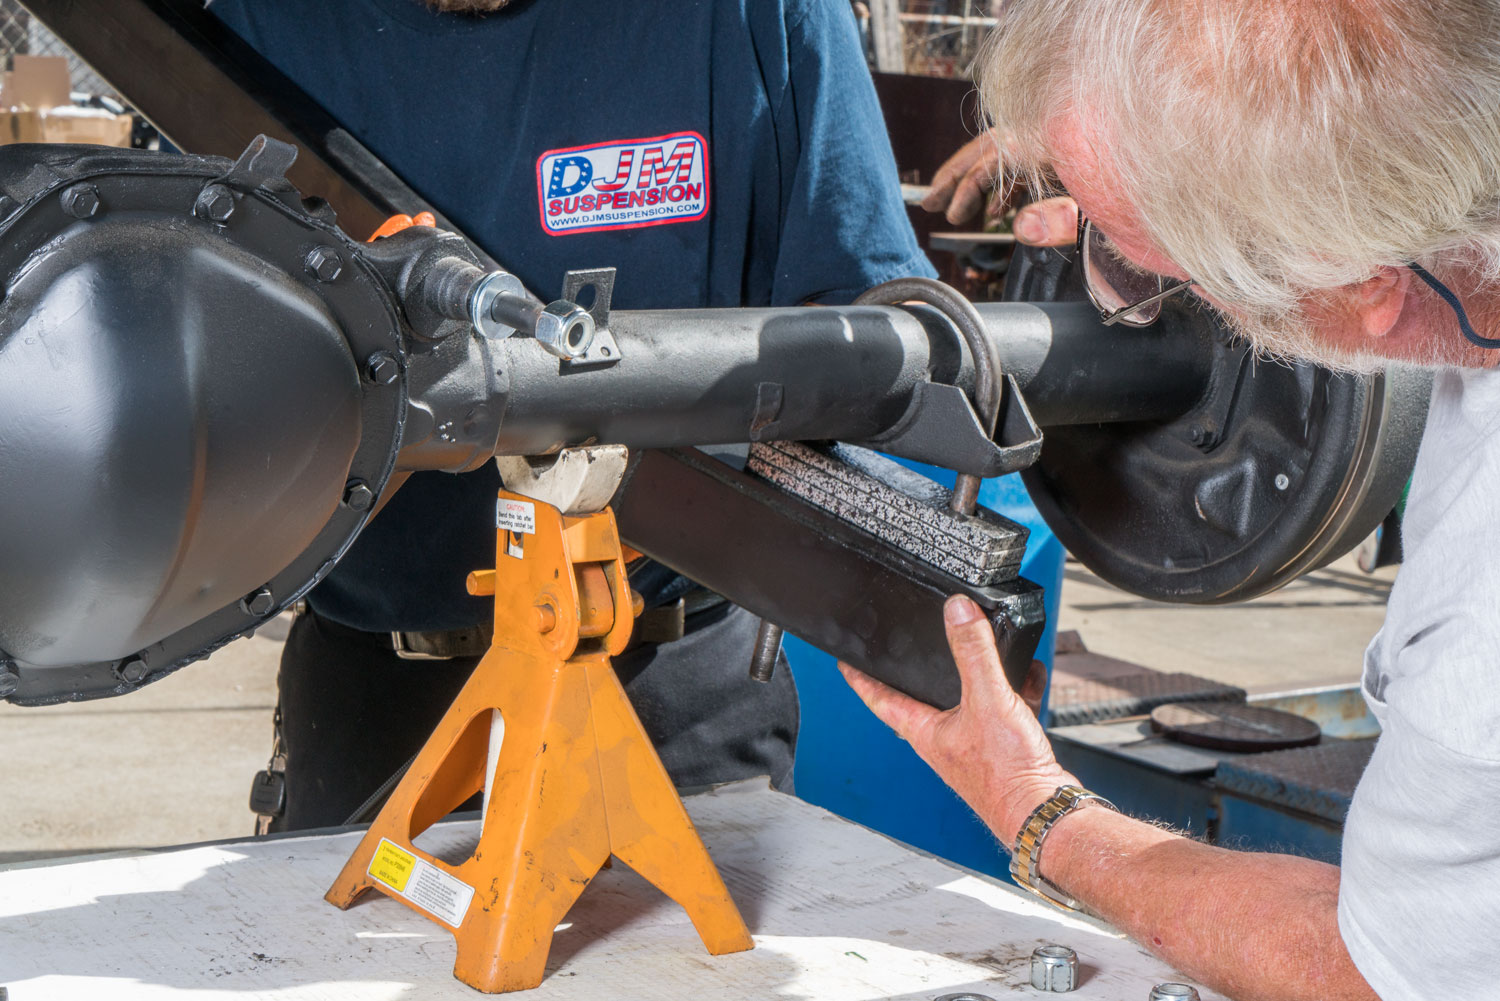
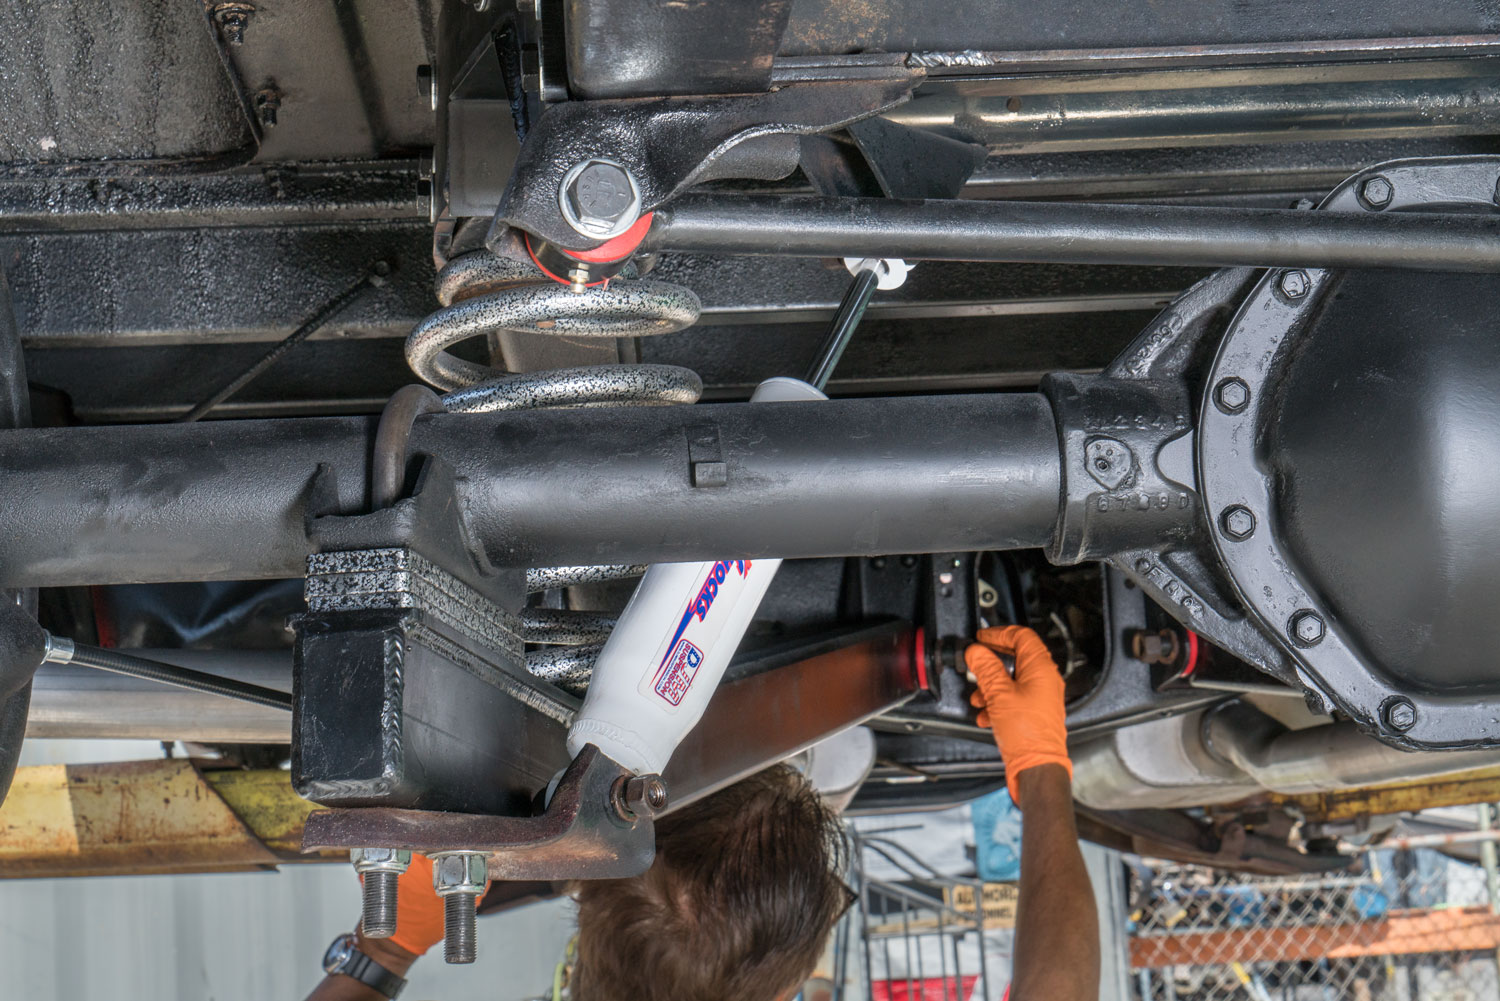
Trailing arms locate the rear axle from front to back. They need secure mounting points and free-moving bushings so the axle can travel without binding. The mounting bolts were left loose during the early installation stage while the axle was positioned between the arms.
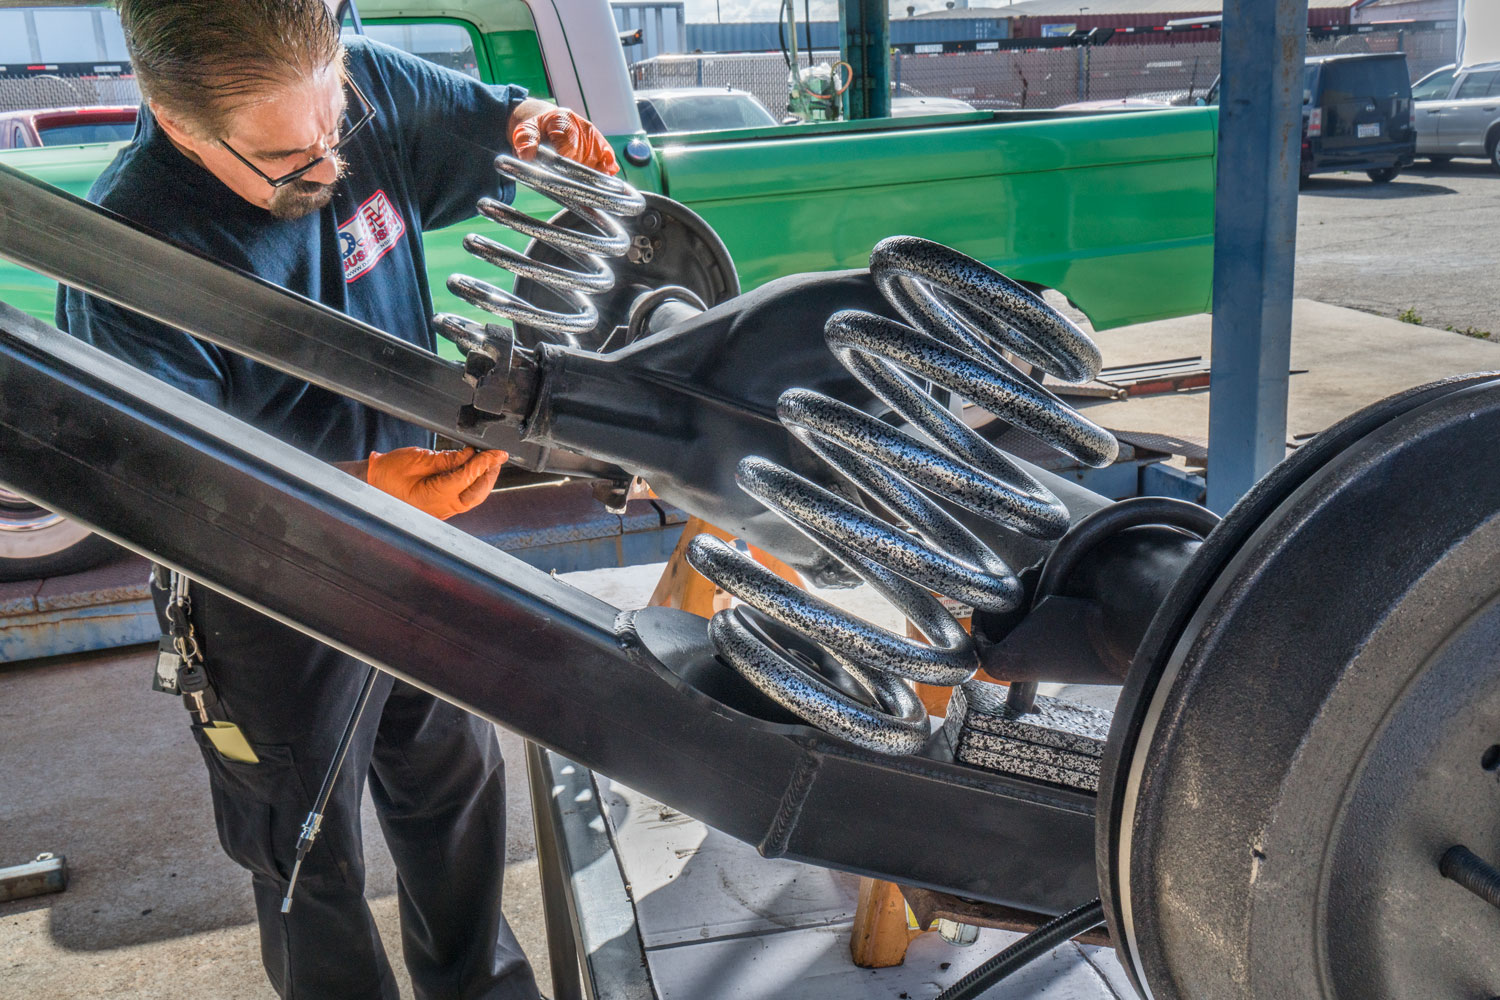
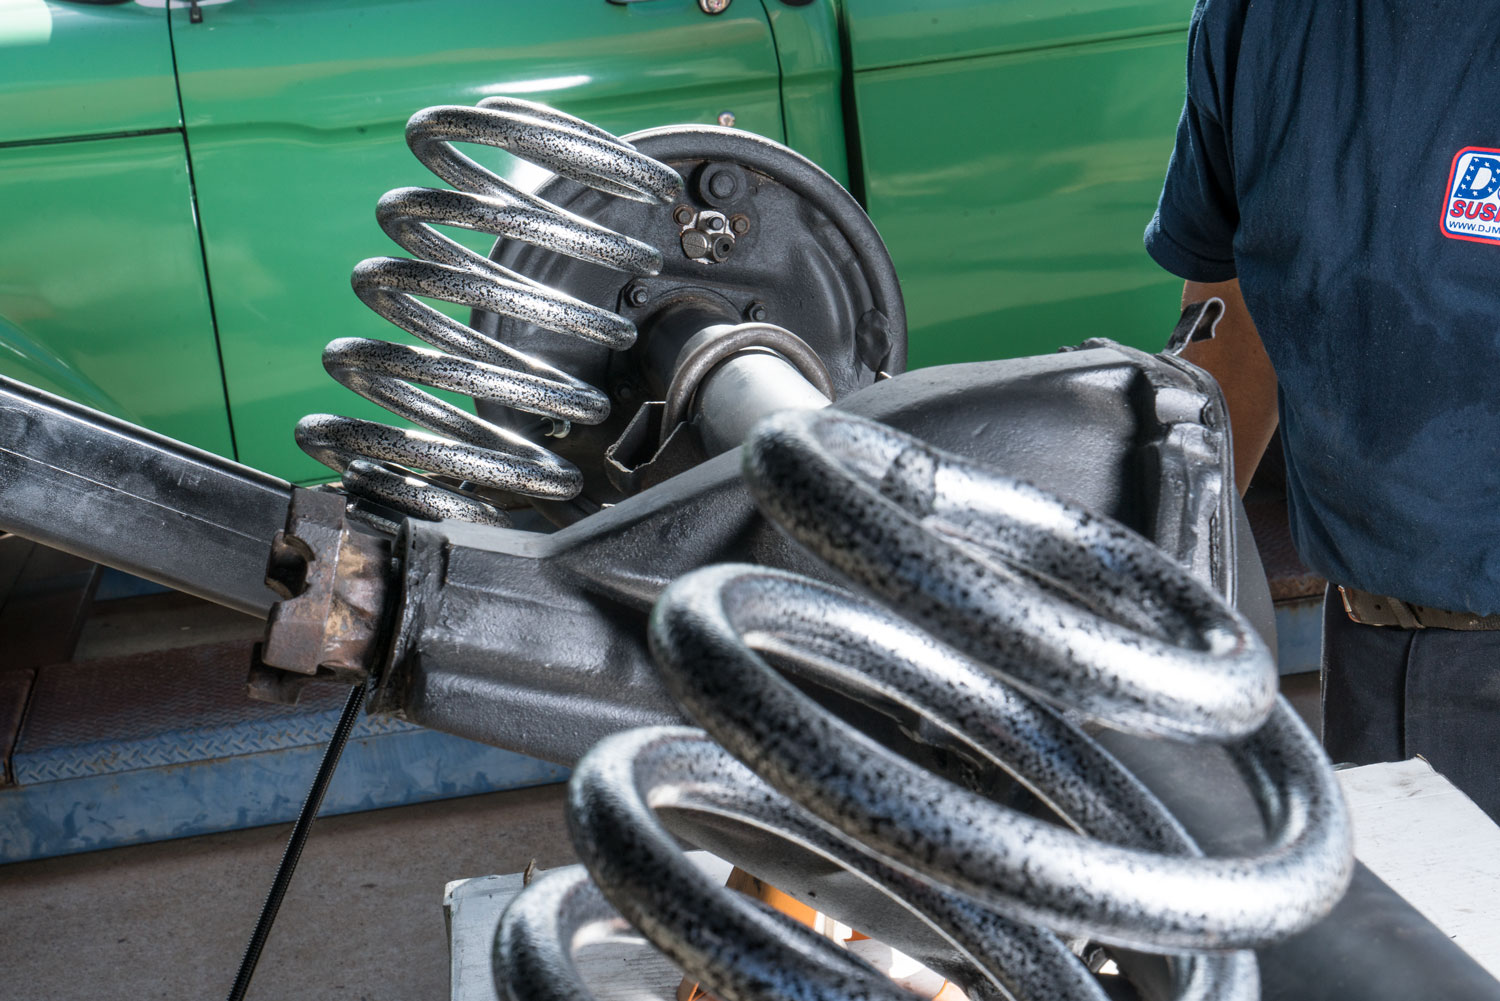
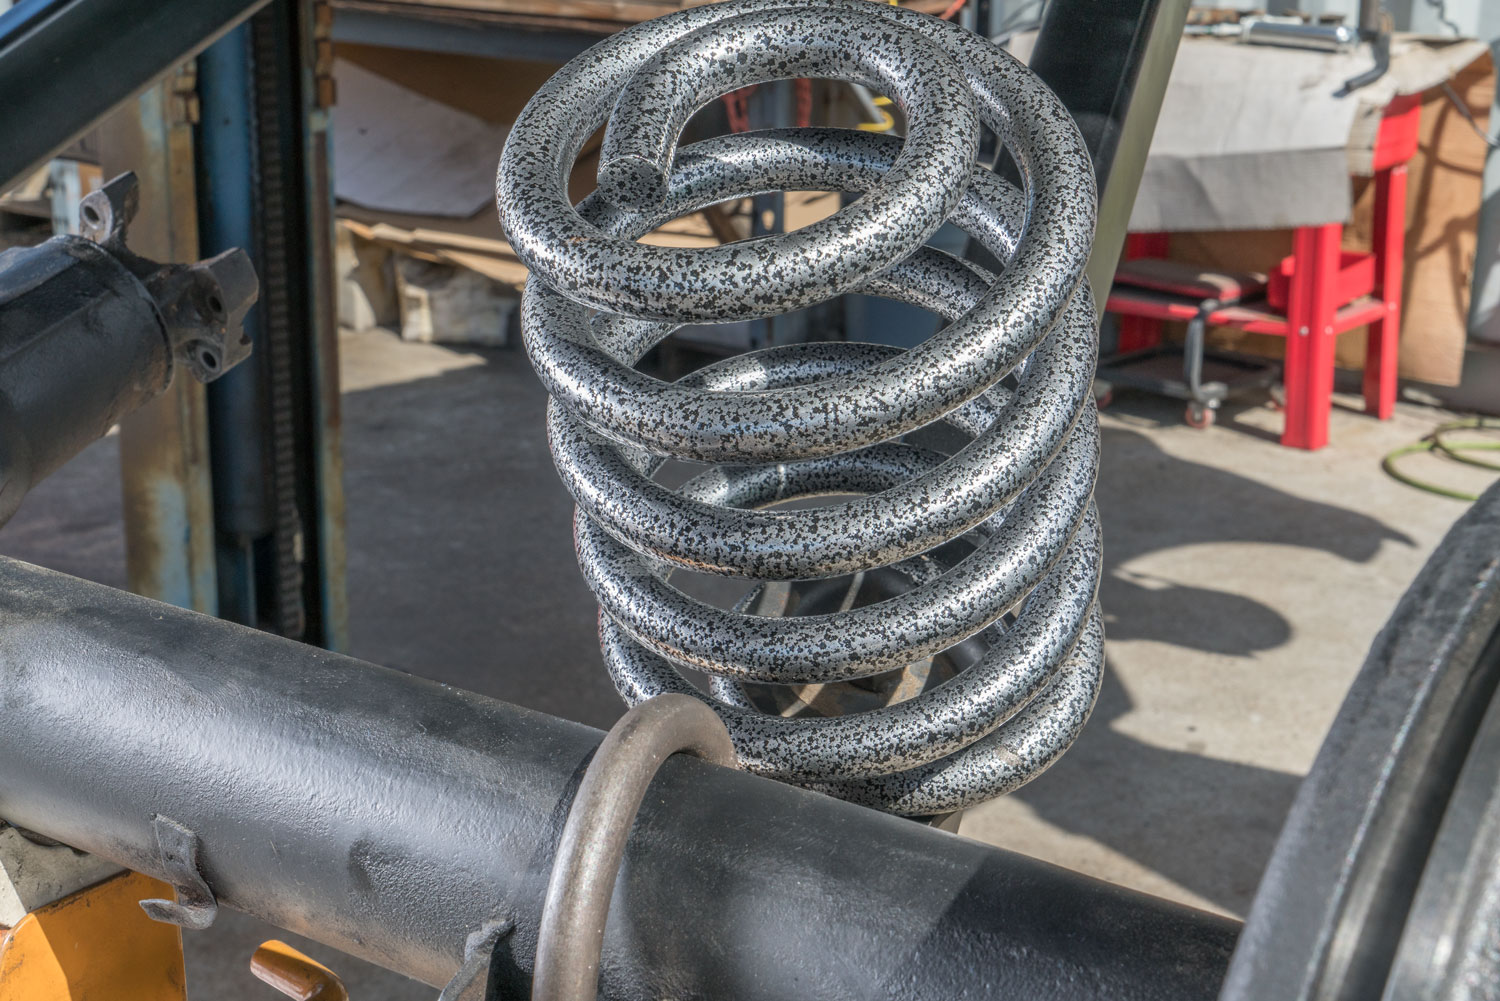
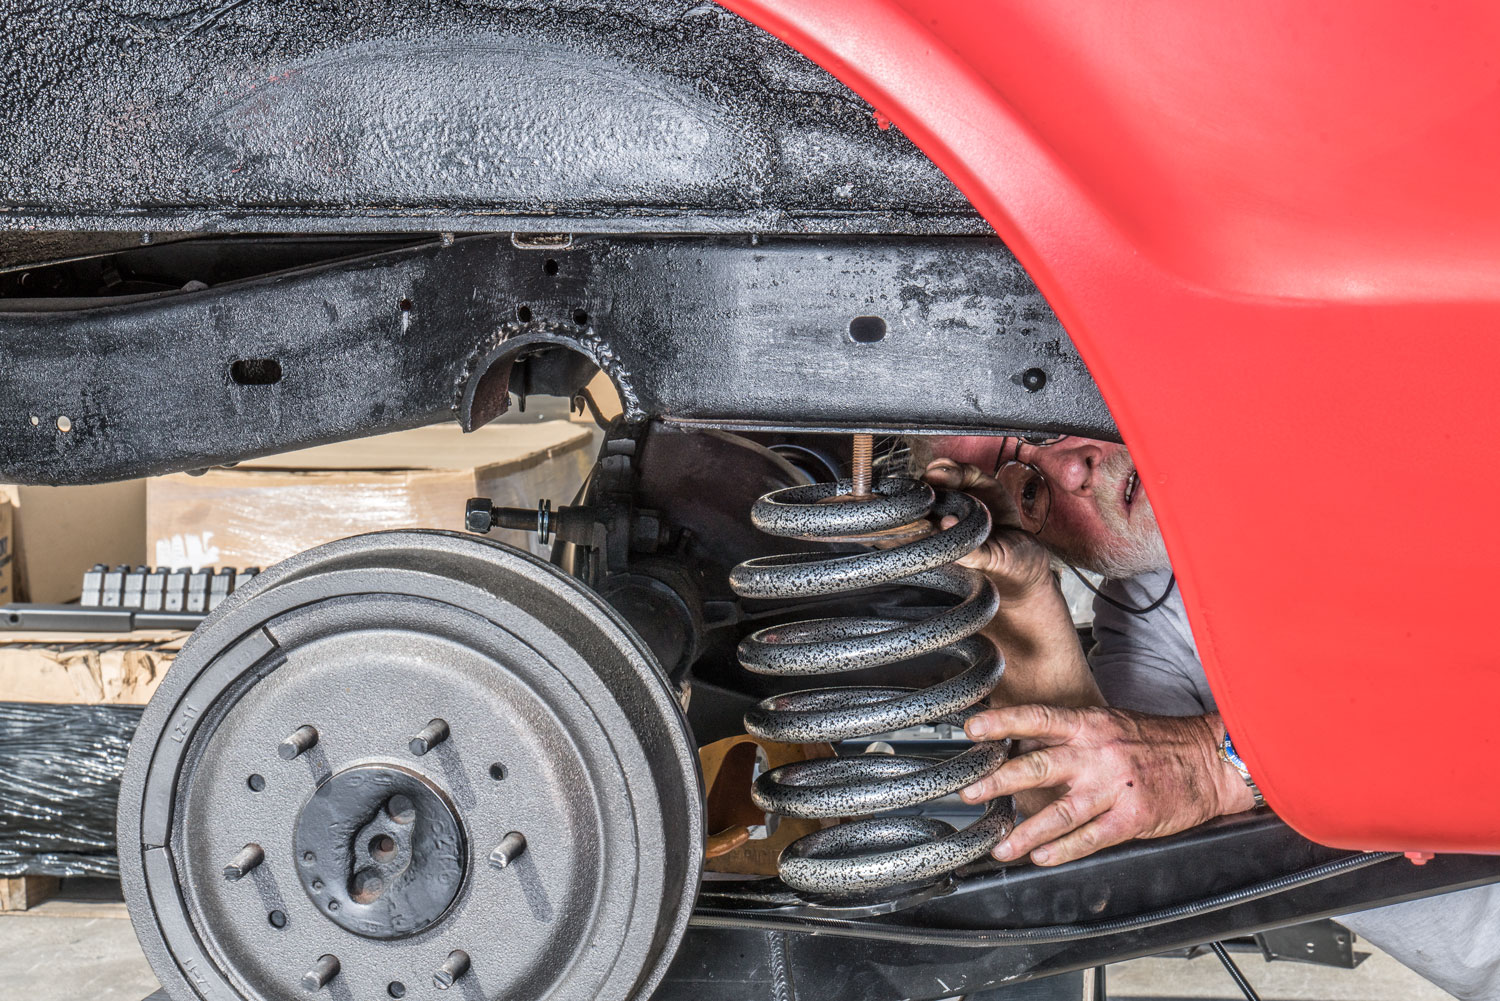
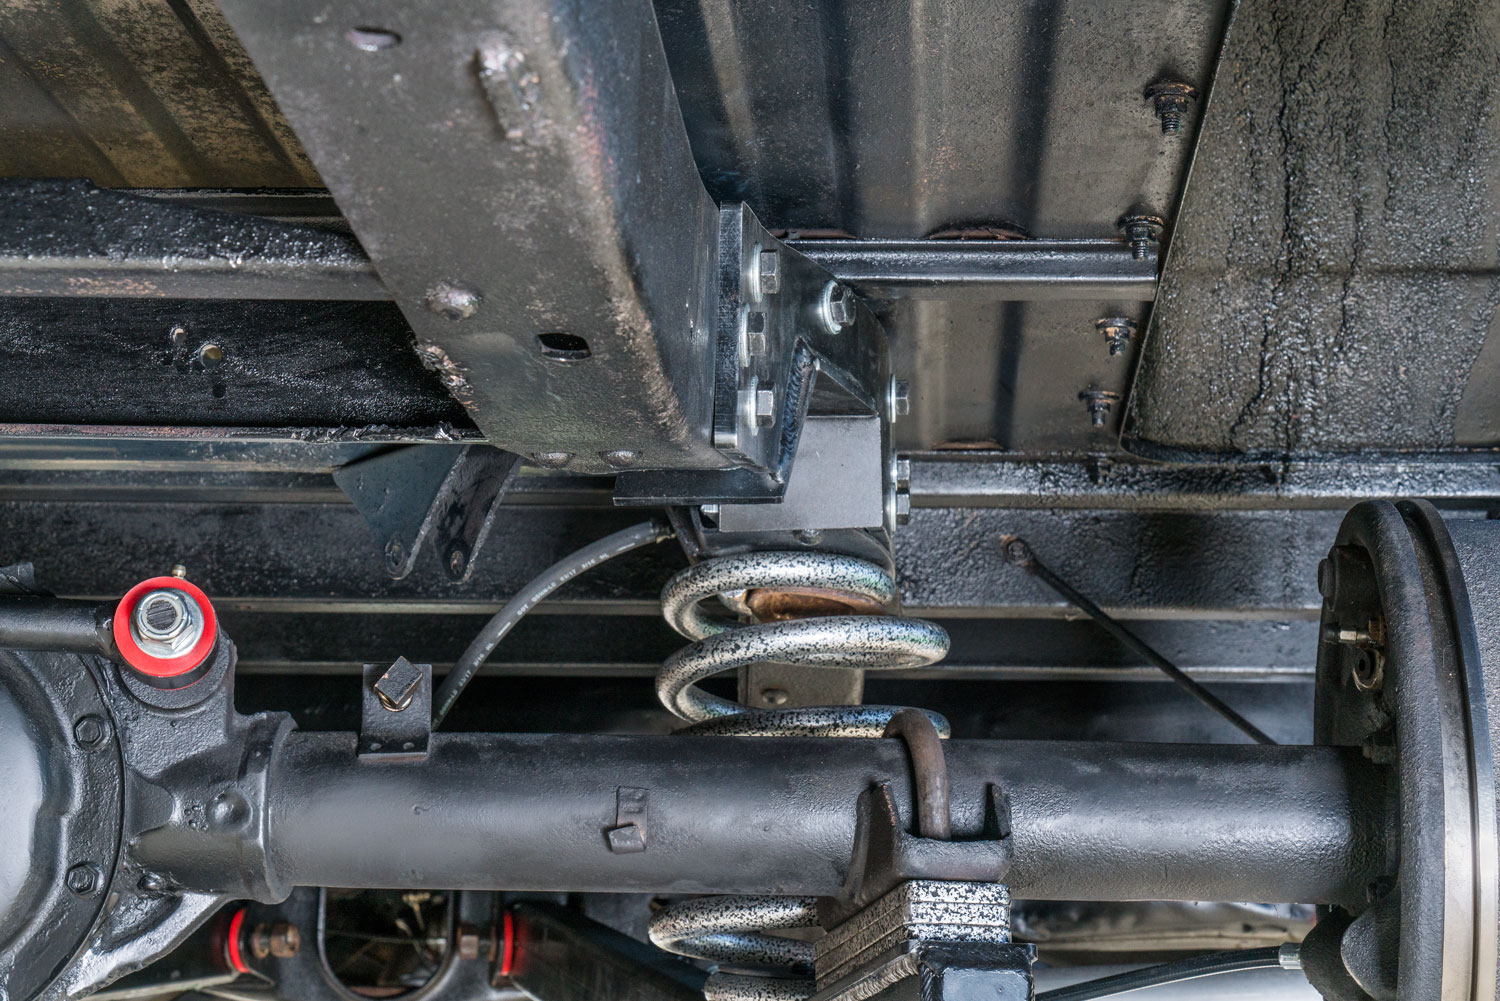
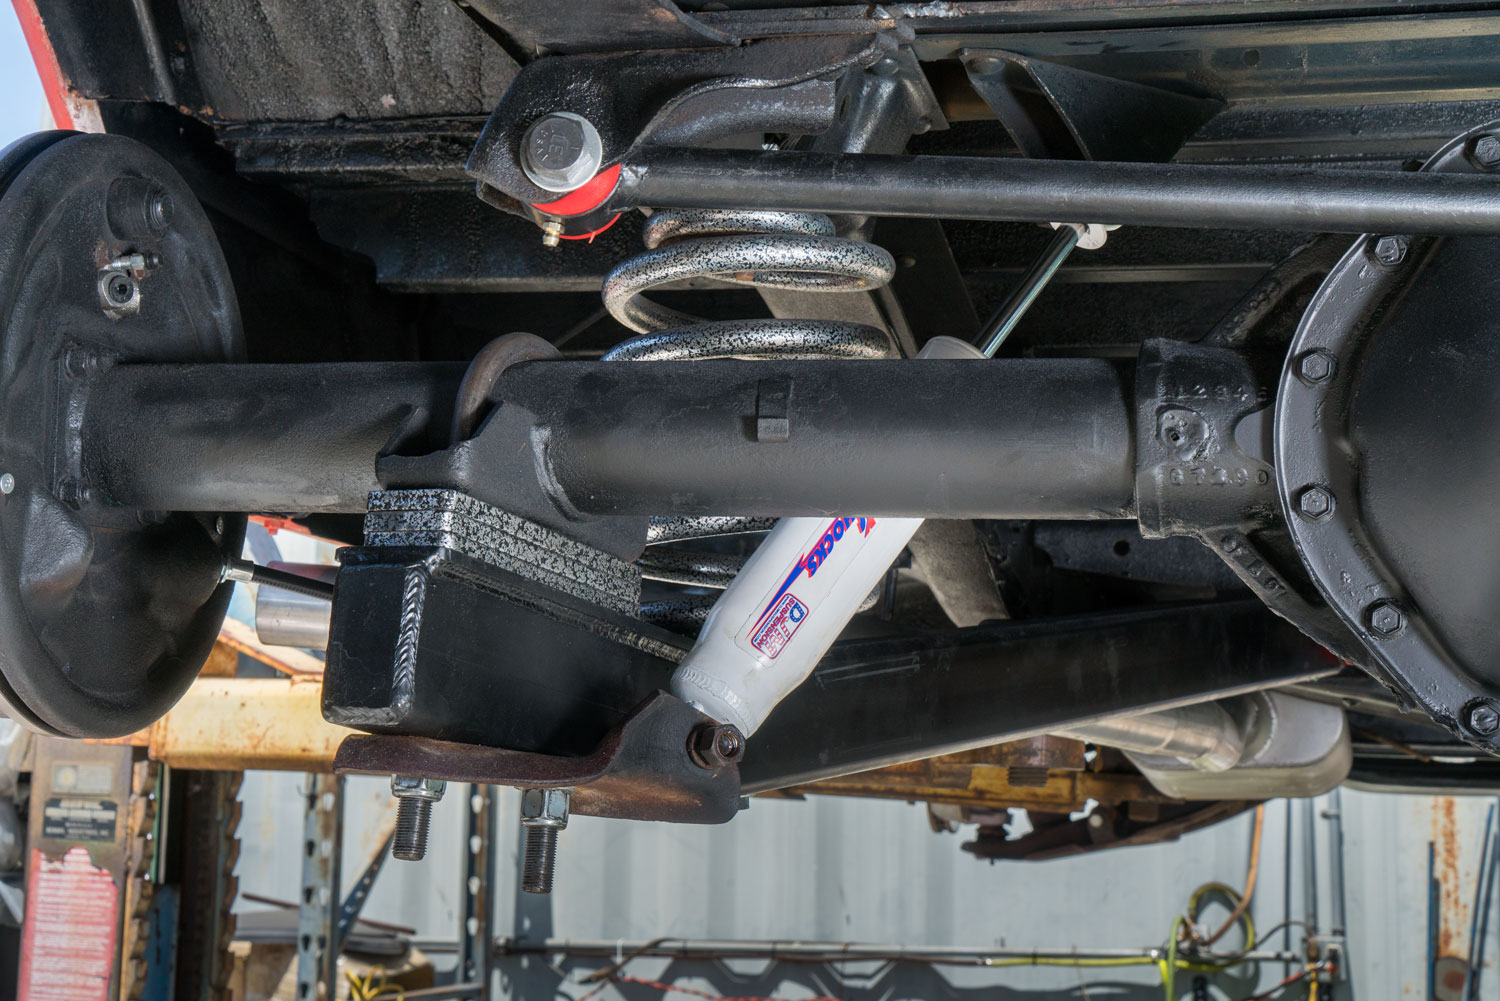
DJM rear lowering coil springs established the new rear ride height. Spacer blocks were also used to create an additional drop. Once the springs and blocks were in position, the team installed the lower shock mounts.
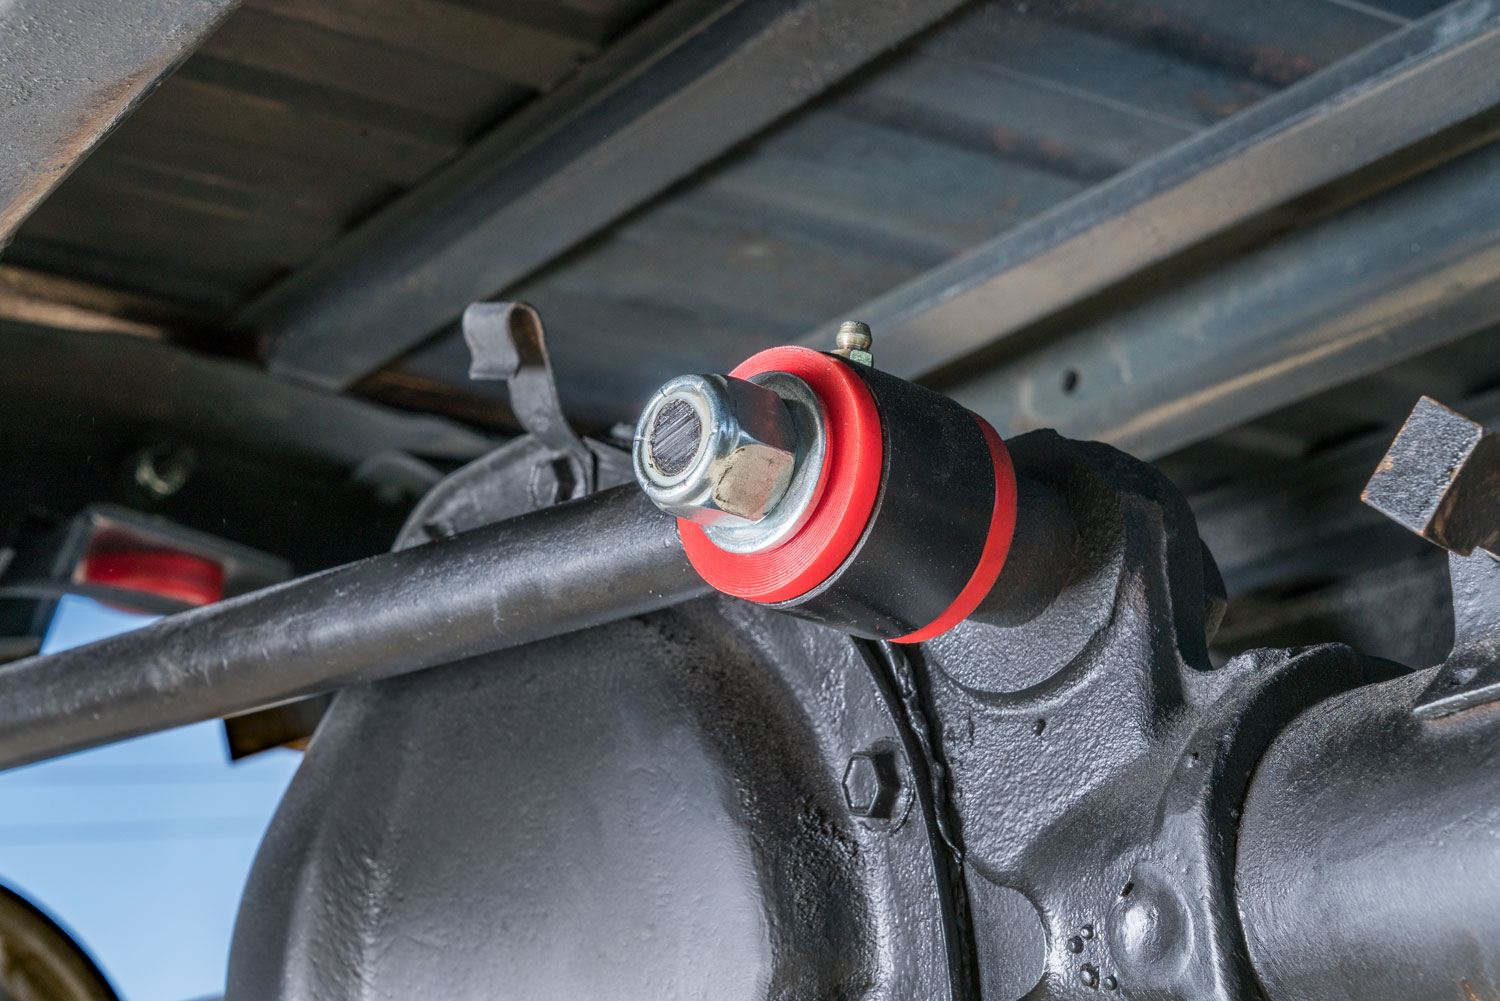
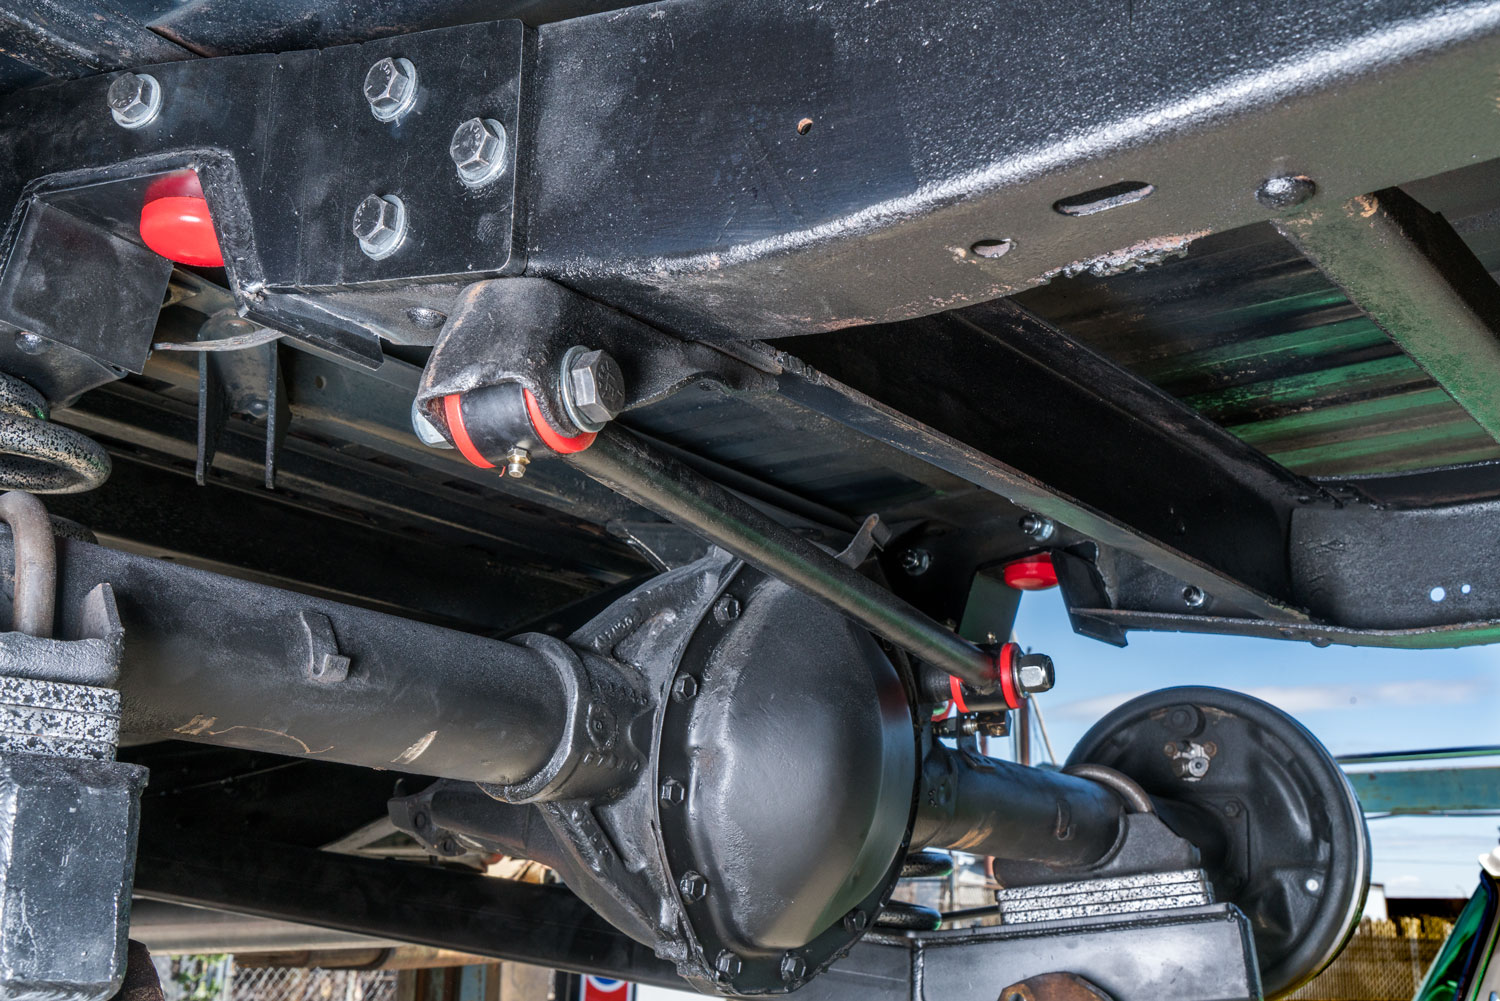
A greasable tubular Panhard rod controlled the axle’s side-to-side position. This component is especially relevant on a lowered coil-spring C10 because changes in ride height can affect the axle’s lateral position. The Panhard rod, trailing arms, springs, and shocks work as a complete rear suspension system.
Calmax SuperShocks finished the rear setup. The springs carry the truck and set its ride height, while the shocks control compression and rebound. Without the correct shocks, a lowered truck may bounce, feel unsettled, or reach the limits of shock travel.
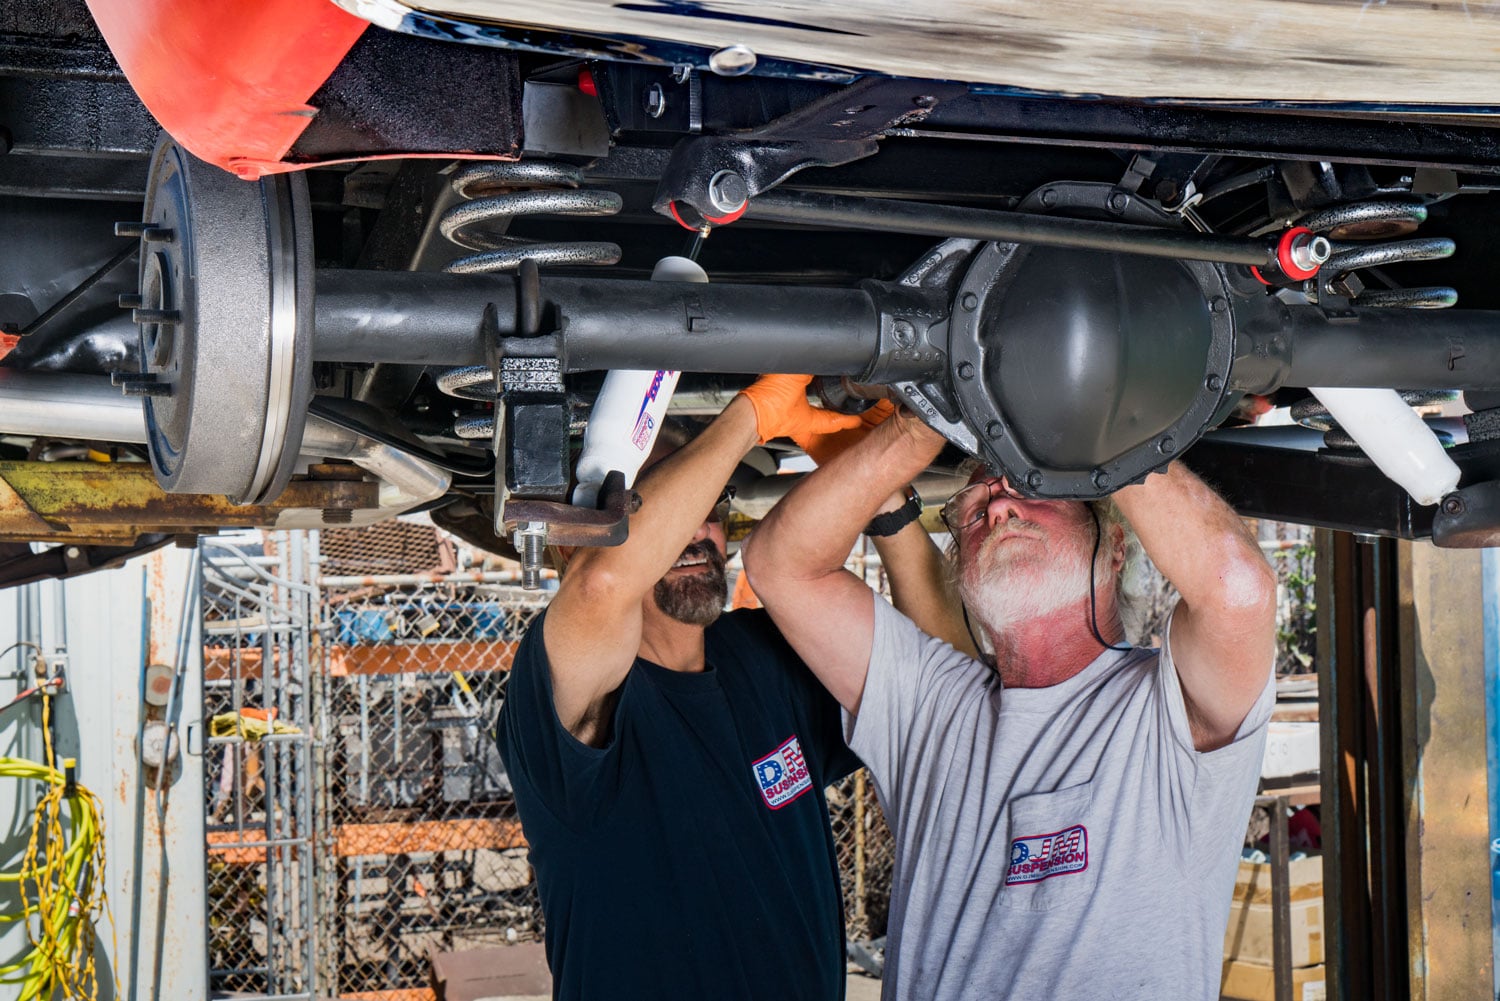
The driveshaft was installed after the rear axle and suspension components were in place. The team then checked the full assembly, including the trailing arms, springs, shocks, panhard rod, brakes, brake lines, and mounting hardware.
Creating Axle Clearance with C-Notch Brackets
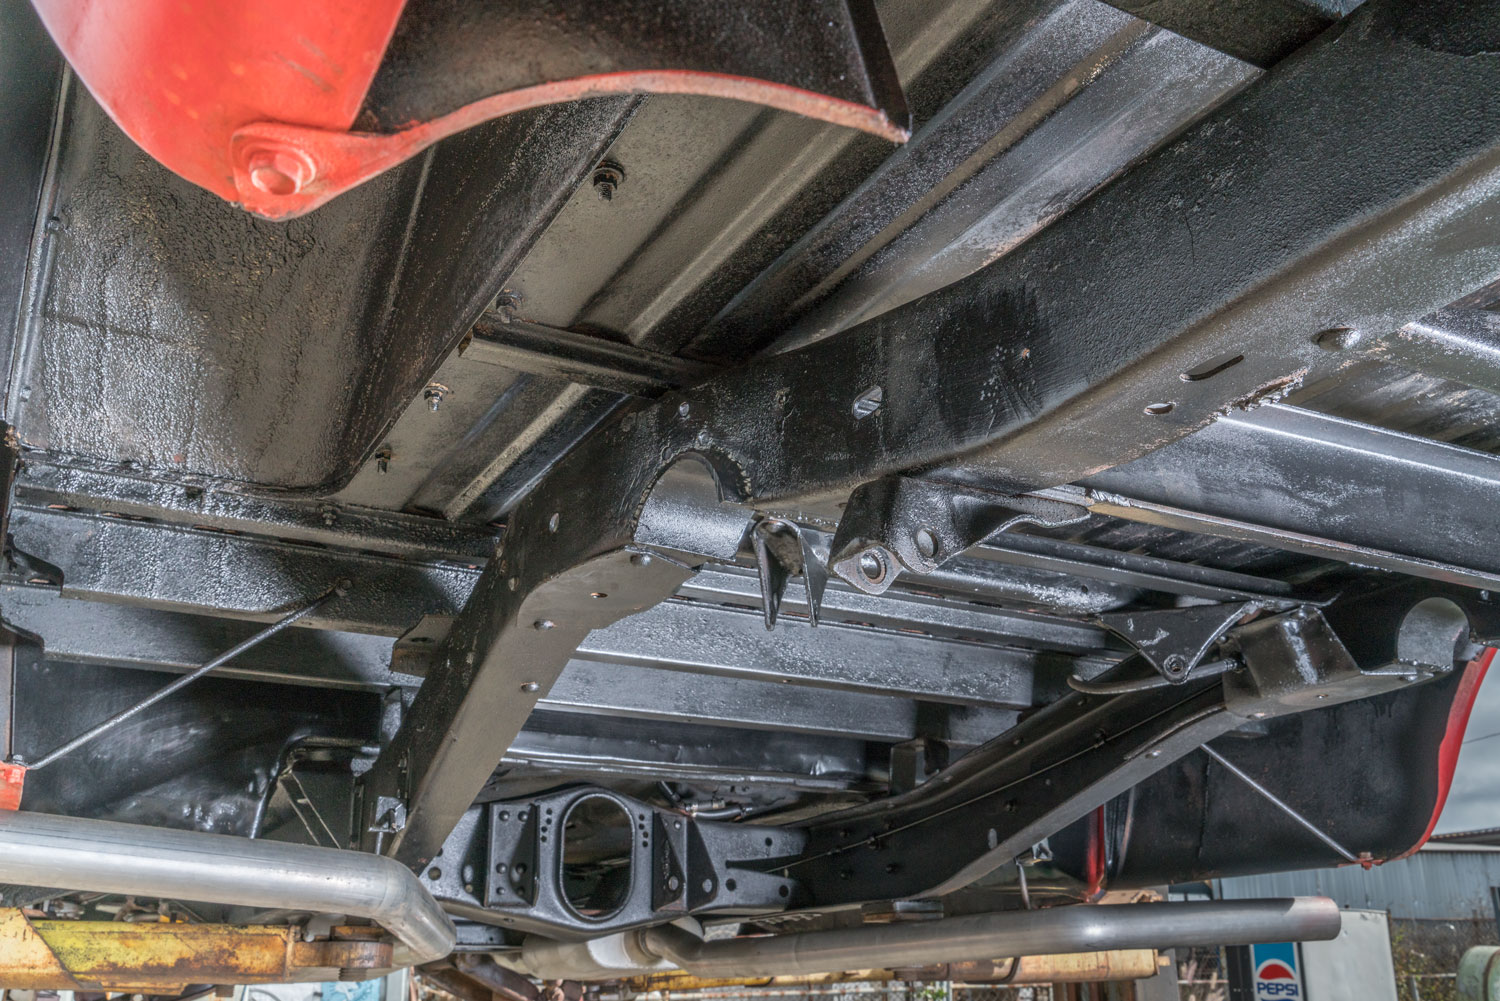
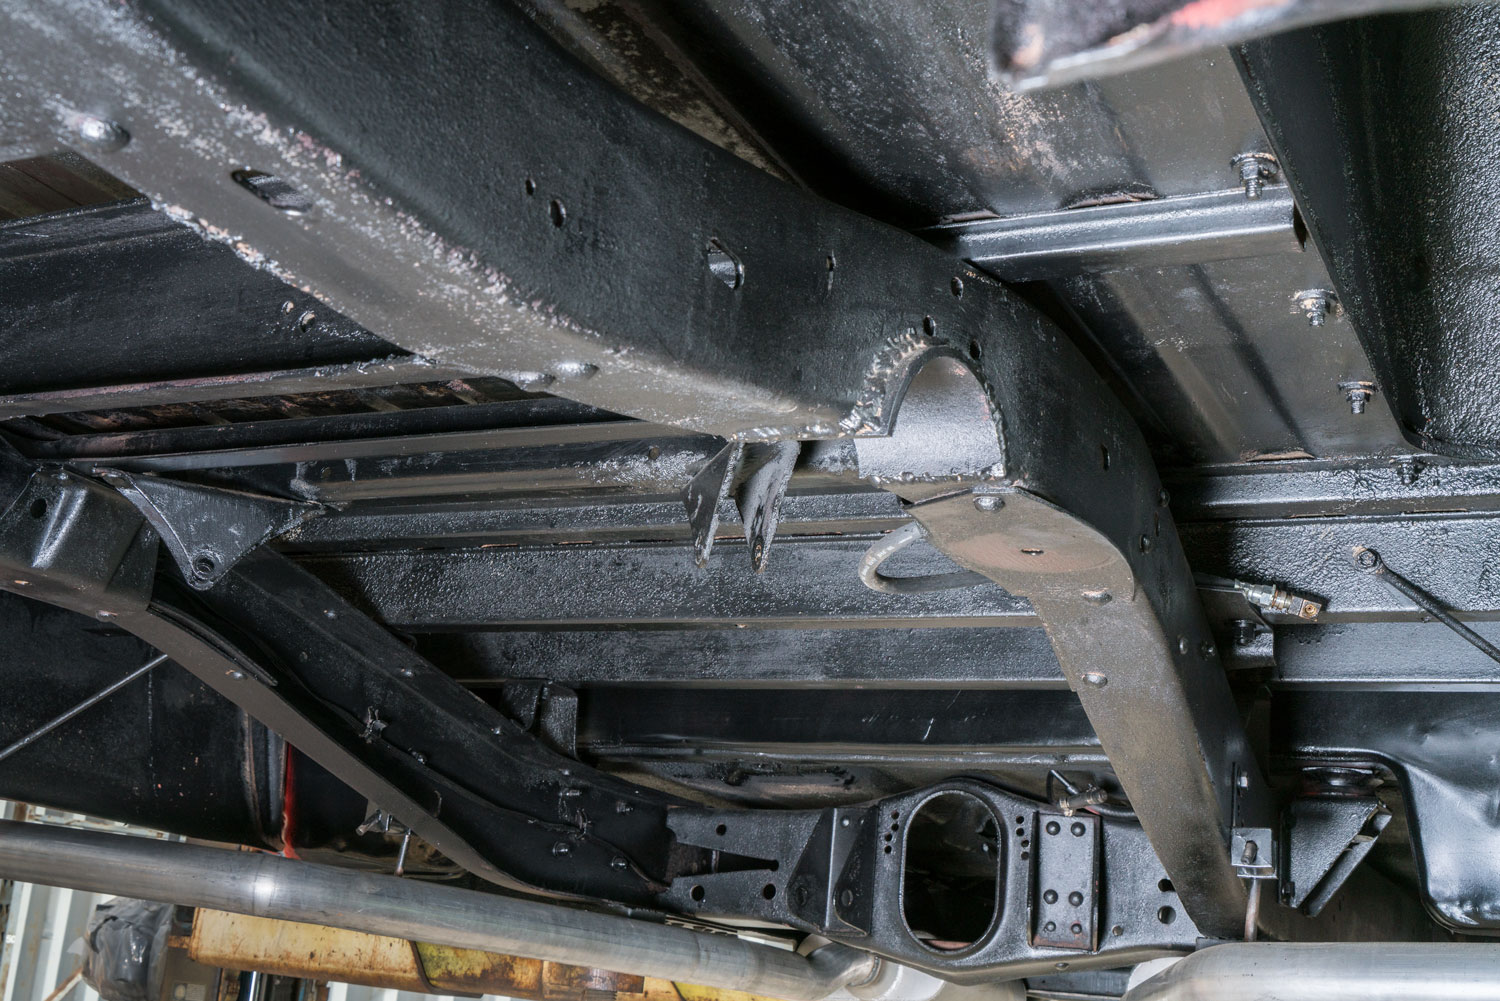
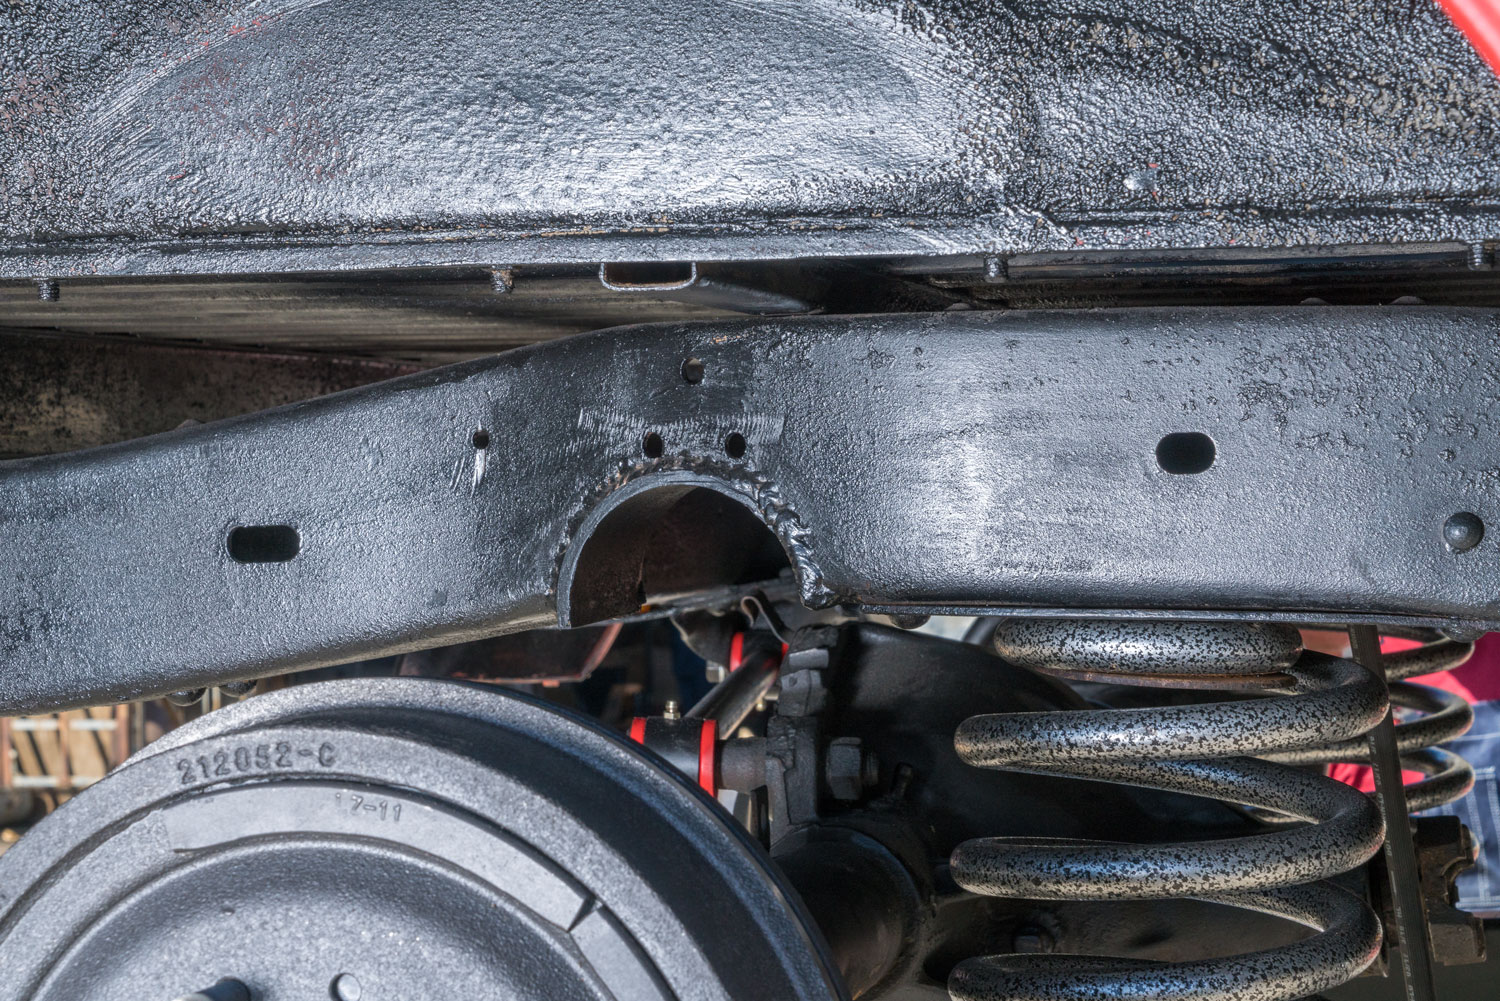
A previous builder had cut the frame and welded in a half-pipe section to create clearance. Since the truck had also been shortened, the frame required close inspection before the rear suspension could be completed.
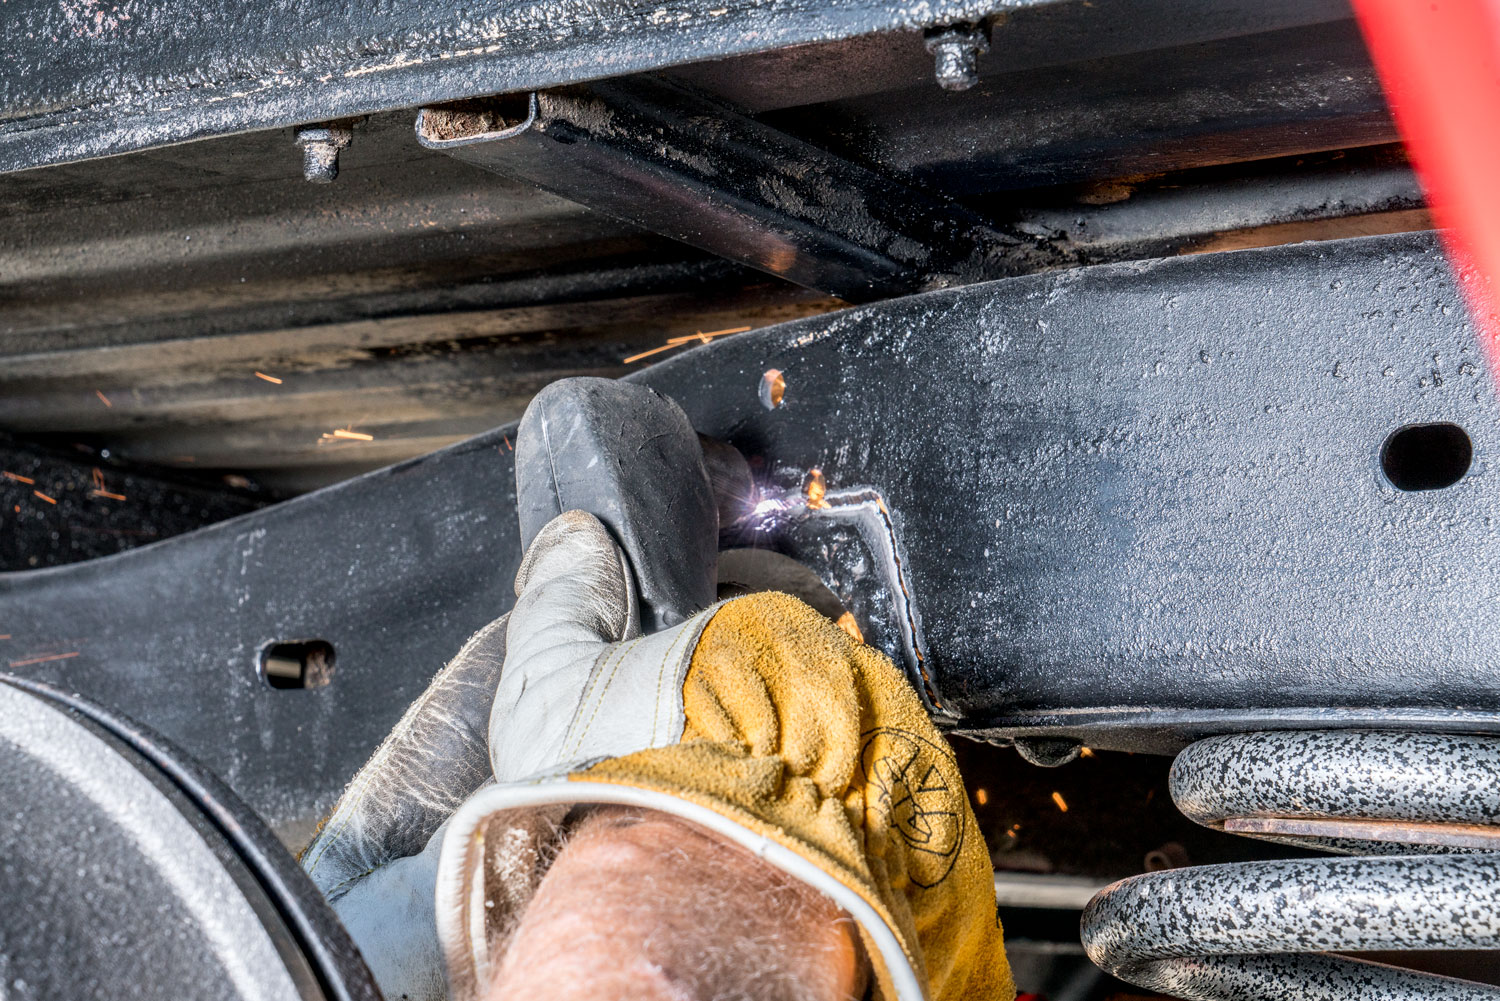
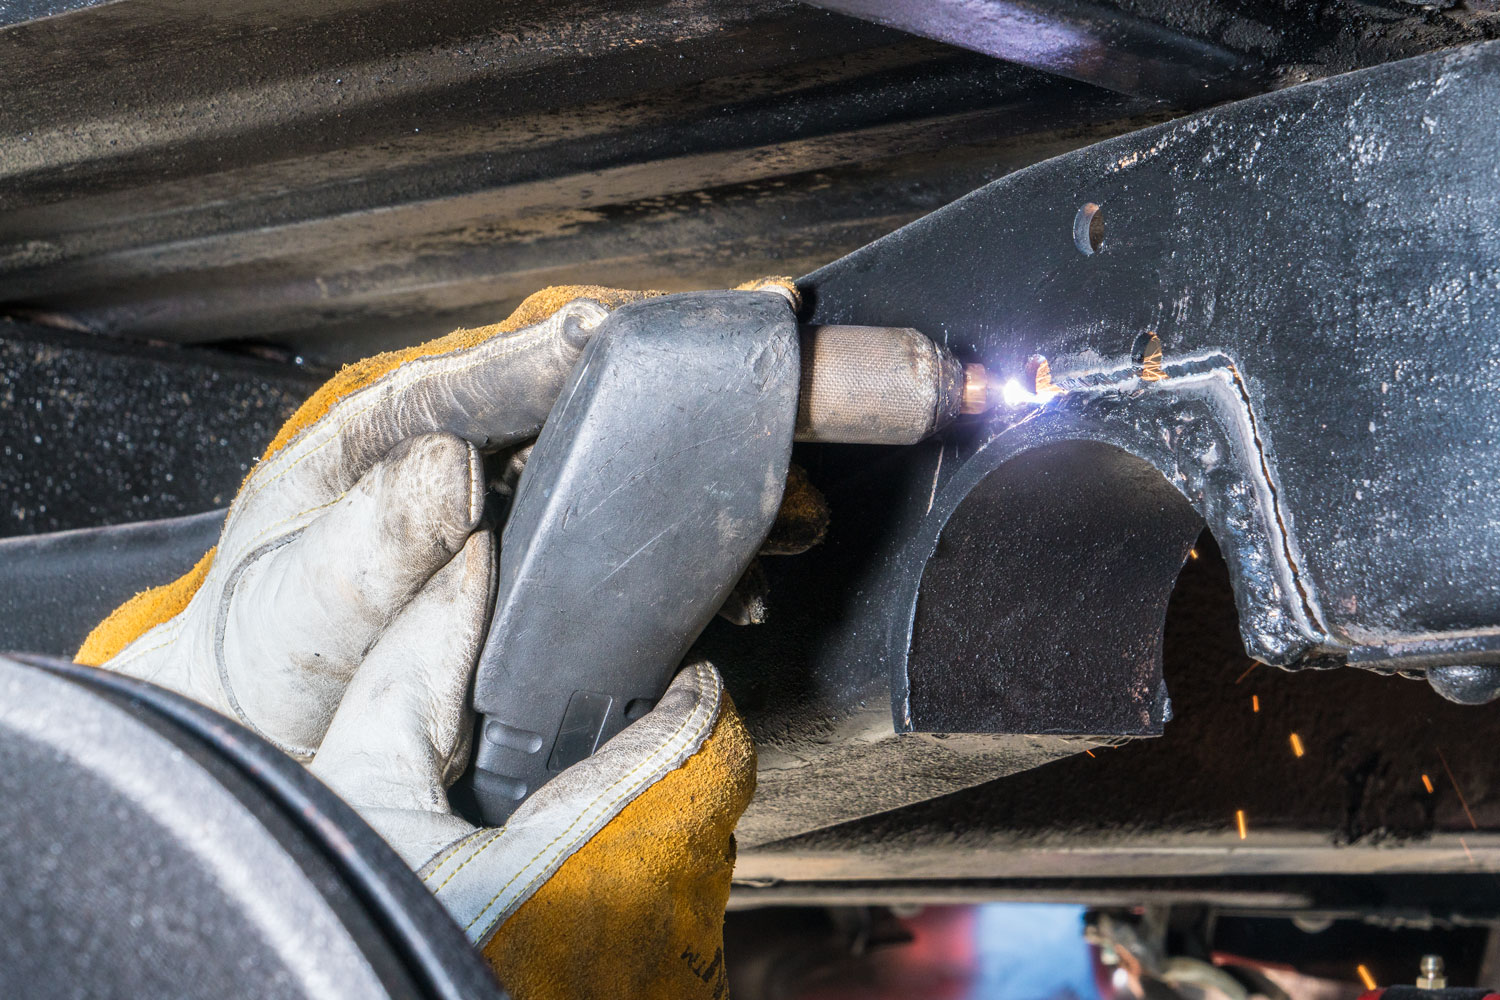
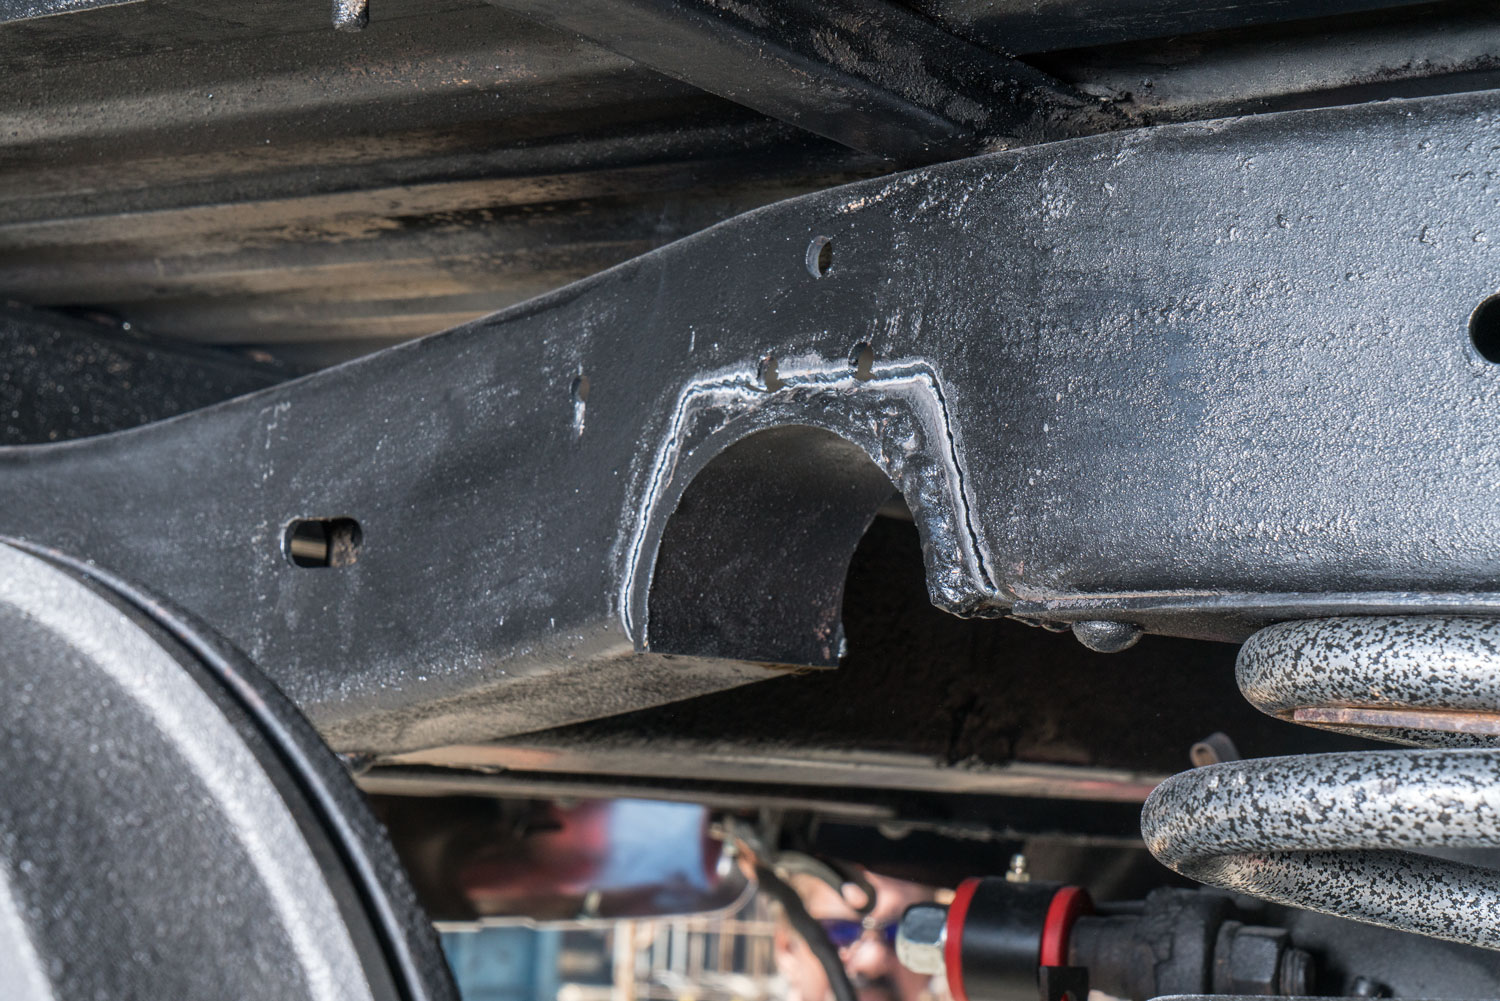
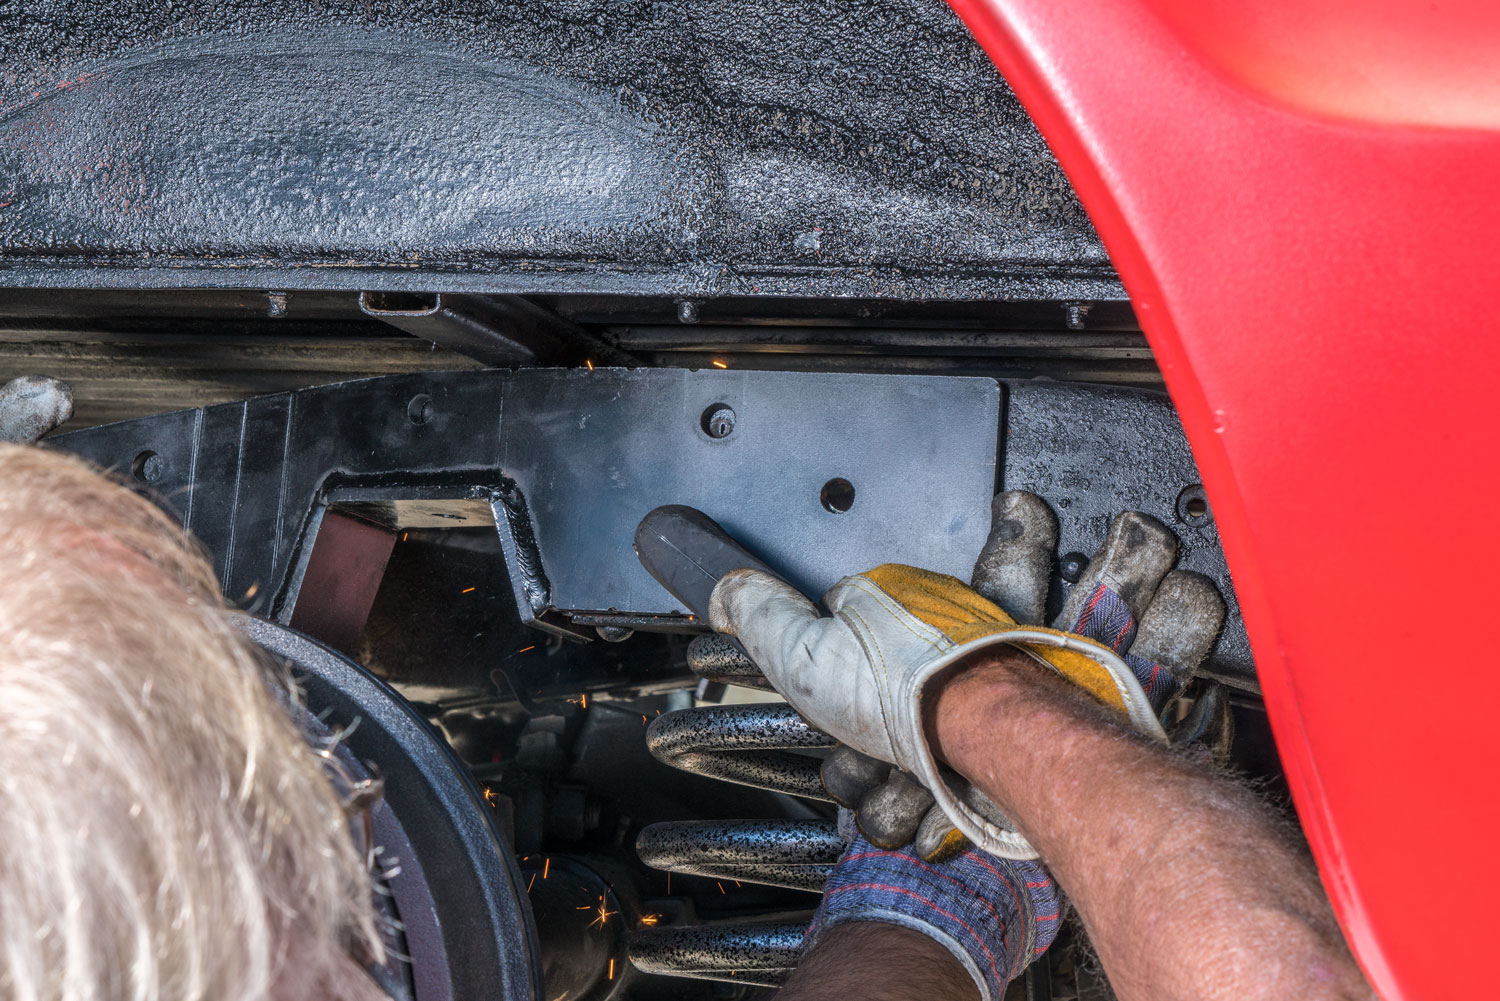
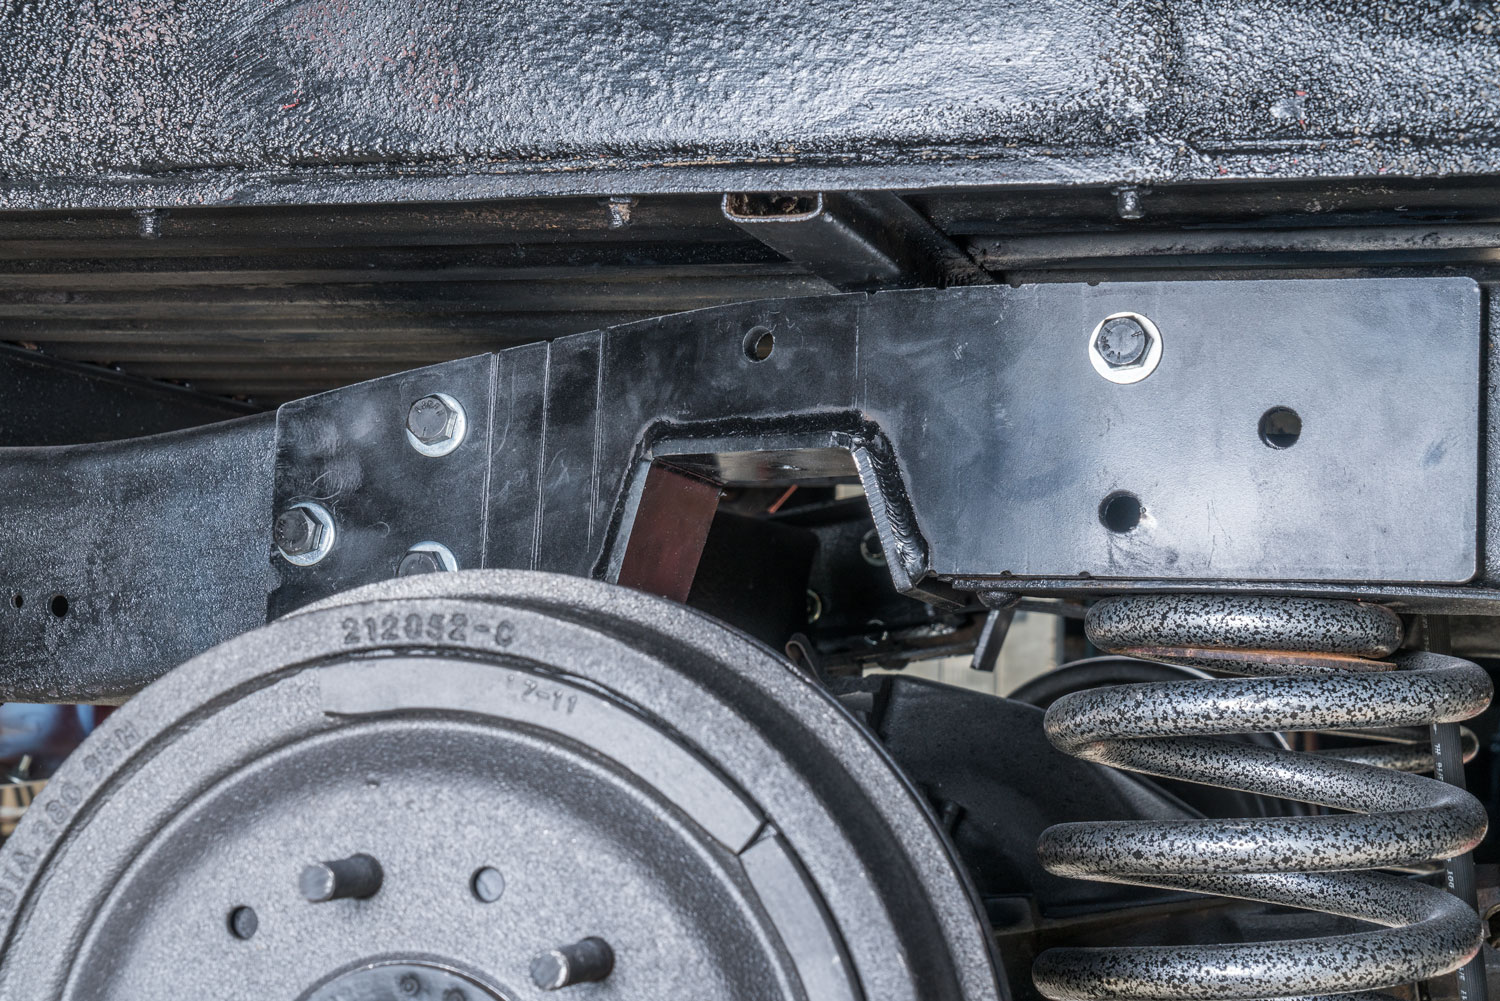
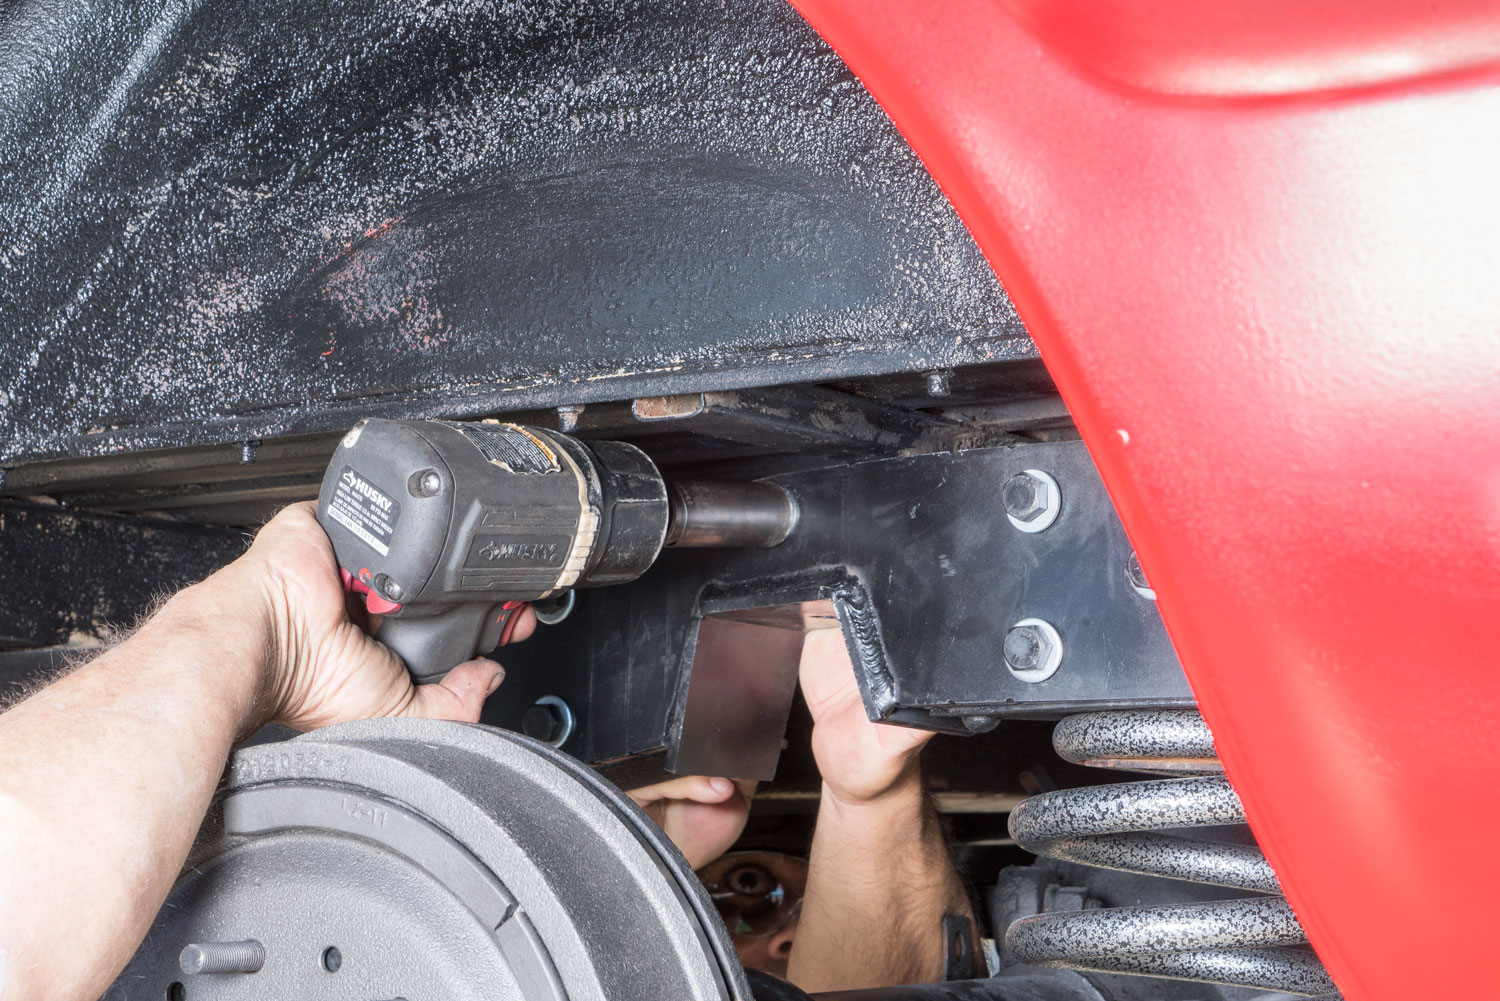
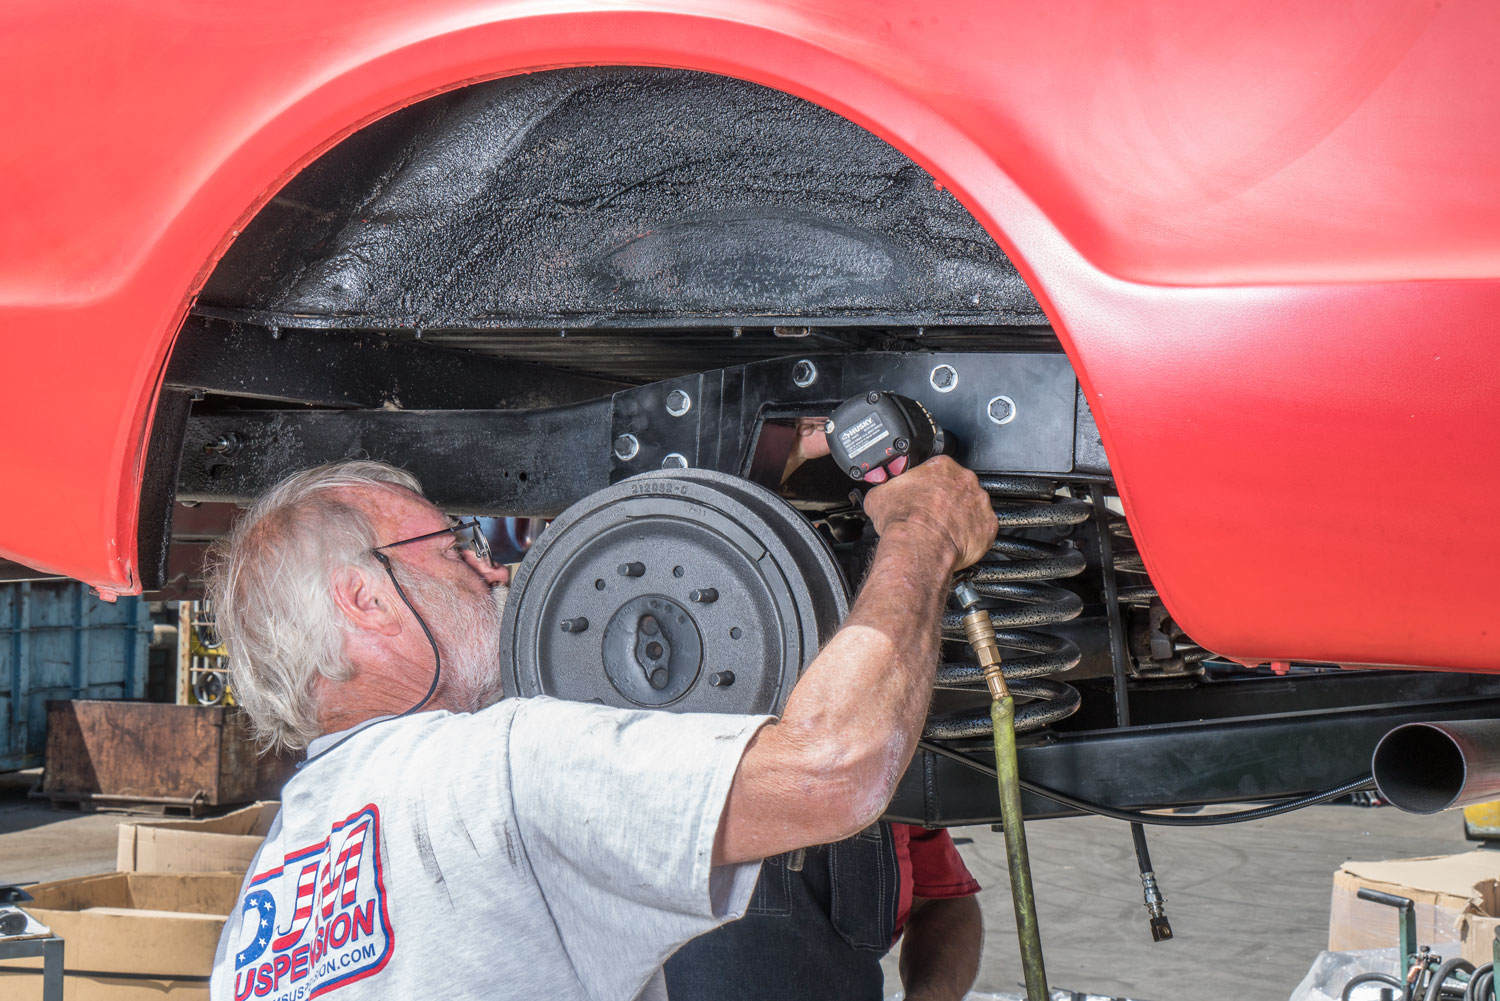
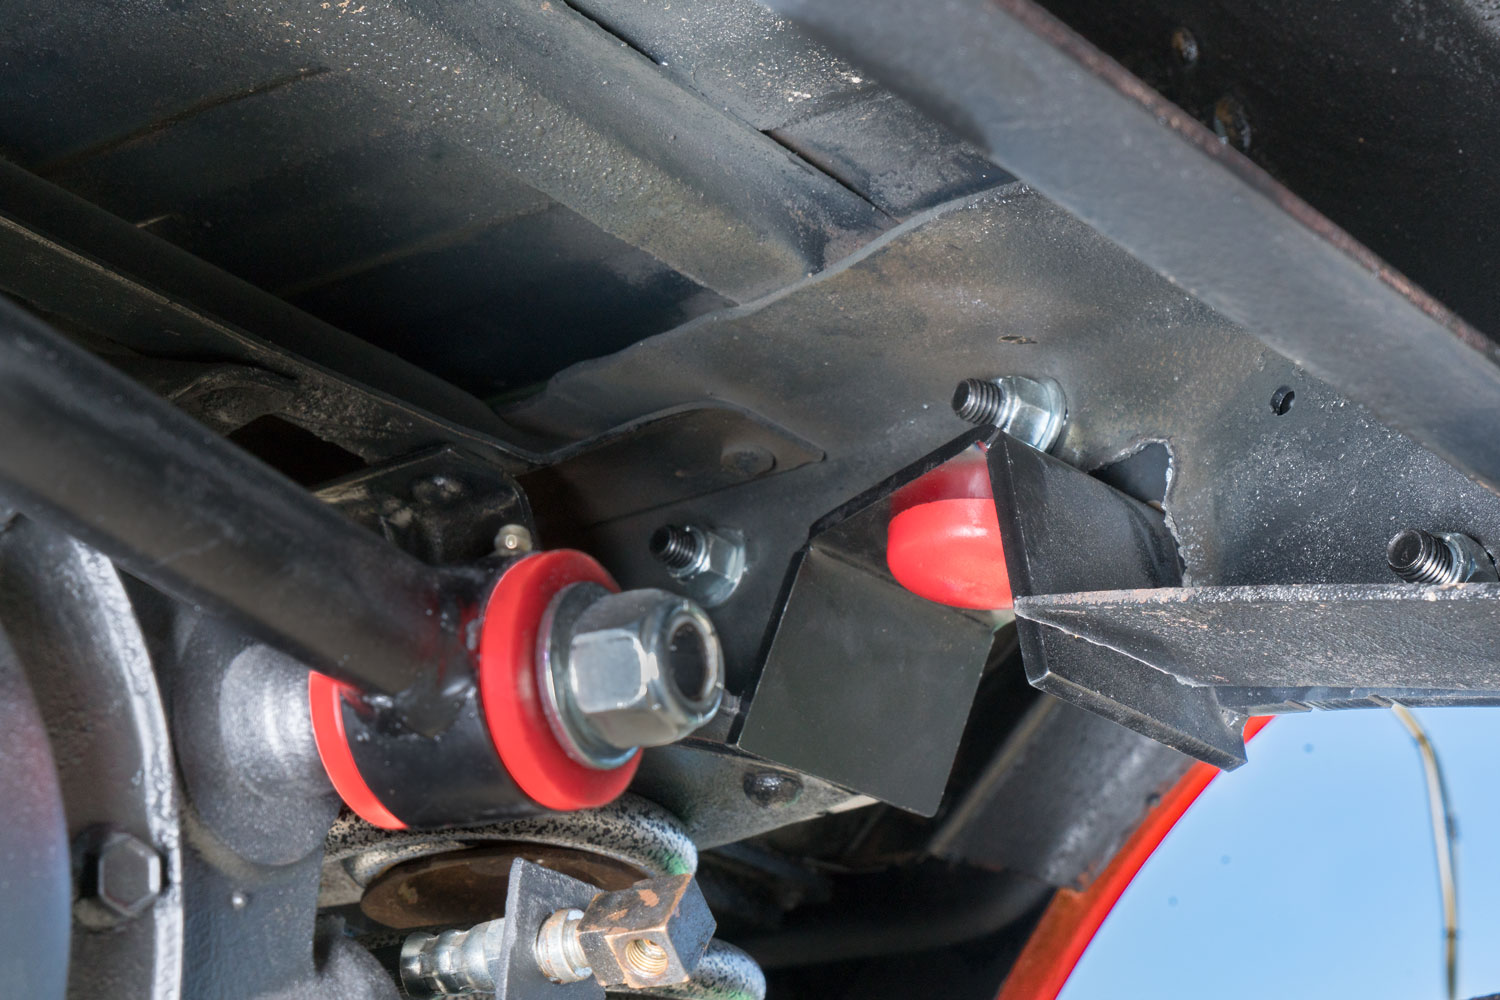
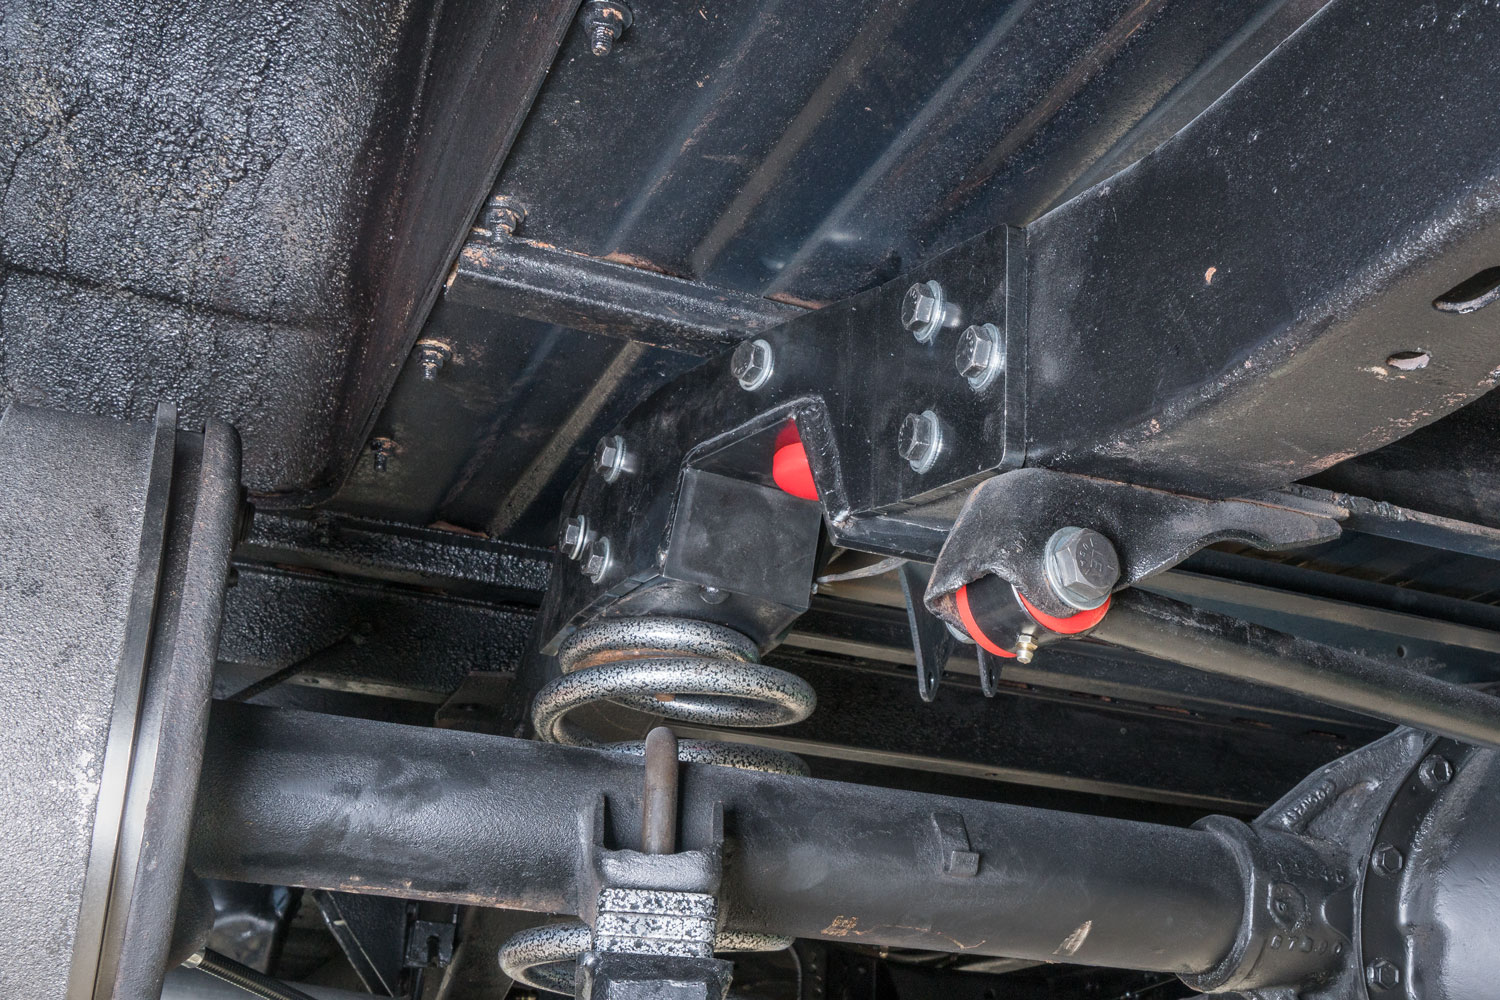
The old modification was replaced with C-notch brackets that matched the new suspension setup. The team used a plasma cutter to shape the frame for the brackets and created mounting holes for the new frame supports.
The brackets were secured with 5/8-inch bolts. This setup provided more clearance for the rear axle as the suspension moved upward while adding support around the modified frame section.
A C-notch becomes relevant when the axle sits closer to the frame after a substantial drop. Without enough clearance, the axle can contact the frame over bumps. Because installation involves cutting the frame, accurate placement and secure reinforcement are essential.
Completing the Front-End Alignment
Once the suspension, steering, wheels, and tires were installed, the truck could be set at its final ride height. The team then completed the front-end alignment.
Changes to the control arms, springs, spindles, tie rods, and ride height affect front suspension geometry. Camber, caster, and toe need to be checked after these parts are installed. The alignment process places the tires at the correct angles and helps the truck track properly on the road.
The Calmax setup allowed us to adjust and secure the front alignment without relying on stacks of loose traditional shims. The second video shows this final part of the build.
Aligning the Lowered 1970 Chevy C10
The exact alignment specifications for your truck can vary based on its parts, tires, ride height, and intended use. The main takeaway is simple: complete the alignment after the truck reaches its finished ride height and recheck all fasteners and measurements before regular driving.
How the Complete Suspension Setup Works Together
Every component in this 1970 Chevy C10 suspension build has a specific job. The Calmax control arms and lowering springs establish the front stance and suspension geometry. The sway bar controls body roll, while the shocks manage suspension movement. New tie rods support tighter steering and accurate alignment.
At the rear, the trailing arms locate the axle from front to back, and the Panhard rod controls lateral movement. The lowering coils and spacers establish the rear stance, while the Calmax SuperShocks control the movement of the axle and body. The C-notch brackets provide the clearance required by the lower ride height.
The brake upgrades support the added control provided by the suspension and steering work. Together, these parts create a lowered classic truck that can feel stable, responsive, and comfortable during regular street driving.
Remember, a complete 1970 C10 suspension upgrade is about how the full system works as a unit. When you select compatible parts, prepare the mounting areas, check clearances, lubricate the joints, and finish with a proper alignment, your lowered C10 can combine the stance you want with the road manners you need.
Ready to Plan Your C10 Suspension Build?
The right 1970 Chevy C10 suspension upgrade starts with choosing the parts that match your truck, desired drop, and intended use. Explore DJM Suspension for your C10 and shop for the parts you need by model, make, year, and drivetrain.
Contact our team if you need help choosing compatible control arms, springs, shocks, and rear suspension parts.