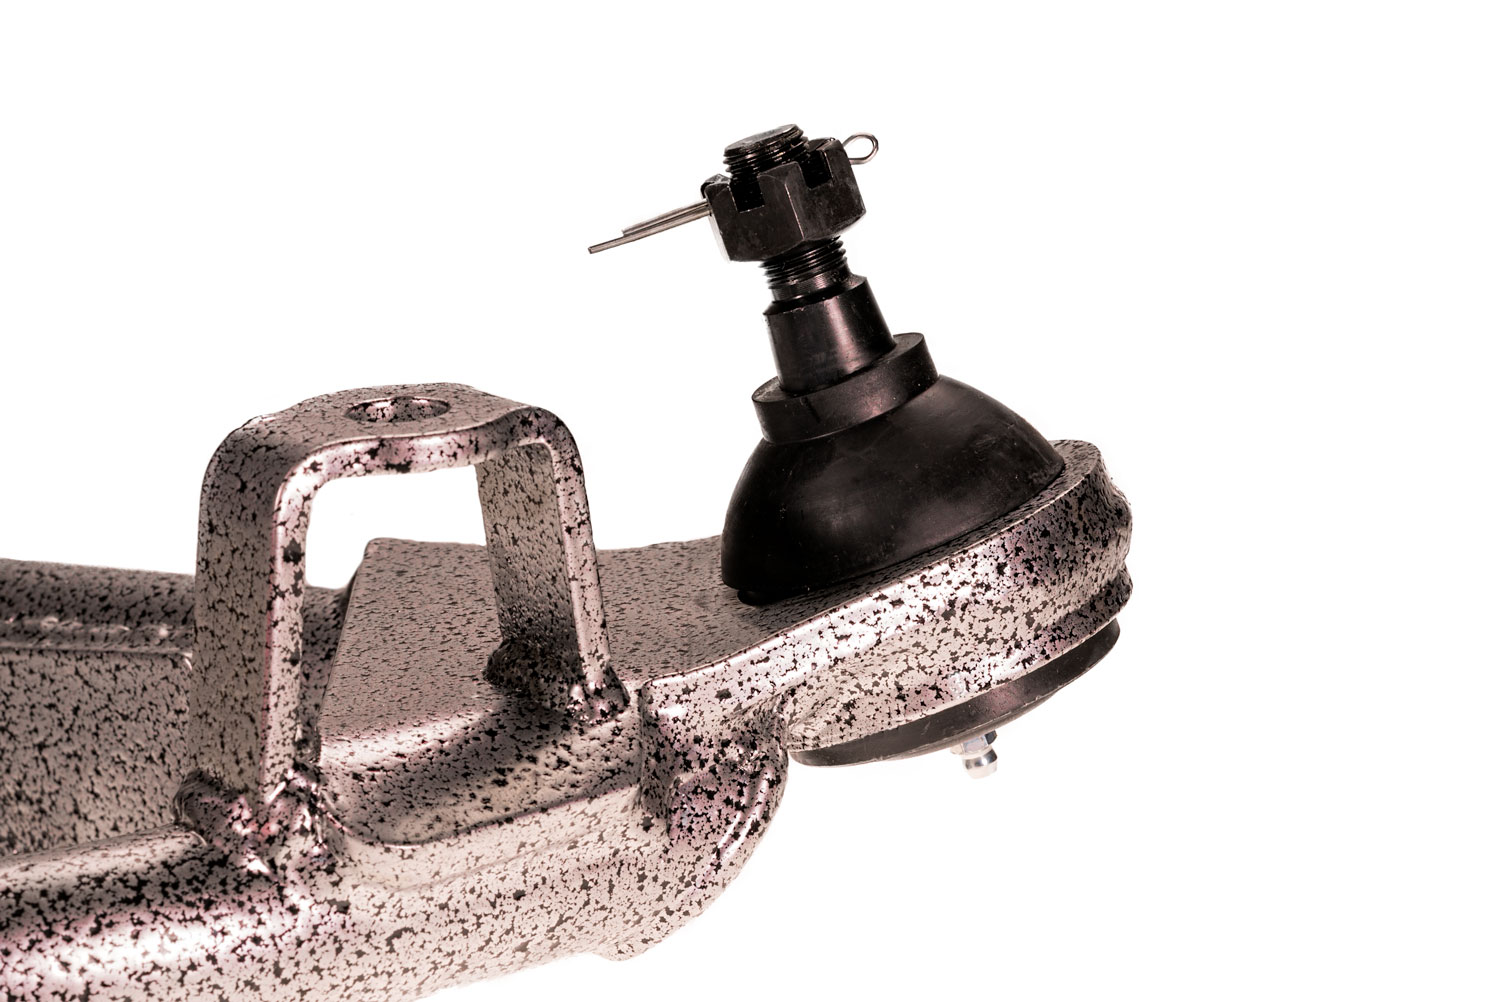

1988-1998 C1500 Silverado/Sierra 3 inch Lowering Control Arms
$439.76
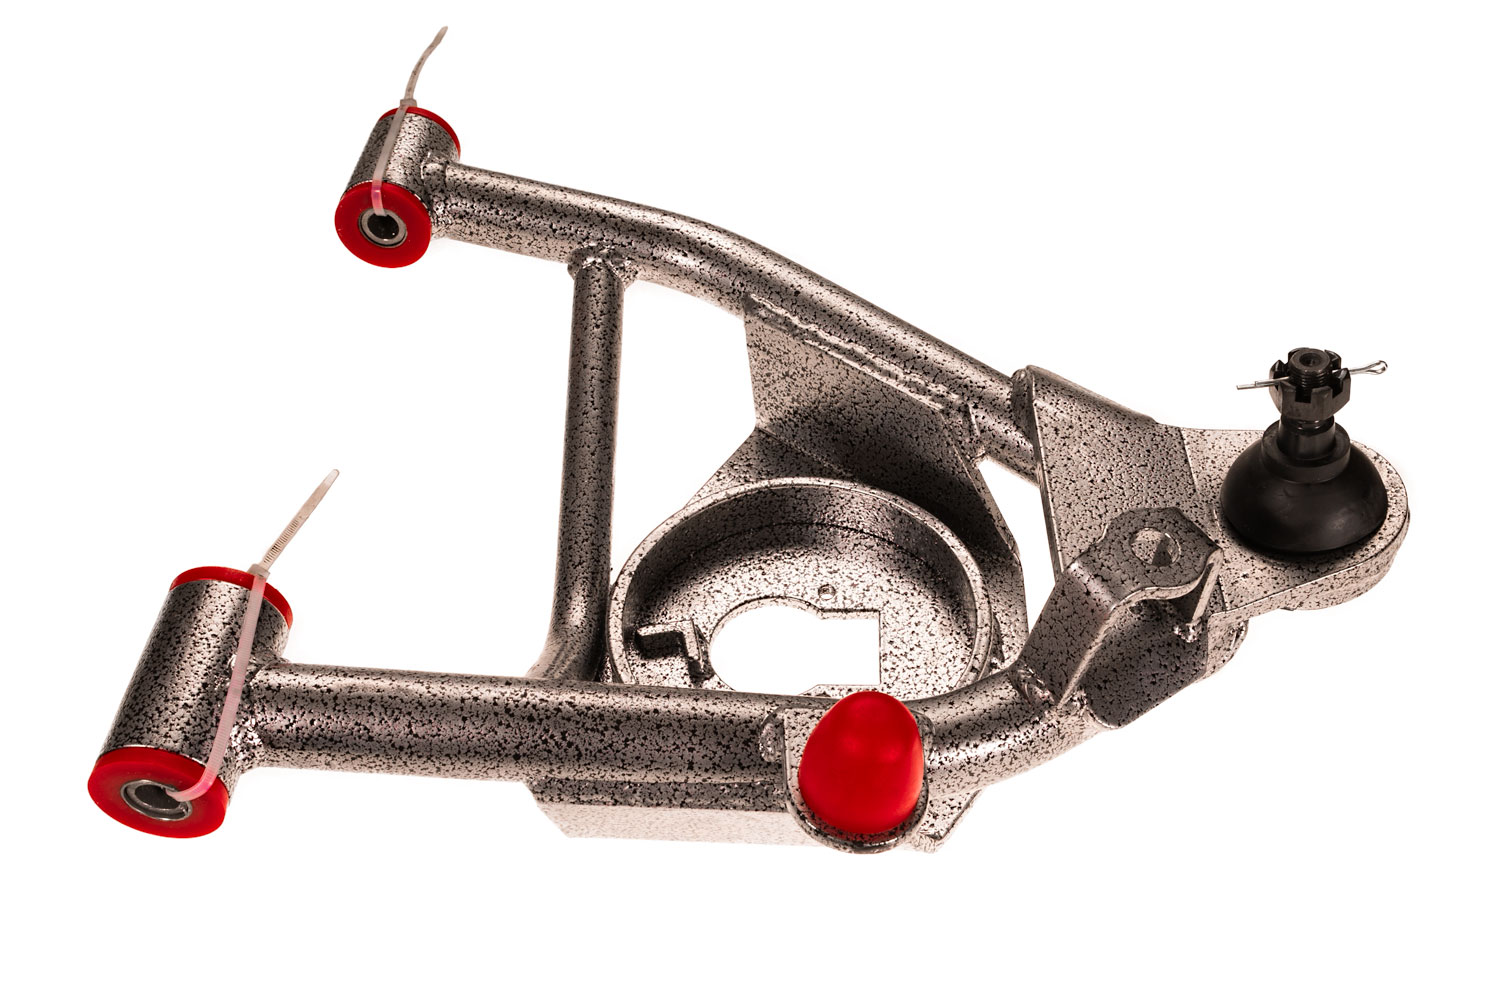
Get a clean 3-inch front drop on your C1500 using only lower control arms. With these 1988-1998 C1500 lowering control arms, you don’t need spindles, wheel clearance headaches, and no compromise on how your truck rides.
These lower control arms work with your factory coil springs to drop the front of your 1988–1998 C1500 Silverado or Sierra a full 3 inches, while keeping every inch of your stock suspension travel intact.
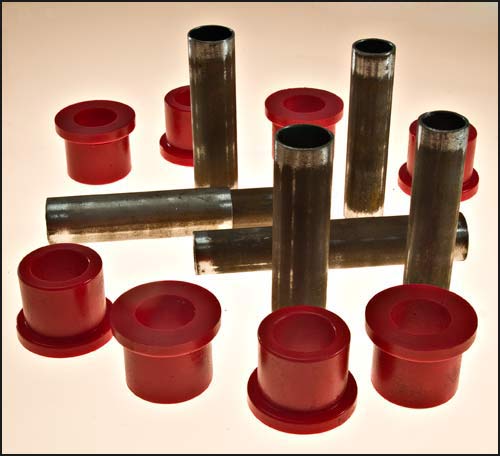
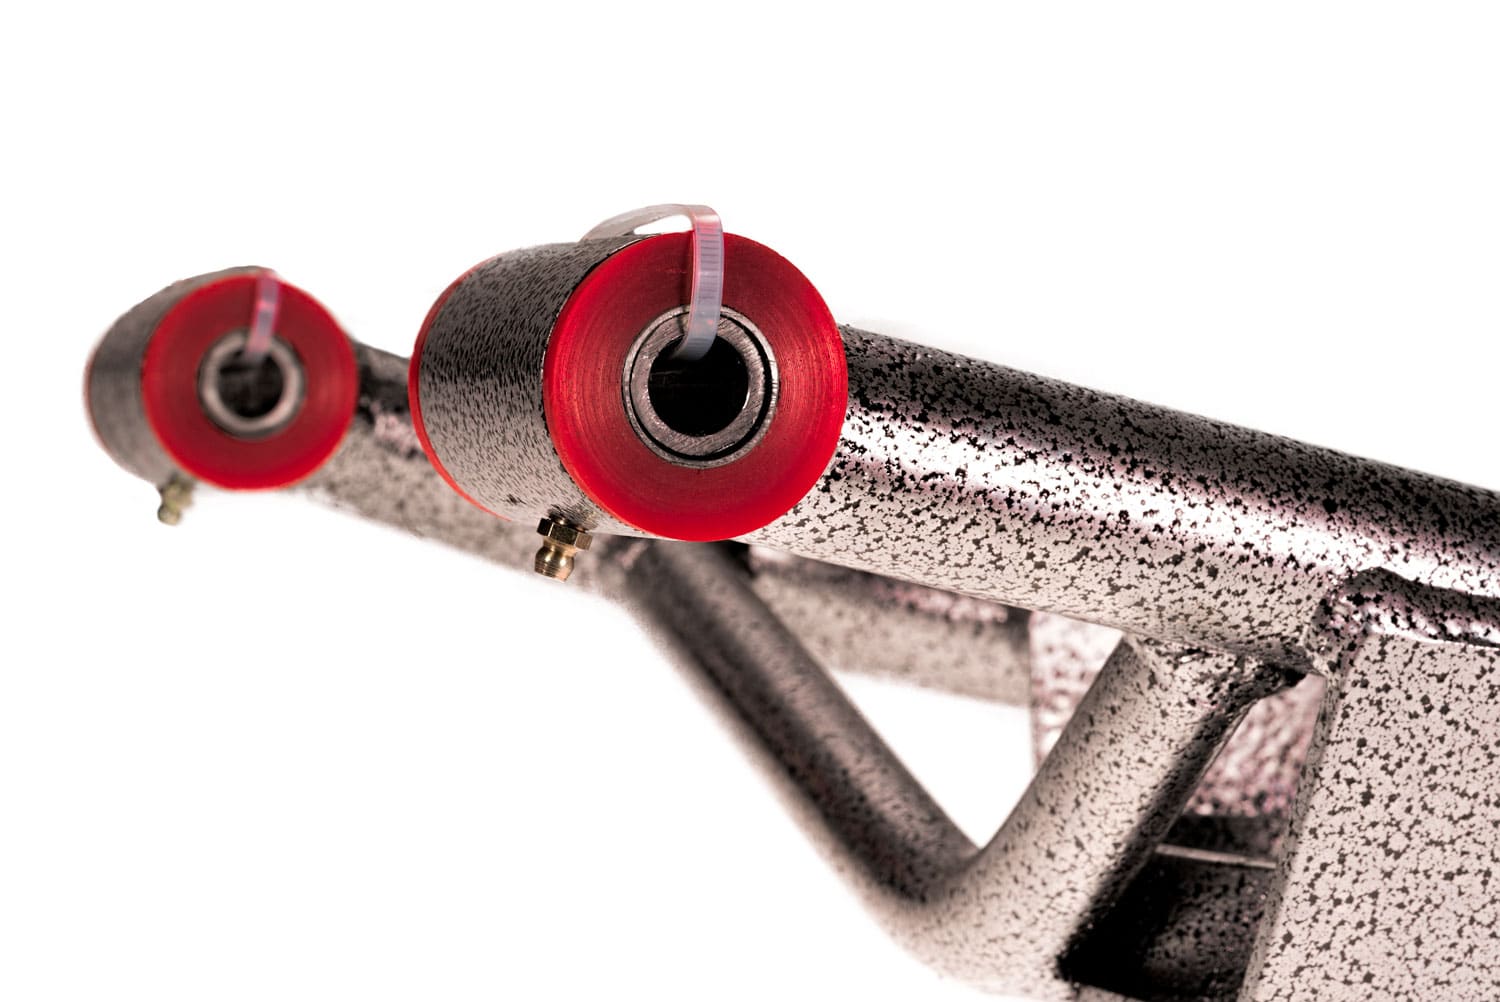
New ball joints, urethane bushings, and twin-tube pivot sleeves all come pre-installed, making this one of the cleanest, most straightforward lowering solutions available for this generation of truck.
- Works with factory coil springs
- New ball joints and bushings included
- Solves drop spindle wheel clearance issues
Description
Recommended Paired & Replacement Parts
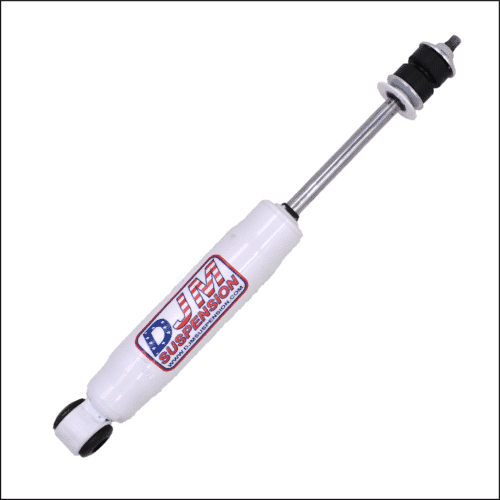
Shocks are NOT included with this kit. DJM Recommends:
- Front Shock 1415 (sold each)
Replacement parts
Why Buy from DJM Suspension
Precision Craftsmanship
Each control arm is built with quality materials and expert workmanship, providing consistent performance, longevity, and a precise fit for your truck.
Industry-Leading Experience
More than five decades in the lowering and suspension market give DJM Suspension unmatched knowledge to produce components that work for both daily driving and performance setups.
Customer-First Support
Our team provides guidance for selecting parts, installation questions, and advice to make your lowering project smooth and reliable. Contact us if you have any questions.
About DJM Suspension
DJM Suspension started as a love letter to aftermarket automotive culture, and that passion still drives every part we make, including these C1500 lowering control arms. Family-owned and American-made since the early 1970s, we design and manufacture everything in-house. Over five decades later, we're still the name truck builders trust when they want a lower stance without cutting corners on quality.
Frequently Asked Questions
Your C1500 Deserves a Stance That Does It Justice
Fifty-plus years of lowering expertise went into these 1988-1998 C1500 lowering control arms. Order them now to get the front drop your Silverado or Sierra has always needed, backed by parts built to last.
Additional information
| Weight | 45 lbs |
|---|
PART # CA2555L-2 & CA2555L-3
1988-1998 CHEVY C1500 PICKUP LOWER CONTROL ARMS
INSTALLATION INSTRUCTIONS

Please take the time to read these INSTALLATION INSTRUCTIONS and check the Hardware Parts List to be sure you have all the listed parts.
DJM parts should be installed by qualified mechanics. If you are not familiar with automotive repair have the parts installed by someone with experience.
Please read the warranty information (blue page enclosed). Complete your Product Warranty Card and mail it to DJM Suspension.
Please take a few minutes to fill out your installation helper (back side of warranty). Accurate measurements BEFORE BEGINNING INSTALLATION will show any irregularities in your vehicle.
NEVER WORK UNDER TRUCK SUPPORTED BY A JACK ONLY !!!
USE QUALITY JACK STANDS WHICH HAVE A RATING ADEQUATE FOR YOUR TRUCKS WEIGHT!!!
THIS KIT IS DESIGNED TO BE USED WITH THE FACTORY COIL SPRINGS. USING AFTER MARKET COIL SPRINGS OR AIR BAGS WILL VOID DJM'S WARRANTY!!
New front shocks #TS1415 are recommended, but not required.
INSTALLER MUST CHECK THAT THERE IS ABSOLUTELY NO CLEARANCE PROBLEMS BETWEEN THE WHEELS, THE SPINDLE, THE CALIPER, THE LOWER CONTROL ARMS AND ANY OTHER COMPONENT BEFORE DRIVING VEHICLE.
Hardware Parts List:
| 1- Left Lower Control Arm. | 6- Grease Fittings. |
| 1- Right Lower Control Arm. | 2- Ball Joints (6293). |
| 8- Pivot Bushings(Installed). | 1- Set Twin Tube Sleeves. |
| 1-Sway bar end link (EL-01) | 4- 16m Nylock Nuts |
This kit uses DJM's twin tube pivot sleeves. YOU MUST ASSEMBLE THESE SLEEVES CORRECTLY. DO NOT SKIP THIS STEP!!
The outer sleeves are already installed in the control arms. You need to drill a small hole for the grease to pass though to the inner sleeve. Using an 1/8" drill, line drill through the zerk fitting hole (Fig #1). The drilling operation will leave a burr on the inside of the sleeve and must be removed. Use a rat tail file to completely remove all burrs from drilling and on the ends of the sleeves (Fig #2). Make sure you clean out any chips or dirt. Install grease fittings (Fig #3). With the outer sleeves drilled and cleaned it is important to check the inner sleeves. These sleeves should be about .050" longer than the outer sleeve. You should assemble them before greasing to check that length is slightly longer and they rotate smoothly. Now apply some grease to the inner sleeve and insert into control arm (Fig #4). Install ball joint grease fitting(Fig #5).


Do not impact the piviot bolts. Clean bolts before installing. Replace factory nuts with nylock nuts provided with kit. Tighten to 45 ft lbs.
Before installing sway bar end links, loosen the 4 10mm bolts that hold the D-bushings to the frame. Raise the lower control arm to ride height and install sway bar end links then tighten D-bushings. Do not over tighten the end link bushing they just need to touch each other.
Review all procedures and check that all parts are tight and installed correctly.
Replace wheels and torque lug nuts. Check the tires will turn both ways without making contact. INSTALLER MUST CHECK THAT THERE IS ABSOLUTELY NO CLEARANCE PROBLEMS BETWEEN THE WHEELS AND TIRES, THE SPINDLE, THE CALIPER, THE CONTROL ARMS OR ANY OTHER COMPONENT BEFORE DRIVING VEHICLE.
Turn your steering wheel until it is straight. By sighting down the tires and truck you can get the toe fairly close. Adjustment is made with the tie rod ends. Loosen nuts at the rack and turn the tie rod ends until the tires are in a straight line from front to rear. Close is all you need, your alignment shop will correct this for you. Don't forget to tighten the nuts.
TAKE YOUR TRUCK TO A QUALIFIED ALIGNMENT SHOP FOR A PROFESSIONAL ALIGNMENT. ALIGN TO FACTORY SPECS.
With the vehicle on ground measure height of front and record on installation helper. Your measurements should be about 2" (CA2555L-2) and 3" (CA2555L-5) less than the before measurement.
REMEMBER AFTER TEST DRIVING INSPECT INSTALLATION AND DOUBLE CHECK ALL THE HARDWARE IS TIGHT.