
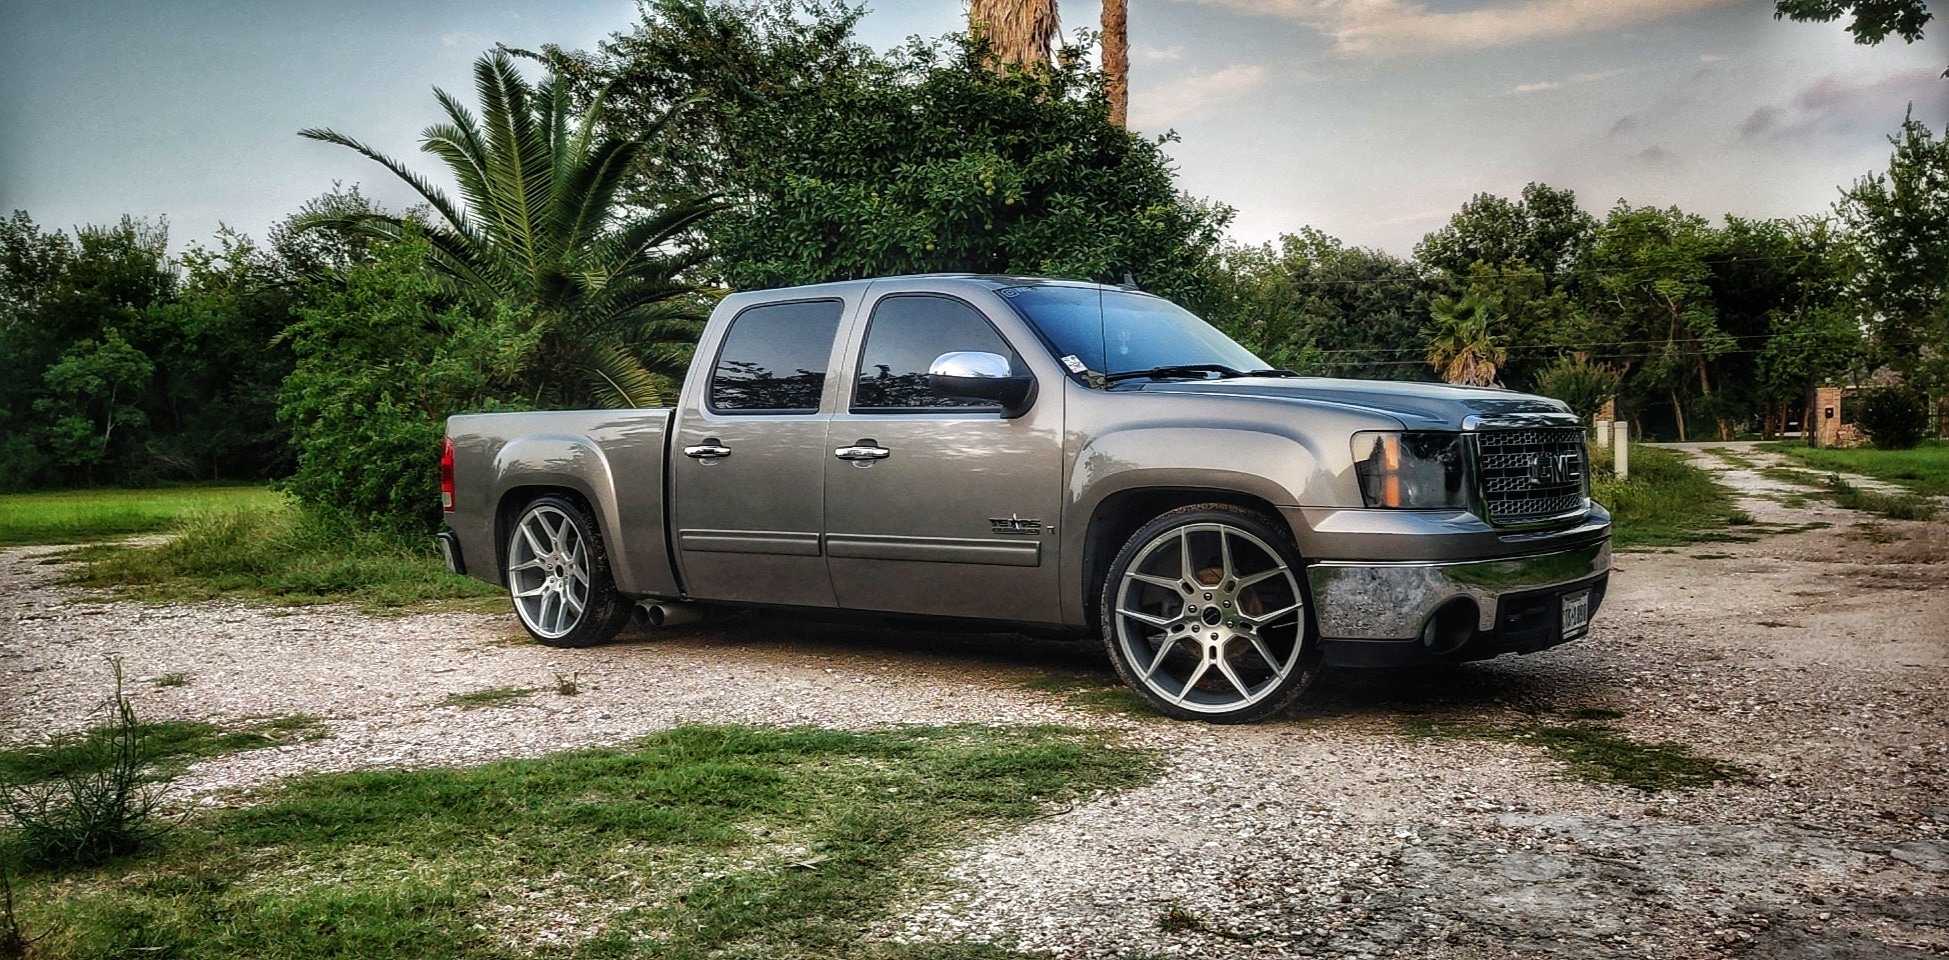
2007-2015 Silverado 4 inch Front / 7 inch Rear Complete Lowering Kit (Cast Iron Steering Knuckles) (Shocks Included)
$883.50
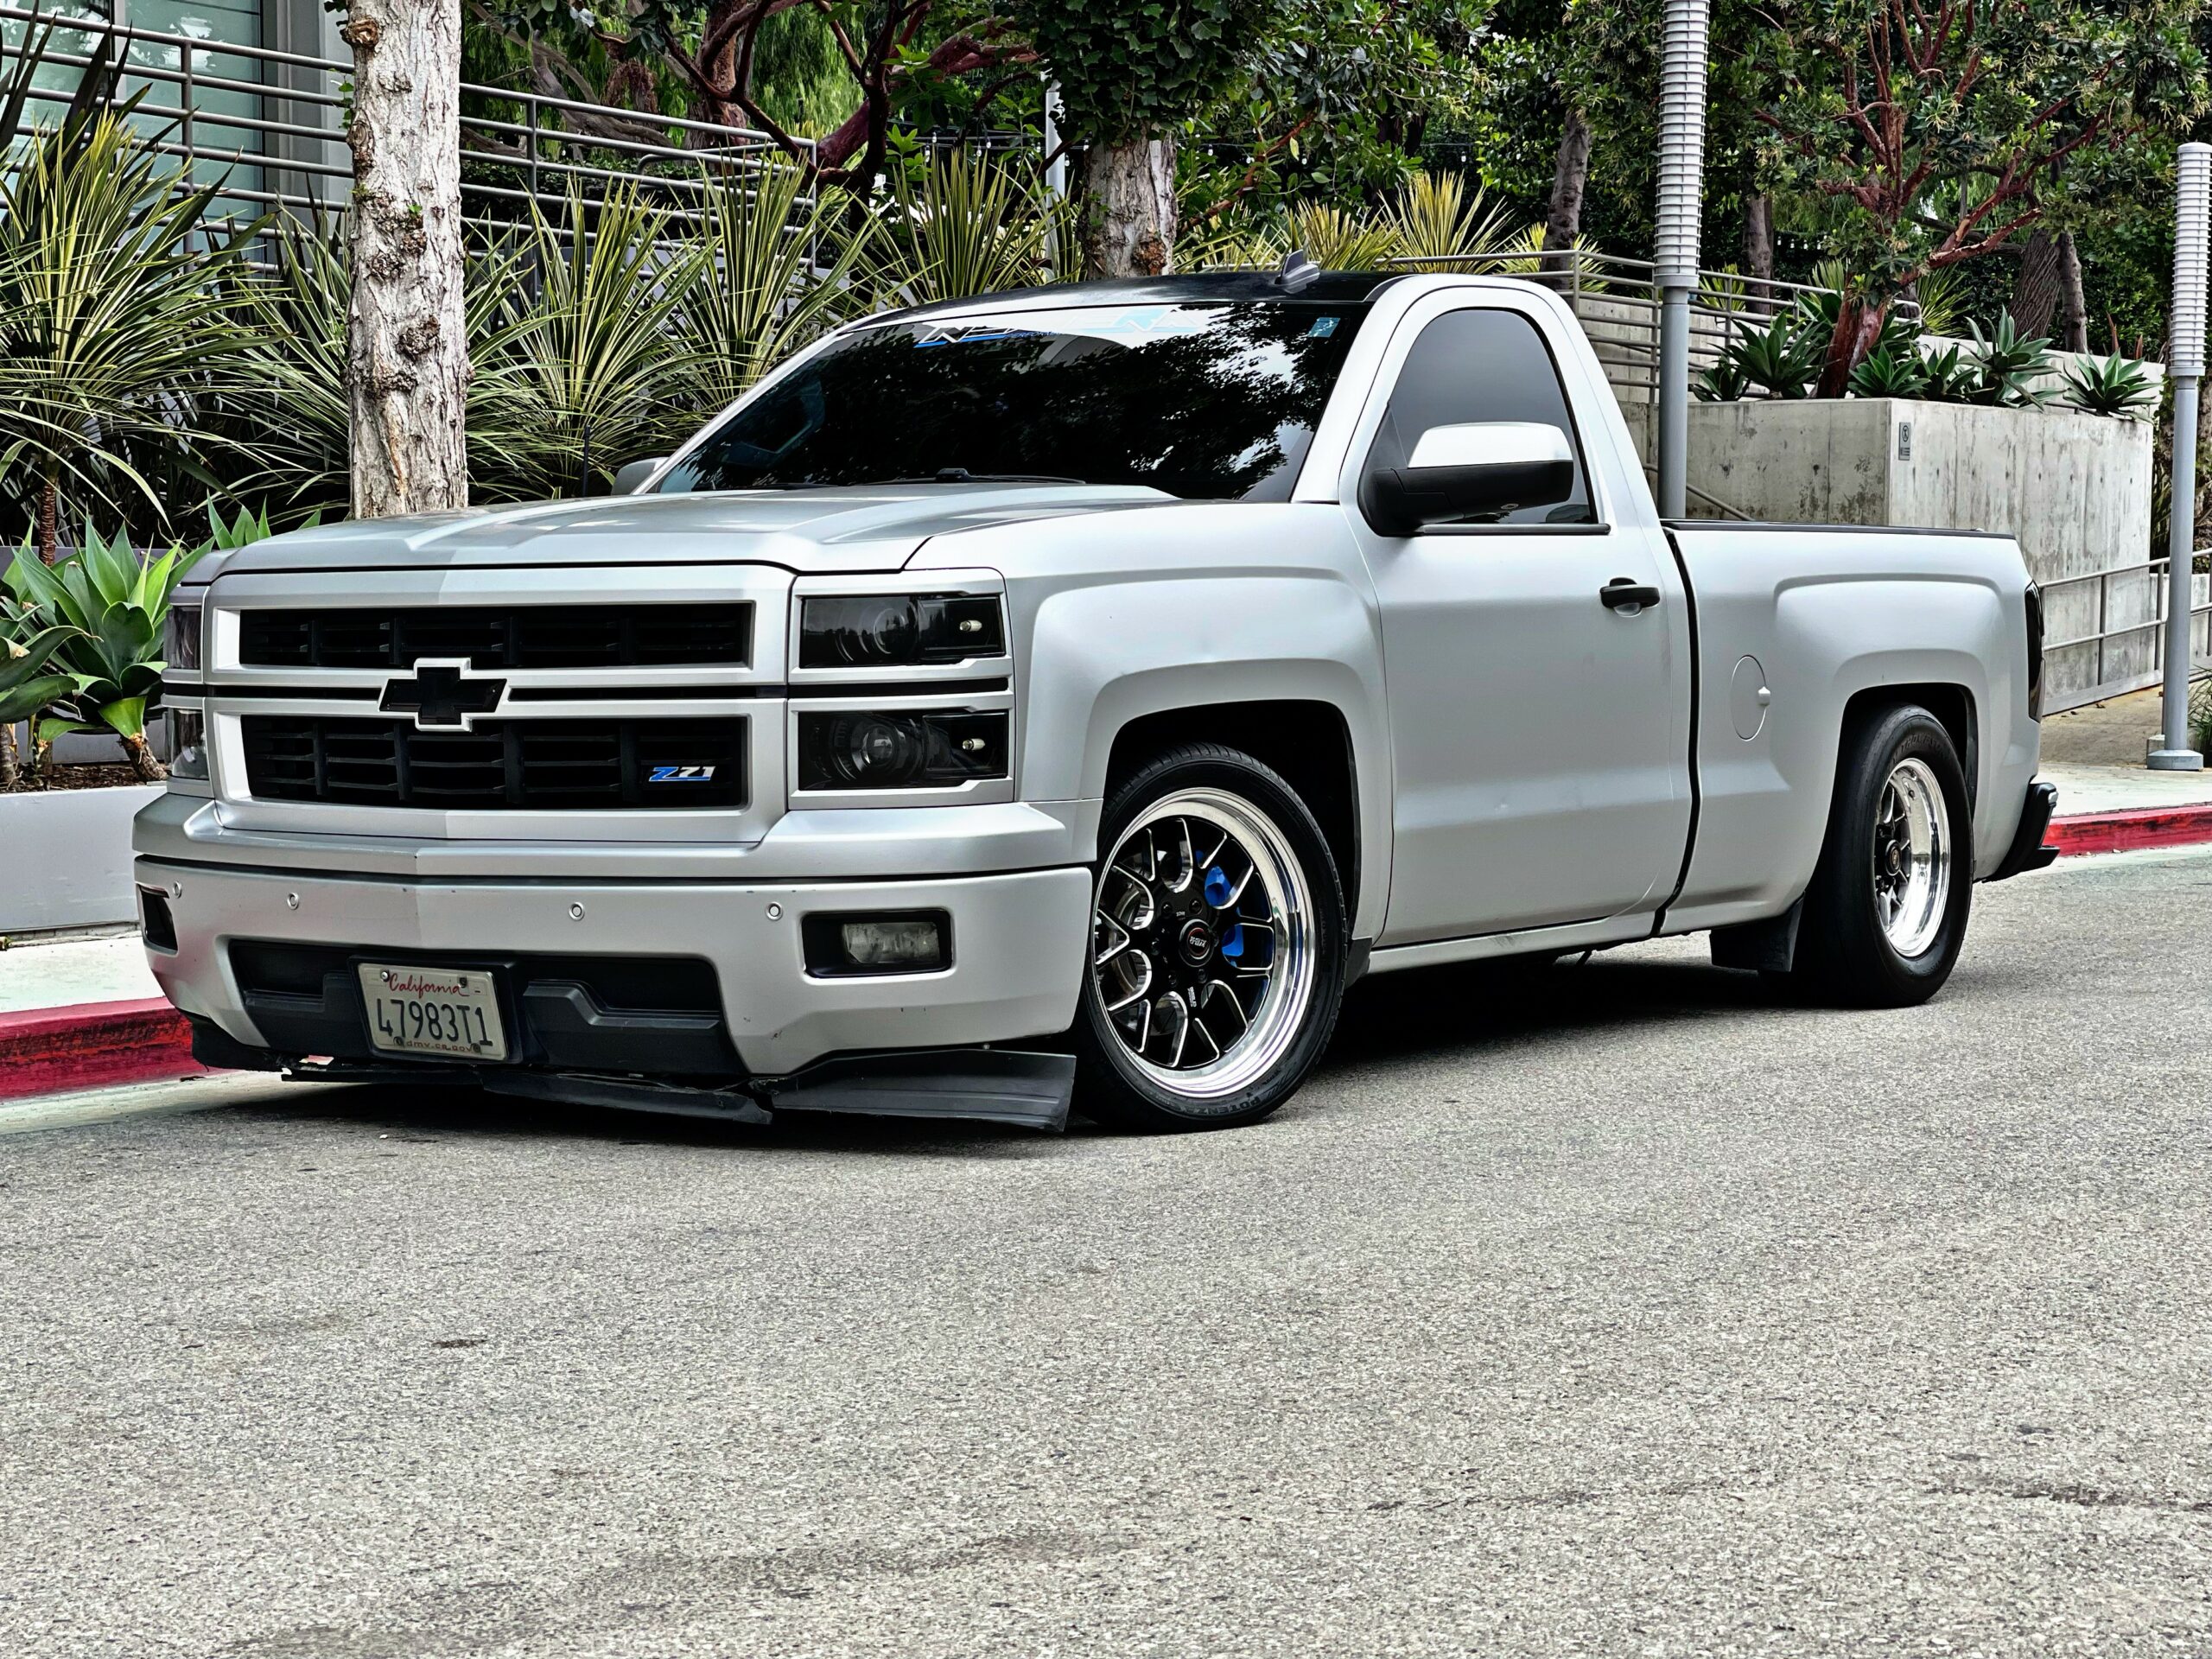
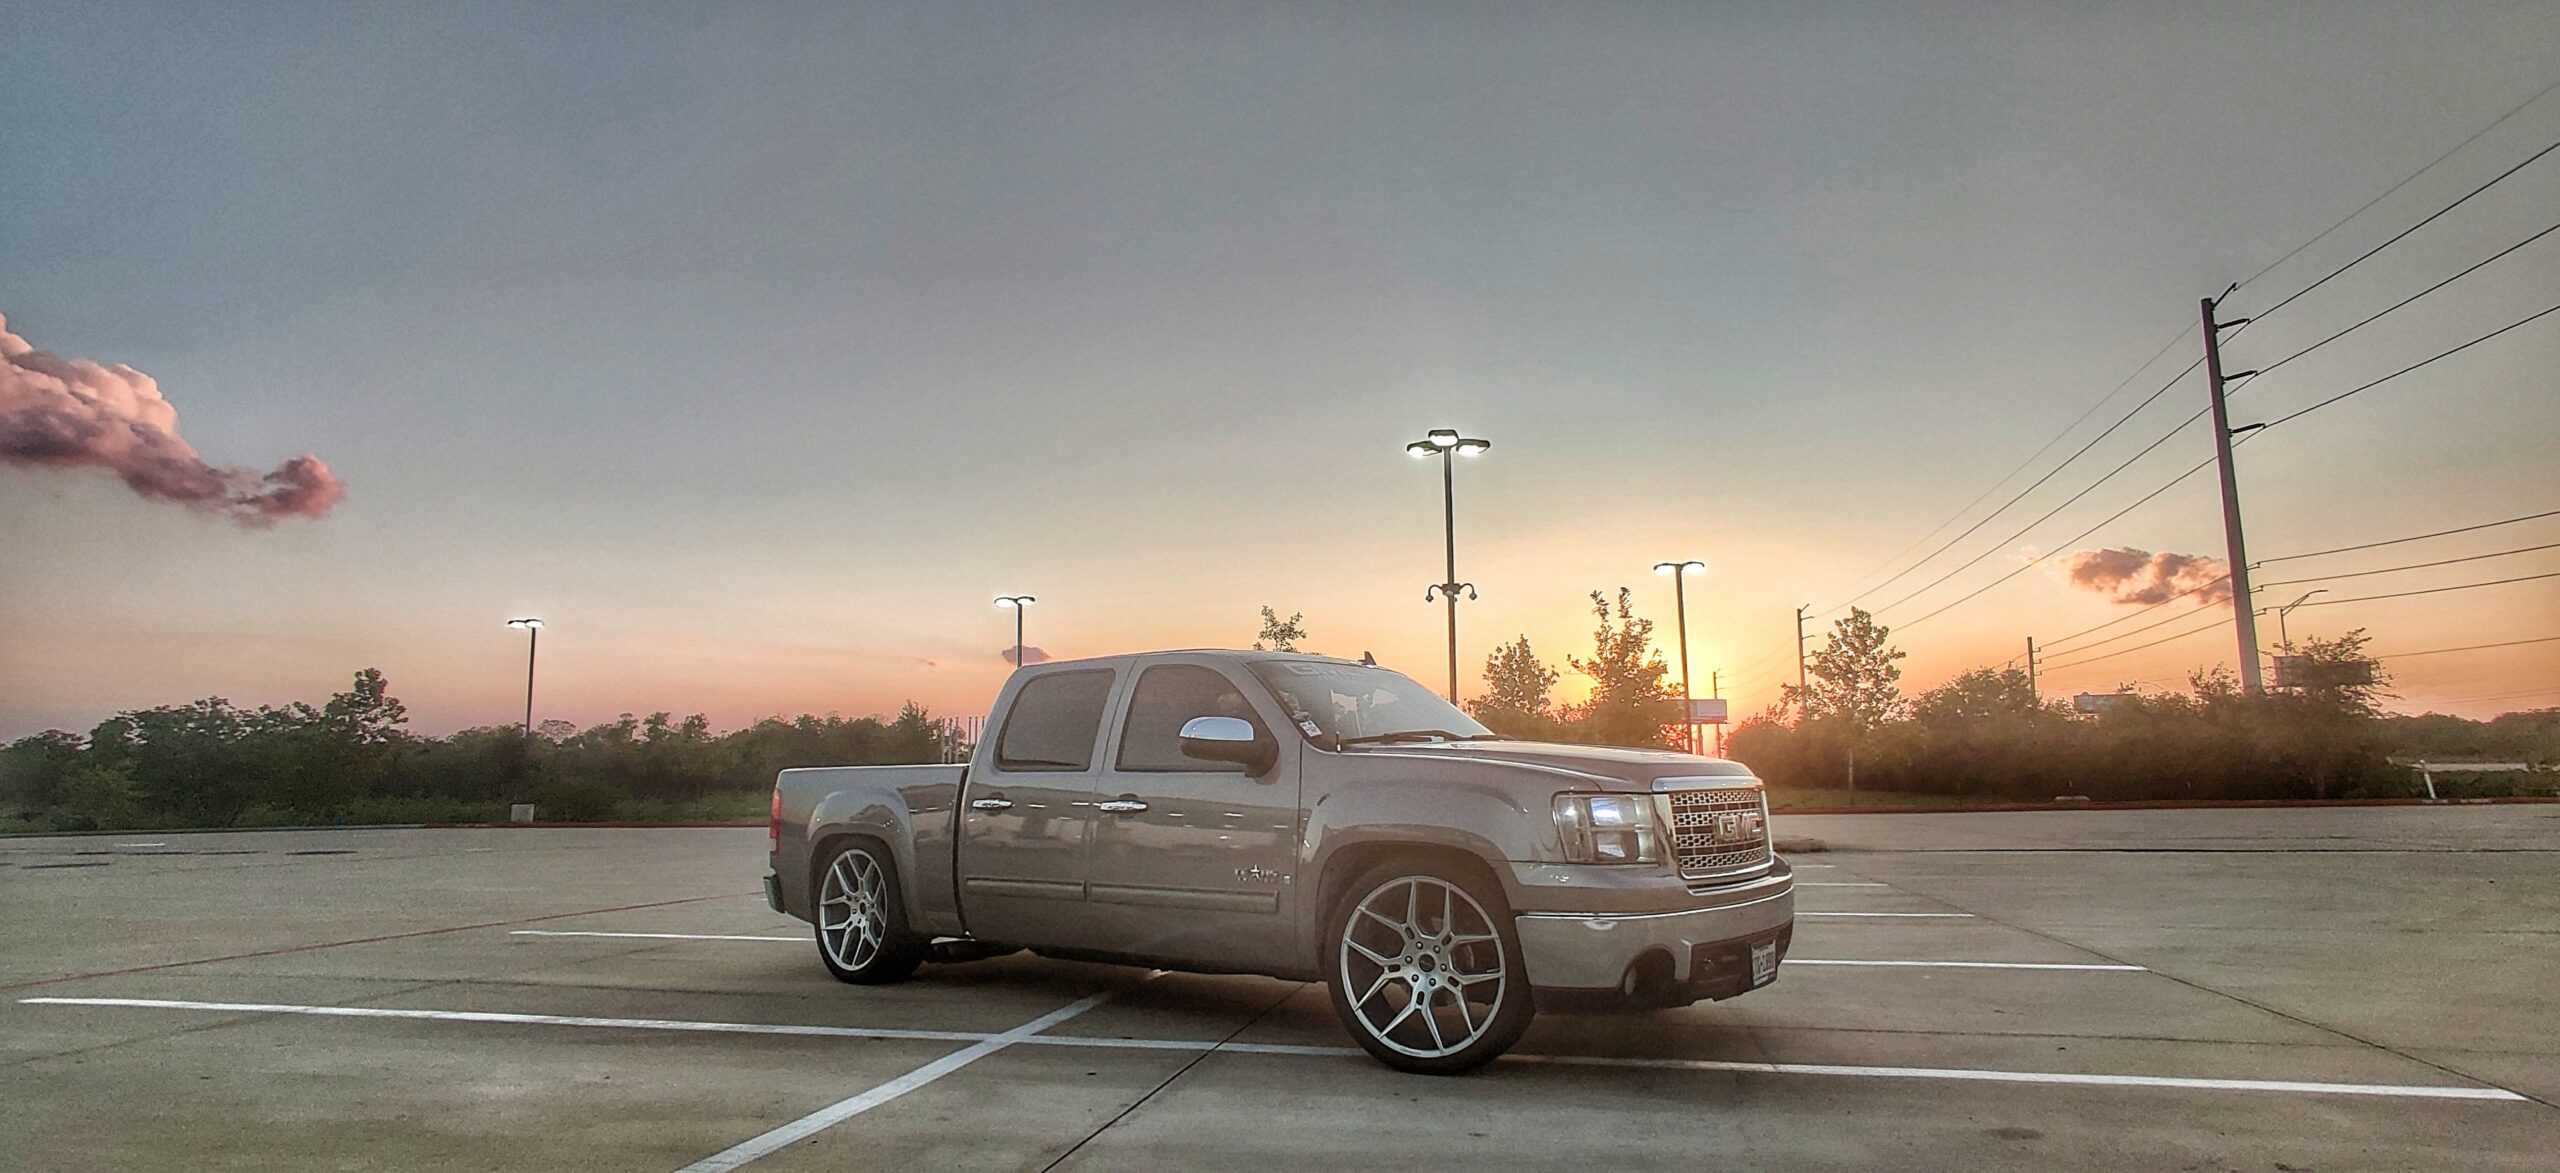
Create the right stance for your truck with this 2007 Chevy Silverado lowering kit. This complete package delivers a 4-inch front and 7-inch rear drop with cast iron steering knuckles, suspension components, and shocks included for a complete lowering setup.
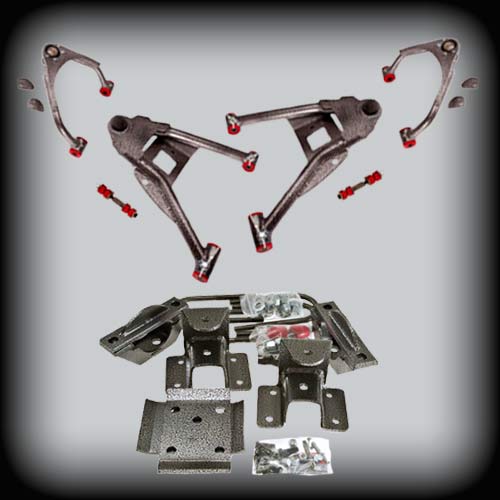
This 2015 Silverado lowering kit combines upper and lower control arms with factory coil-over struts to achieve a 4-inch front drop. The rear flip kit and shackle hangers provide a 7-inch drop while maintaining proper suspension geometry.
- 4-inch front / 7-inch rear drop
- Cast iron steering knuckles included
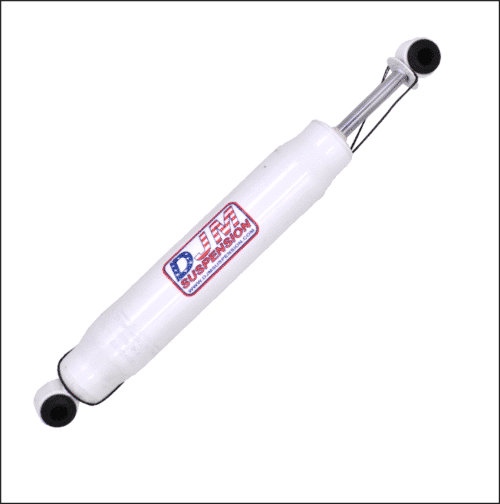
- Shocks included with kit
Description
Recommended & Replacement Parts
This complete 2007 Chevy Silverado lowering kit uses upper and lower control arms with factory coil-over struts to lower the front 4 inches. The design provides proper ball joint angles, alignment adjustment, and clearance for a quality lowered truck setup.
The rear suspension uses a flip kit and shackle hangers to achieve a 7-inch drop.
For 2015 models (2014 4x4 and early 2016), check out this 2015 Silverado/Sierra Spindle Chart to confirm the correct parts for your truck.
Shocks are included with this kit.
DJM Recommends:
- Front Factory Strut
- Rear 18.5″ Loop / Loop SuperShock (1800) (sold each)
Replacement Parts
- 6540 Press-In Ball Joint
- 6136 Bolt-On Upper Ball Joint
- BK2007U Upper Bushing Kit
- BK2007L Lower Bushing Kit
Check out these installation videos on our post titled “Truckin Magazine does A 2010 GMC Sierra 4/7 Kit.”
Why Buy from DJM Suspension
Designed For Proper Suspension Geometry
All our lowering kits are engineered with components that maintain important suspension angles, alignment adjustment, and clearance after lowering your Silverado.
Complete Lowering Solutions
We provide complete truck lowering kits with matched components, making it easier to achieve the desired drop without searching for individual parts.
Trusted By Truck Builders
Since 1970s, truck enthusiasts have relied on DJM Suspension for quality lowering products built for custom street trucks and daily drivers.
About DJM Suspension
DJM Suspension grew out of a genuine love for aftermarket automotive work. We’re a family-owned, American-made manufacturer, leading the lowering industry since the early 1970's. Our lowering kits give your truck the stance and ride quality needed for daily driving and show performance.
Frequently Asked Questions
Build Your Lowered Silverado Today
Get a complete 4/7 drop for your Silverado from DJM Suspension. Install this precision-engineered 2007 Chevy Silverado lowering kit and get a stance that turns heads as you drive.
Additional information
2008-2015 Silverado/Sierra 4 inch Front Lowering Control Arms
| Weight | 40 lbs |
|---|
2007-2018 Silverado/Sierra 7 inch Rear Lowering Kit
| Weight | 20 lbs |
|---|
18.5″ Loop / Loop SuperShock (1800)
| Weight | 3 lbs |
|---|
2007–2015 Chevy Silverado Control Arms
Safety First
Always work on a flat, level surface with the vehicle supported on properly rated jack stands. Never work under a vehicle supported only by a jack. Support the lower control arm before removing any control arm or ball joint, because the coil spring is under load.
Installation of suspension components should be performed by a qualified technician. If you are unsure about any step, contact DJM tech support before proceeding.
Two Wheel Drive Only
These control arms are designed for two wheel drive trucks only.
Kit Differences
| Part # | Sway Bar End Links |
|---|---|
| CA2515-3 | Re-use the factory sway bar end links |
| CA2515-4 | Use the supplied end links (SKU ELO1) |
Installation
-
Install the Grease Fittings
Install the grease fittings into the predrilled twin tube sleeves and, if necessary, the ball joint.
-
Pre-Grease the Twin Sleeves and Ball Joint
Pre-grease the twin sleeves to confirm the predrilled holes are clear and grease flows smoothly.
If the ball joint is greaseable, grease it now. If it is maintenance-free (no grease fitting), no action is needed.
Note: If a sleeve will not accept grease, correct it before the arm goes on the truck. -
Deburr the Upper Ball Joint Taper
2016–2018 steel knuckle onlySteel knuckles on these years have a small burr on the upper ball joint taper. Remove it with a file or die grinder, then test fit the upper ball joint to make sure there is no interference.
Critical: The ball joint stud must seat fully in the taper. A stud that doesn't seat fully can loosen in service and lead to ball joint separation and loss of steering control. Remove only the burr and do not enlarge the taper. -
Install the Control Arms
Install the control arms on the vehicle.
-
Install the Brake Line Bracket
CA2515U upper armInstall the brake line bracket on the upper control arm and route the brake line through it.
Critical: Turn the steering fully lock to lock and cycle the suspension to confirm the brake line is not stretched, pinched or rubbing at any point. A damaged brake line can cause brake failure. -
Connect the Sway Bar End Links
CA2515-3: Re-use the factory sway bar end links.
CA2515-4: Install the supplied end links (SKU ELO1).
-
Align the Vehicle
Have the vehicle aligned to factory specifications.
After Installation
Check clearance between the tires, control arms, sway bar end links, brake lines and frame through full steering and suspension travel. Re-check all fastener torque after the first 50–100 miles, and grease the fittings as part of regular maintenance.
Warranty
DJM Suspension products are warranted against defects in materials and workmanship. This warranty does not cover improper installation, misuse, modification, racing or off-road use, or normal wear. Contact DJM Suspension with your order information for warranty claims.
2007–2008 Chevy Pickup Rear Flip Kit
Safety First
Never work under a truck supported by a jack only. Use quality jack stands rated for your truck's weight, on a flat, level surface.
These instructions are written for a professional installer with the proper equipment, tools and experience in suspension systems and safety. This vehicle and its components are extremely heavy and can be dangerous without the proper equipment and experience. If you are unsure about any step, contact DJM tech support before proceeding.
New Rear Shocks Required
New rear shocks are required with this kit. Use DJM part #2100.
Driver Side Forward Spring Bolt
The forward leaf spring bolt on the driver side cannot be removed without moving the gas tank. This kit can be installed without removing that bolt, and these instructions describe how.
Before You Begin
Read these instructions completely and check the parts list below to make sure you have all listed parts.
Take ride height measurements at all four corners before starting. Accurate measurements before installation will show any irregularities in your vehicle. Also review the warranty information included with your kit.
Parts List
| Qty | Description |
|---|---|
| 2 | Lower axle brackets (1010A) |
| 2 | Upper axle brackets (1010P) |
| 4 | 5/8" U-bolts (1025) |
| 4 | 5/8" x 18 nuts |
| 4 | 5/8" washers |
| 4 | 5/8" x 11 x 3-1/2" bolts |
| 8 | 5/8" flat washers |
| 4 | 5/8" x 11 Nylock nuts |
| 2 | Spring plates (1025) |
| 2 | Bump stops (10R) |
| Qty | Description |
|---|---|
| 1 | Tube of Loctite |
| 1 | 5/16" drill bit |
| 1 | 3/8" x 16 tap |
Removing and Flipping the Leaf Springs
-
Support the Frame and Axle
Raise the rear of the truck, support the frame with jack stands and remove the rear wheels. Support the axle with jack stands as well, and place a jack under the center of the axle to raise or lower it when needed.
Critical: The axle must stay supported by the jack and jack stands throughout the installation. It is extremely heavy and will drop once the U-bolts and springs are disconnected. -
Remove the U-Bolts
With the axle secured on the jack and supported by jack stands, loosen and remove the U-bolts on both sides.
-
Remove the Passenger Side Leaf Spring
The passenger side leaf spring bolts come out easily, so unbolt and remove the passenger side leaf spring.
-
Reverse the Passenger Side Center Bolt
The leaf spring center bolt must be reversed. Use a C-clamp to hold the spring leaves together and a vise grip on the bolt, then loosen the nut. Install the pin down through the spring and tighten with the original nut.
Critical: Keep the C-clamp tight on the spring pack the entire time the center bolt is out. The leaves are under tension and can shift or spread suddenly. -
Reinstall the Passenger Side Spring Under the Axle
Install the passenger side spring under the axle, using only the front bolt for now.
-
Prepare the Driver Side Spring
On the driver side, unbolt the factory shackle. Leave the front spring bolt in place so you won't have to move the gas tank. Reverse the center bolt the same way as on the passenger side.
-
Unbolt the Brake Cable Bracket
The brake cables run through a bracket bolted to the frame on the driver side. Unbolt the bracket.
-
Remove the Lower Shock Bolts
Remove both lower shock bolts.
-
Move the Driver Side Spring Under the Axle
Carefully slide the axle toward the passenger side just enough to get the driver side leaf spring over the brake drum, then slide the axle back.
Note: Watch the brake lines, brake cables and axle vent hose while moving the axle. Nothing should be stretched or pulled tight. -
Reinstall the Brake Cable Bracket
Bolt the brake cable bracket back onto the frame and tighten.
Installing the Axle Brackets
-
Install the Axle Locator Brackets
Place the new axle locator bracket on top of each spring with the offset hole toward the front of the vehicle. Line up the hole in the bracket with the pin in the spring. Raise the leaf spring and align the new bracket under the rear axle. Add a jack stand under the leaf spring for support.
-
Rotate the Axle
Rotate the axle to align it with the drive shaft.
-
Install the U-Bolts and Spring Plates
Install the new U-bolts and 5-hole spring plates on the bottom of the springs. Snug the U-bolt nuts just enough to hold the axle in place.
-
Install the Upper Axle Plates
Place the new upper axle plates on top of the axle, lining up the pin with the hole in the axle. Install the supplied 5/8" bolts with one flat washer on top of the upper plate and one on the bottom of the axle locator.
-
Install Shackles, Set Pinion Angle and Tighten
Bolt on the shackles, then check the pinion angle. Once it's set, tighten the U-bolts and the axle bracket bolts.
Note: Tighten the U-bolts evenly in a cross pattern. Overtightening can bend the spring plates.
Installing the Bump Stops
-
Remove the Factory Bump Stop and Bracket
Remove the factory bump stop. The factory bracket under the frame must also be removed. Cut the bracket off at the weld, smooth the area and touch it up with spray paint.
Critical: Before cutting, move brake lines, fuel lines and wiring clear of the cut area. Keep a fire extinguisher nearby and wear eye protection. -
Drill, Tap and Install the New Bump Stops
Raise the axle and mark a center line on the frame where the new bump stop will go. Using the supplied bit and tap, drill a 5/16" hole and tap it with the 3/8" x 16 tap. Thread the new bump stop into the hole, adding a little blue Loctite.
Final Steps
-
Install the New Shocks
Install the new DJM #2100 rear shocks.
-
Install the Wheels
Install the rear wheels and torque the lug nuts to factory specification.
-
Tighten the Shackle and Spring Bolts
With the truck lowered to the ground, tighten the shackle bolts and spring bolts.
Note: Tighten spring eye and shackle bolts with the truck's weight on the suspension. Tightening them with the axle hanging will preload the bushings. -
Test Drive and Record Ride Height
Test drive and adjust the pinion angle as necessary. Measure the completed rear ride height and compare it to your measurements from before the installation.
After Installation
Check clearance between the tires, springs, axle, brake lines, brake cables, exhaust and fuel tank through full suspension travel. Re-check U-bolt and all fastener torque after the first 50–100 miles, and periodically after that.
Warranty
DJM Suspension products are warranted against defects in materials and workmanship. This warranty does not cover improper installation, misuse, modification, racing or off-road use, or normal wear. Contact DJM Suspension with your order information for warranty claims.