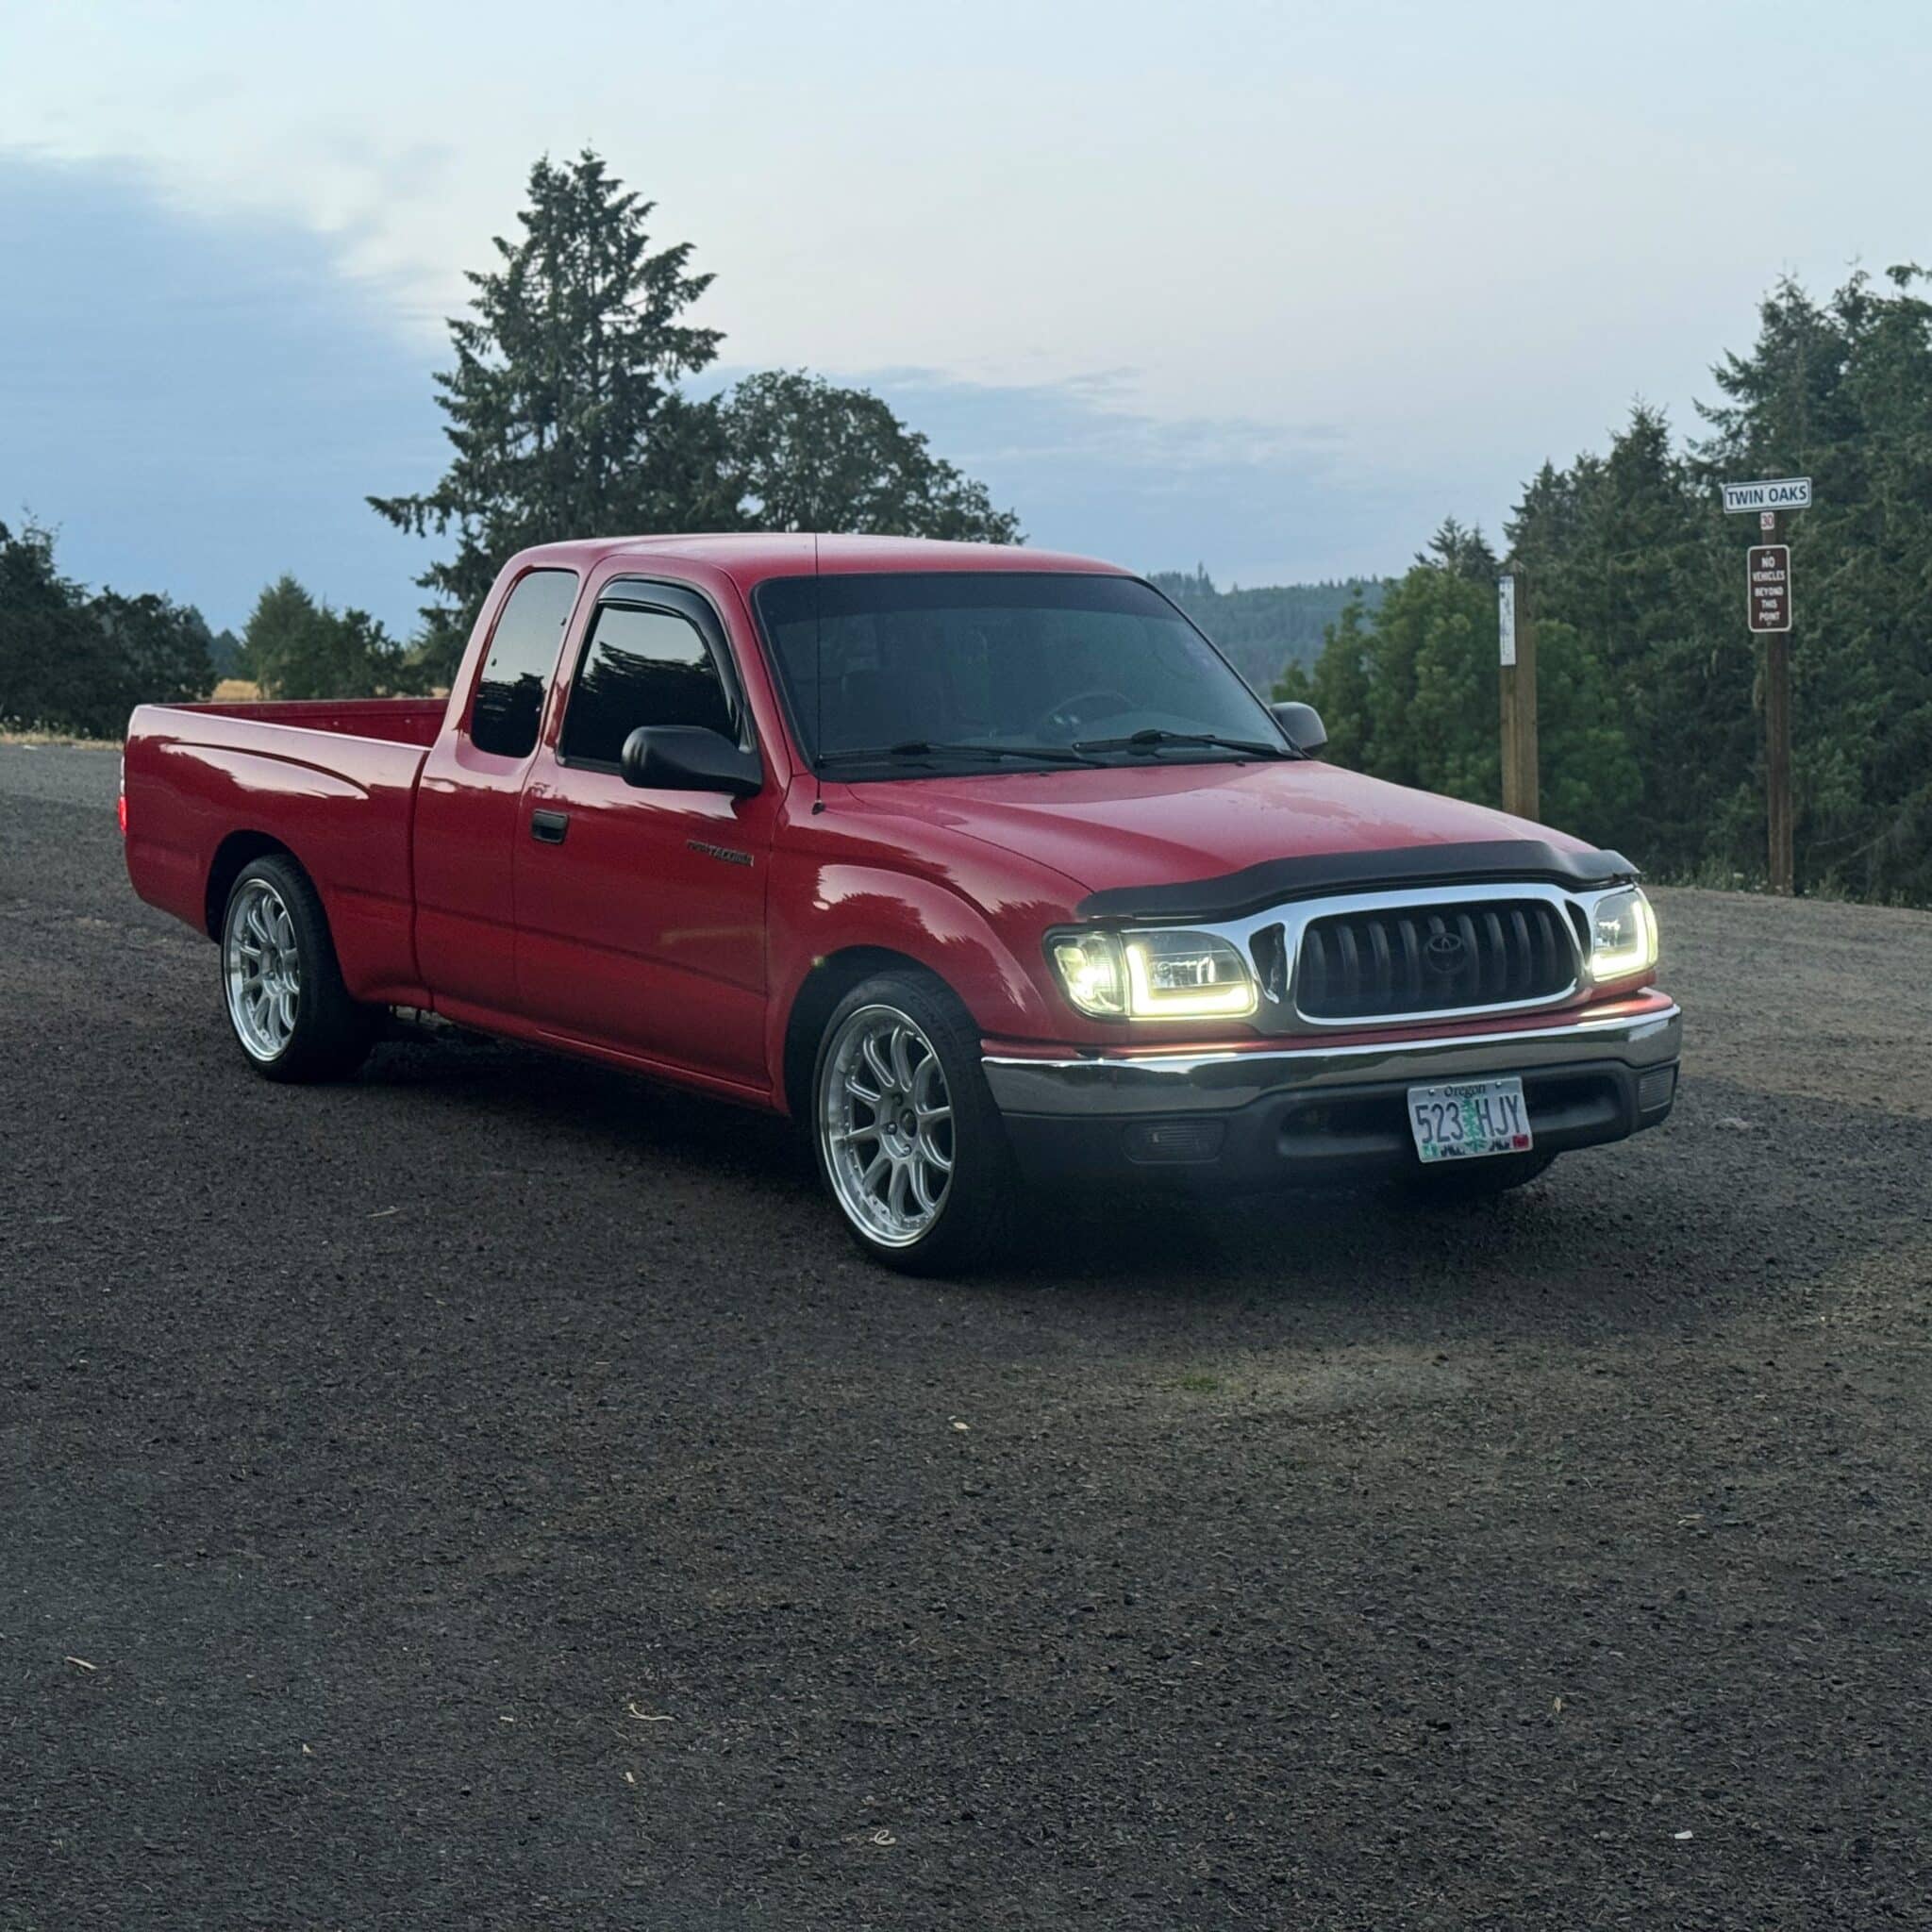
1995 – 2004 Toyota Tacoma Complete 3 inch Front/ 4 inch Rear Lowering kit with Steel Blocks
$406.79
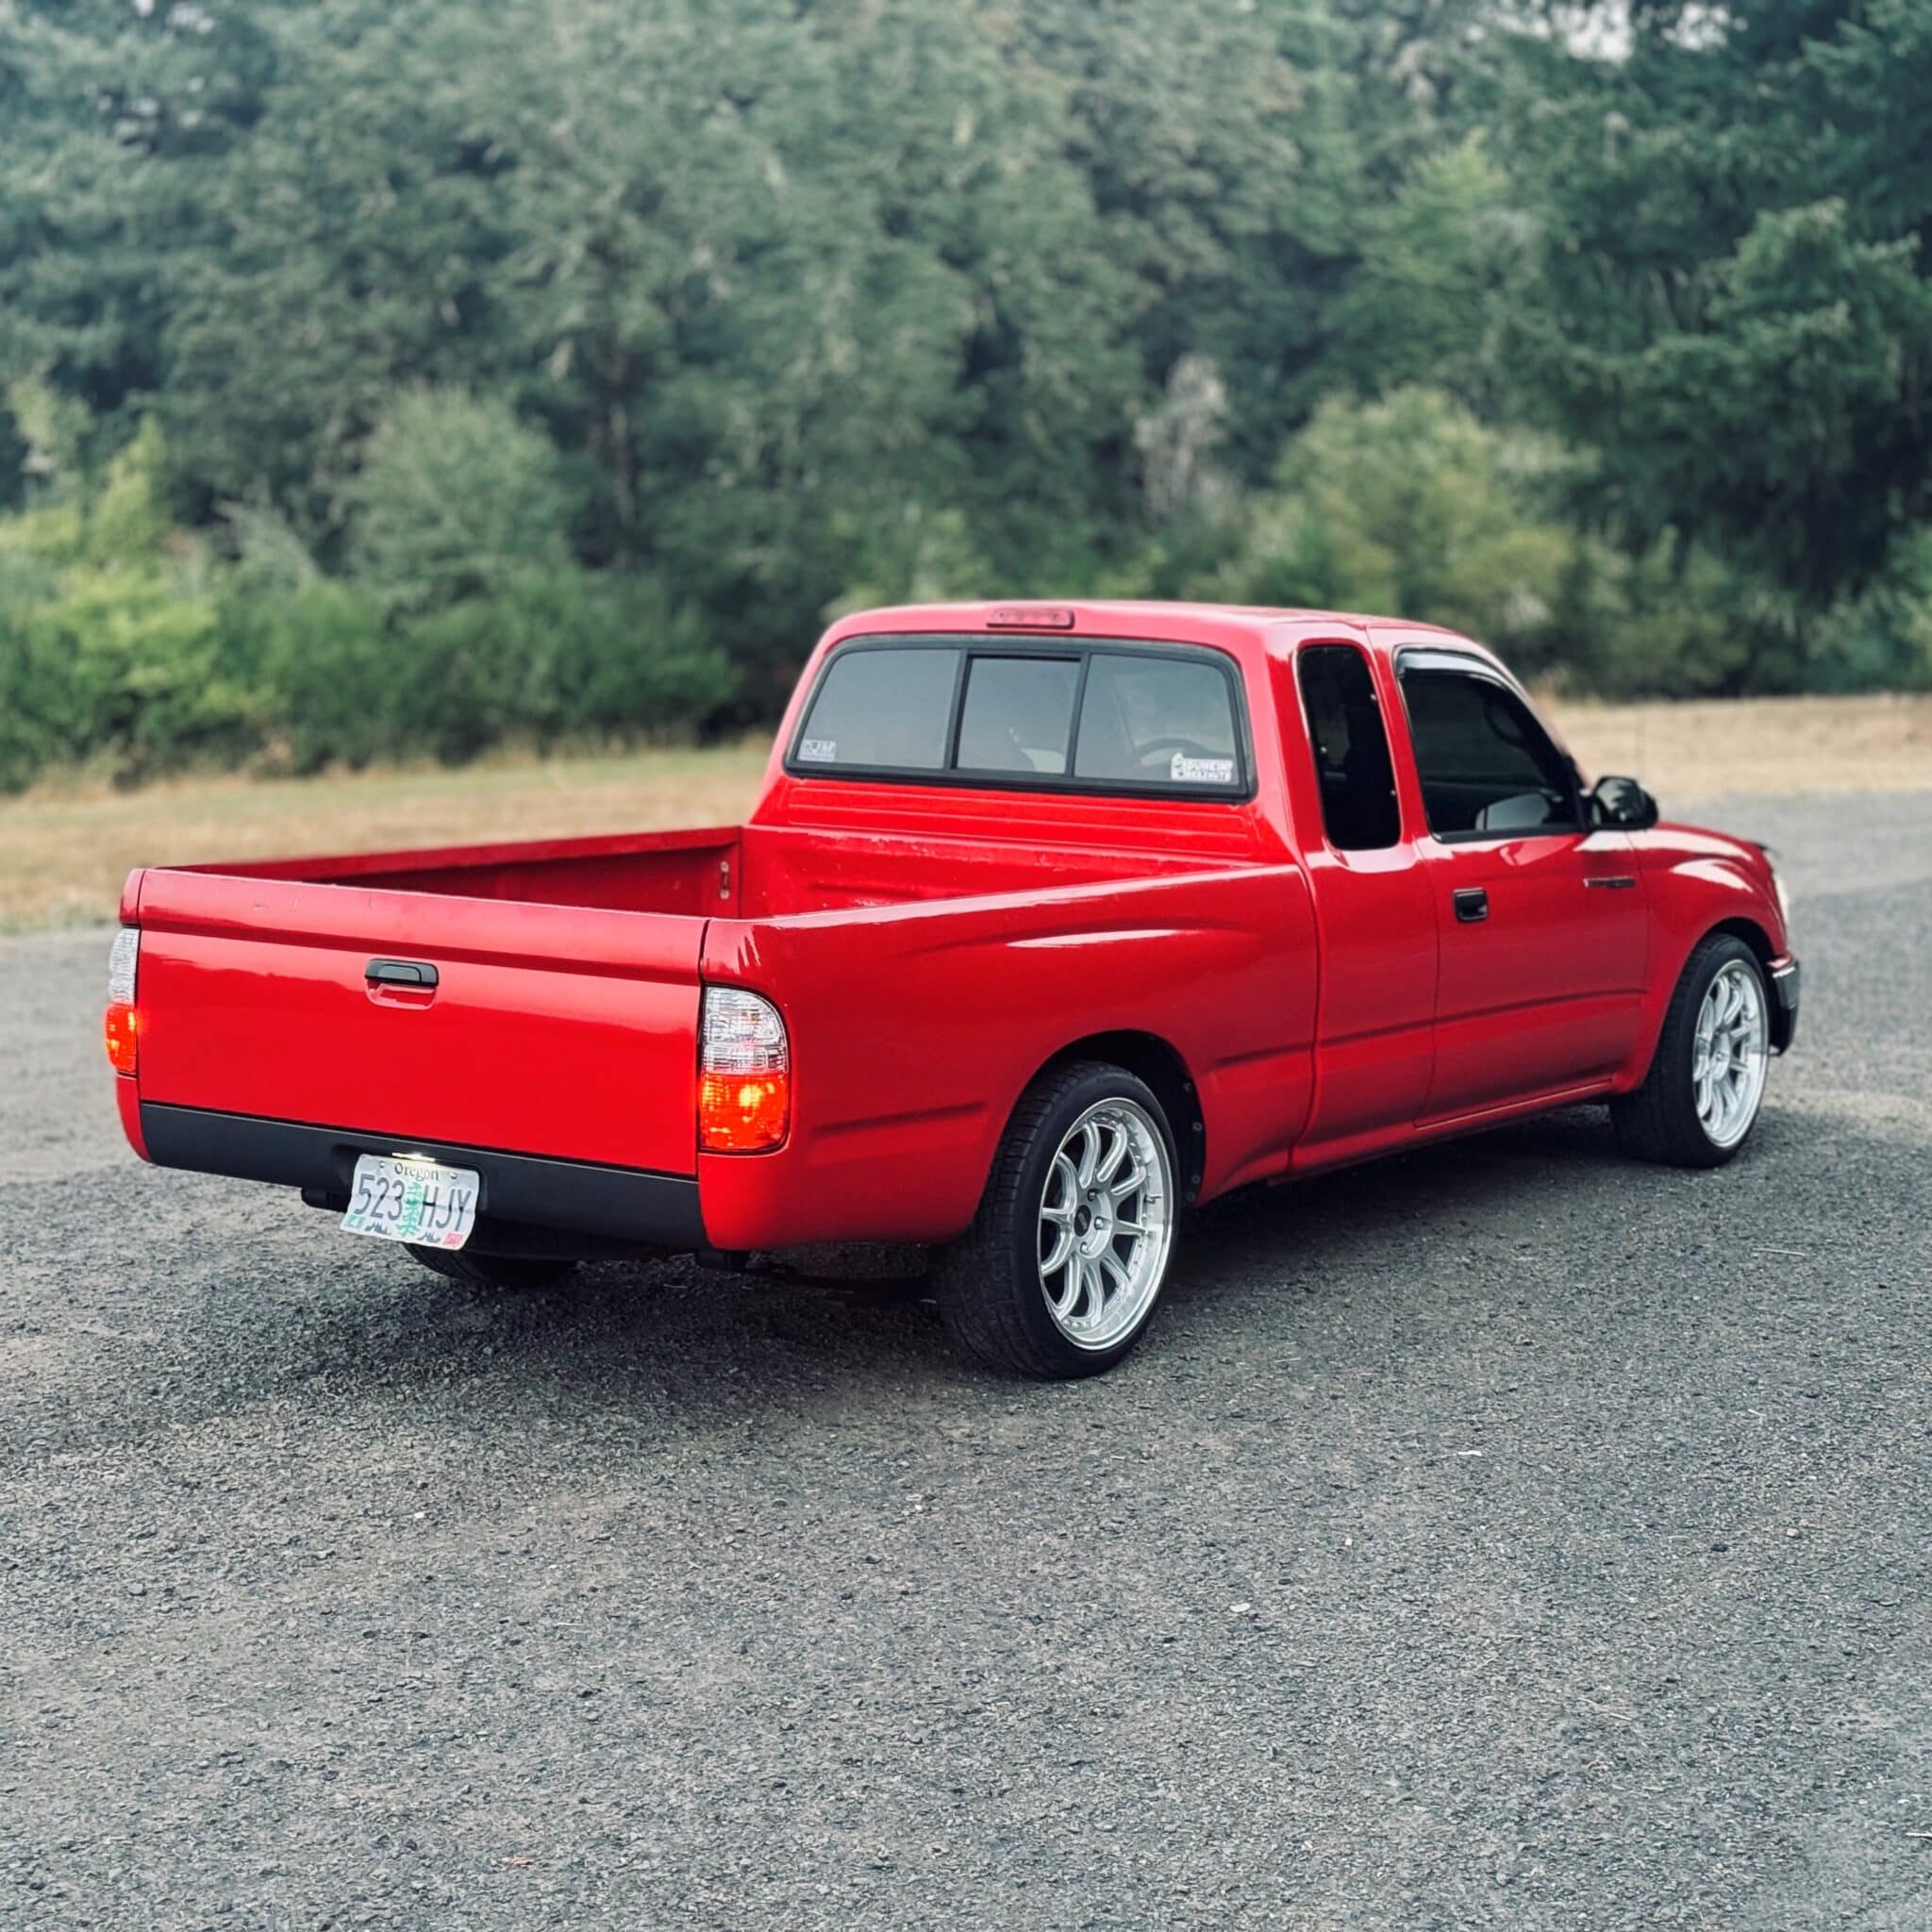
Get the lowering kit for your Toyota Tacoma. This all-in-one kit delivers balanced handling, durable construction, and precision fitment built to last.
Upgrade your 1995–2004 Toyota Tacoma with a front and rear lowering kit designed for strength and balance. Get a 3-inch front and 4-inch rear drop using durable all-steel blocks and precision-engineered control arms. Every component is made in the US and offers long-lasting performance and reliability.
- 3” front / 4” rear drop
- All-steel block construction
- Precision-tuned alignment arms
Description
Why Buy from DMJ Suspension
Engineered for Performance
Every DJM rear and front lowering kit is built for precision handling and smooth ride quality, giving drivers full control on the road.
American Made Since the 1970s
Manufactured in the U.S.A. using high-quality materials, supporting craftsmanship that has defined DJM Suspension for over five decades.
Complete Support and Expertise
Get clear guidance and dependable service from a company that understands suspension performance inside and out.
A complete one box lowering kit for your Tacoma. 3″ in the front by repositioning your lower ball joint and then using new upper control arms to set your alignment back to factory specs and 4″ in the rear by installing DJM’s famous 4″ Universal All Steel Lowering Block kit. One complete kit in one box with one great price! DJM value.
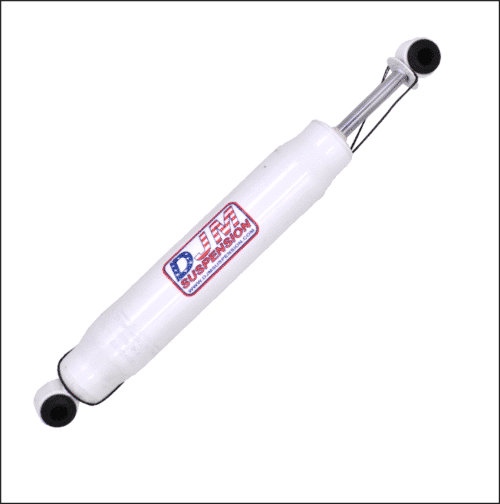
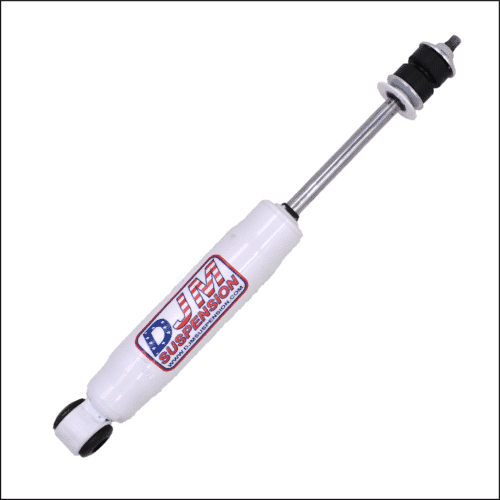
Shocks are not included with this kit. DJM Recommended parts:
- Front shock number 1315 (sold each)
- Rear Shock number 1900 (sold each)
About DMJ Suspension
DJM Suspension has led the lowering industry since the 1970s. As a family-owned and operated American manufacturer, we build high-quality suspension systems inspired by a passion for aftermarket automotive innovation. Every product, including this Toyota Tacoma lowering kit, reflects over five decades of experience, integrity, and commitment to performance.
Frequently Asked Questions
Additional information
| Weight | 30 lbs |
|---|
PART # K2895-3 & K2895-3/4
Installation Instructions
1995-2004 Tacoma Drop Kit

New shocks are recommended. Use DJM #TS1315 front and DJM #TS1900 rear shocks.
Hardware Parts List
| 2 | Upper Control Arms w/ bushings & sleeves |
| 8 | ½"x20 Nylock Nuts |
| 4 | DJM Custom ½" Washers |
| 8 | ½"x20x3-½" Bolts |
| 8 | ½" Washers |
| 1 | Rear Block Kit |
| 2 | Sway Bar End Links |
| 4 | Grease Fittings |
| 4 | Upper Control Arm Shims |
| 3" Rear Kit Only: | |
| 2 | Pinion Shims |
Front Disassembly
-
Remove the two bolts that attach the lower ball joint bracket to the spindle, located on each side of the lower ball joint. SECURE SPINDLE TO FRAME WITH SAFETY WIRE. DO NOT LET SPINDLE HANG FROM BRAKE LINE!! Note position of factory parts.

Remove the two bolts attaching the lower ball joint bracket to the spindle -
Remove the two nuts on the bottom of the control arm holding the sway bar bracket and tension/compression rod (T/C) to the lower arm. Remove the T/C pivot bolt and remove the T/C rod from the vehicle. The two studs are pressed into the T/C rod. Keep the T/C pivot bolt — you will need it later.
-
Remove the two nuts on the outer end of the lower arm that hold the spindle mounting bracket and remove bracket. The two studs are pressed into the bracket. When all these parts are removed the lower arm will look like the picture.
Lower arm with T/C rod, sway bar bracket, and spindle mounting bracket removed -
Remove the studs in the spindle-mounting bracket. This can be done on a press or tap them out using a mallet and bench vice.
Remove studs from the spindle-mounting bracket using a press or mallet and bench vice -
Use the same procedure to remove the studs from the T/C rod. Use a 9/16" bit and drill out the holes for the new bolts.
Use a 9/16" bit to drill out the T/C rod holes for the new bolts


Front Reassembly
-
Install the T/C rod. Set on top of the control arm, align, and install the pivot bolt. Tighten nut hand tight. Place one ½" flat washer on top of each hole in the T/C rod — these will be used as spacers for the spindle mounting bracket.
T/C rod set on top of control arm — note flat washers used as spacers -
Set the spindle-mounting bracket on top of the control arm and on top of the T/C rod. Be sure flat washer spacers are in place and holes are aligned. Place sway bar bracket on top of T/C rod and install two ½"x20x3½" bolts down from the top and attach with ½" nuts. Install two ½"x20x3½" bolts up through the bottom of the control arm and attach nuts on top. Hand tighten.
Note flat washer used as spacer between T/C rod and spindle mounting bracket


Tacoma Upper Arm Installation
-
Remove the stock upper arm from the truck and remove the mounting shaft. Mount a bushing on one side with a mallet, then install the sleeve. Set in the mounting shaft and repeat on the other side. Use a little grease on the shaft only — do not grease the bushing. After installing the washers and bolts on the mounting shaft you should see a small gap between the sleeve and shoulder of the shaft.
Correct installation: small gap between sleeve and shoulder of the mounting shaft -
With the control arm mounted, check for end play. Your kit includes 2 washers to help with end play. After tightening the bolts there should be no gap between the large thick washer and the bushing, while still maintaining the gap on the sleeve and shoulder of the mounting shaft. If this is how your control arm looks, remove the bolts, apply Loctite, and reinstall on the truck.
After tightening bolts: no gap between large thick washer and bushing -
If shimming is needed, the kit includes 2 washers that should slip-fit over the sleeves. Start with one side — it doesn't matter which — but do both arms the same if needed. Install one shim, making sure when the bolt starts to tighten that the shim is not getting caught on the sleeve. Tighten, then check to make sure the sleeves, bushing, and shim rotate with the control arm, but not the bolts or the thick washers — those should remain stationary. Apply Loctite and reinstall the arm.
One shim installed — do both arms the same if shimming is needed -
Install upper ball joint in spindle and tighten the upper ball joint nut completely. Be sure they are tight and the taper is seated in the spindle. Install new cotter pins.
-
Install sway bar links to new control arms. You may need to raise the lower arms to align end links. Grease all grease fittings. Install your new DJM front shocks.
Install sway bar links to new control arms — raise lower arms to align if needed


Installing Rear Block Kit

-
Install 3" block with pinion shim on top, with the thick end to the rear.
-
4" blocks have a 4-degree taper — install with the taller end to the rear.
-
Trim U-bolts to length.
Completing Installation and Test Driving
Set your toe in/out close for the test drive. Turn your steering wheel until it is straight. Loosen the nut on the tie rod end and turn it until the tires are in a straight line from front to rear. Close is all you need — your alignment shop will set it exactly. Don't forget to tighten the nuts.
Take your truck for a test drive. Start off slowly and listen for any unusual noises. Measure the height of the front and record on your installation helper. Your measurements should be about 3" less than the before measurement in front, and 3" or 4" in the rear depending on the block size.
TAKE YOUR TRUCK TO A QUALIFIED ALIGNMENT SHOP FOR A PROFESSIONAL ALIGNMENT. ALIGN TO FACTORY SPECS.
After about 100 miles, check all bolts for correct torque.
Raising Carrier Bearing
Some Xtra Cab models with 2-piece drive shafts may experience drive line vibration. To correct this, raise the carrier bearing. The bearing has a bracket attached to it and is mounted to a cross member with two bolts. The bracket is offset from the center of the bearing. Remove the two bolts, turn the bracket 180°, and reattach with the factory bolt.
https://www.youtube.com/watch?v=de3y9YNCCYM&t=11s