
1973-1987 C10 5 inch Rear Axle Flip Kit
$129.66
Get a 5-inch drop for your 1973-1987 Chevy C10 without replacing your U-bolts or factory leaf spring plates. This C10 rear axle flip kit offers a clean, low stance at a fraction of the cost.
This Chevy rear axle flip kit offers a simple, budget-friendly way to lower your C10. With no need for a C-notch, it provides plenty of clearance above the axle and works with your existing hardware. Ideal for those looking for a straightforward drop with solid results.
- Affordable 5-inch drop
- Uses existing U-bolts
- No C-notch required
Description
1973-1987 C10 5 inch Rear Axle Flip Kit
Why Buy from DJM Suspension
Proven Performance
Our Chevy rear axle flip kits are designed for reliable results and smooth installation. Give your C10 a lowered stance without compromising ride quality.
Budget-Friendly Solutions
We offer low-cost options that deliver maximum impact, letting you lower your truck without unnecessary replacement parts.
American-Made Quality
Each lowering kit is manufactured in the U.S. with durable materials, reflecting our decades of aftermarket automotive expertise.
About DJM Suspension
DJM Suspension was born from a passion for aftermarket automotive solutions. As a family-owned, American-made manufacturer, we’ve been leading the lowering industry since the early 1970s. Our commitment to quality and customer-focused solutions makes us a trusted choice for your project, whether you want to lower your truck for a show or regular work.
Frequently Asked Questions
Lower Your C10 Today with This Affordable 5-Inch Rear Axle Flip Kit
Take your 1973-1987 C10 to the next level with this affordable 5-inch Chevy rear axle flip kit. Get a clean drop, simple installation, and reliable performance without extra modifications.
Additional information
| Weight | 10 lbs |
|---|
1973–1987 Chevy C10
Rear Flip Kit
Important — Read Before Installing
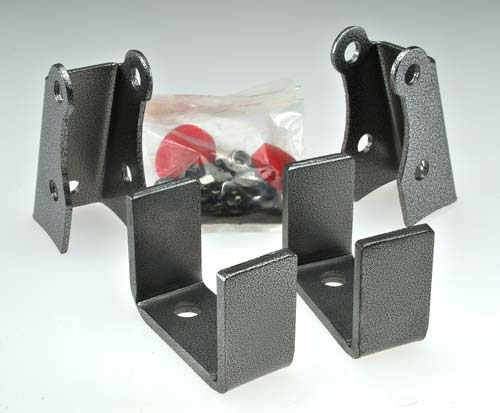
Hardware Parts List
- 2 Axle Locators (1024)
- 2 Urethane Bump Stops (10S)
- 2 Shock Extenders (1124)
- 2 1/2" x 20 x 3-1/2" Bolts
- 2 1/2" Nuts
- 4 1/2" Flat Washers
- 6 1/2" x 20 x 1" Bolts
- 6 1/2" x 20 Jam Nuts
- 12 1/2" Lock Washers
Part 1 — Relocating (Flipping) Rear Axle
Measure the vehicle and record all measurements on the installation helper before beginning any work.
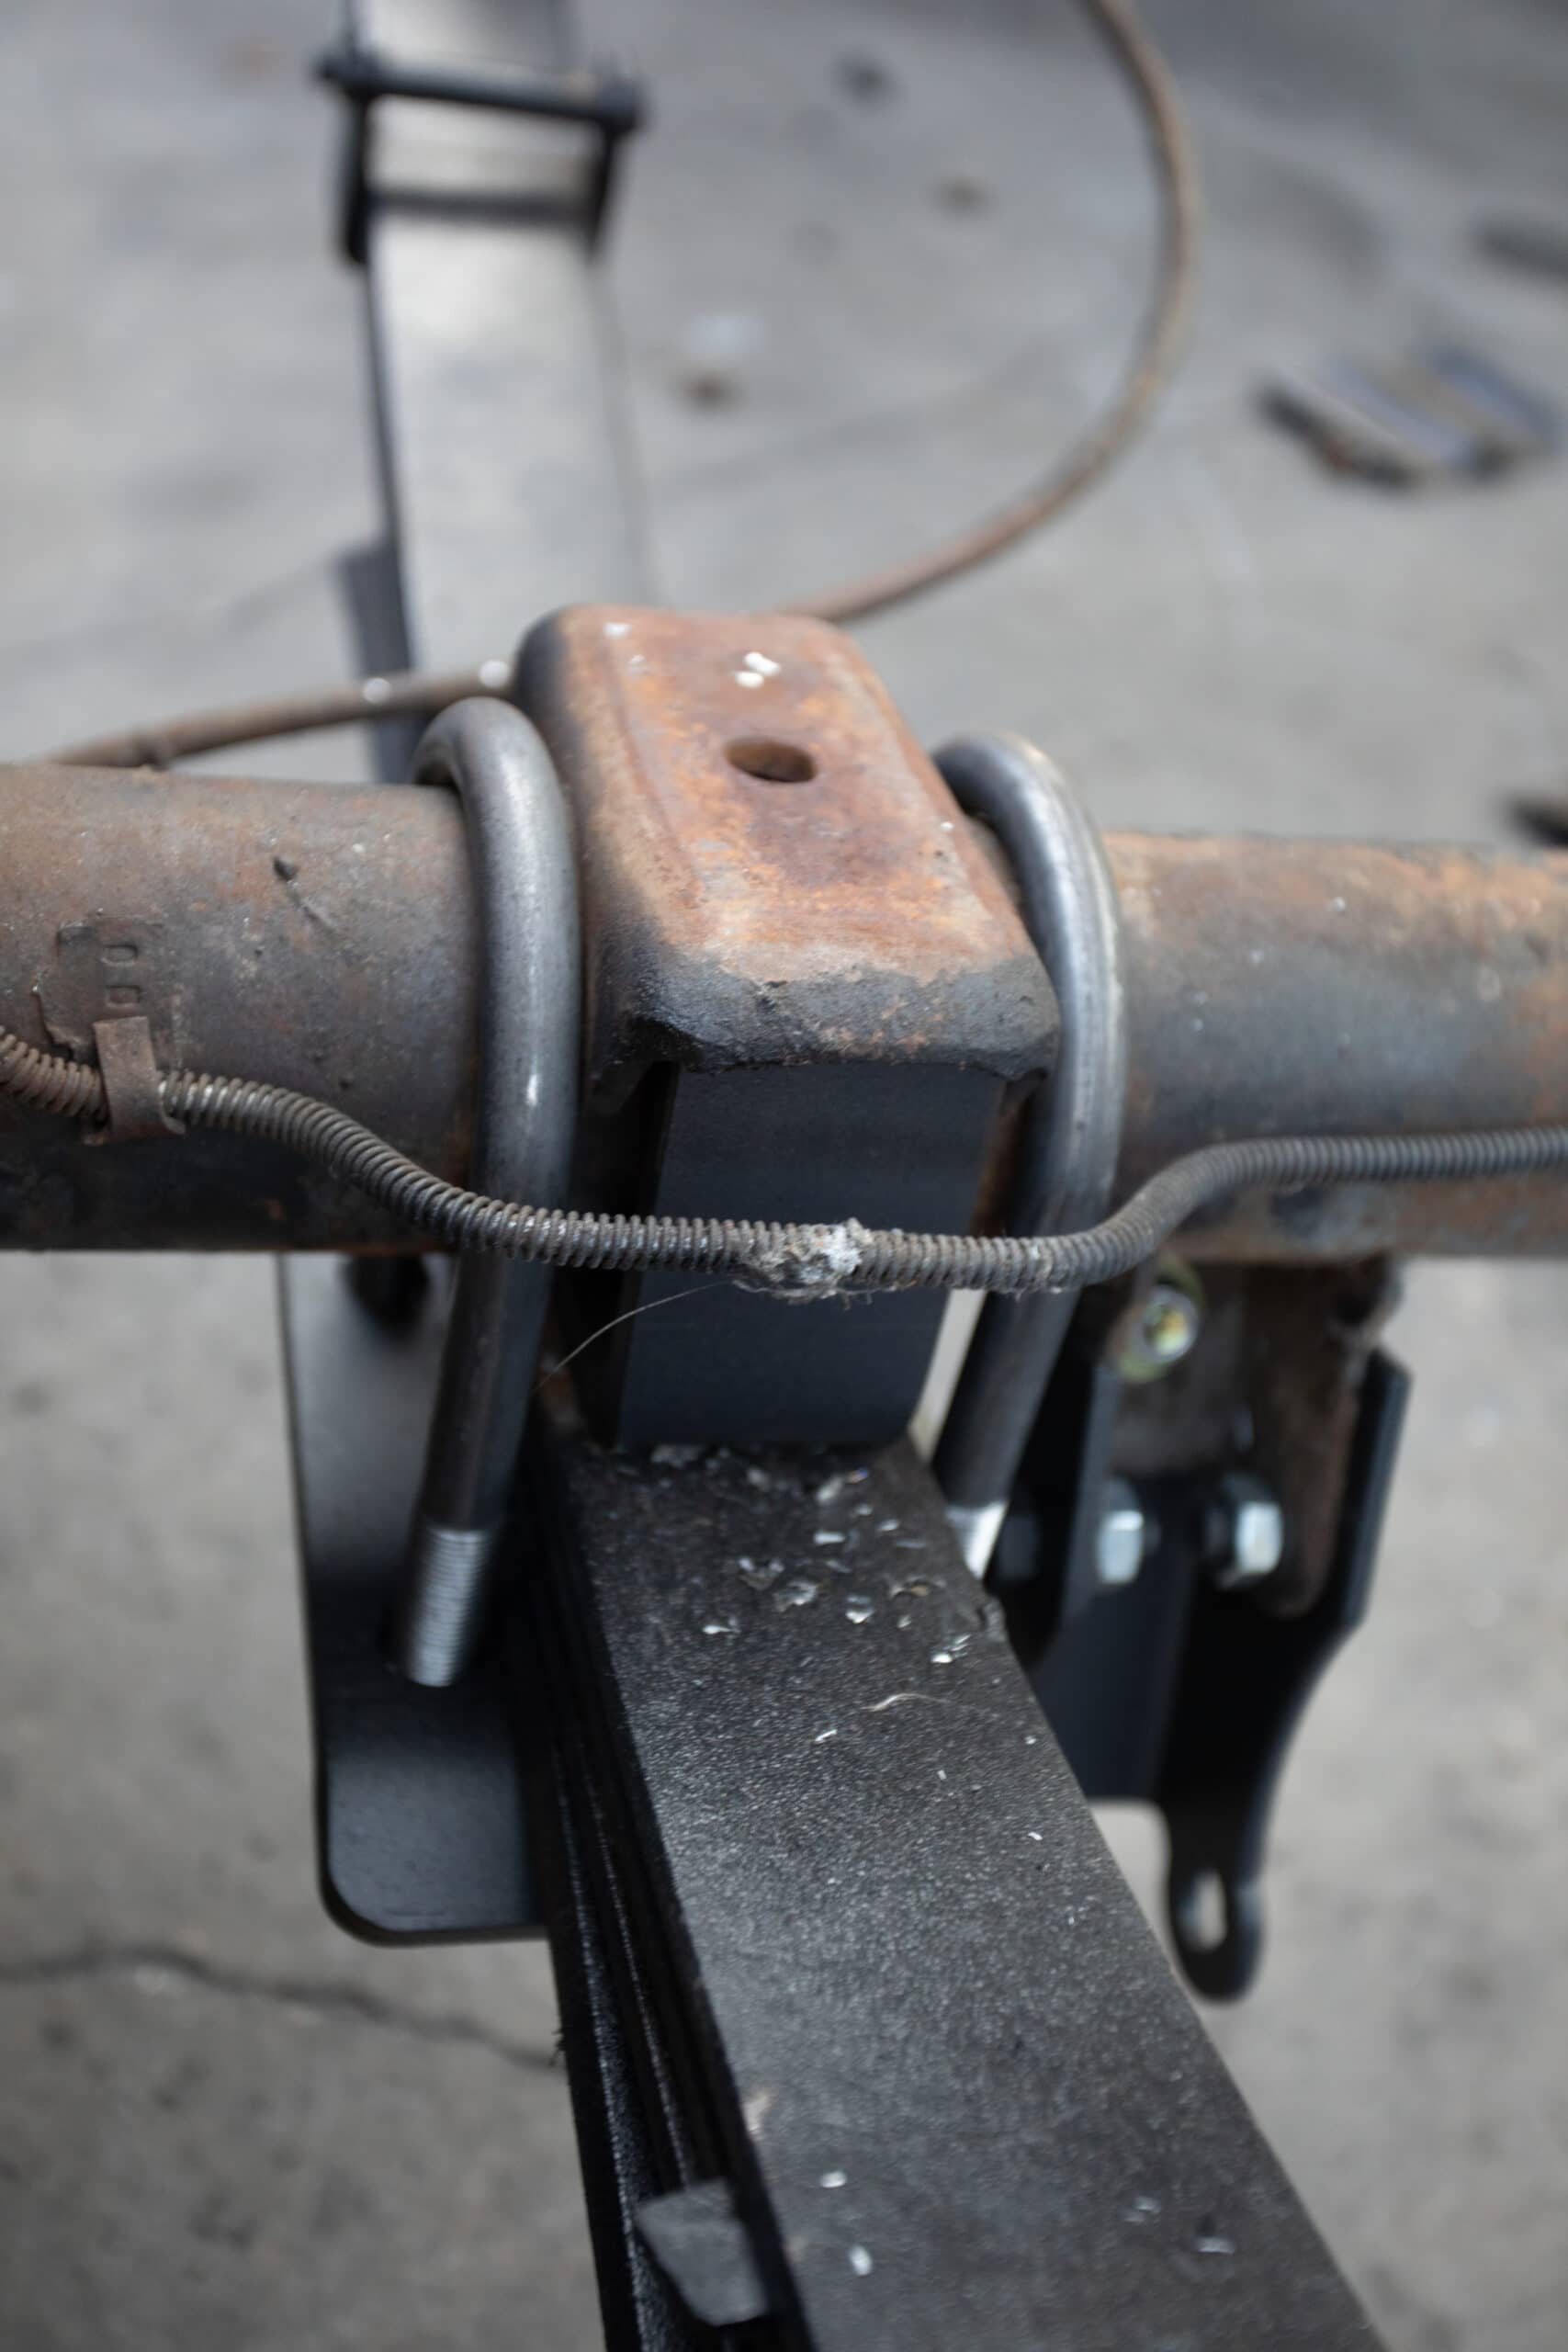
Reverse the leaf spring center bolt so the nut is on the bottom.
Place the new axle locator bracket on top of the spring with the off-center hole toward the front of the vehicle. This will center the rear axle and pull the drive shaft back from the transmission slightly.
Lower the rear axle so the new axle supports fit up inside the existing rear axle pad welded to the axle. Mark and drill a hole in the factory spring plate for the spring center pin — this hole is offset just like the flip bracket.
Install the factory U-bolts and factory spring plate on the bottom of the springs. Tighten U-bolts.
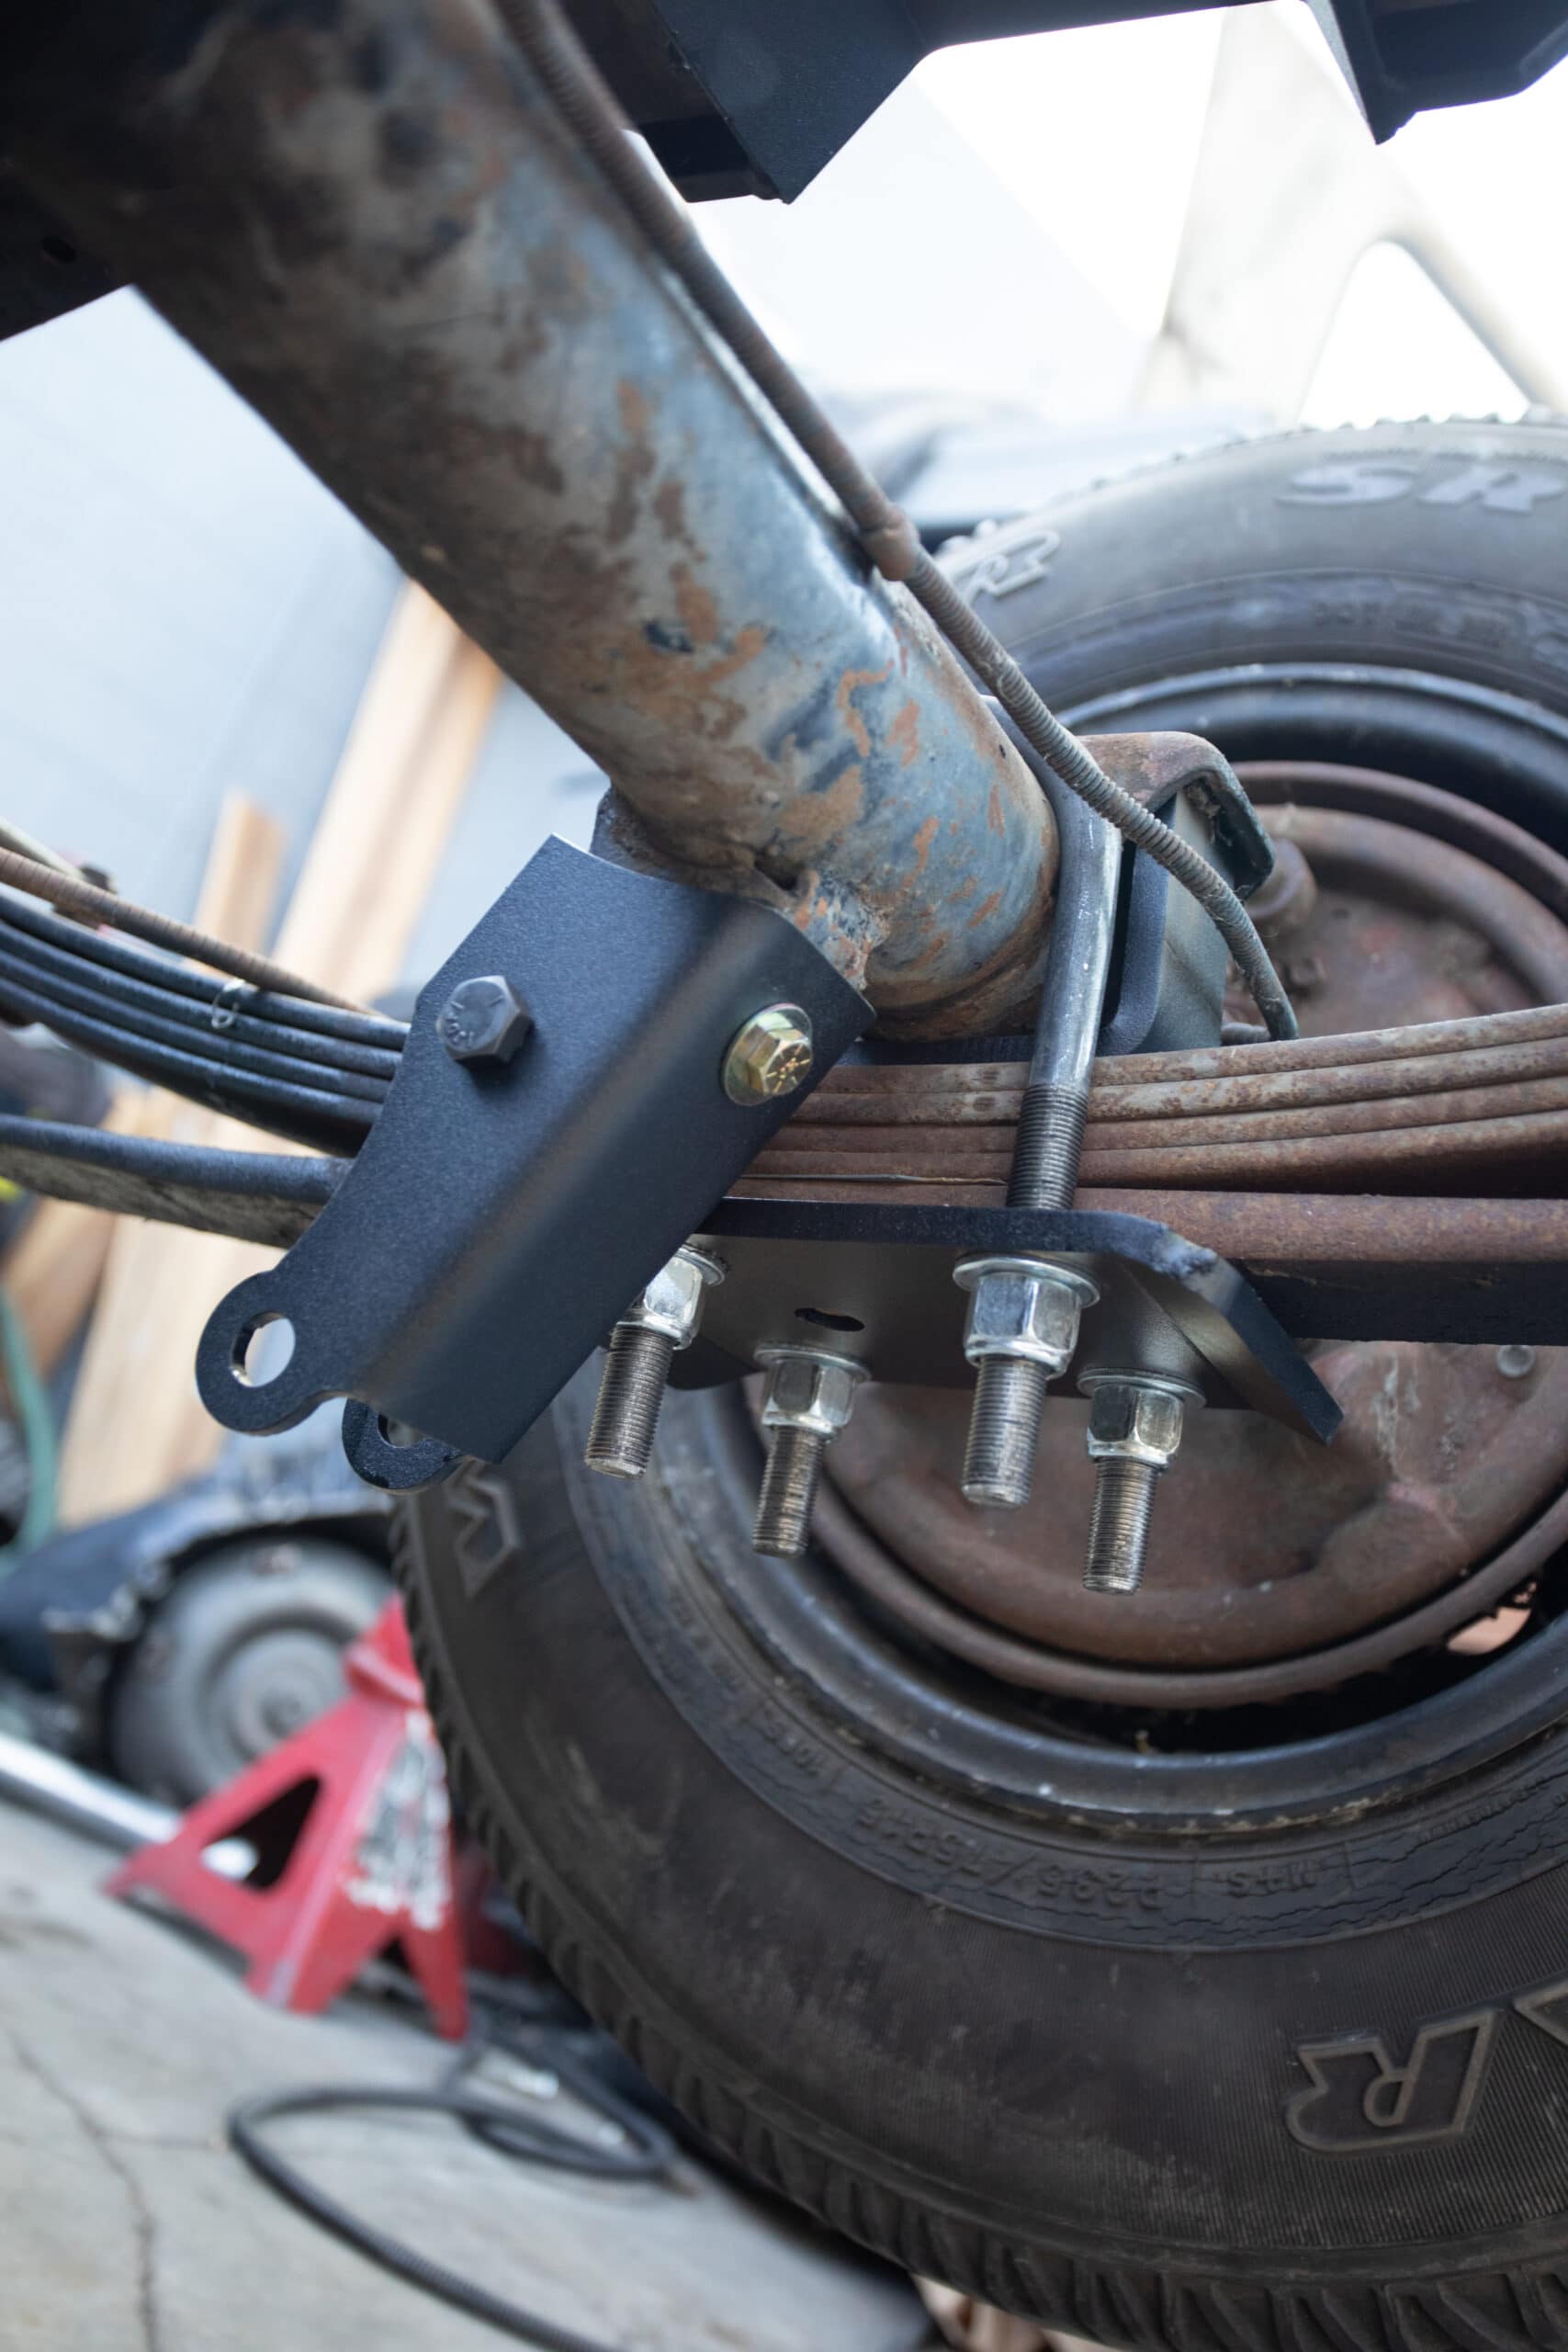
Part 2 — Shock Extender Installation
Remove the factory bump stop bracket from the frame. Drill a 3/8" hole and install the new bump stop to the frame.
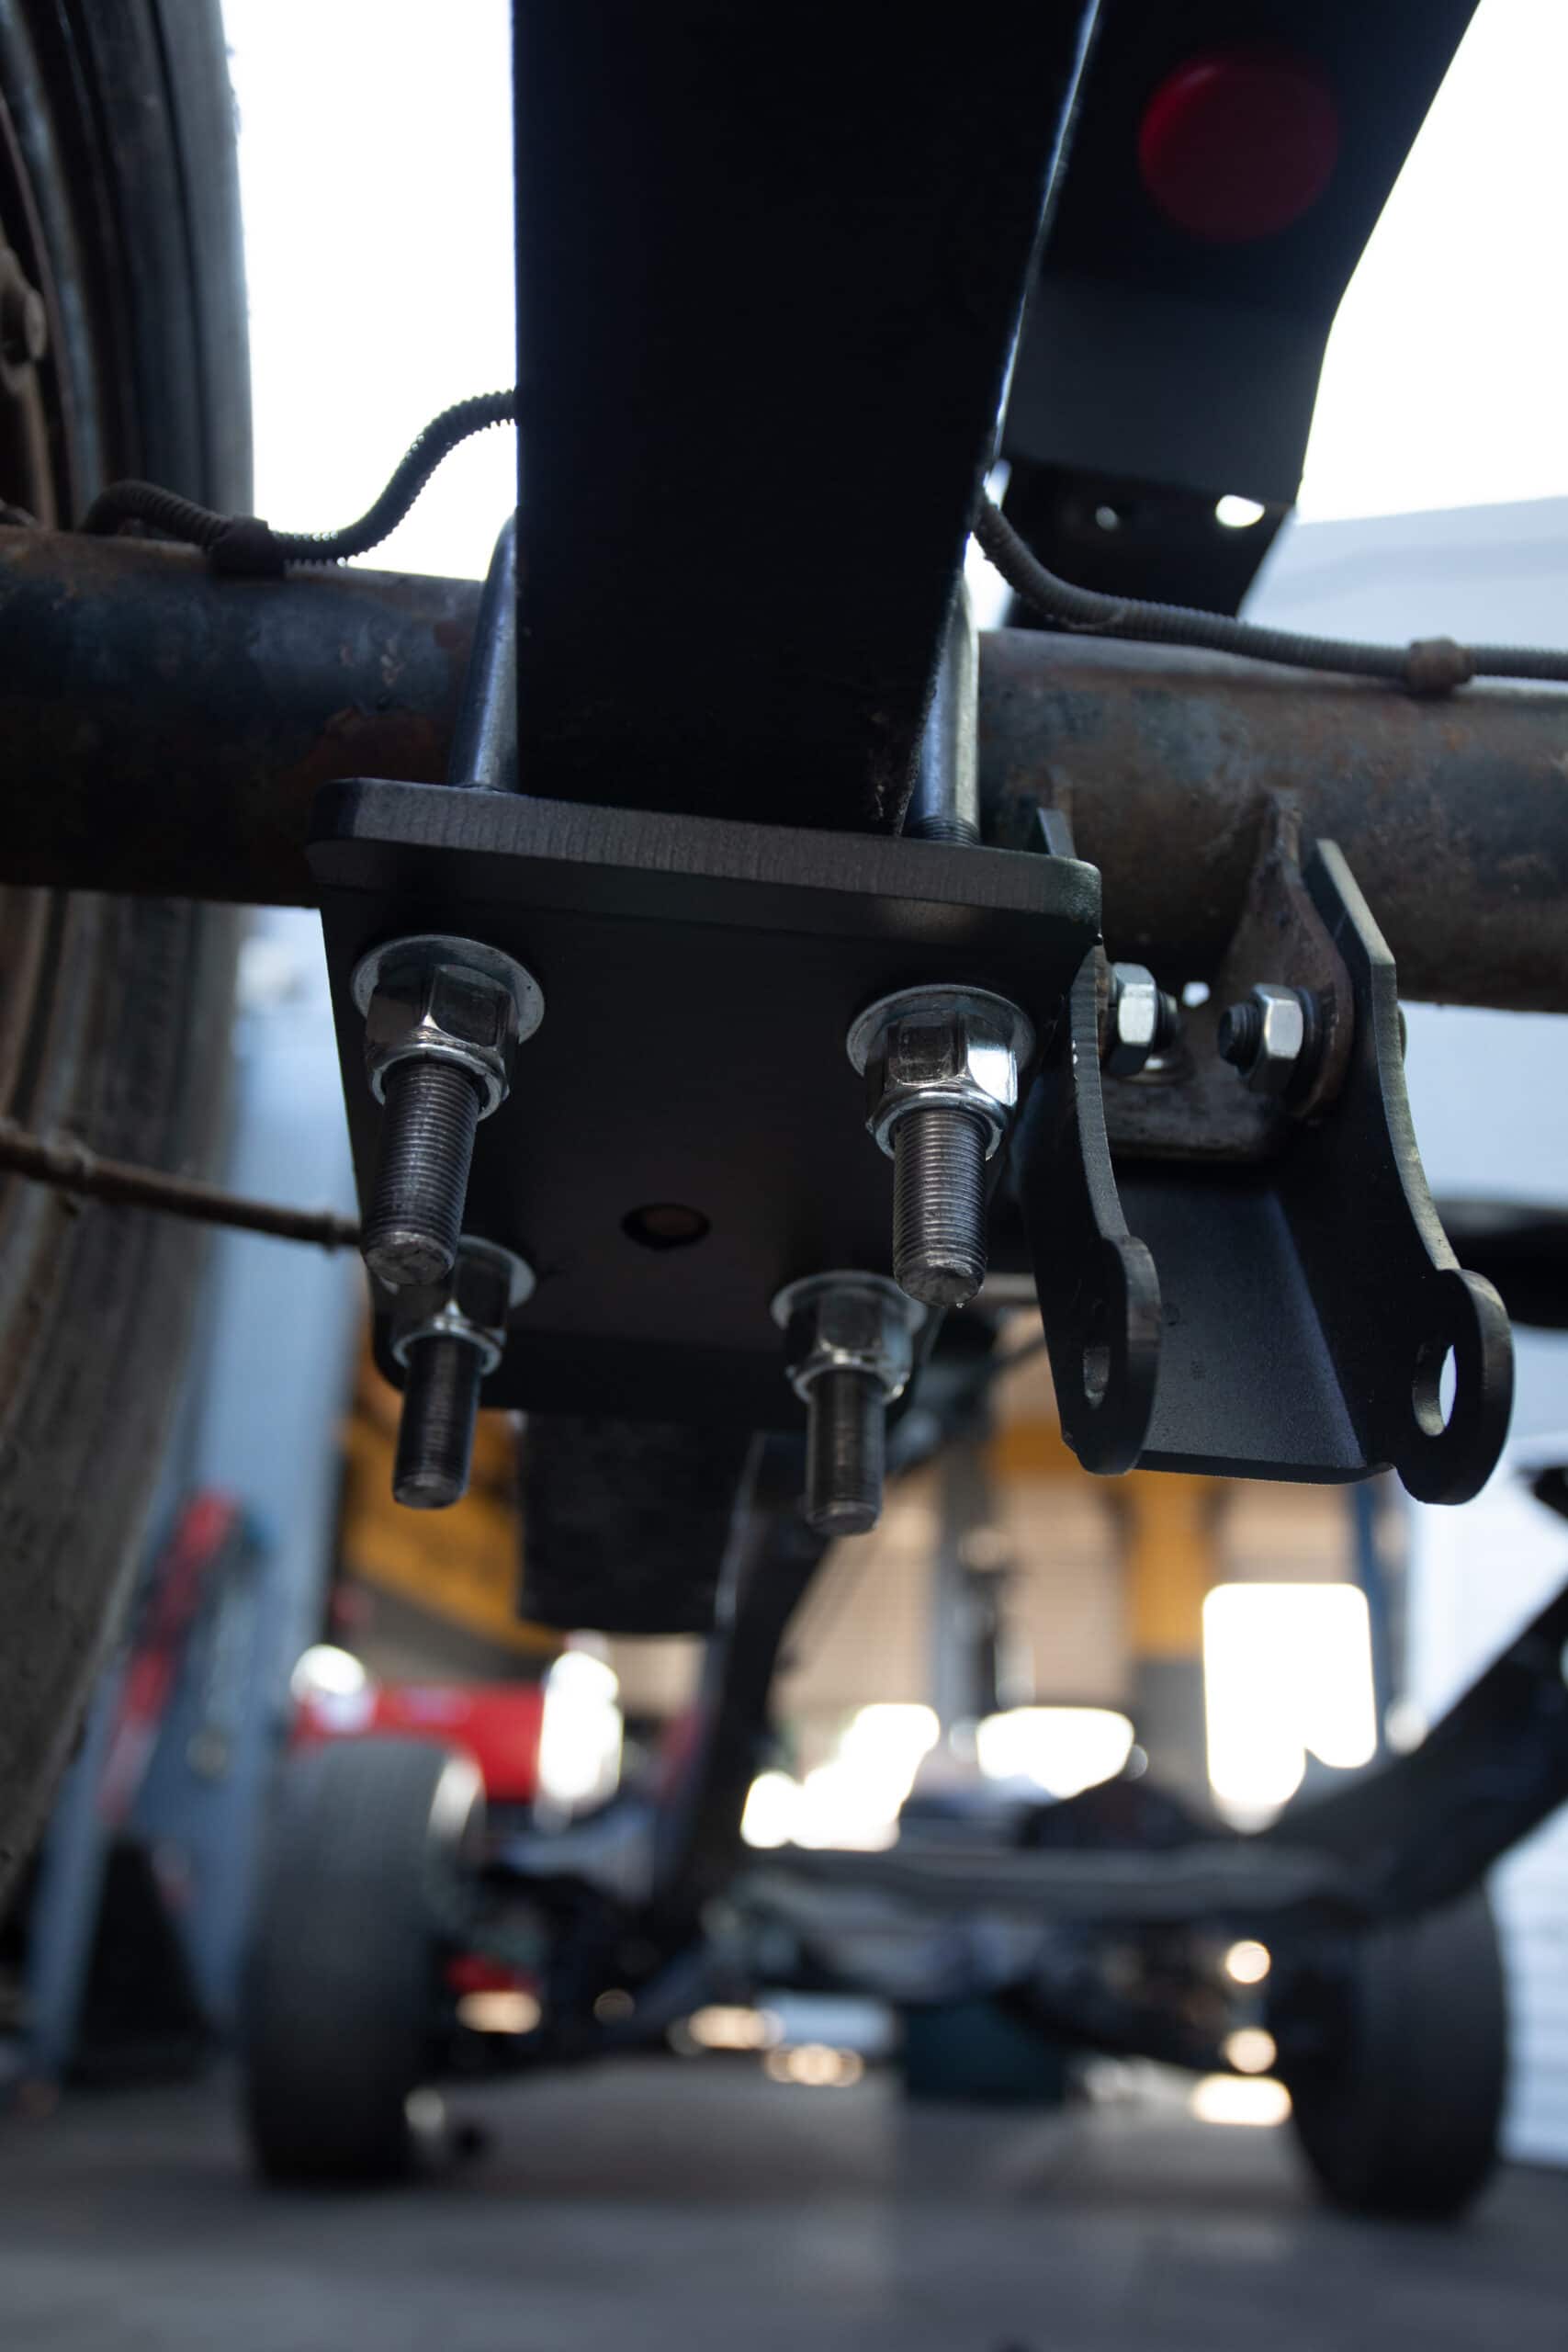
Slide the new shock extenders over the existing shock mount. The rounded end faces down — this is the end the shock will bolt to. Align the original shock mounting holes with the shock extender holes.
Install one 1/2" x 20 x 1" bolt in each hole with lock washers and jam nuts — nuts on the inside. Using the shock extender as a template, line drill a 1/2" hole through the original shock mount and secure with a 1/2" x 1" bolt, washer, and nut.
Install the new shock to the rounded end using 1/2" x 20 x 3-1/4" bolts, lock washers, and nuts. Tighten all bolts.