1965 Ford F-100 Suspension Upgrade and Lowering Project
A classic Ford truck never goes out of style. However, if you want your truck to sit lower while keeping its original character, the right suspension parts can make a noticeable difference. This 1965 Ford F-100 short-bed project is a great example of just that.
This 1965 Ford F-100 short-bed truck already had a 5.0-liter Mustang GT engine and transmission swap, along with front disc brakes and spindles believed to be from a 1976 Ford F-150. The next step was to refresh its worn front suspension and achieve a lower stance.
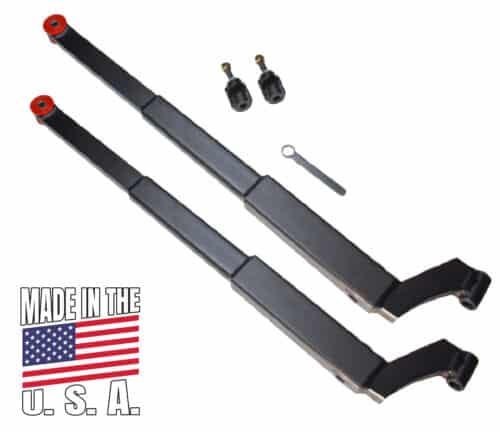
For this project, we installed DJM Suspension's 1965–1972 Ford F100 3-inch Lowering I-Beams at the front and 2-inch lowering shackles at the rear. The result was a 3-inch front drop and a 2-inch rear drop.
Here's a closer look at the parts we used, the work involved, and what you should consider before starting your own 1965 Ford F-100 suspension upgrade.
Inspecting the Original F-100 Front Suspension
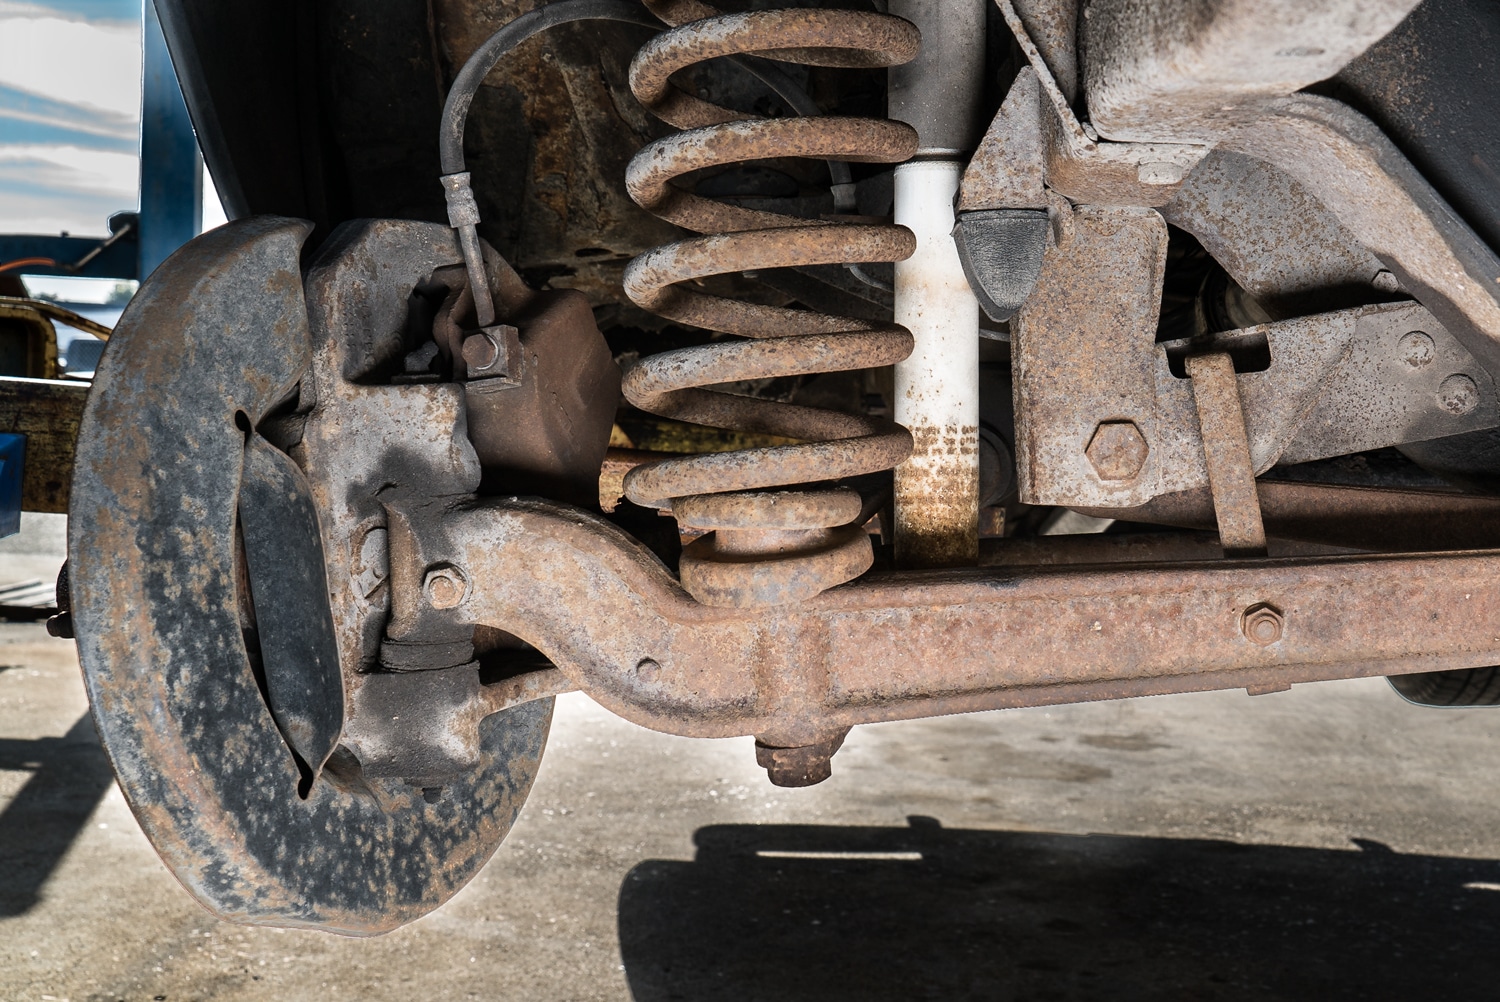
Before installing new lowering components, the first step was to inspect the existing front suspension. This 1965 Ford F-100 used a Twin I-Beam front suspension design. In this design, each front wheel connects to a separate beam, with coil springs, radius arms, shocks, and other components supporting the assembly.
On our truck, several parts needed attention, and the original suspension components included:
- Front coil springs and shock absorbers
- Factory-style Twin I-beams
- Radius arms and mounting hardware
- Kingpins and associated bushings
- Steering and brake components
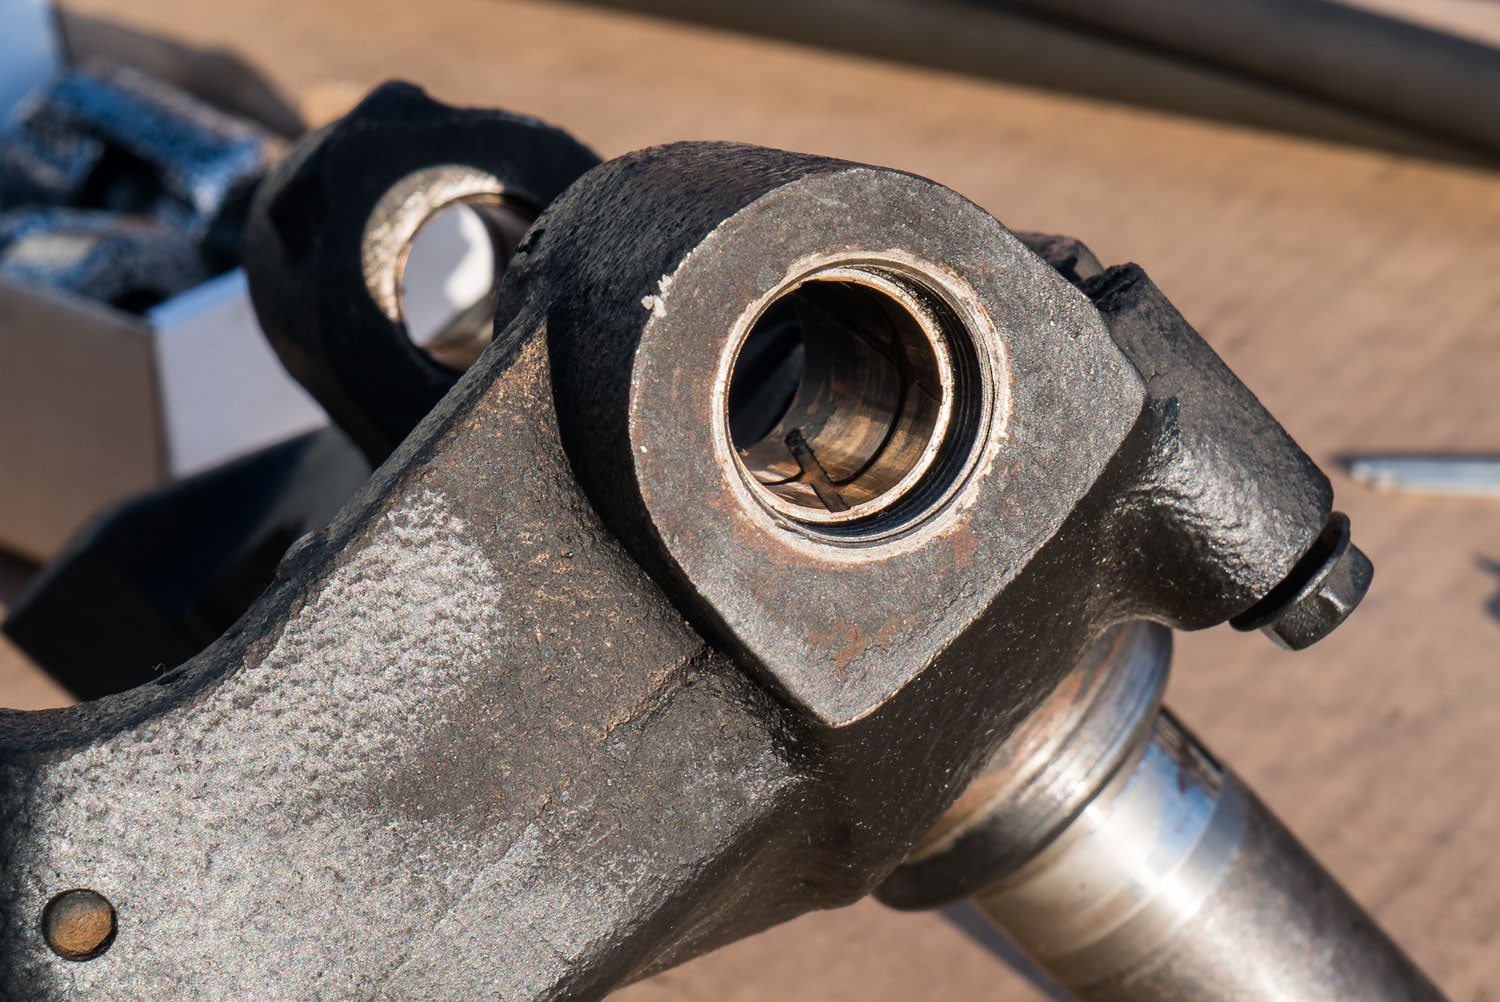
Our inspection revealed worn bushings and kingpins. These parts were important to address because wear can affect steering movement, wheel positioning, and suspension operation. Replacing worn components during a lowering project also makes sense. You already have access to much of the front suspension, so you can inspect related parts before putting everything back together.
| Coil Spring Safety: Front coil springs store significant energy. Removing them incorrectly can cause serious injury. Follow recommended steps and use the right tools. If you're unfamiliar with suspension work, have a qualified technician handle the installation. |
Installing 3-Inch Lowering I-Beams on a 1965 Ford F-100
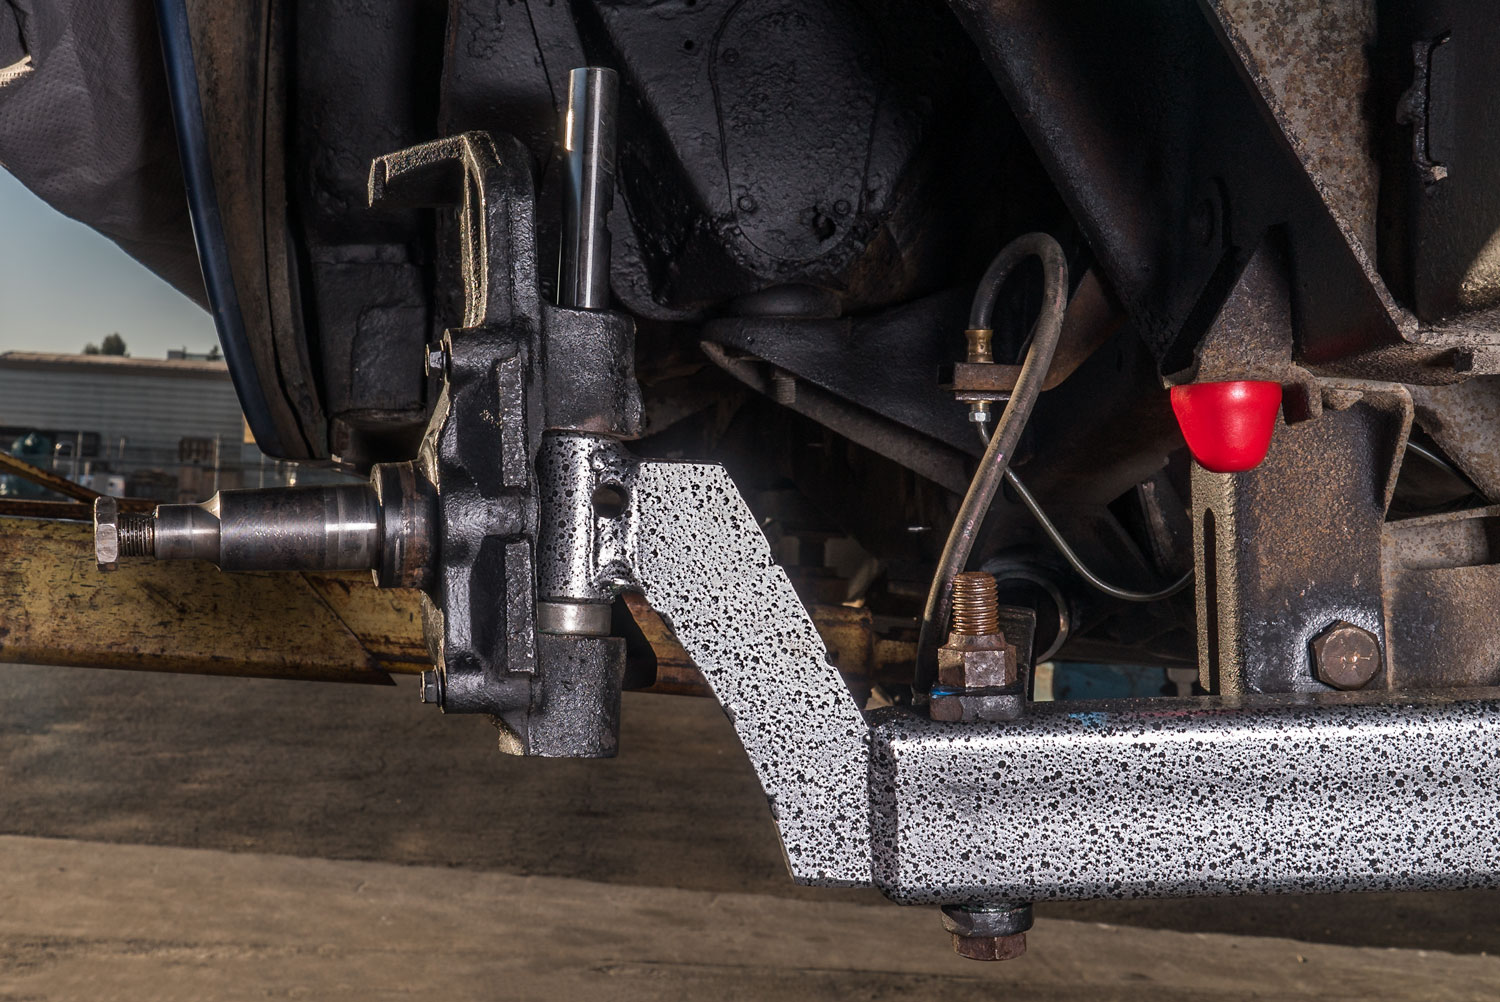
DJM Suspension's 3-inch lowering I-beams lower the front of a compatible F-100 by changing the position of the front suspension beams rather than shortening the coil springs. The design retains the truck's kingpin-style front suspension architecture while providing the intended drop.
For this build, the new beams worked with the truck's kingpins, spindles, radius arms, and coil springs. Because the truck had front disc brakes and spindles believed to be from a 1976 F-150, checking compatibility with the existing components was an important part of the project.
DJM uses lowering I-beams for this suspension application rather than relying on cut or heated springs. Follow the product-specific installation guidance and verify the complete setup before driving.
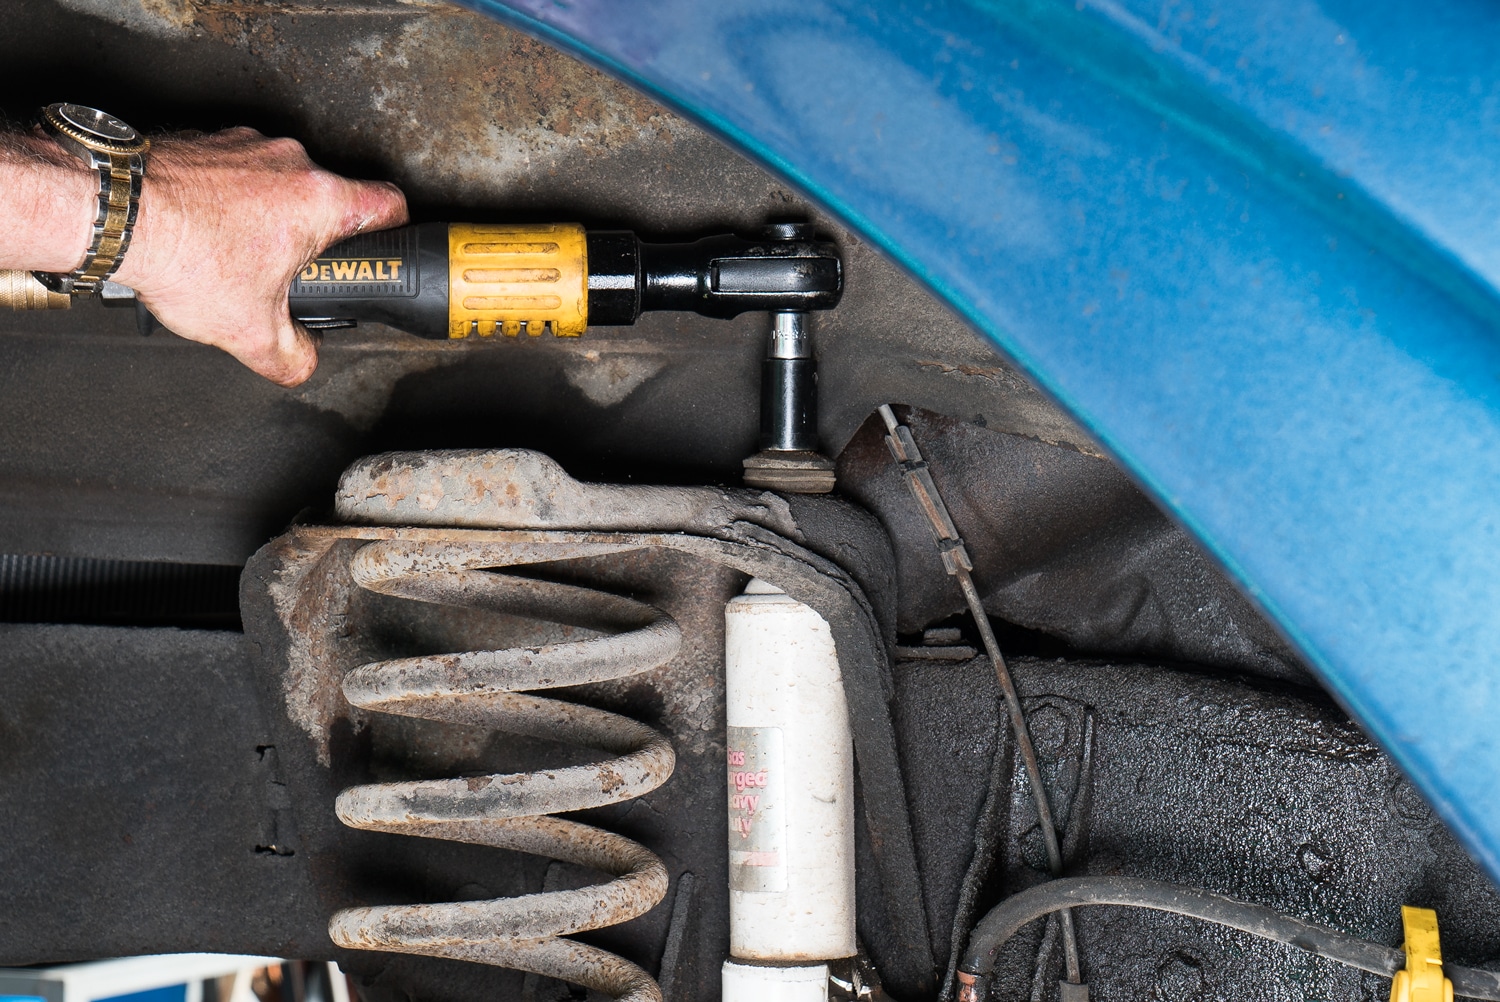
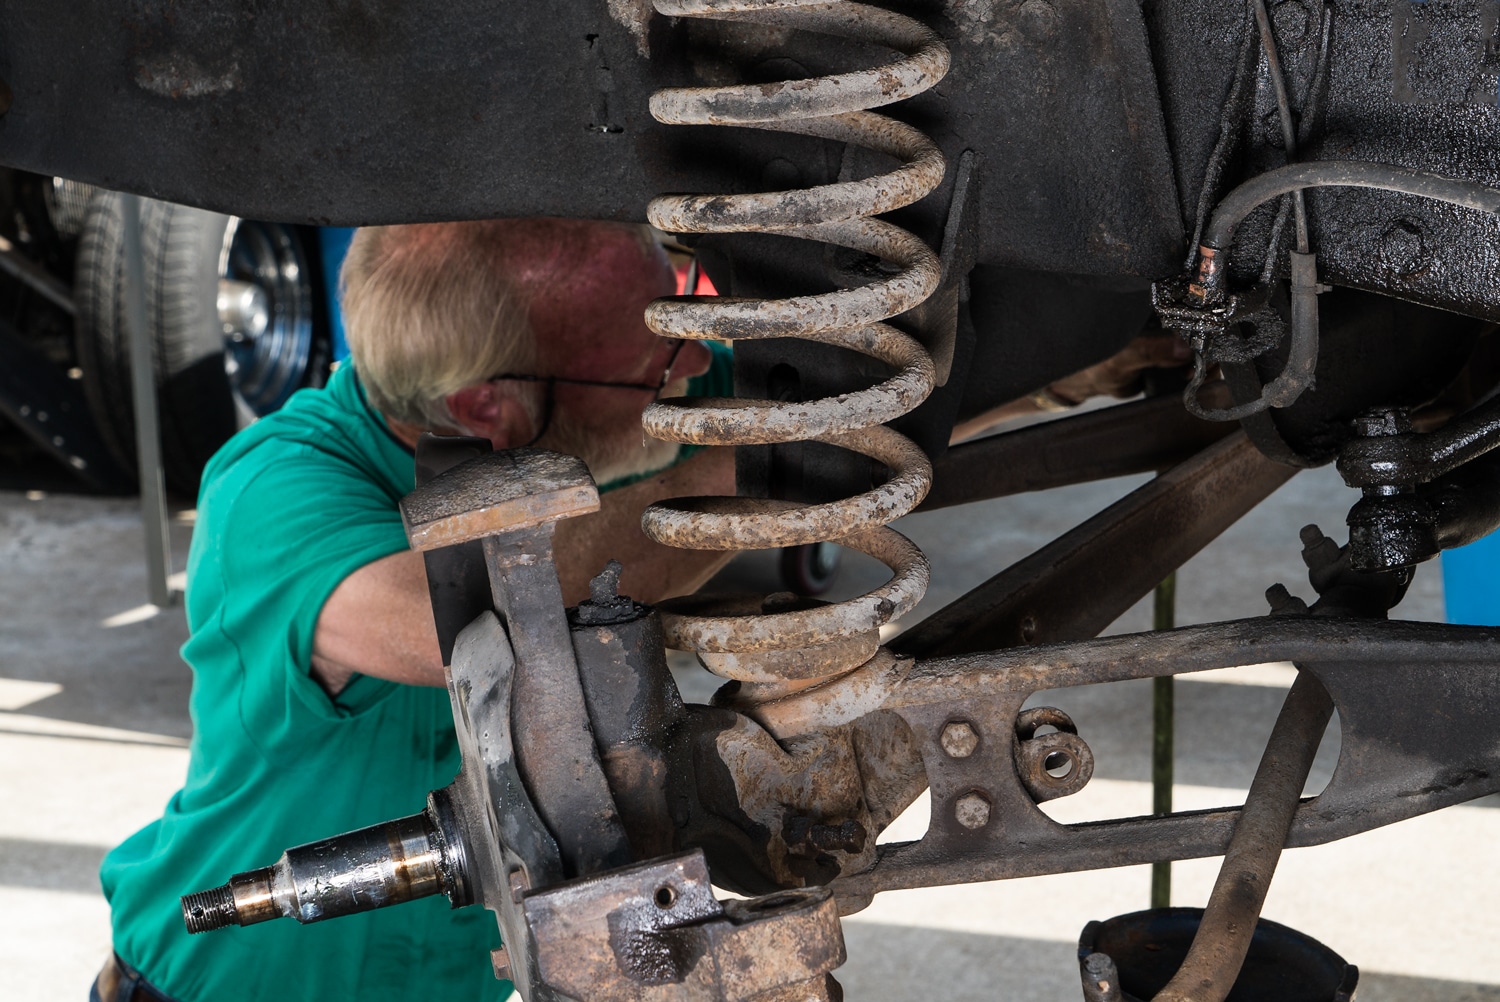
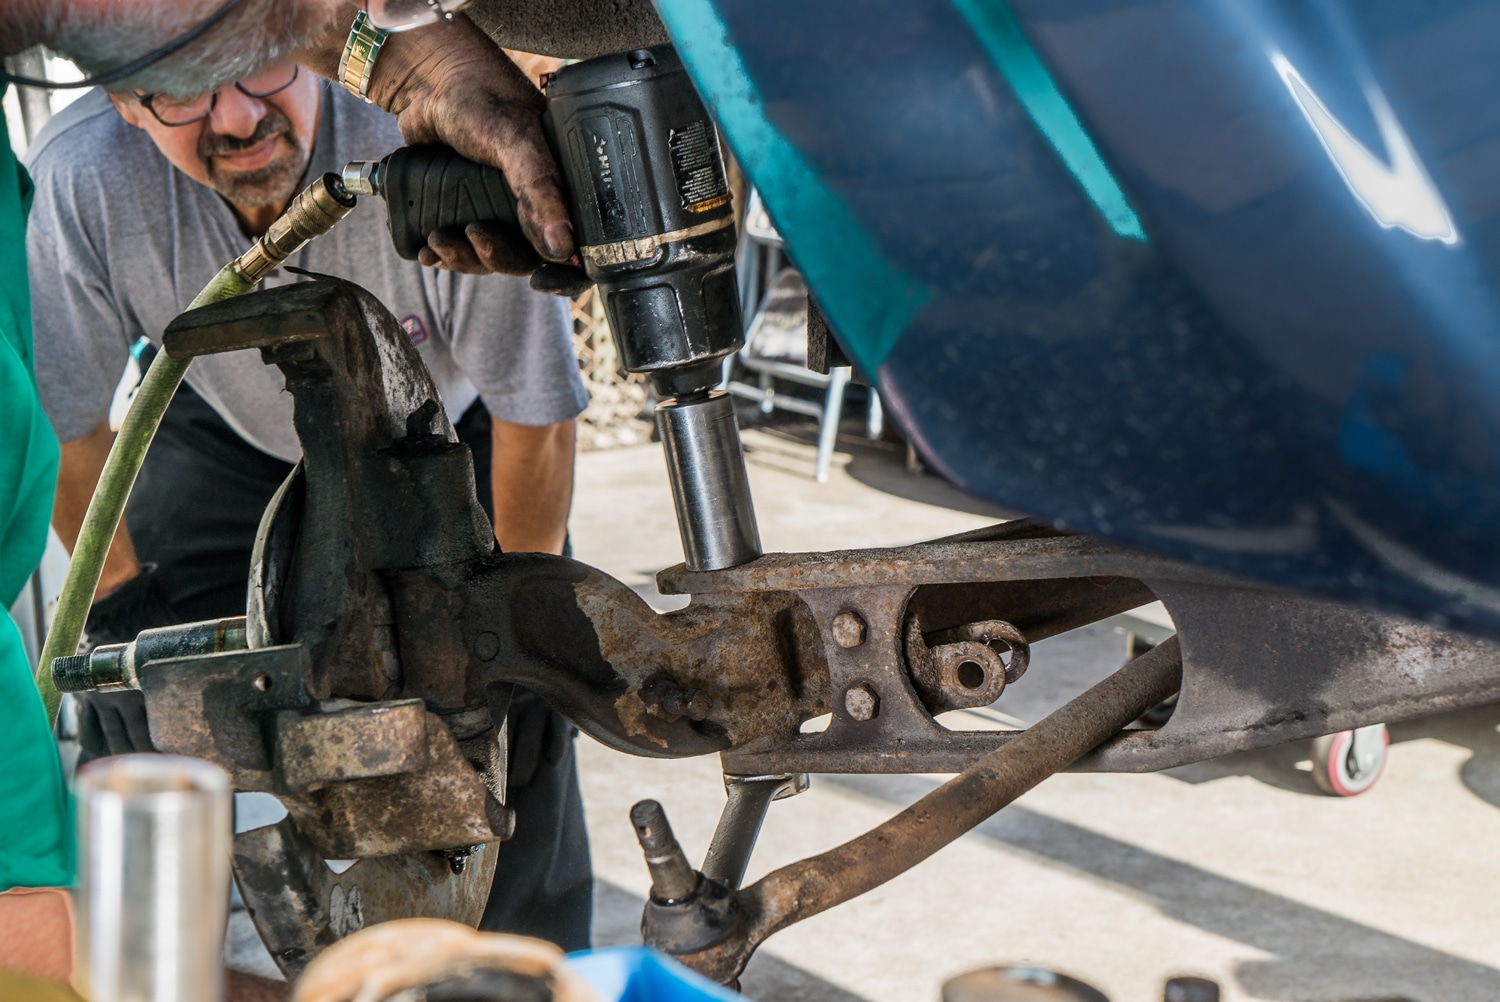
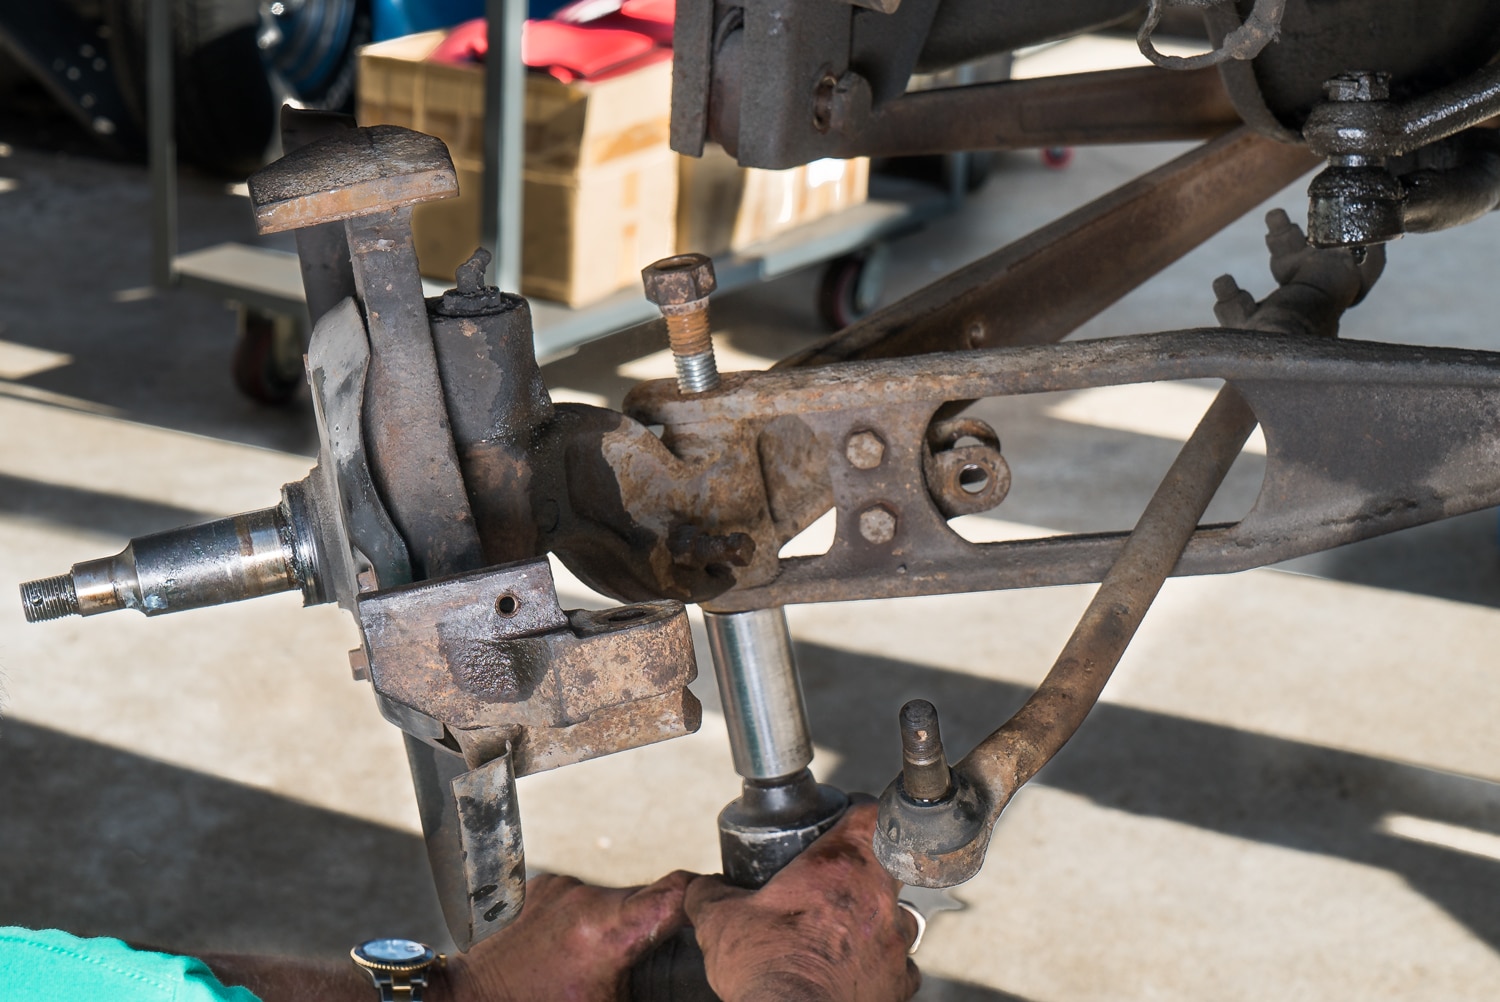

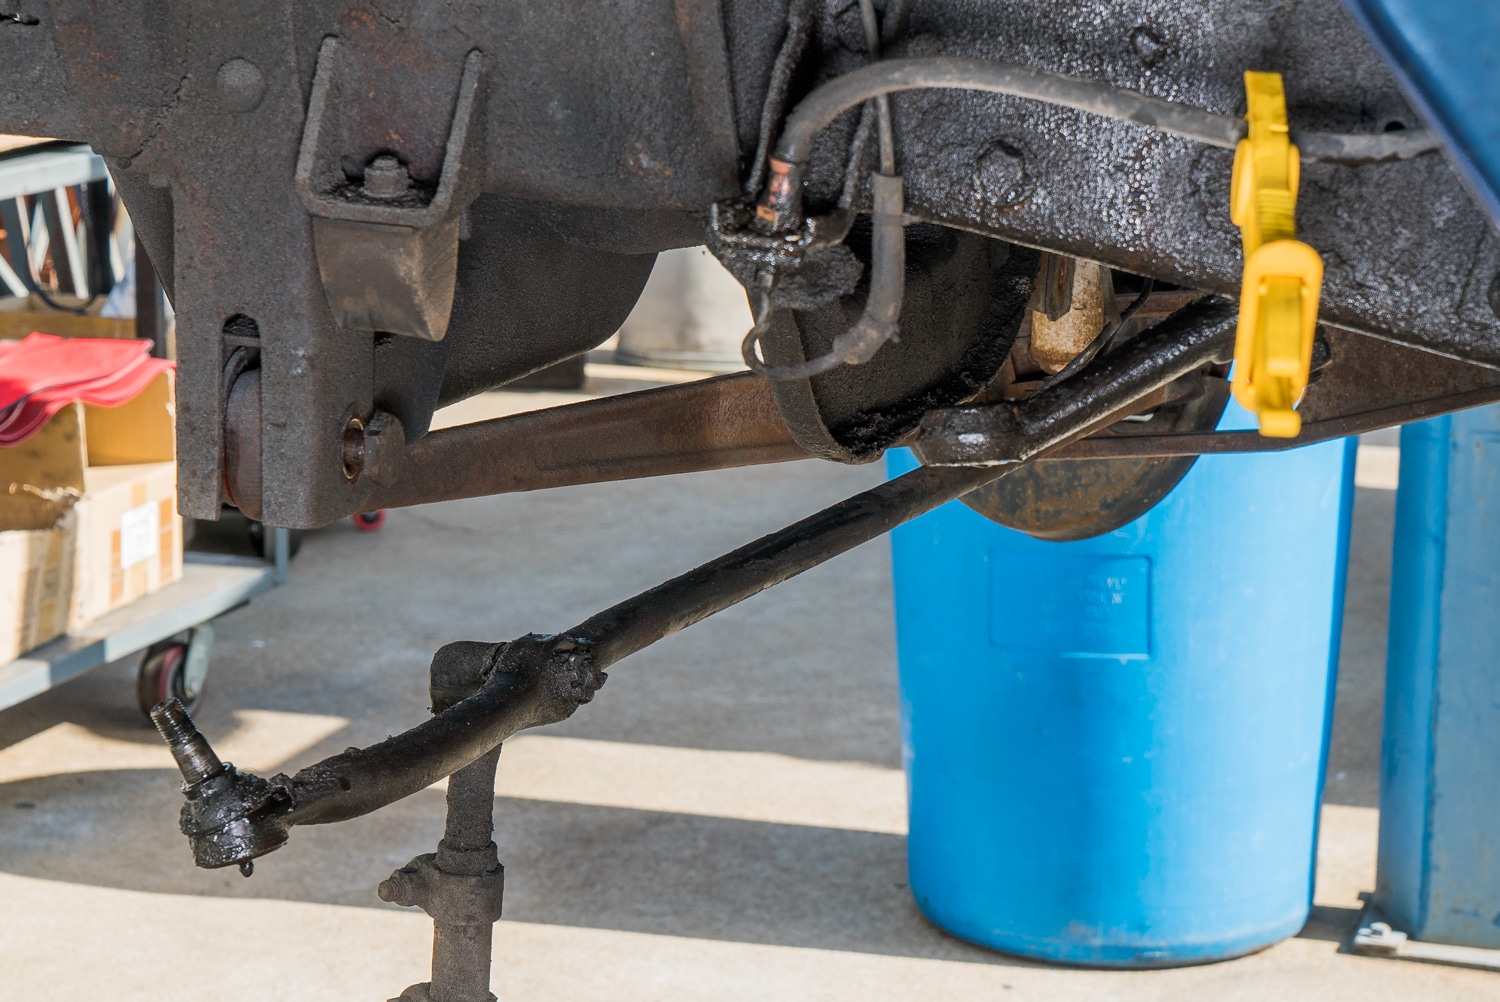
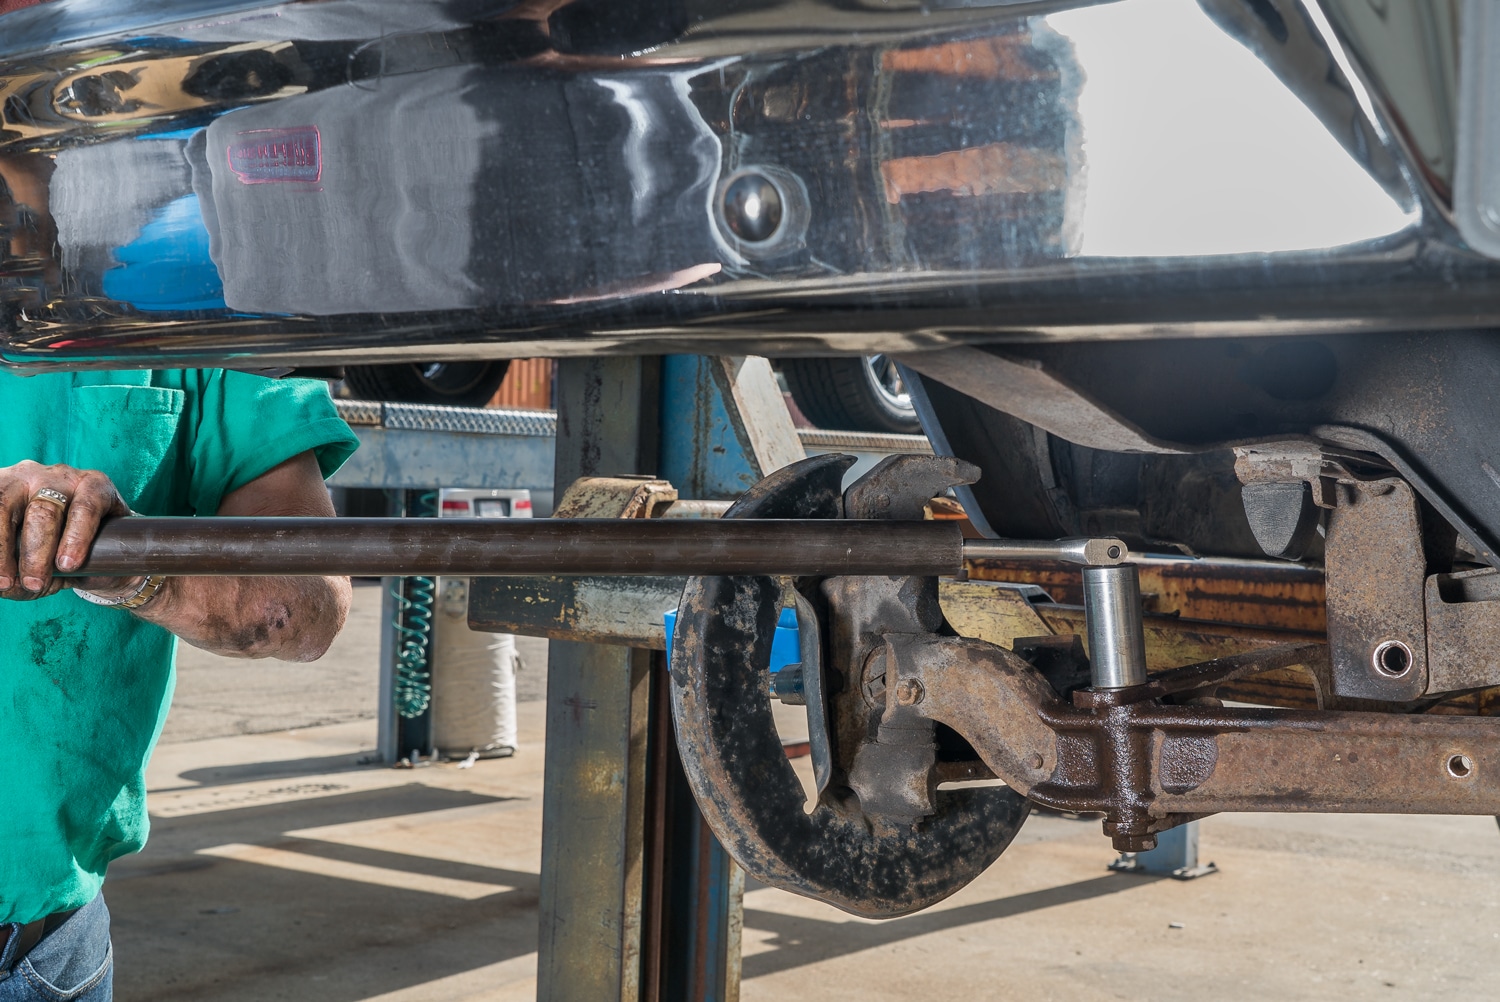
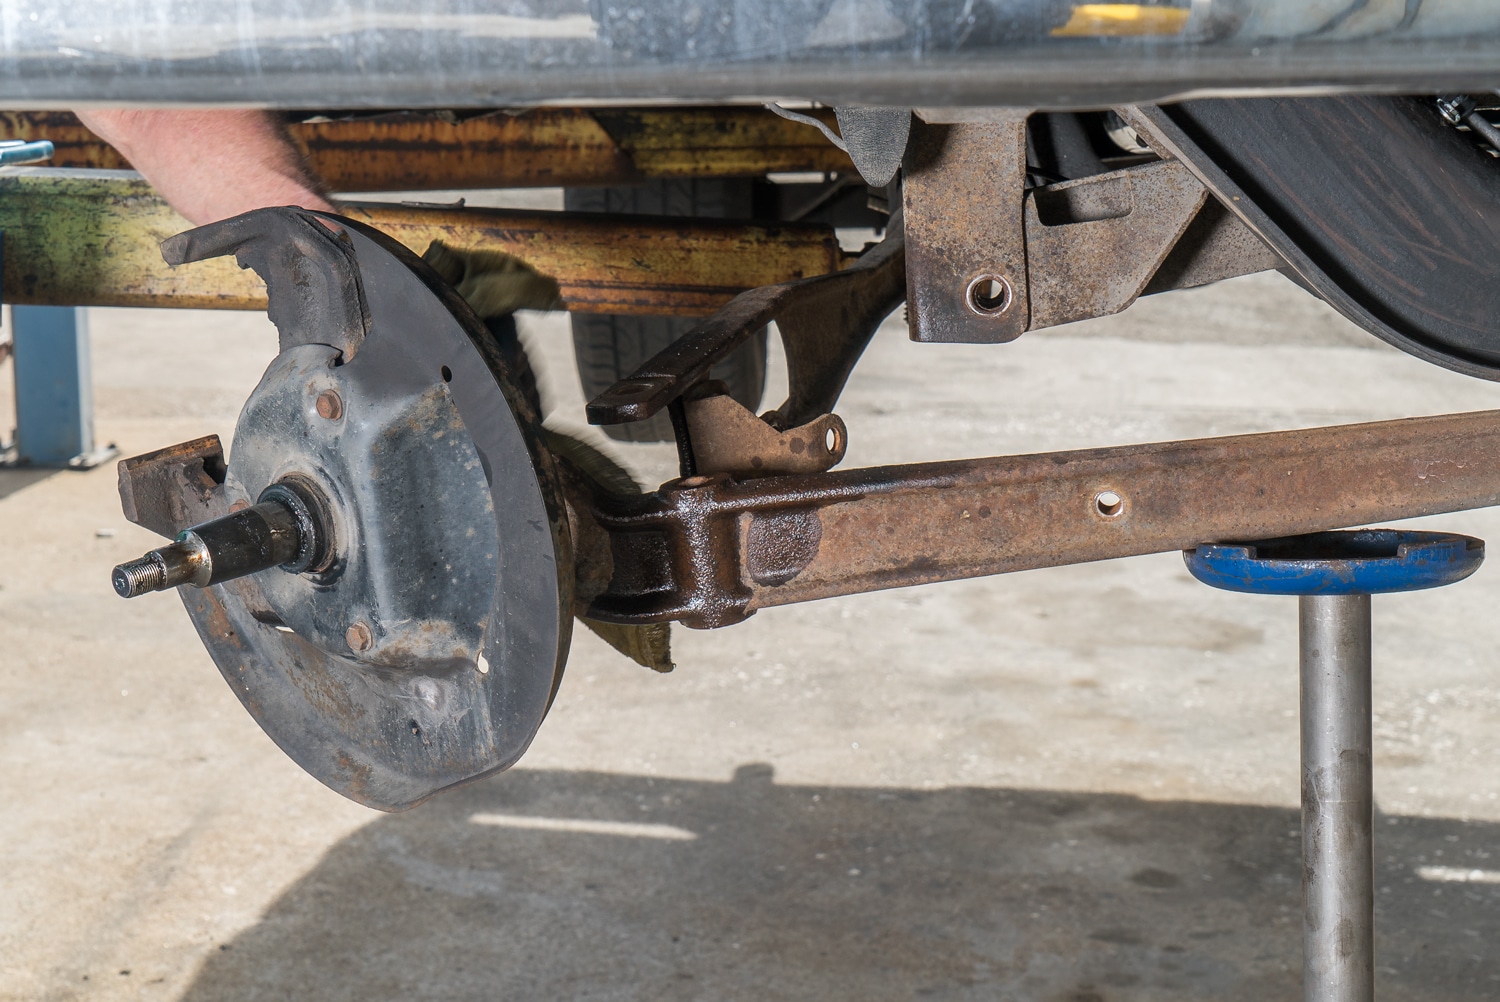
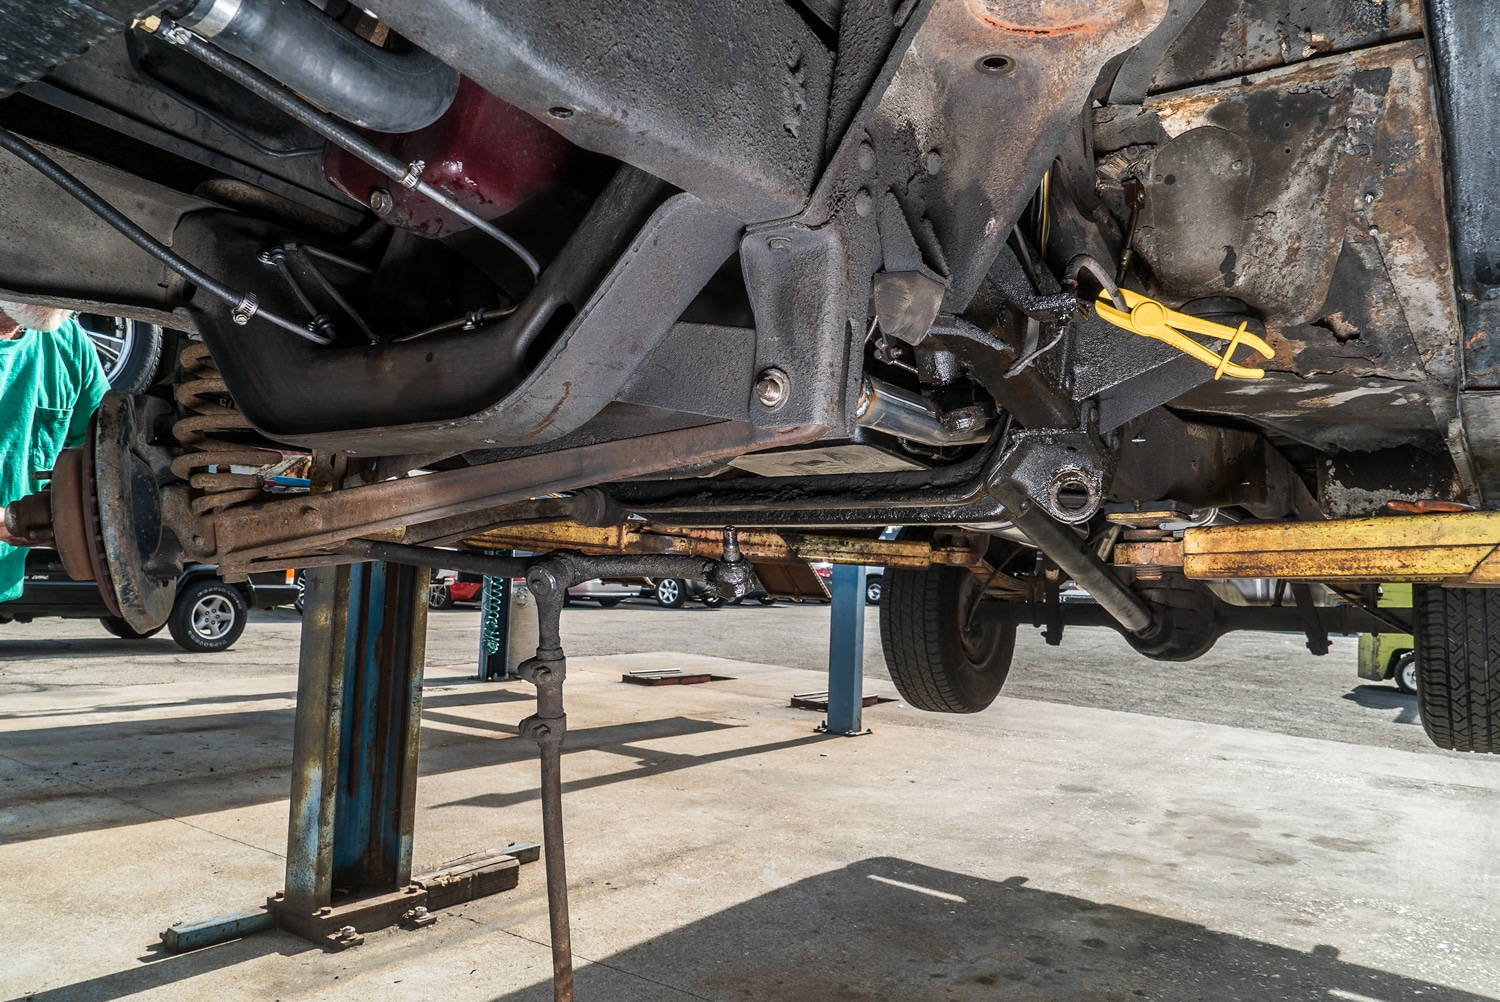
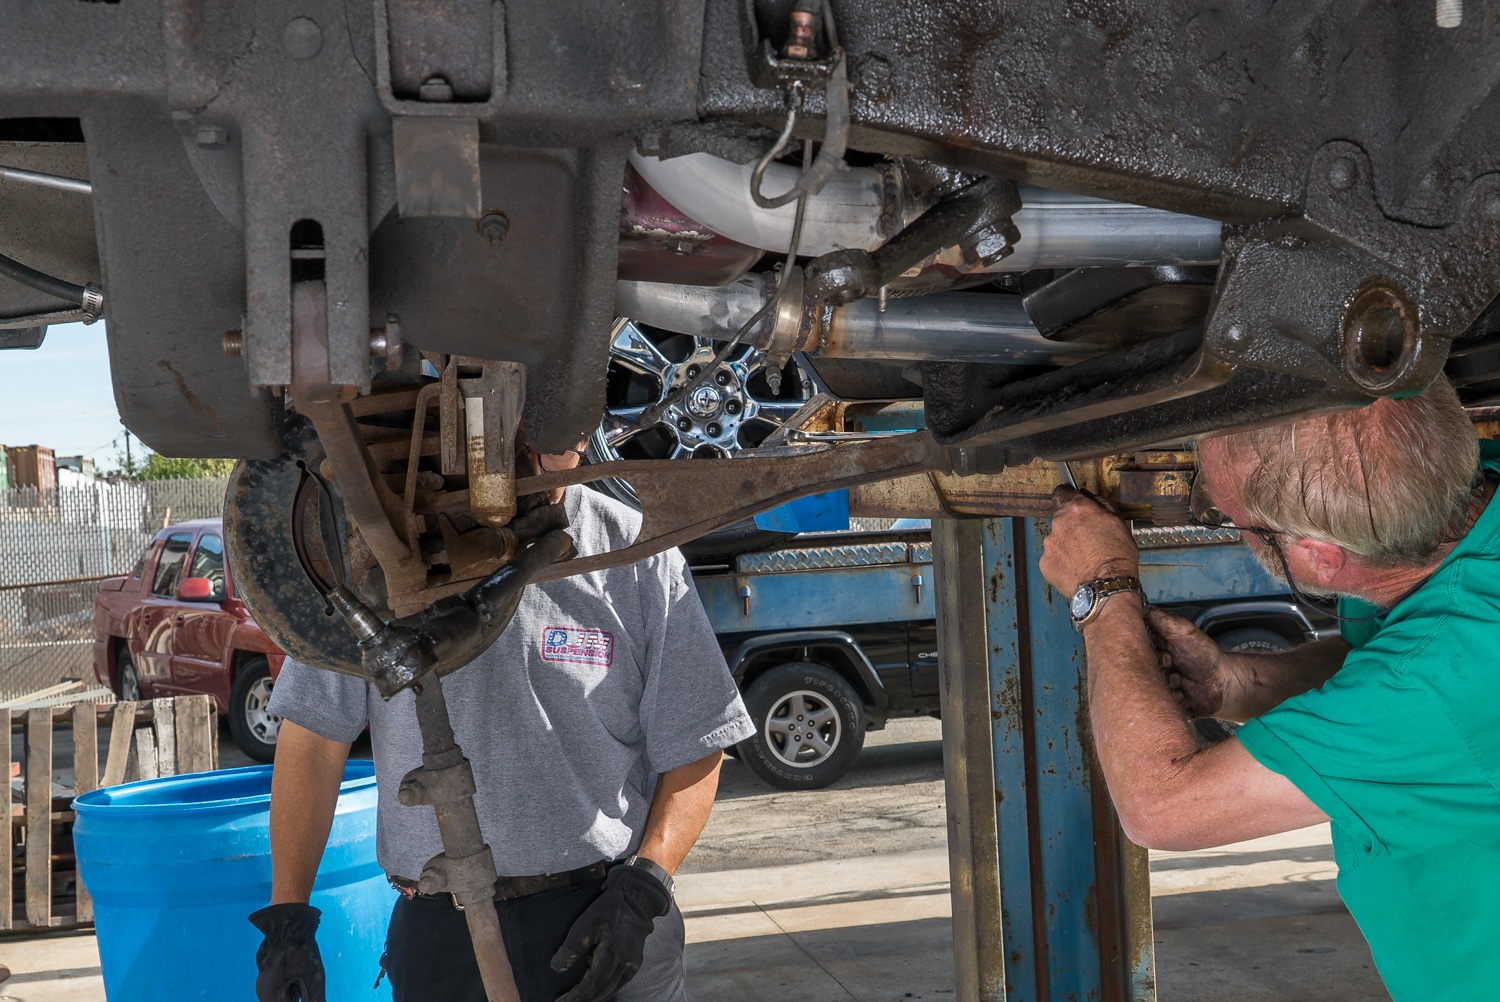
Here's how the main pieces fit together:
- Kingpins: Connect the spindles to the I-beams and must be fitted correctly.
- Radius arms and bushings: Connect and support the suspension assembly. Install the bushings and washers in the orientation specified in the instructions.
- Tie-rod extenders: Designed to keep the tie rods properly positioned within the radius arms.
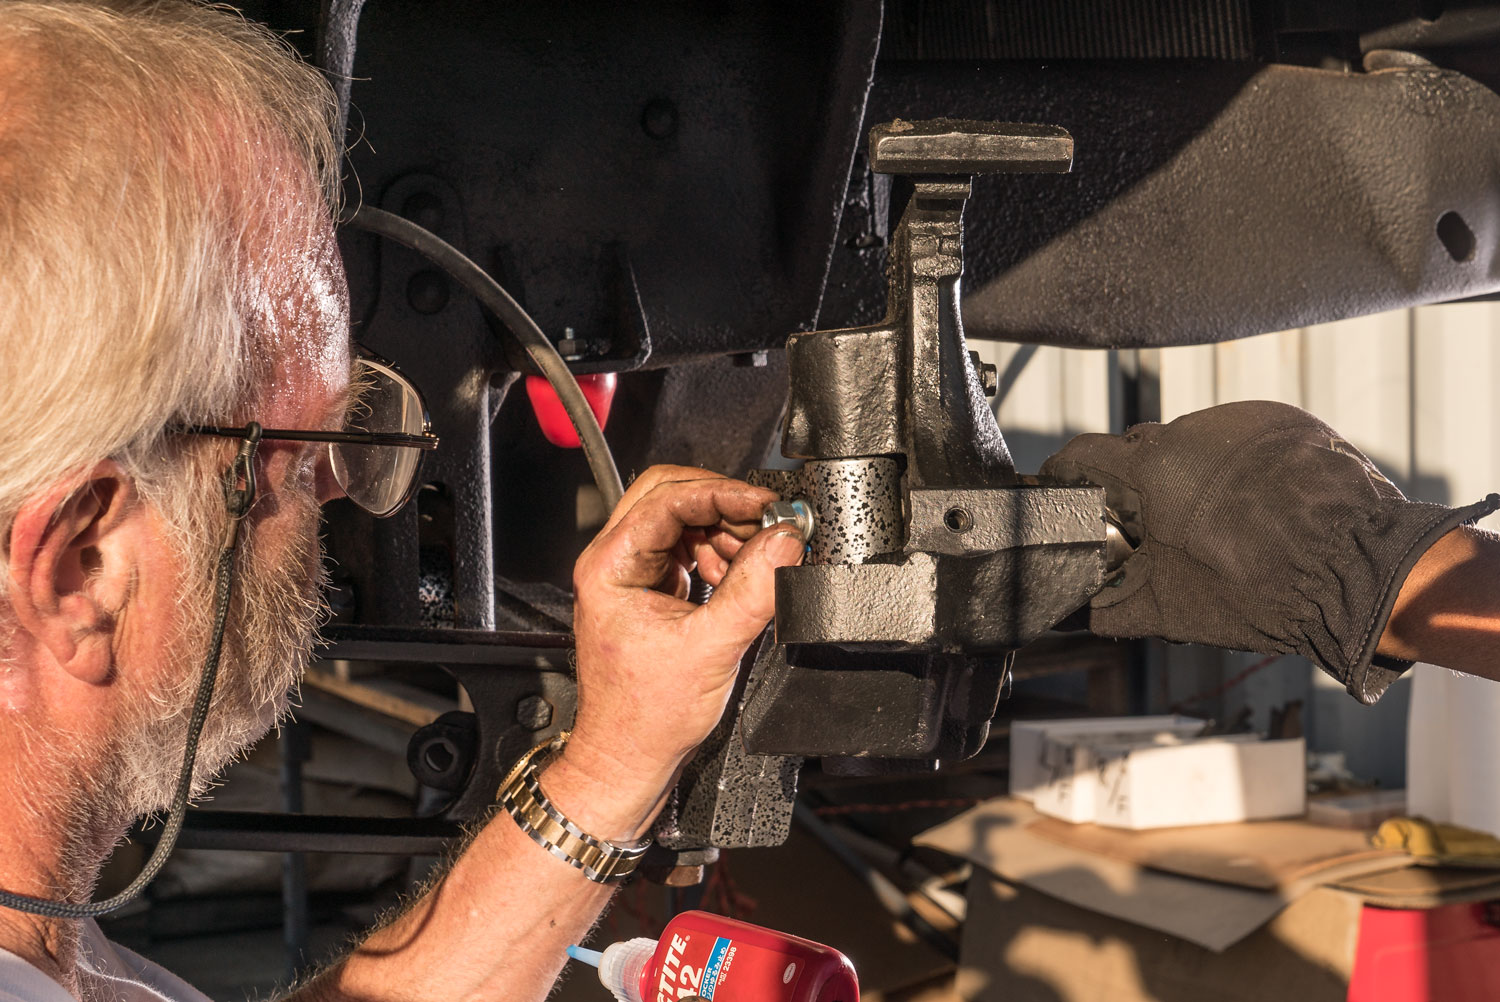
- Lubrication: Grease the applicable pivot bushings and kingpin components according to the installation instructions.
| Lower the Truck, Not the Springs: Used in our build, the 3-inch I-beams lower the front without shortening the coil springs. Correct fitment, lubrication, and a professional alignment are still essential. |
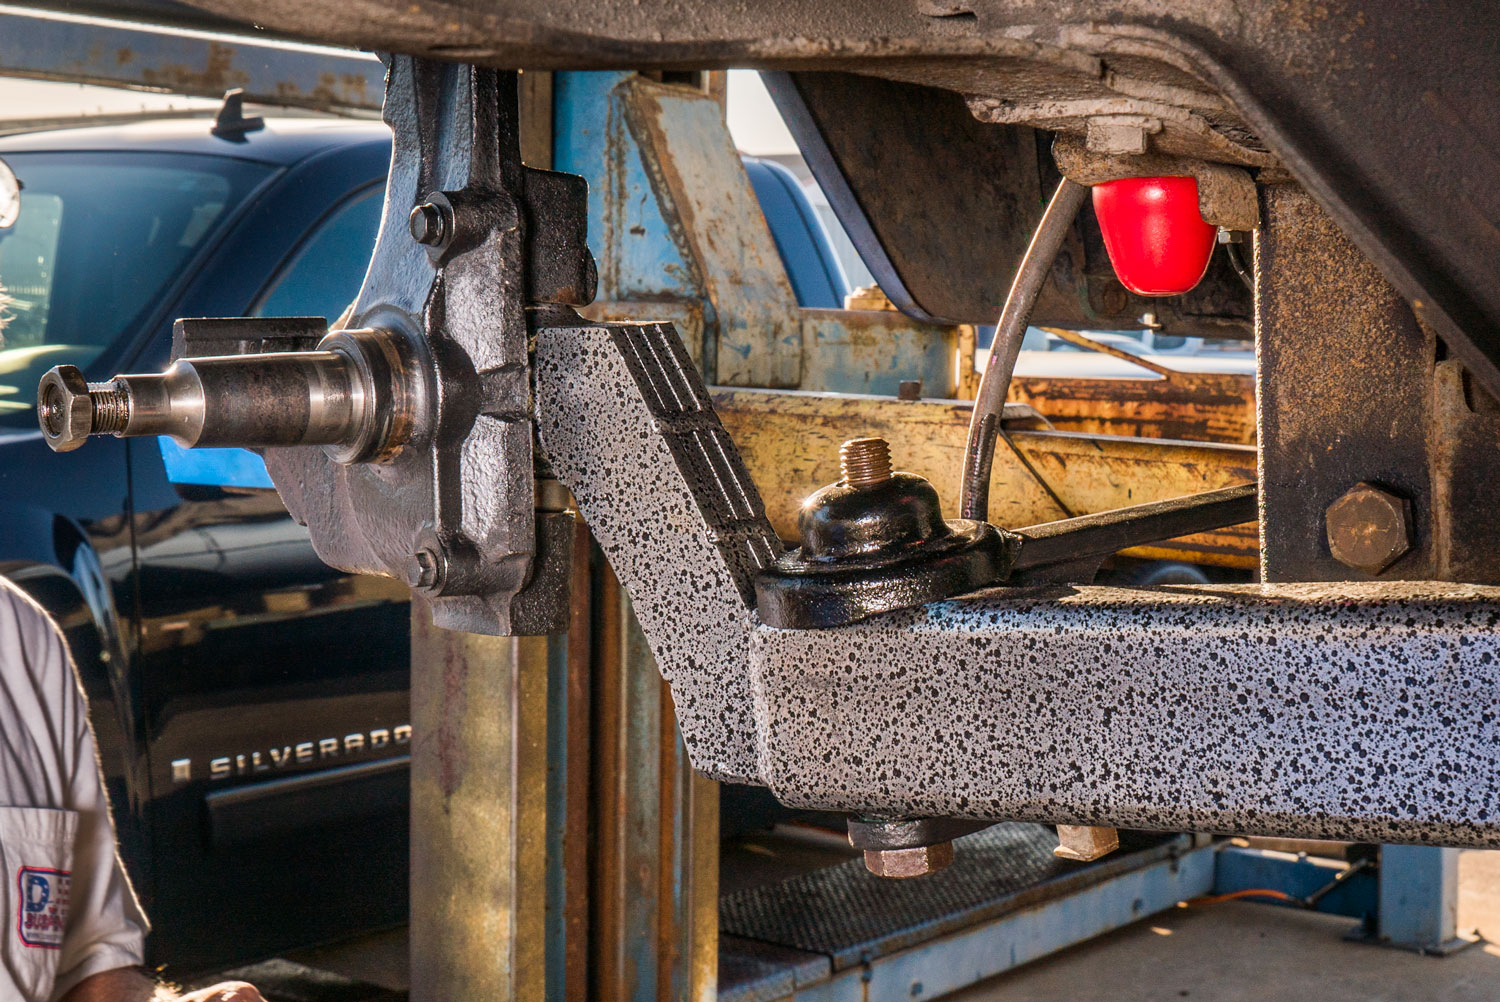
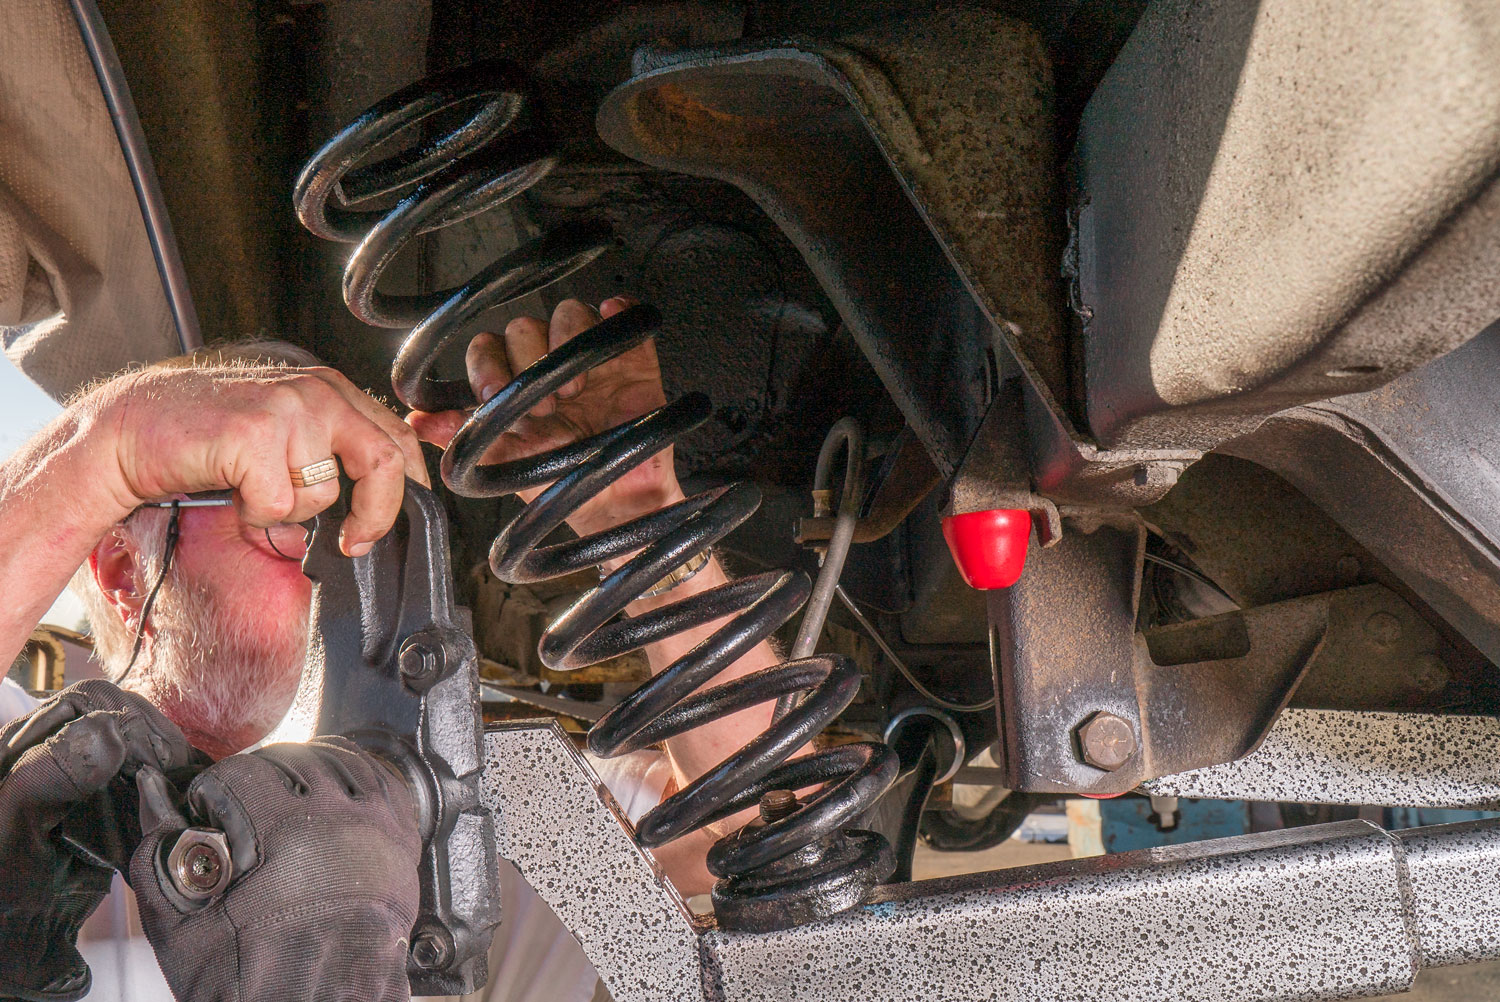
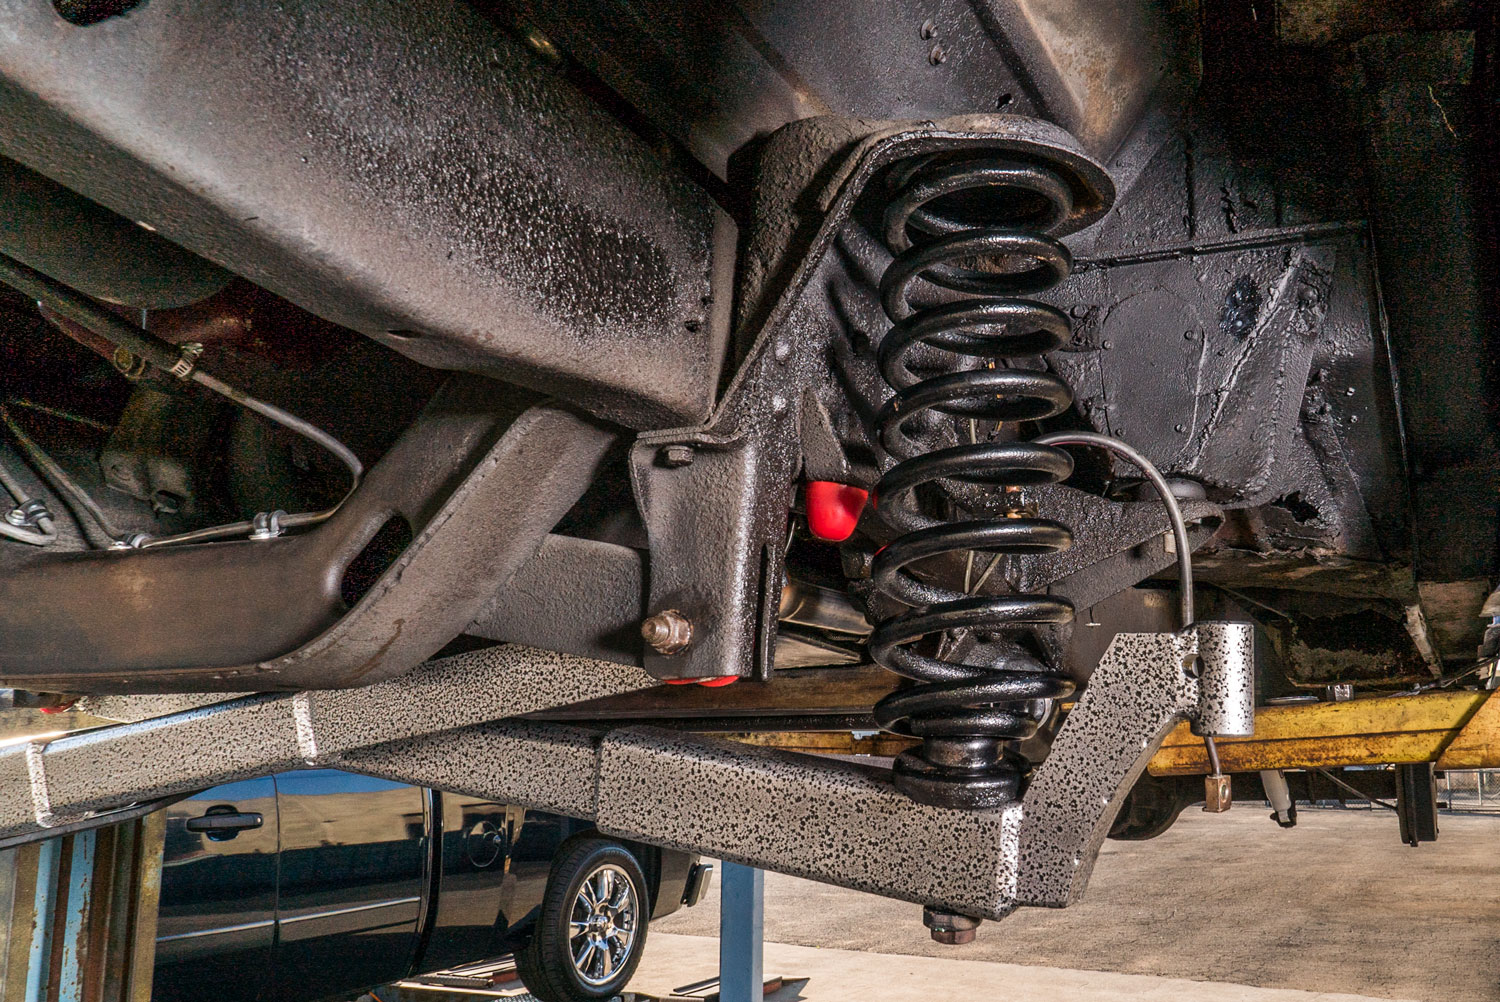
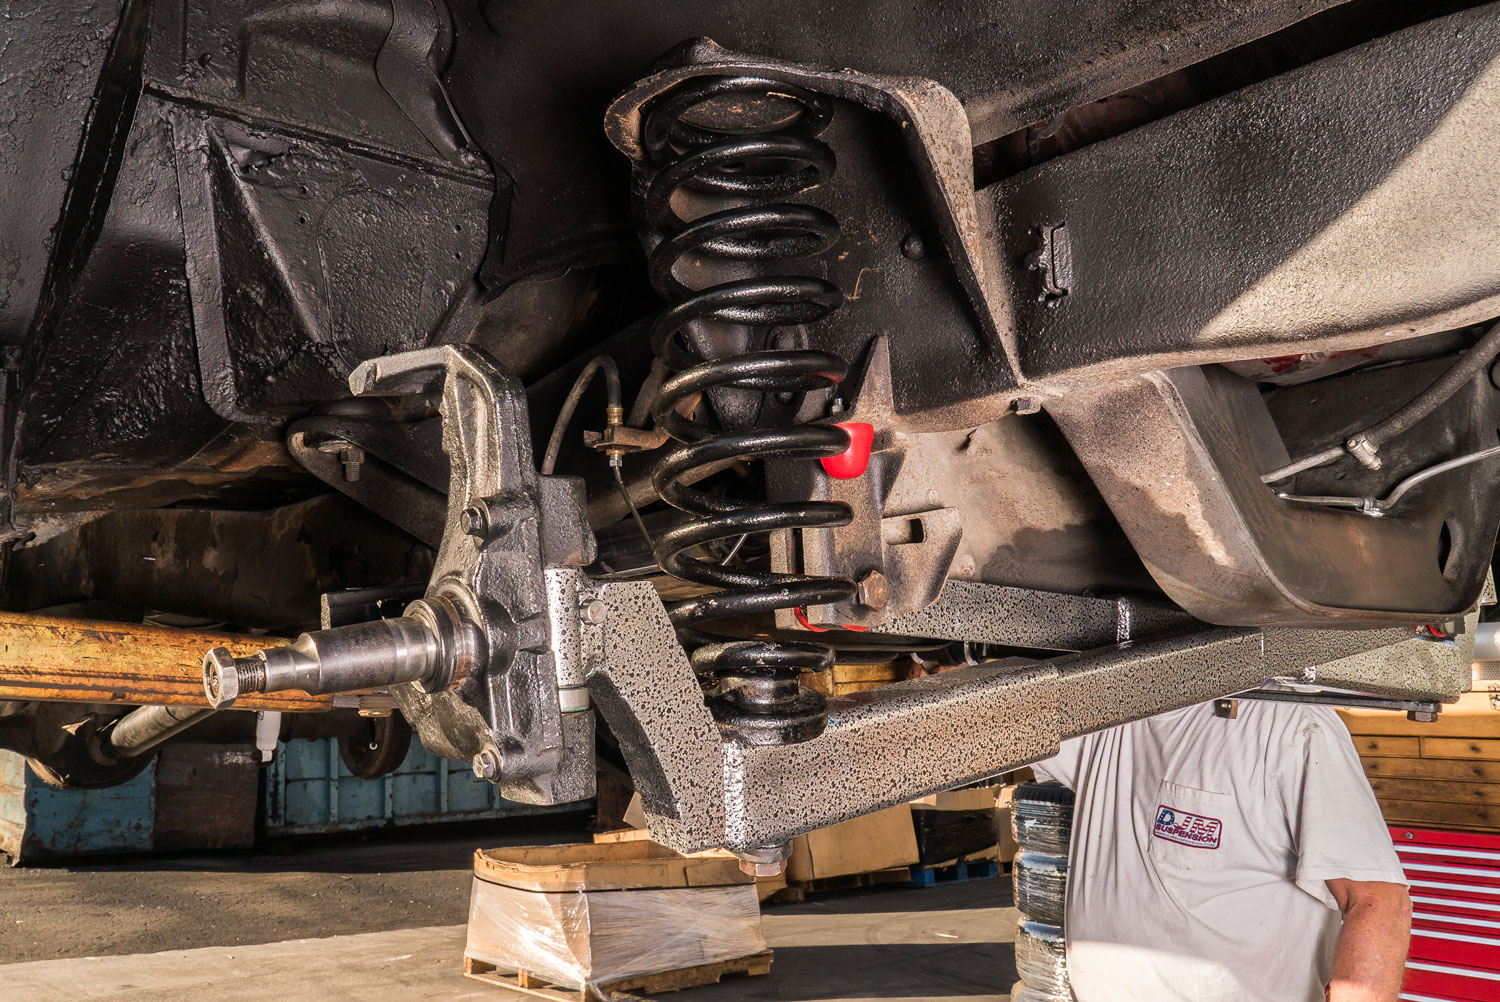
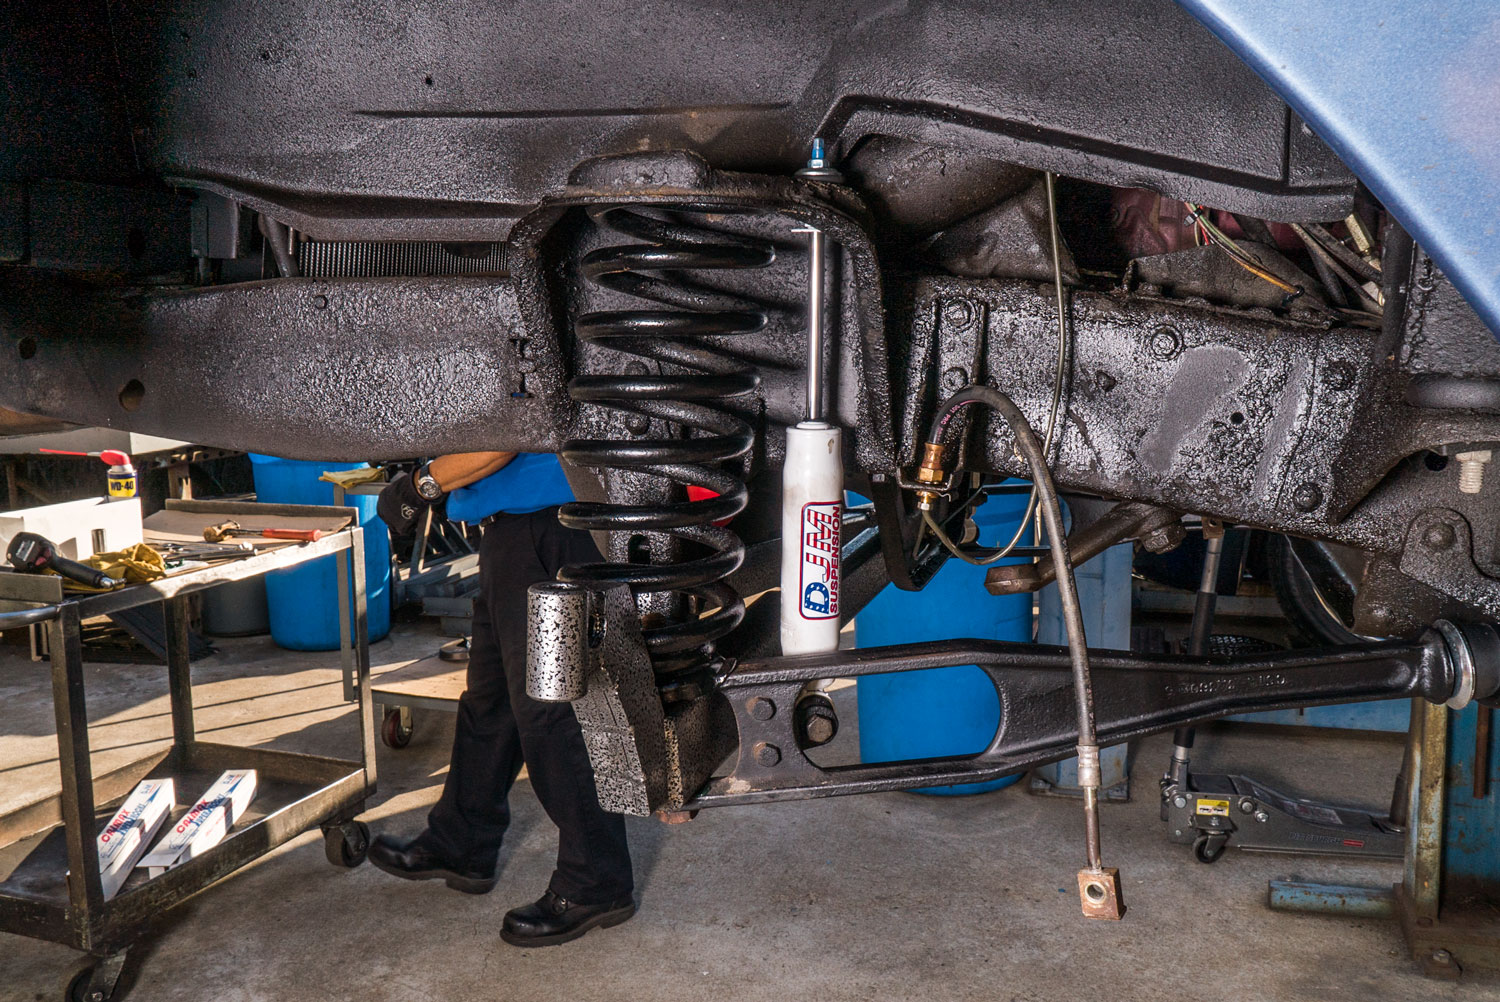
Reassembling the Front End
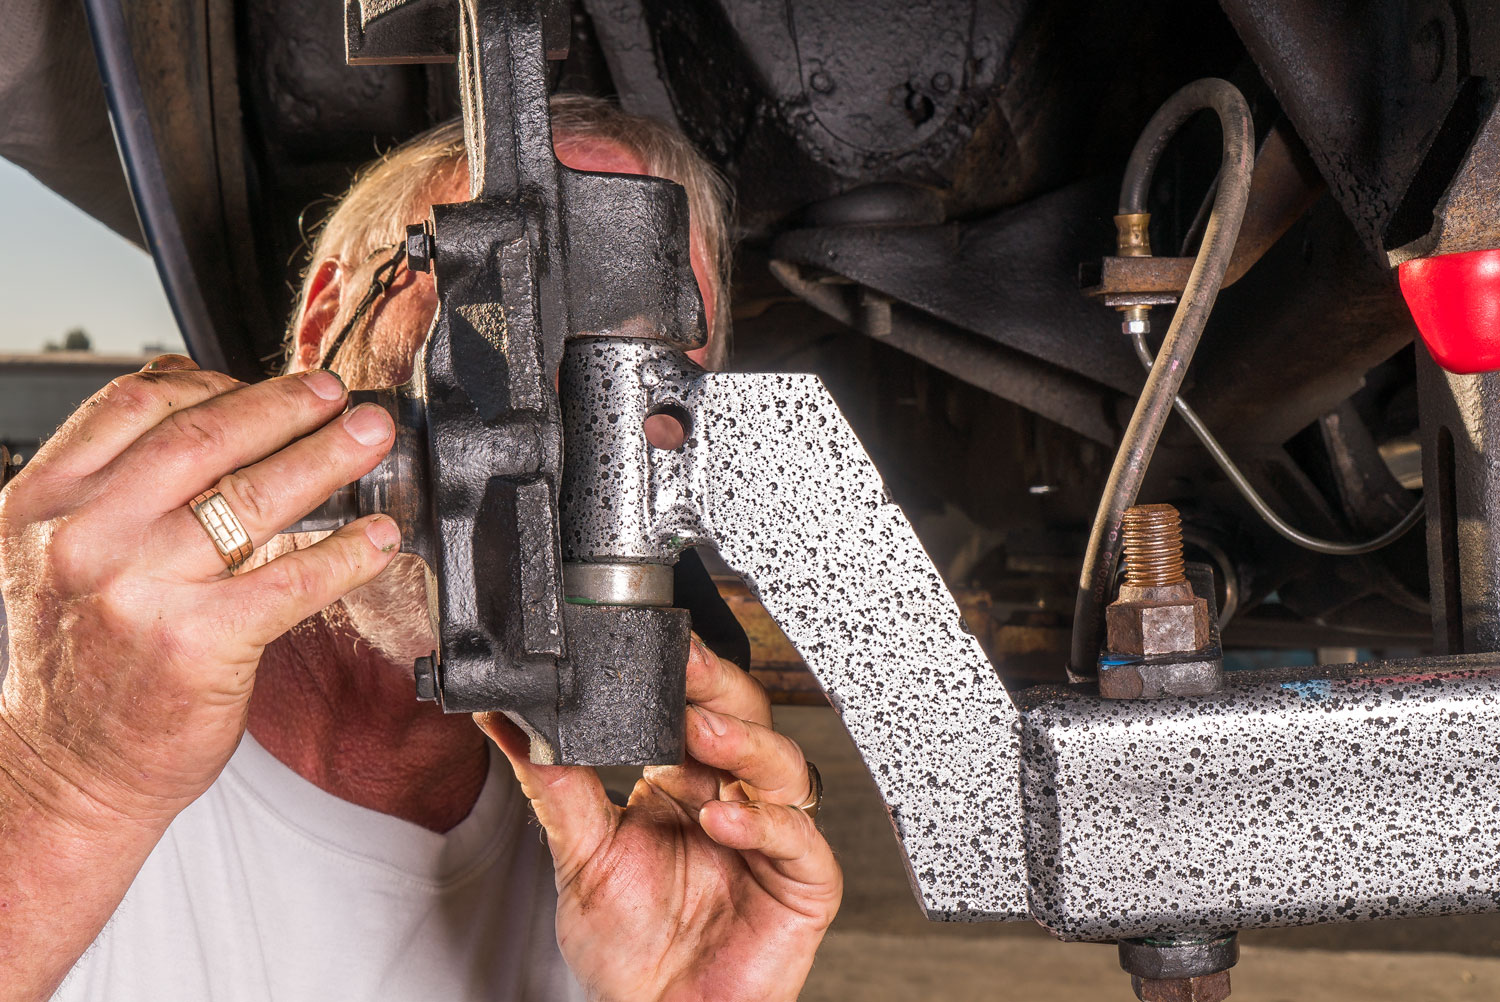
With the lowering I-beams ready, the next stage was to reassemble the front suspension. One important part of this project involved fitting the kingpins. The build documentation includes a reamer video that helps illustrate this process.
Kingpin fitting requires accurate measurements and the right tools. An overly tight fit can restrict steering movement, while excessive clearance can cause unwanted play.
The original project also included a short video demonstrating a DIY kingpin reamer. This provides additional visual context for the kingpin-fitting process. Kingpin reaming and fitment require the correct tools, measurements, and clearances, so use the applicable installation instructions rather than relying on the video alone.
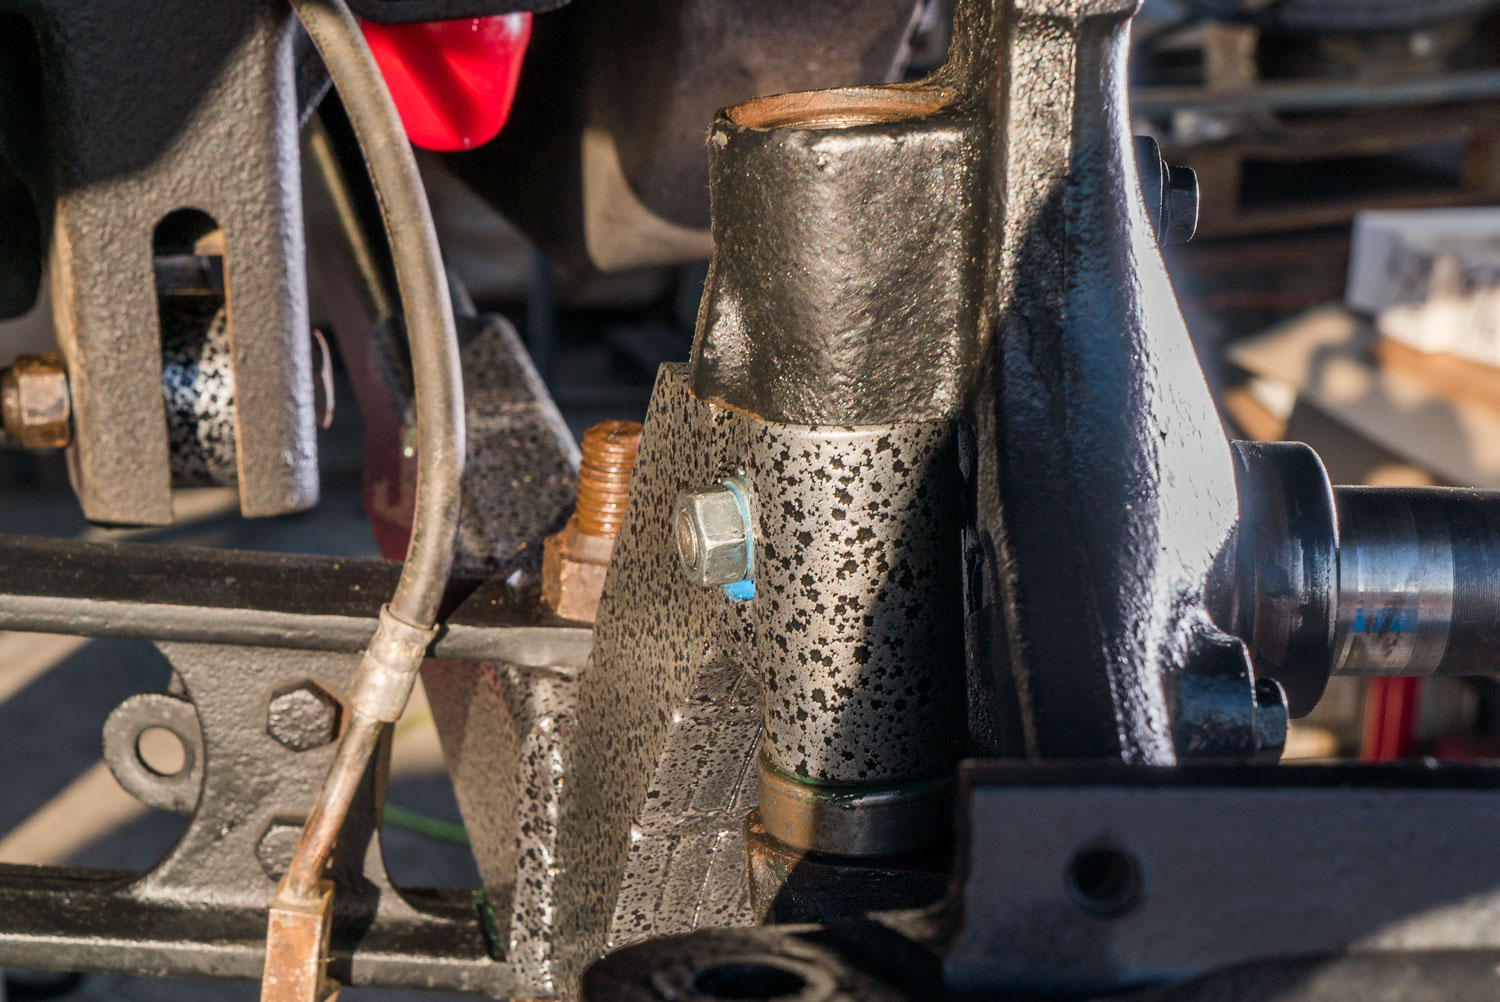
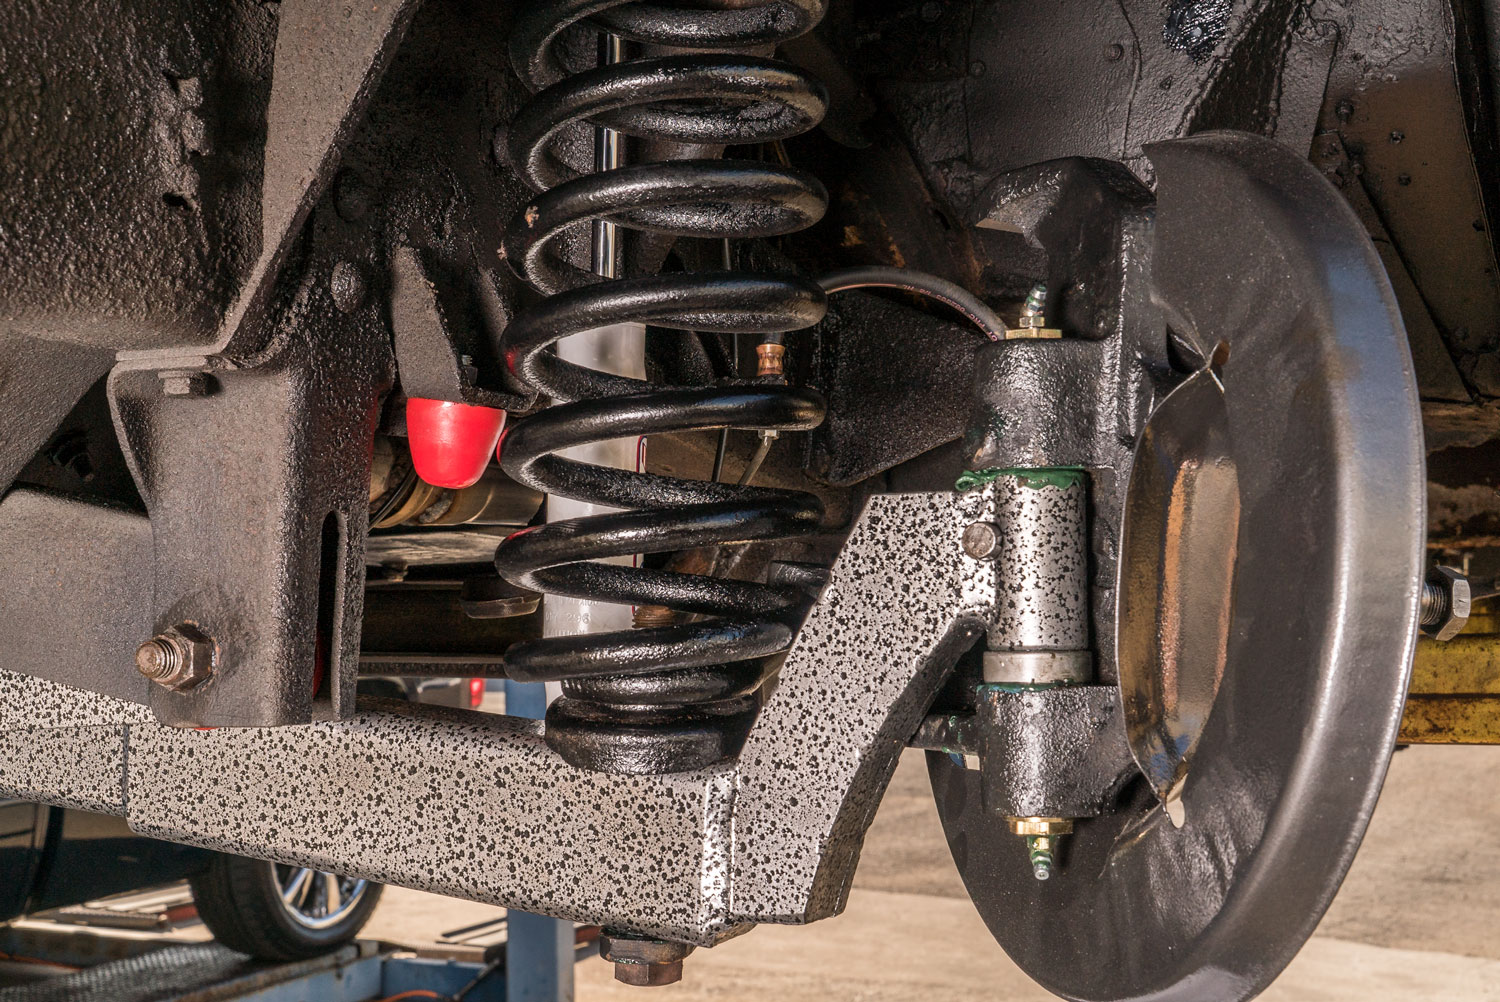
For your own project, follow the current manufacturer's installation guide rather than treating project photos or videos as complete installation instructions.
The main reassembly work involved:
- Fitting the kingpins and related bushings.
- Reconnecting the radius arms and suspension components.
- Installing the spindle assemblies.
- Reassembling the wheel bearings and disc brakes.
- Installing the shocks and reconnecting the tie rods.
- Checking steering movement and component clearance.
Each component must be installed according to the applicable specifications. Fasteners should be tightened to the specified torque values. Wheel bearings, brake components, and steering connections also need careful inspection.


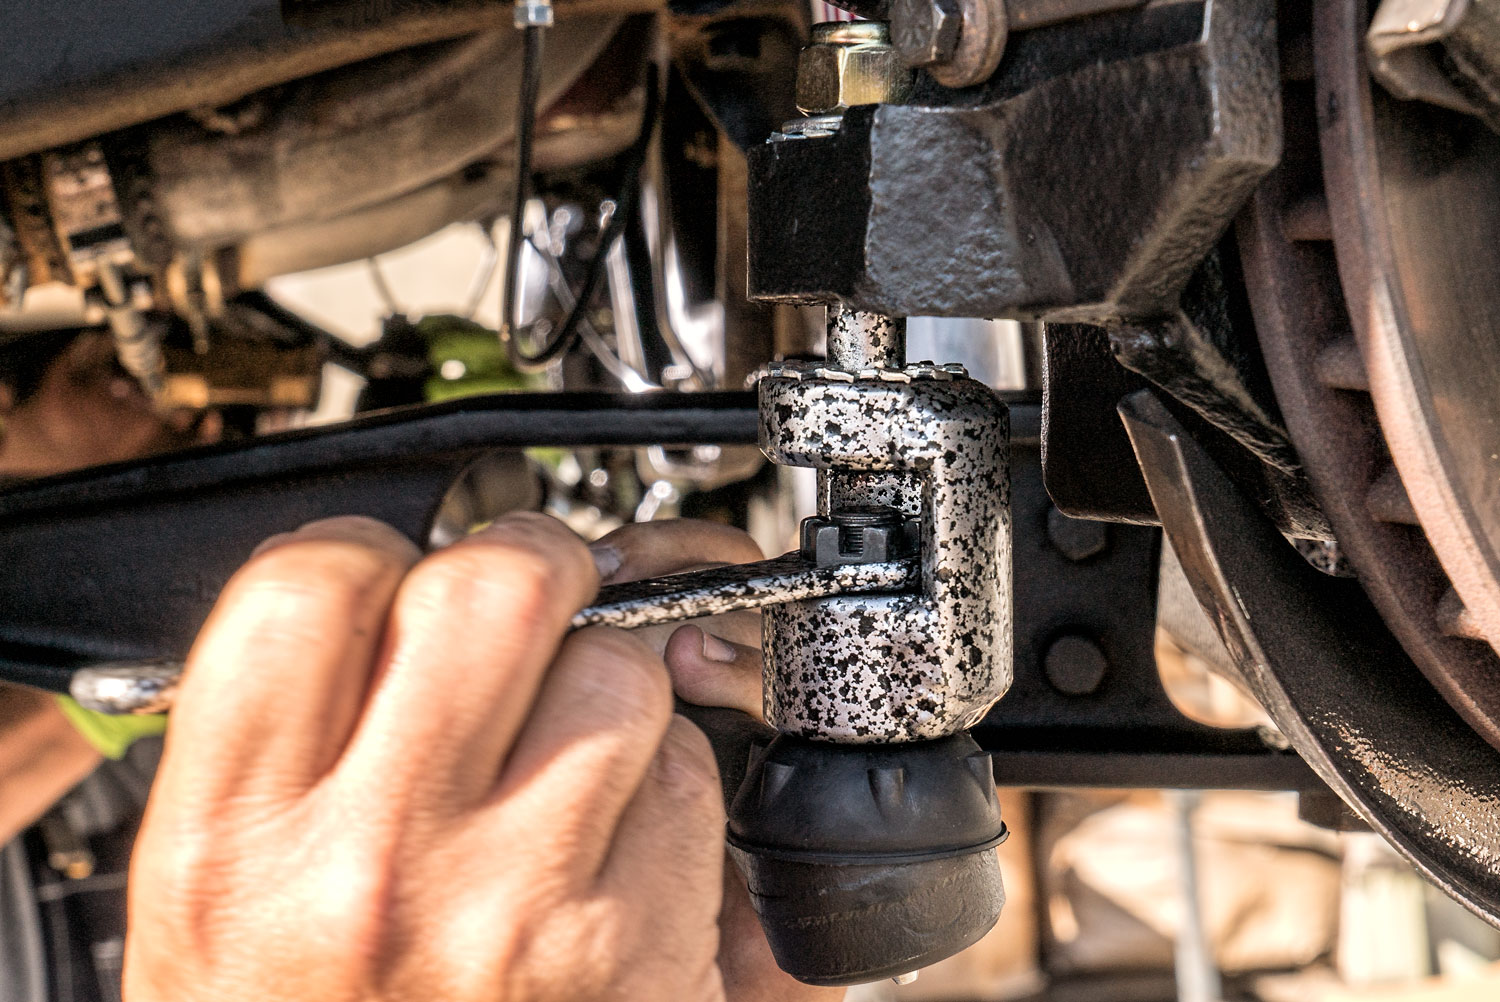
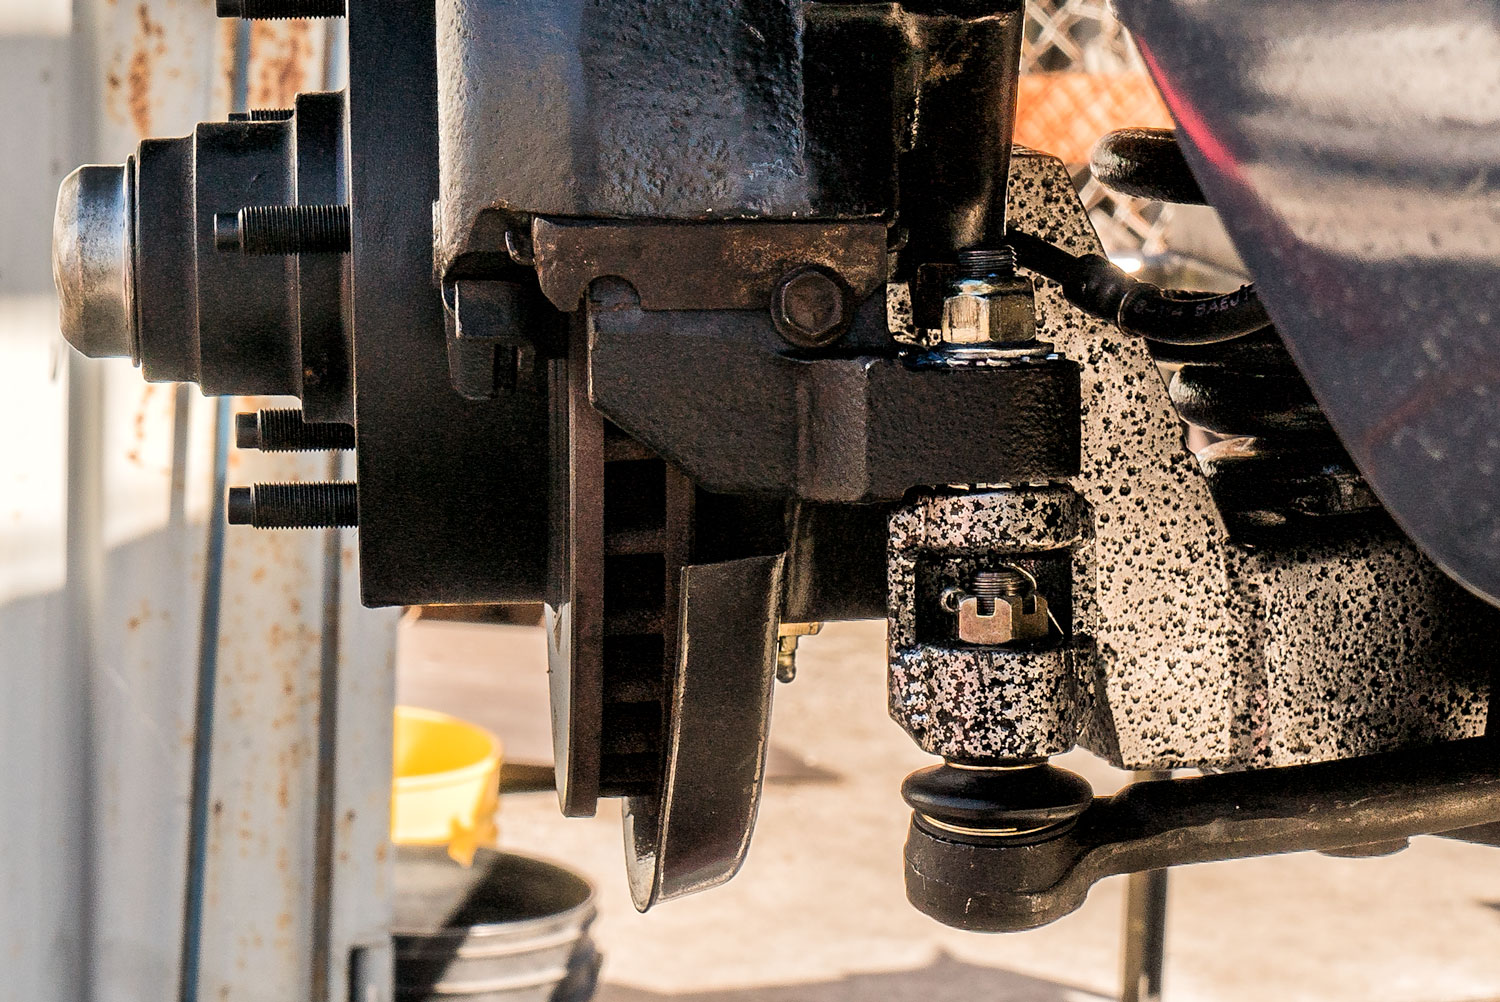


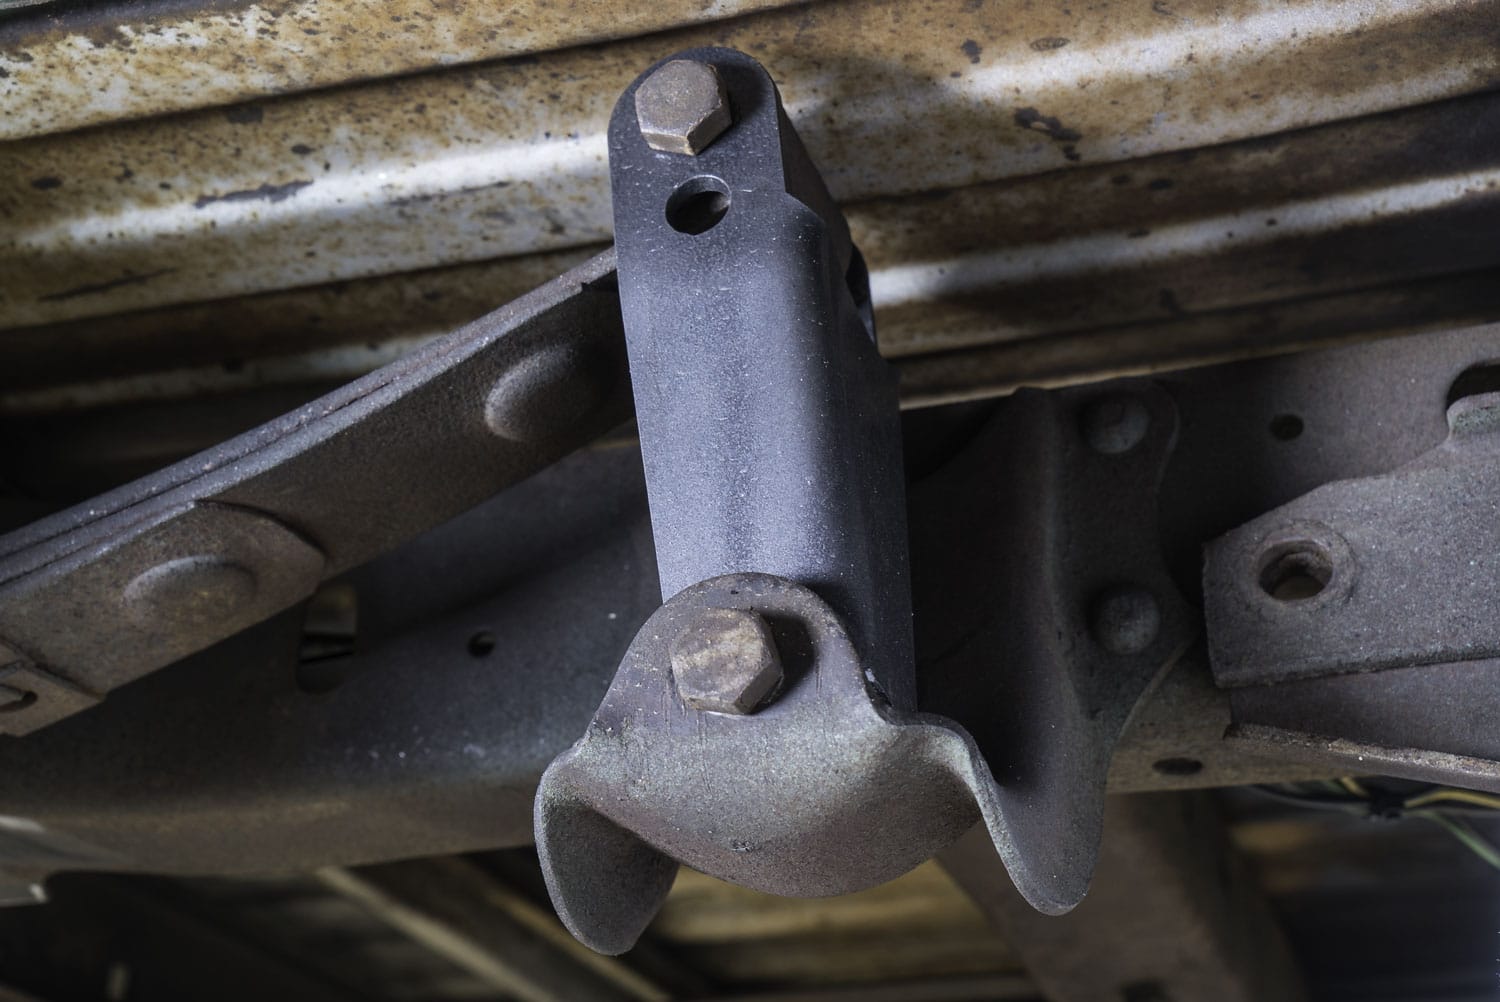
Once everything is assembled, check for interference throughout steering and suspension movement. Pay particular attention to brake hoses, wheels, tires, and nearby components. Finish with a professional wheel alignment before regular driving.
| Before It Hits the Road: Follow the applicable manufacturer’s specifications for kingpin fit, bearing adjustment, and fastener torque. Check steering movement and suspension clearance, including brake-hose routing, then have the front end professionally inspected and aligned before regular driving. |
Lowering the Rear of a 1965 F-100
After completing the front suspension work, we lowered the rear of the truck. We used 1965–1972 F100 2-inch Rear Lowering Shackles. These replaced the original rear leaf spring shackles and changed the position of the spring mounting point. The result was a 2-inch rear drop that complemented the 3-inch front drop.
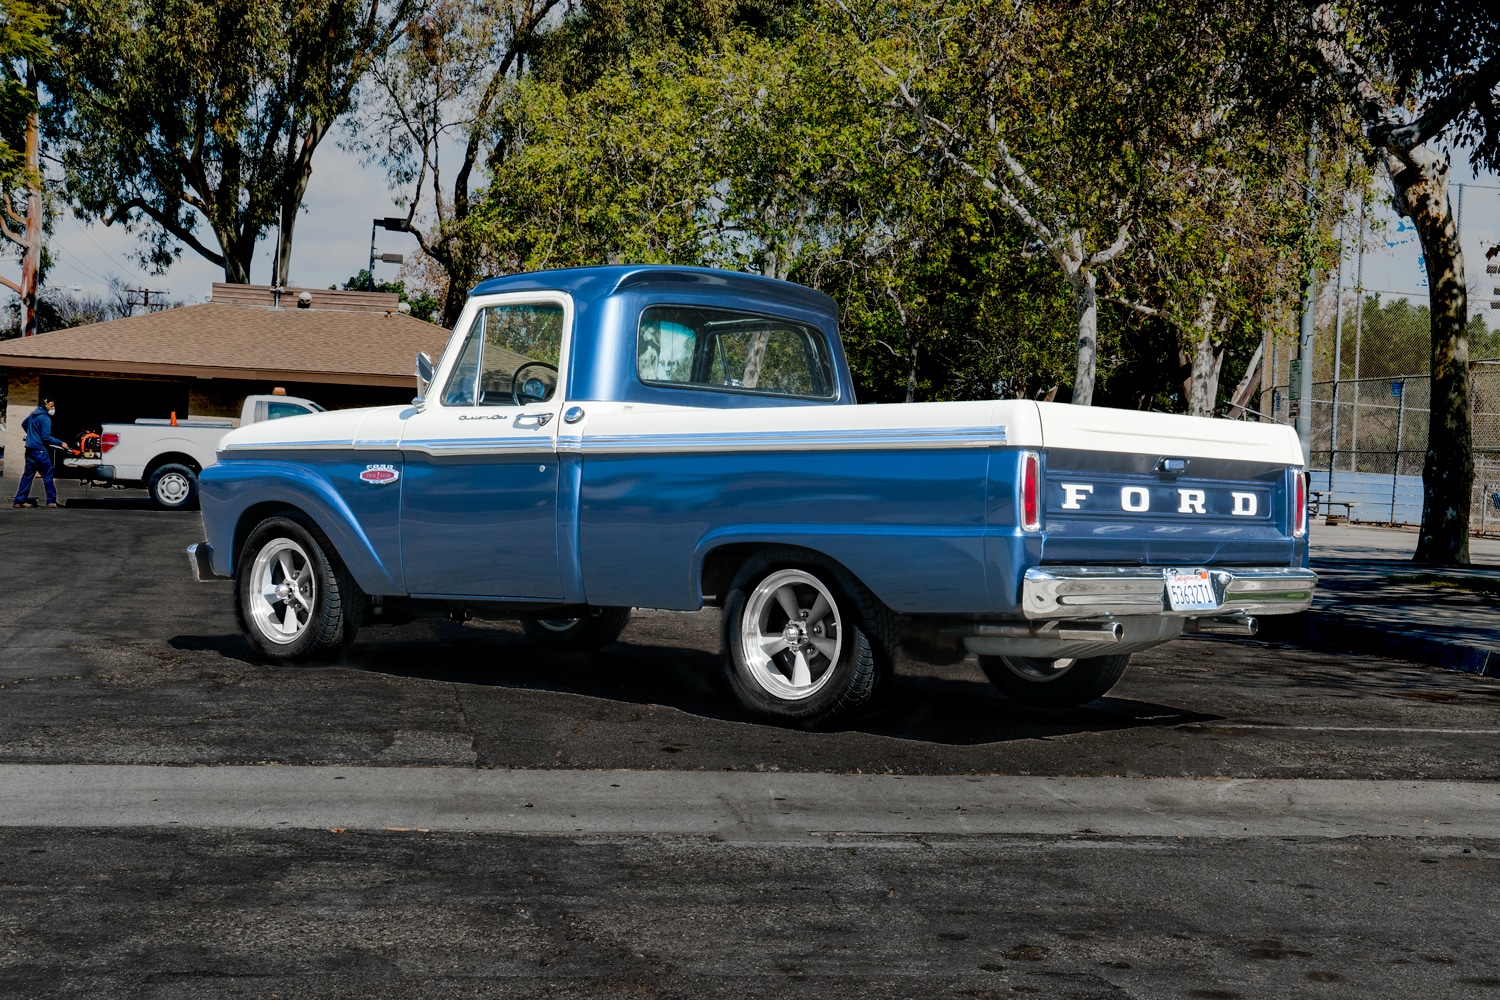
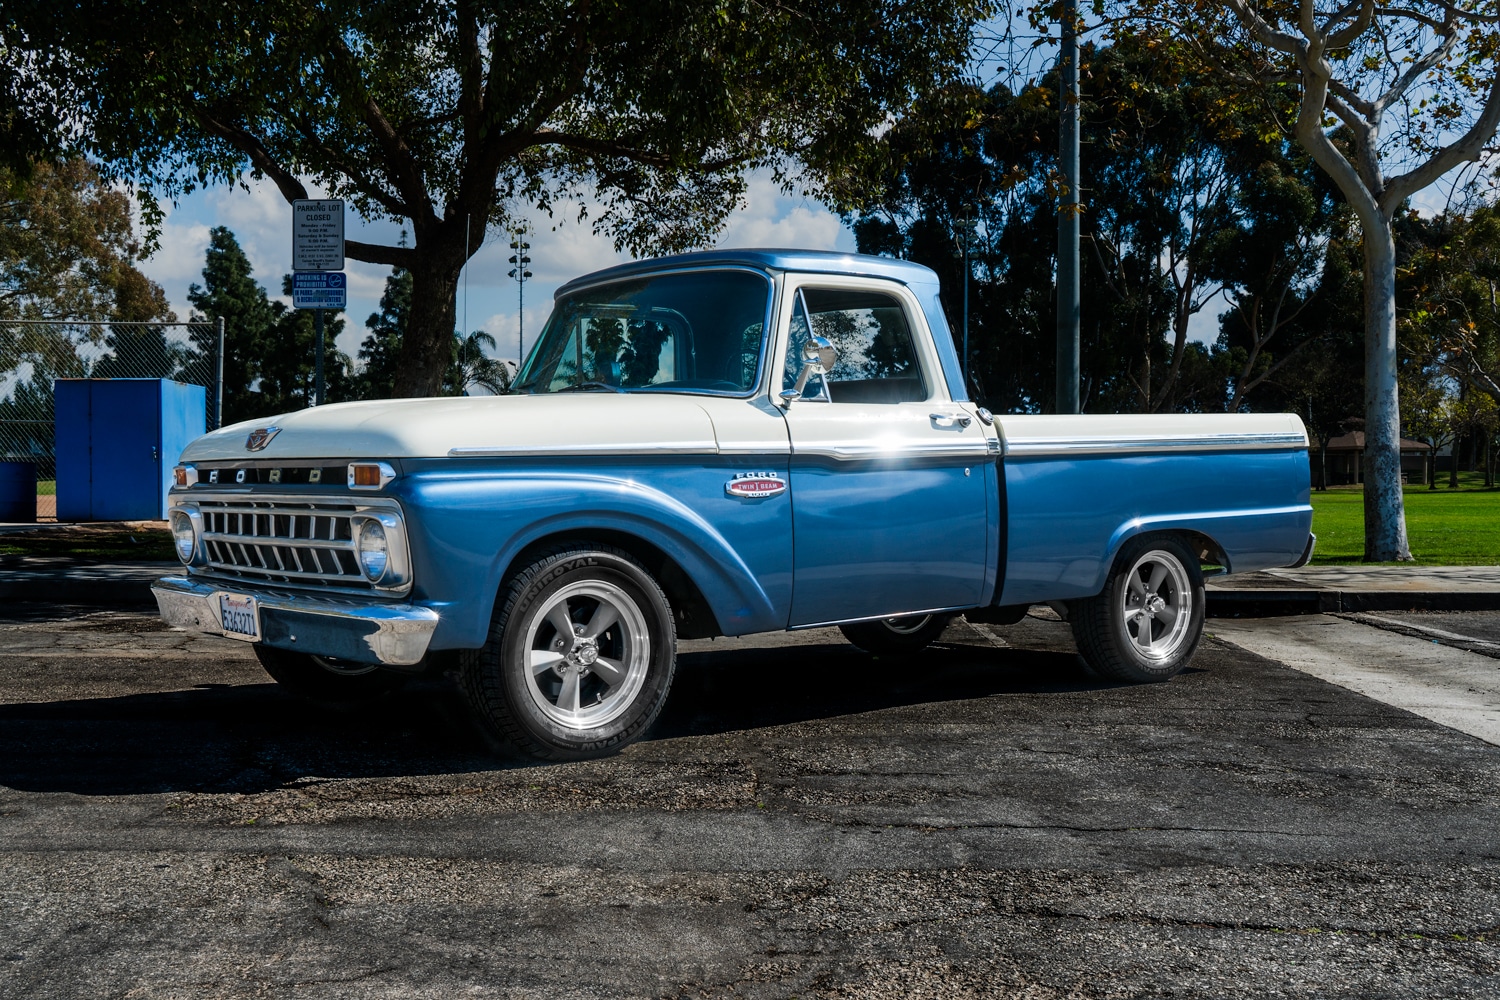
If you want a larger rear drop, a rear hanger and shackle lowering kit, like the 1965–1972 Ford F100 4-inch Rear Leaf Spring Hanger and Shackle Kit, may be worth considering. It changes both mounting locations to provide additional lowering on compatible applications.
| Important Note: This particular 1965 Ford F-100 project used 2-inch rear shackles only. It did not use the 4-inch hanger-and-shackle combination. That's an option if you want a deeper drop. |
Choosing the Right 1965 Ford F-100 Lowering Kit
The right 1965 Ford F-100 lowering kit depends on how low you want your truck to sit, which components it already has, and how you plan to use it. A truck with original drum brakes and factory suspension components may have different requirements than one with upgraded spindles, disc brakes, or an engine swap.
Start by checking these areas:
- Spindles and Brakes: If your truck has swapped spindles or a disc brake conversion like this one, confirm they work with the beams and kingpins you plan to use.
- Shocks: A lowered truck often needs different shock lengths, so check the recommended shocks for your setup.
- Wheels and Tires: Bigger wheels and tires can rub once the truck sits lower, so measure your clearance before you finalize sizes.
Comparing F-100 Lowering Options
| Option | Where It Lowers | Approximate Drop | Best For |
| 2-inch rear shackles | Rear | 2 inches | A mild rear drop with simple parts |
| 4-inch hanger and shackle kit | Rear | 4 inches | A deeper rear stance |
| 3"/4" complete lowering kit | Front and rear | 3 inches front, 4 inches rear | A 3-inch front / 4-inch rear drop using the listed components |
Component and shock requirements vary by kit and vehicle configuration. Check the linked product listing before ordering, particularly the rear shock requirements and mounting style, to confirm which parts are included and which must be purchased separately.
Our featured build combined 3-inch I-beams with 2-inch shackles. However, a complete kit may provide a different front-to-rear drop combination or include additional components. For example, the 1965–1972 Ford F100 3-inch Front / 4-inch Rear Complete Lowering Kit pairs the 3-inch beams with the 4-inch hanger-and-shackle kit and front shocks. That makes it the better fit if you want the rear lower than this truck sits.
| Choose Your Drop, Check Your Fit: Our build uses 3-inch front I-beams and 2-inch rear shackles, while a complete kit may offer a different drop. Before ordering, confirm spindle and brake compatibility, shock length, and wheel-and-tire clearance. |
1965 Ford F-100 Suspension FAQs
How much can a 1965 F-100 drop?
You can lower a 1965 Ford F-100 by different amounts depending on the suspension components you choose. Our project achieved a 3-inch front drop and 2-inch rear drop using lowering I-beams and rear shackles. Larger drops may require additional modifications.
What do lowering I-beams actually do?
Lowering I-beams change the front wheel's position relative to the suspension mounting points, allowing the truck to sit lower. They provide an alternative to achieving the full front drop through shorter coil springs. Correct fitment and alignment remain important.
Can shackles alone lower the rear?
Yes, compatible rear lowering shackles can lower the rear without replacing the leaf springs. Our project used 2-inch lowering shackles. If you want a larger drop, consider a compatible hanger-and-shackle combination.
Do 1965 Ford F-100 lowering I-beams work with disc brakes?
Yes. DJM Suspension’s 3-inch lowering I-beams are listed for 1965–1979 Ford F-100 trucks with either drum or disc brakes. However, brake and spindle configurations can vary, especially on trucks that have been modified. Before ordering, confirm that your existing spindles and kingpins are compatible with the lowering beams and your specific brake setup.
Does a 1965 Ford F-100 need an alignment after lowering?
Yes. A wheel alignment should be checked after lowering your 1965 Ford F-100. Suspension changes can affect alignment, and worn or replaced steering and suspension components can also influence the final settings. Once installation is complete, have a qualified technician inspect the steering and suspension and adjust the alignment to the appropriate specifications for your truck.
Give Your 1965 Ford F-100 the Stance You Want
This 1965 Ford F-100 suspension upgrade shows how a few carefully selected components can give a classic truck a noticeably lower stance. We combined a 3-inch front drop using DJM Suspension's lowering I-beams with a 2-inch rear drop using lowering shackles. We also addressed worn suspension components during the work, including bushings and kingpins.
If you're planning a similar project, start with a clear drop-height goal and inspect your truck's current suspension, brakes, and steering components. That will help you choose parts that fit your specific build.
Ready to plan your own classic Ford lowering project? Browse our lowering parts and kits and compare the available options for your truck. For any help, please reach out to our team. We'll be happy to help you order the right parts or kit.
Products Featured in This Blog