

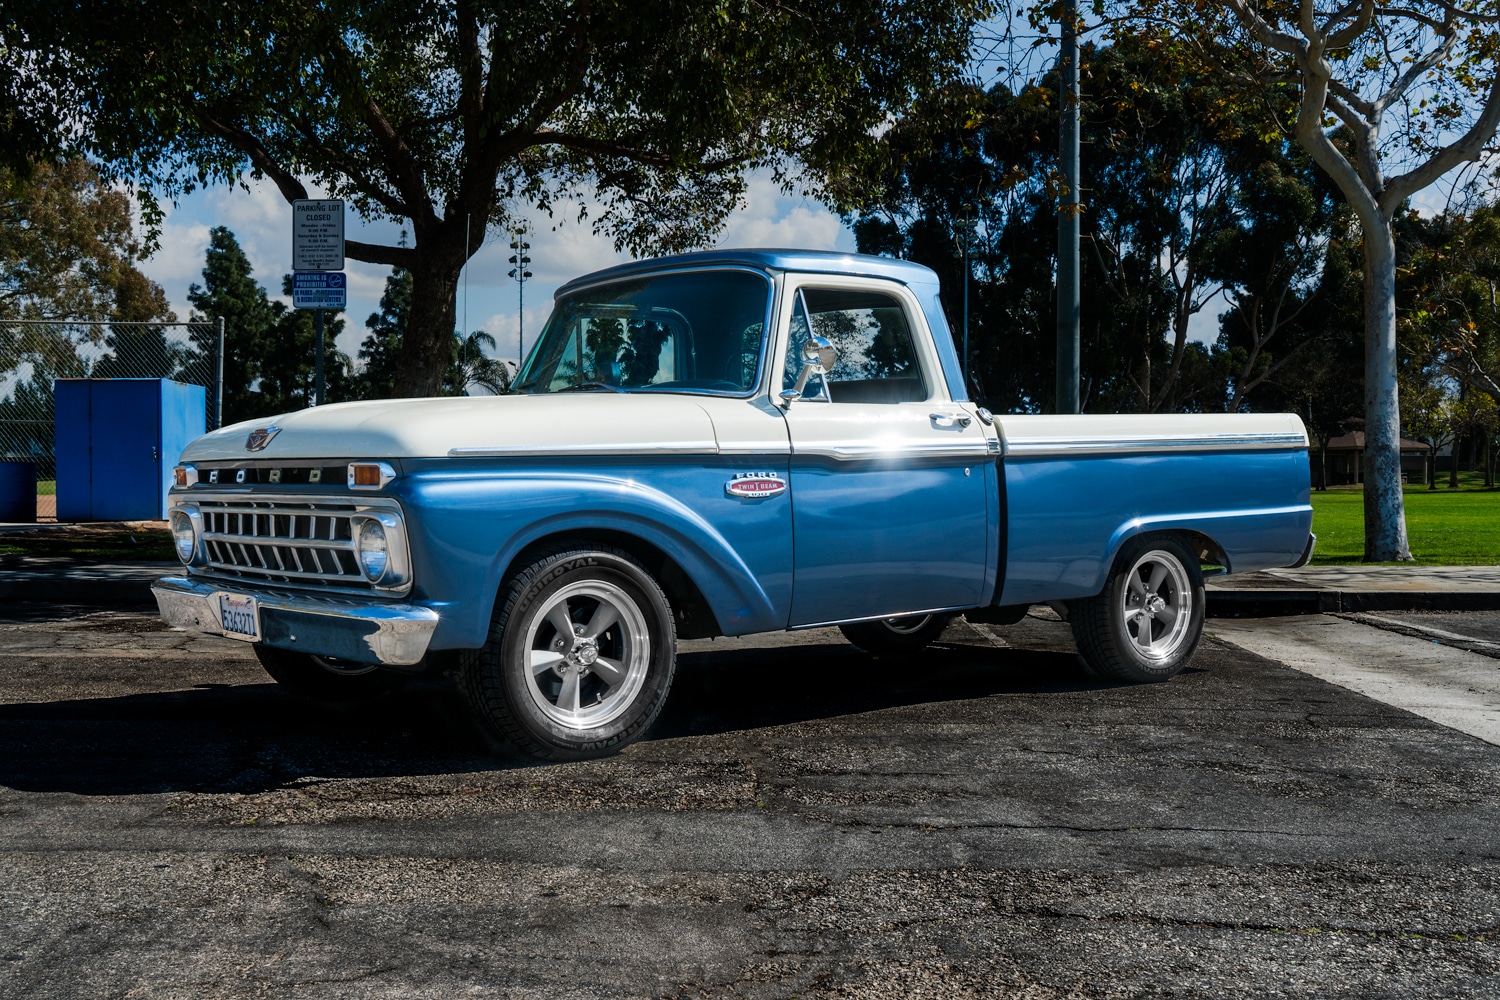
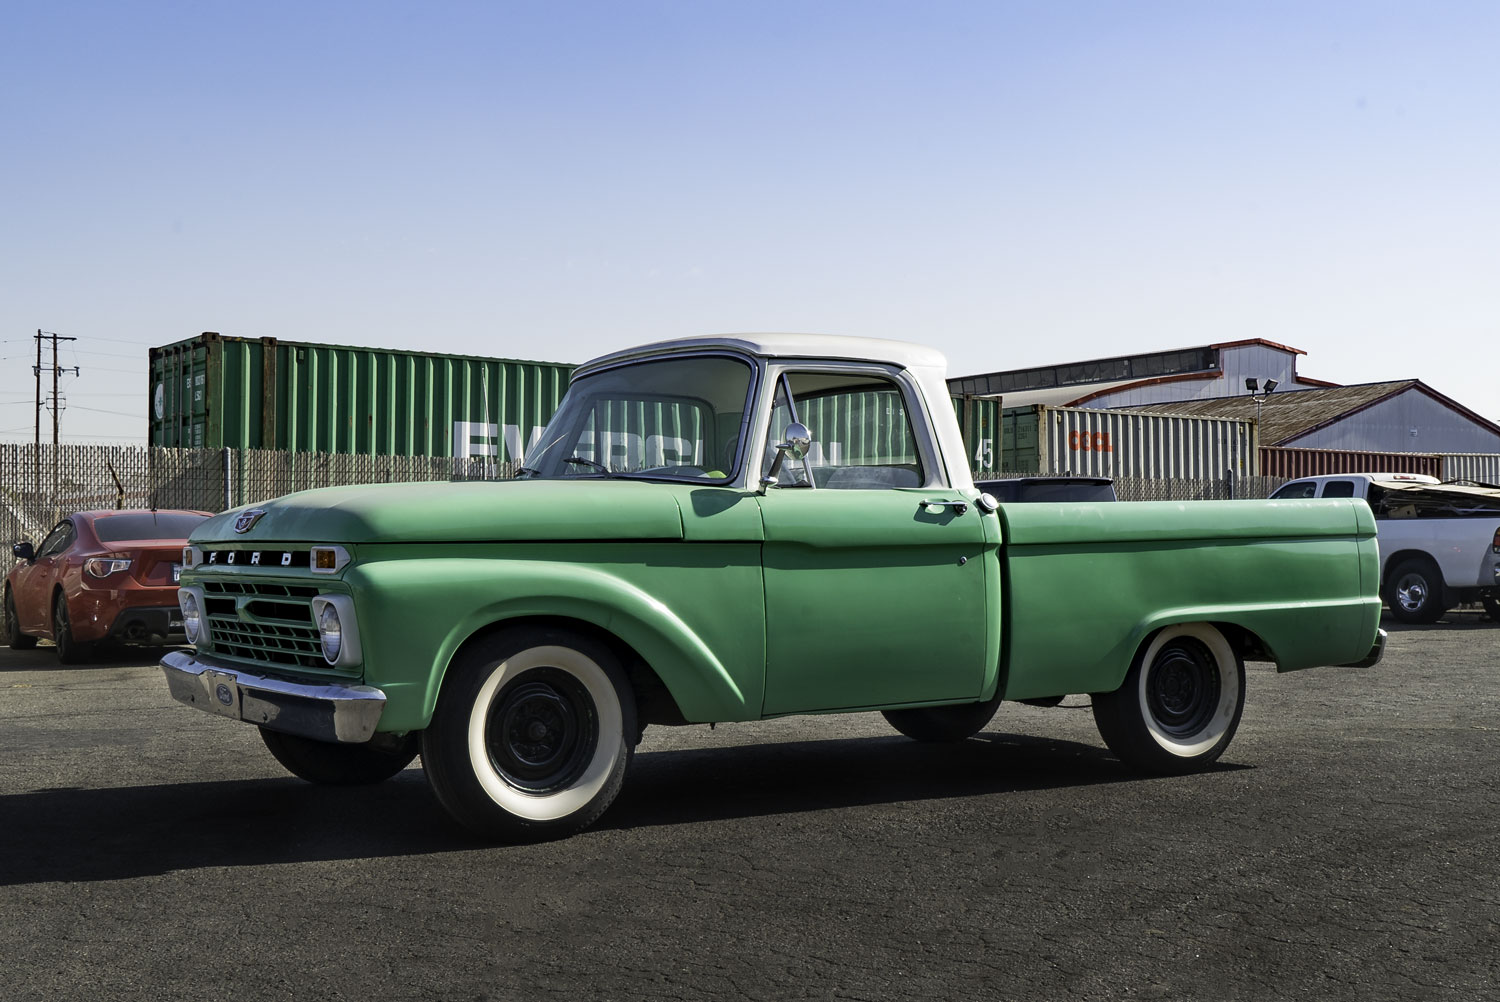

1965-1972 Ford F100 3 inch Front / 4 inch Rear Complete Lowering Kit
$1,474.52
Give your classic Ford F100 a lower stance with this 1965-1972 Ford F100 lowering kit. This setup provides a 3-inch front drop and 4-inch rear drop using DJM lowering I-beams, rear leaf spring hangers and shackles, and recommended shocks.
This Ford F100 complete lowering kit combines 3-inch lowering I-beams for the front with a 4-inch rear leaf spring hanger and shackle kit. The setup is designed to provide a complete 3/4-inch lowering configuration for 1965-1972 Ford F100 trucks.
- 3-Inch Front Drop
- 4-Inch Rear Drop
- Bolt-On Installation
Description
Recommended Shocks & Replacement Parts
The F100 lowering kit gives you a 3-inch drop by removing the factory beams and replacing them with our new 1965–1972 Ford F100 3 Inch Lowering I-Beams. You can lower the rear with a 1965–1972 Ford F100 4 Inch Rear Leaf Spring Hanger and Shackle Kit that yields a full 4-inch drop.
DJM Recommends:
- Front: 14.5″ Stem / Loop SuperShock (1415) (sold each)
- Rear: 19.5″ Stem / Loop SuperShock (1910) (stem to loop) or 19.5″ Loop / Loop SuperShock (1900) (loop to loop), depending on factory mounting style (sold each)
Replacement Parts:
- OEM King Pin
- Moog 8524B
We use the Chadwick & Trefethen 09260#26 13/16" - 7/8" Model LP Adjustable Blade Reamers for reaming out the king pin.
Why Buy from DJM Suspension
Designed for 1965-1972 Ford F100 Applications
The I-beams and rear hanger and shackle kit are designed for the 1965-1972 Ford F100 application covered by this kit.
Proven On the Road
Over five decades of installations back this kit, giving you a drop that's been tested by hundreds of truck owners, not just in controlled environment.
Built To Last
Heavy-duty materials and American manufacturing mean this kit holds its stance through daily driving and long hauls alike.
About DJM Suspension
DJM Suspension is a family-owned and operated American manufacturer specializing in suspension and lowering components. The company has been manufacturing suspension products since the early 1970s.
Frequently Asked Questions
Get the Right Drop for Your Classic Ford F100
Get the stance your classic truck deserves with this Ford F100 complete lowering kit built for strength, precision, and a ride that turns heads everywhere you go.
Additional information
1965–1972 Ford F100 3 inch Lowering I-Beams
| Weight | 70 lbs |
|---|
1965–1972 Ford F100 4 inch Rear Leaf Spring Hanger and Shackle kit
| Weight | 20 lbs |
|---|
14.5″ Stem / Loop SuperShock (1415)
| Weight | 3 lbs |
|---|
1965–1979 Ford F100 3" Lowering I-Beams
Safety First
Always work on a flat, level surface with the vehicle supported on properly rated jack stands. Never work under a vehicle supported only by a jack. Wear eye protection and use proper tools for every step of this installation.
Installation of suspension components should be performed by a qualified technician. If you are unsure about any step, contact DJM tech support before proceeding.
Complete Installation & King Pin Setup
This sheet covers the key orientation and hardware details specific to the DB3004-3 beams. For the complete installation procedure and king pin setup, see the full articles at djmsuspension.com or scan the QR codes on the printed instruction sheet.
Included Tools
| Qty | Description |
|---|---|
| 1 | Tie rod wrench |
Installation
-
Orient the Spindle Hardware
The counter bore, split lock washer, flat washer and nut must all face the rear of the truck on both sides.
Note: Double-check orientation on both the driver and passenger sides before final tightening. -
Install the Tie Rod Extension Bracket
Install the tie rod extension bracket with the star washer between the spindle and the extender. Apply red thread locker to the hardware and tighten to 125 ft-lbs.
Critical: The star washer must sit between the spindle and the extender, and red thread locker must be used. Improperly installed or under-torqued steering hardware can loosen and cause loss of steering control. -
Reverse the Tie Rod Arm Bolts (Drum Brakes Only)
On drum brake applications, the tie rod arm bolts need to be reversed so the nuts are installed on the inside. This provides additional clearance for the swing of the spindle.
Note: Disc brake applications do not require this step.
After Installation
Cycle the steering fully lock to lock and check for any contact between the spindle, tie rod, brake components and I-beam. Re-check all fastener torque after the first 50–100 miles. A professional front-end alignment is required after installation.
Warranty
DJM Suspension products are warranted against defects in materials and workmanship. This warranty does not cover improper installation, misuse, modification, racing or off-road use, or normal wear. Contact DJM Suspension with your order information for warranty claims.
1965–1979 Ford F100–150 Hanger & Shackle 4" Rear Drop
Safety First
Always work on a flat, level surface with the vehicle supported on properly rated jack stands. Never work under a vehicle supported only by a jack. The rear axle must be supported independently before any spring hanger, shackle or leaf spring hardware is removed.
Installation of suspension components should be performed by a qualified technician. If you are unsure about any step, contact DJM tech support before proceeding.
Kit Components
| Component | Description |
|---|---|
| Lowering spring hangers | Bolt-on replacement for the factory riveted front spring hangers |
| DJM rear shackles | Lowering shackles with red bushings |
| Mounting hardware | Bolts for mounting the hangers to the existing frame holes |
Installation
-
Remove the Factory Spring Hanger Rivets
The original spring hanger is attached to the frame with rivets that must be removed. There are several ways to remove the rivets. A small plasma cutter works well for fast removal.
Critical: Before cutting, check for fuel lines, brake lines and wiring near the work area and shield or move them. Keep a fire extinguisher nearby and wear eye and face protection. Do not enlarge or damage the existing frame holes, because the new hanger bolts through them. -
Clean Up the Frame
Once the rivets are removed, clean up the frame surface and mounting holes. The new hanger bolts directly to the existing holes.
-
Install the Lowering Hanger
Bolt the new DJM lowering hanger to the frame using the supplied hardware. It fits the existing frame holes directly.
-
Install the Shackles
Replace the original shackles with the DJM shackles. The new shackles are easiest to fit with the leaf spring removed.
-
Snug the Bushing Bolts
Snug the shackle bolts against the red bushings only. Do not fully tighten the bolts yet.
Note: Bushing bolts should be fully tightened with the vehicle's weight on the suspension. Tightening them with the axle hanging will preload the bushings and can cause binding and premature wear. -
Test Drive and Final Tighten
Lower the vehicle and take it on its first test drive to let the suspension settle. After the test drive, with the truck at ride height, tighten all hanger and shackle bolts.
After Installation
Check clearance between the tires, leaf springs, exhaust, fuel tank and bed throughout full suspension travel. Re-check all fastener torque after the first 50–100 miles, and periodically after that.
Warranty
DJM Suspension products are warranted against defects in materials and workmanship. This warranty does not cover improper installation, misuse, modification, racing or off-road use, or normal wear. Contact DJM Suspension with your order information for warranty claims.

