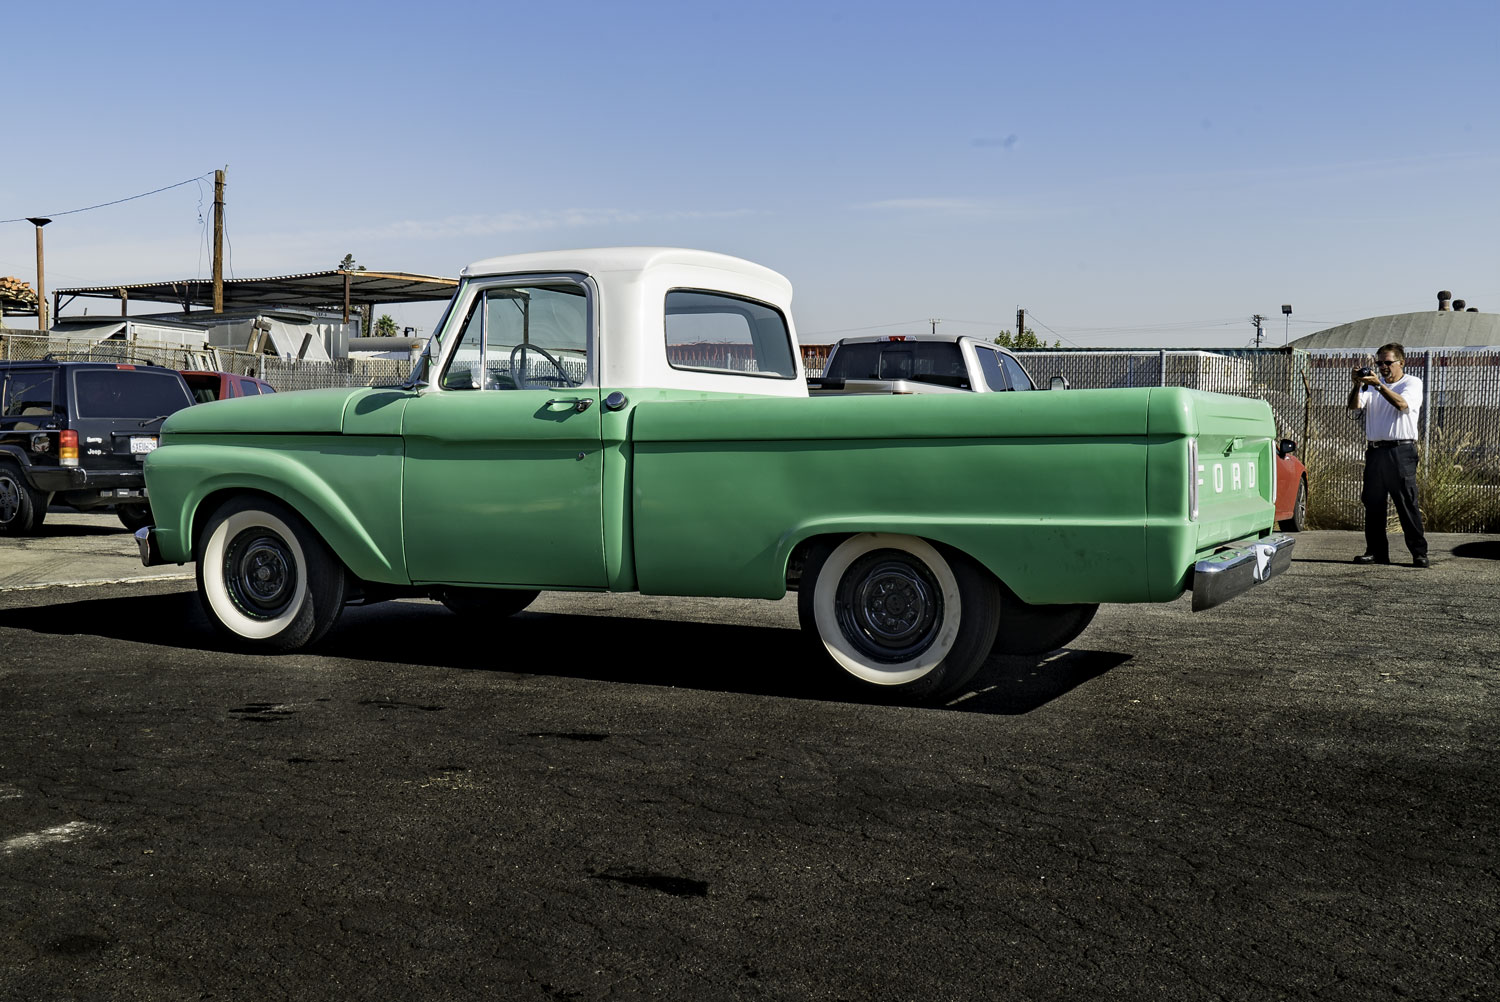
Welcome back to the last part in our four-part series about the 1966 Ford F100 budget makeover. We have already completed the front end lowering kit installation in the third part, while the first and second parts covered everything from planning and measurements to front suspension removal.
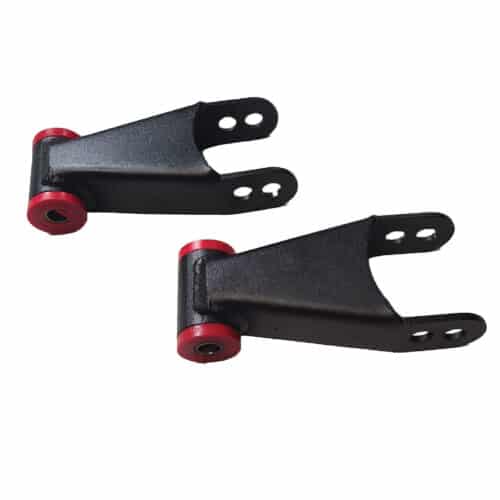
After finishing these three steps in this makeover, your focus now goes to the rear end. With the Ford F100 hanger and shackle kit and a few replacement components, you can lower the rear, adjust the ride height, and fine-tune alignment for smooth handling and a balanced stance.
This guide walks you step by step through completing your setup using Ford suspension parts from DJM Suspension.
Prepare the Rear Suspension
Before starting, make sure your truck is safely supported on jack stands with the rear wheels off the ground. Your factory leaf springs, hangers, and shackles will be replaced, so gather your 1966 Ford F100 lowering shackles, leaf spring hangers, new U-bolts, and shocks.
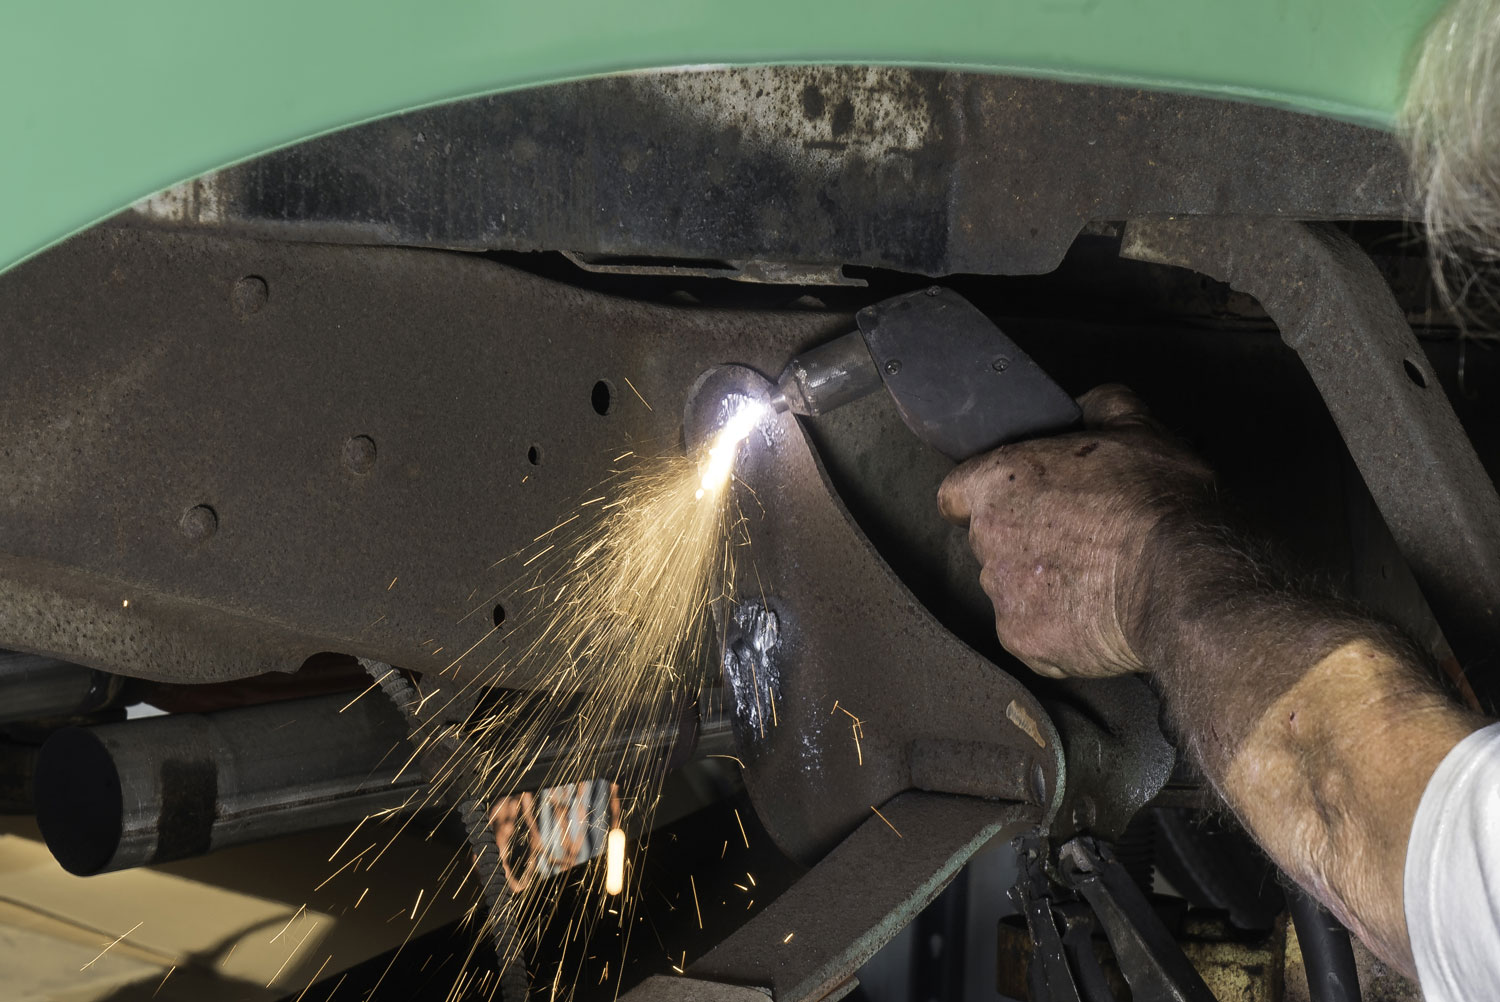
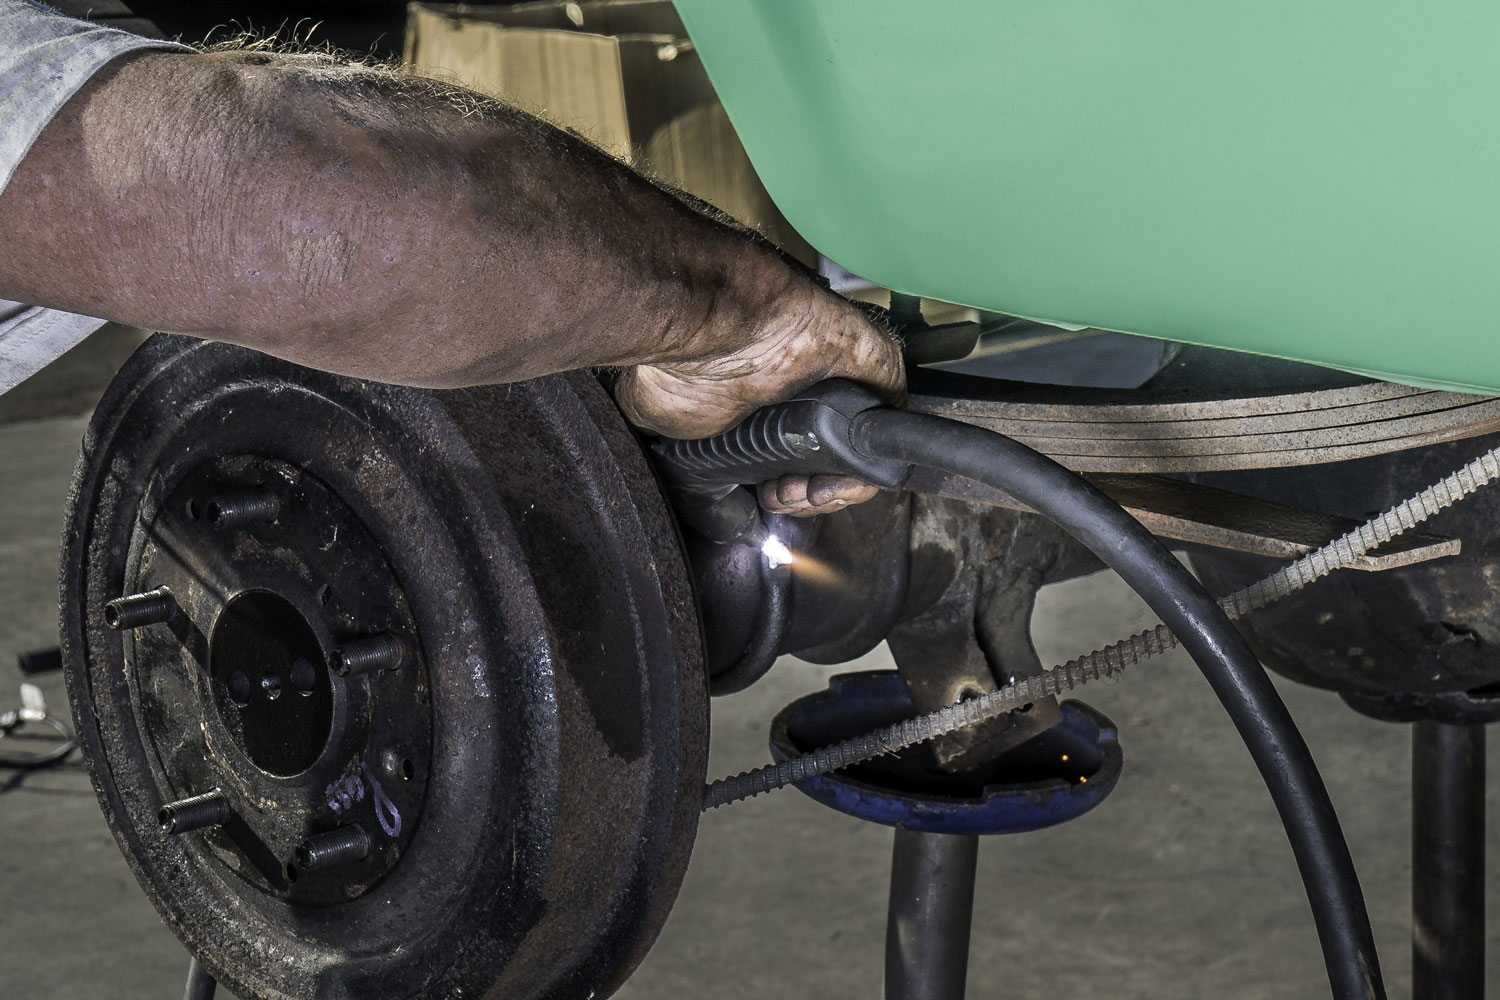
All these components are available at DJM Suspension, which makes 100% American-made products. You will also need tools like a plasma cutter, chisels, or a drill for removing stubborn factory rivets, as the rear suspension usually involves some cleanup and preparation of the mounting points.
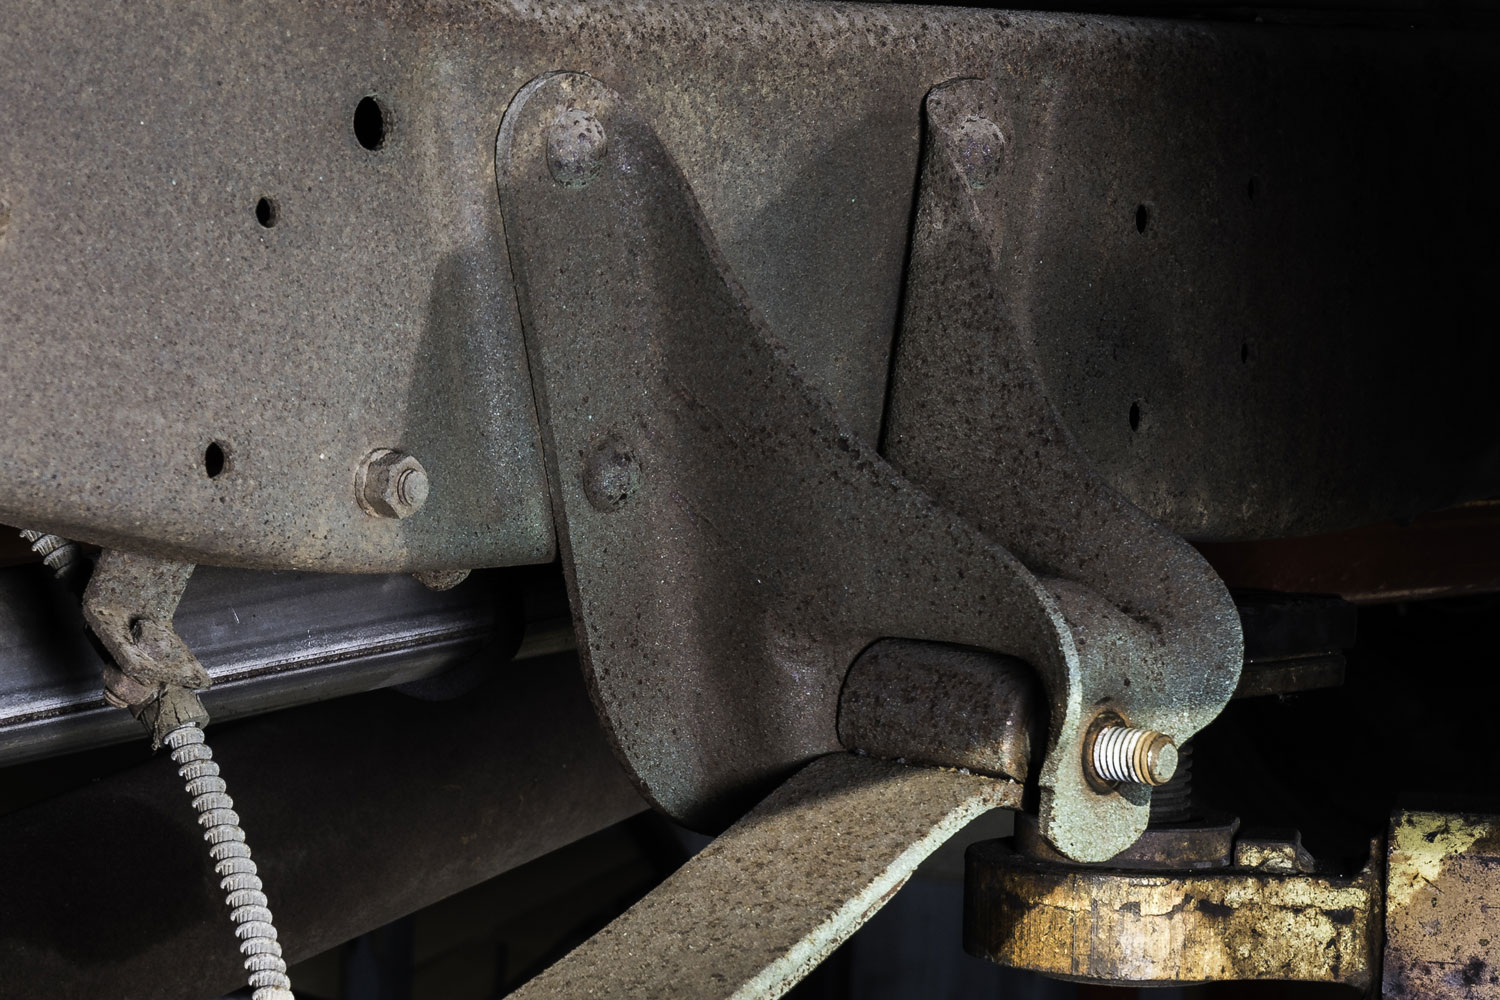
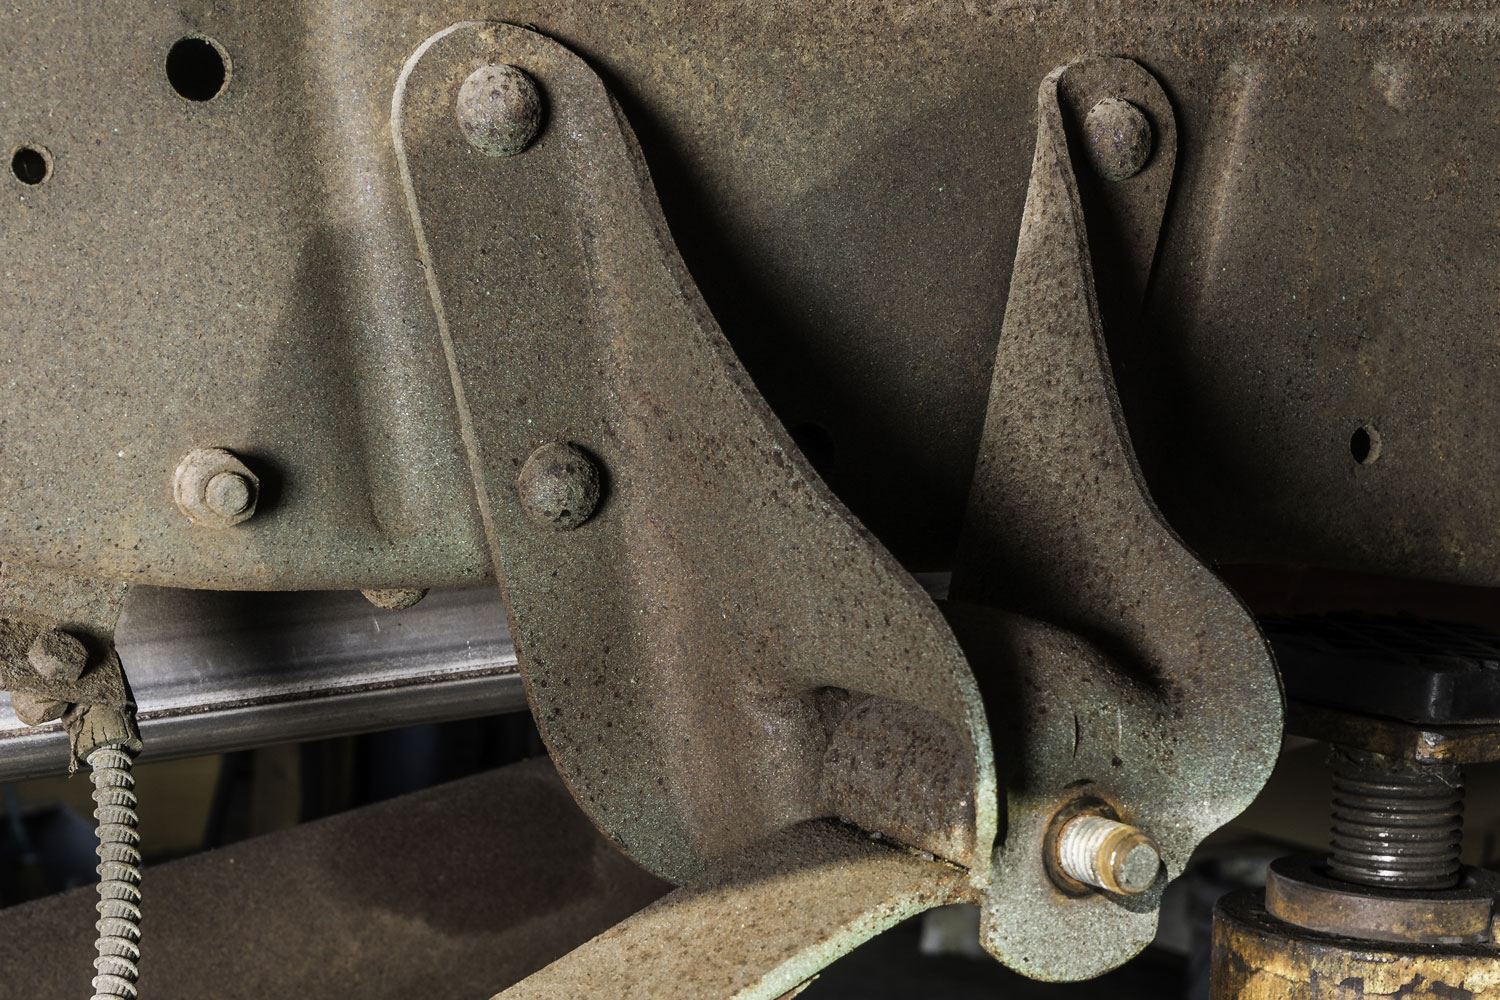
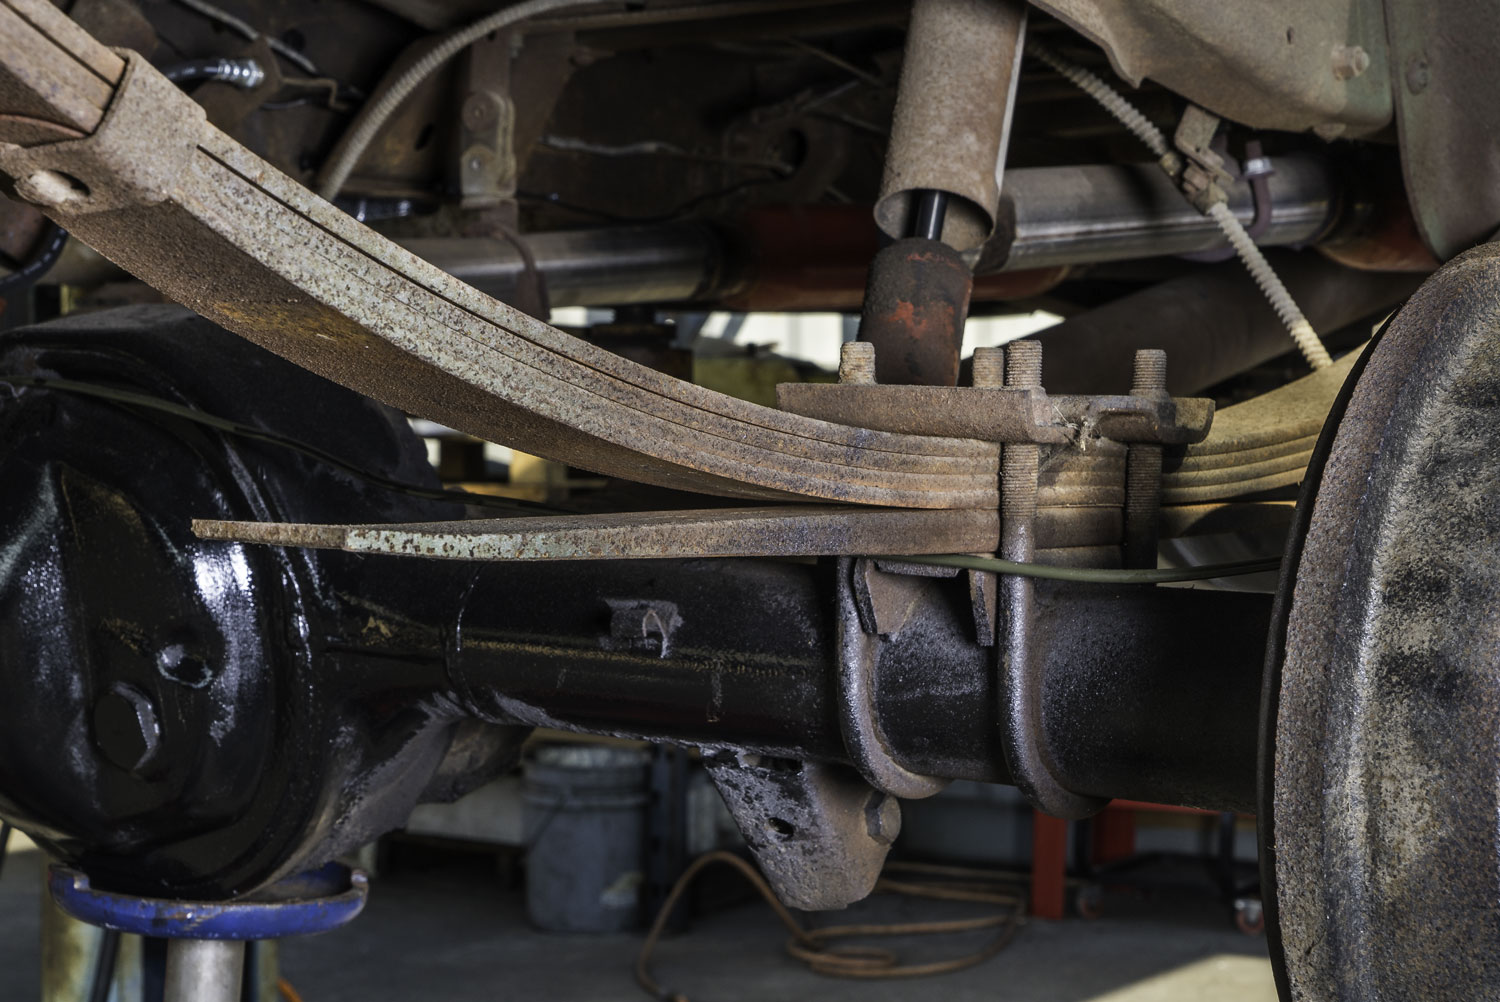
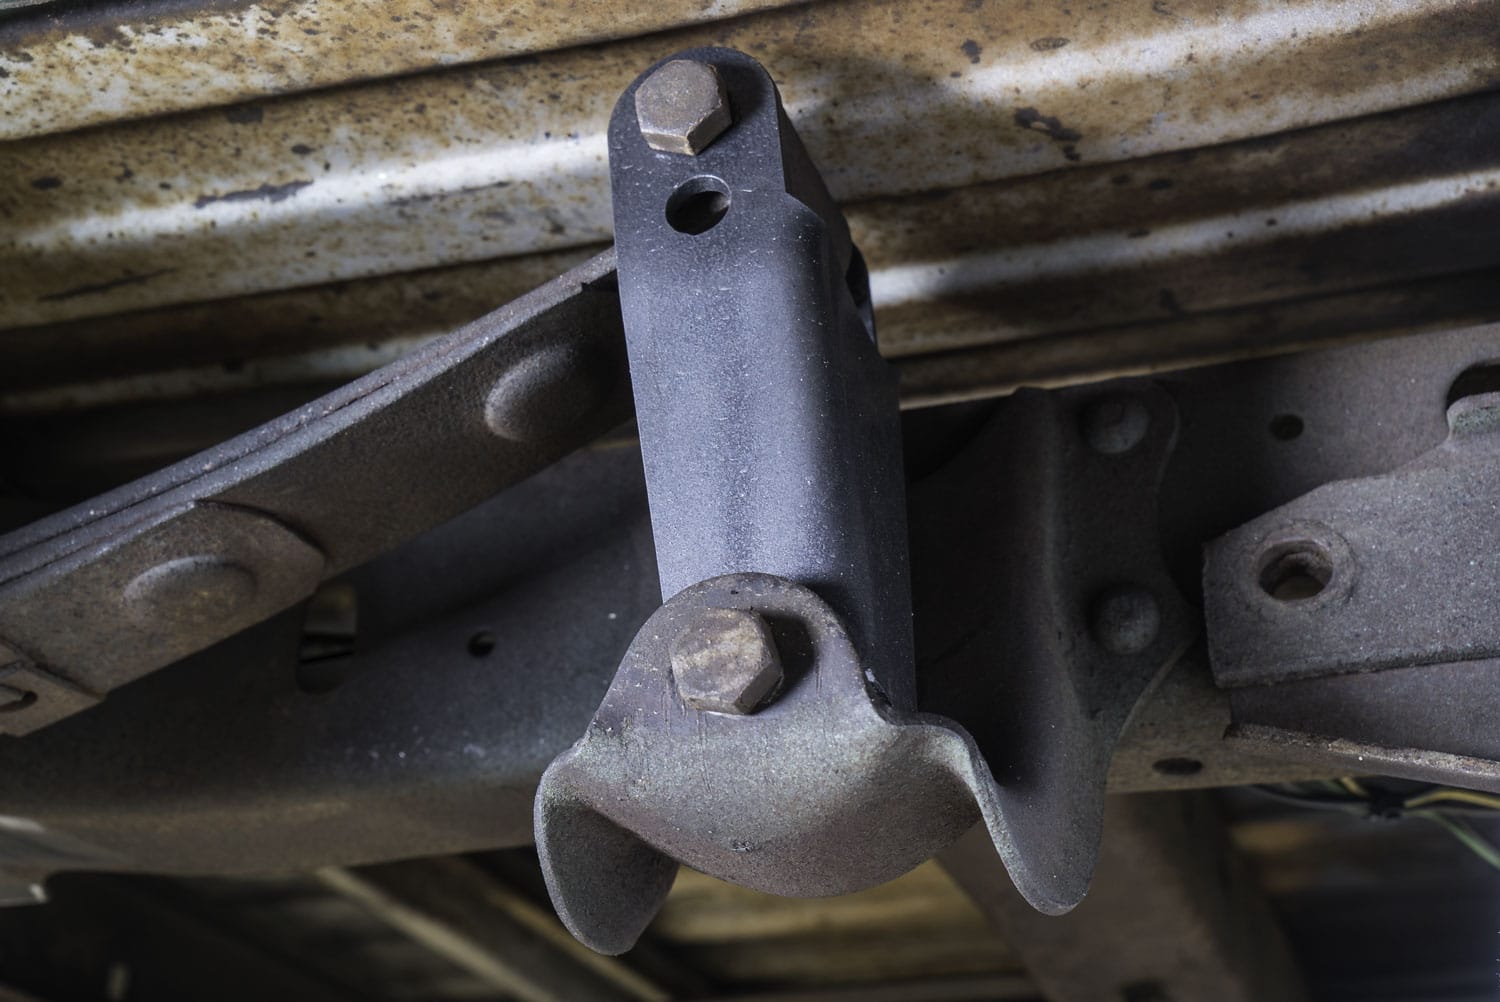
First, examine the factory leaf spring hangers. These hold the front of your rear leaf springs in place. The rear shackle connects the spring to the frame, allowing movement as the springs compress and extend. Replacing these with DJM’s classic Ford truck rear drop components will allow your leaf springs to move upward on the frame, creating the lowered stance without compromising ride quality.
Remove Factory Components
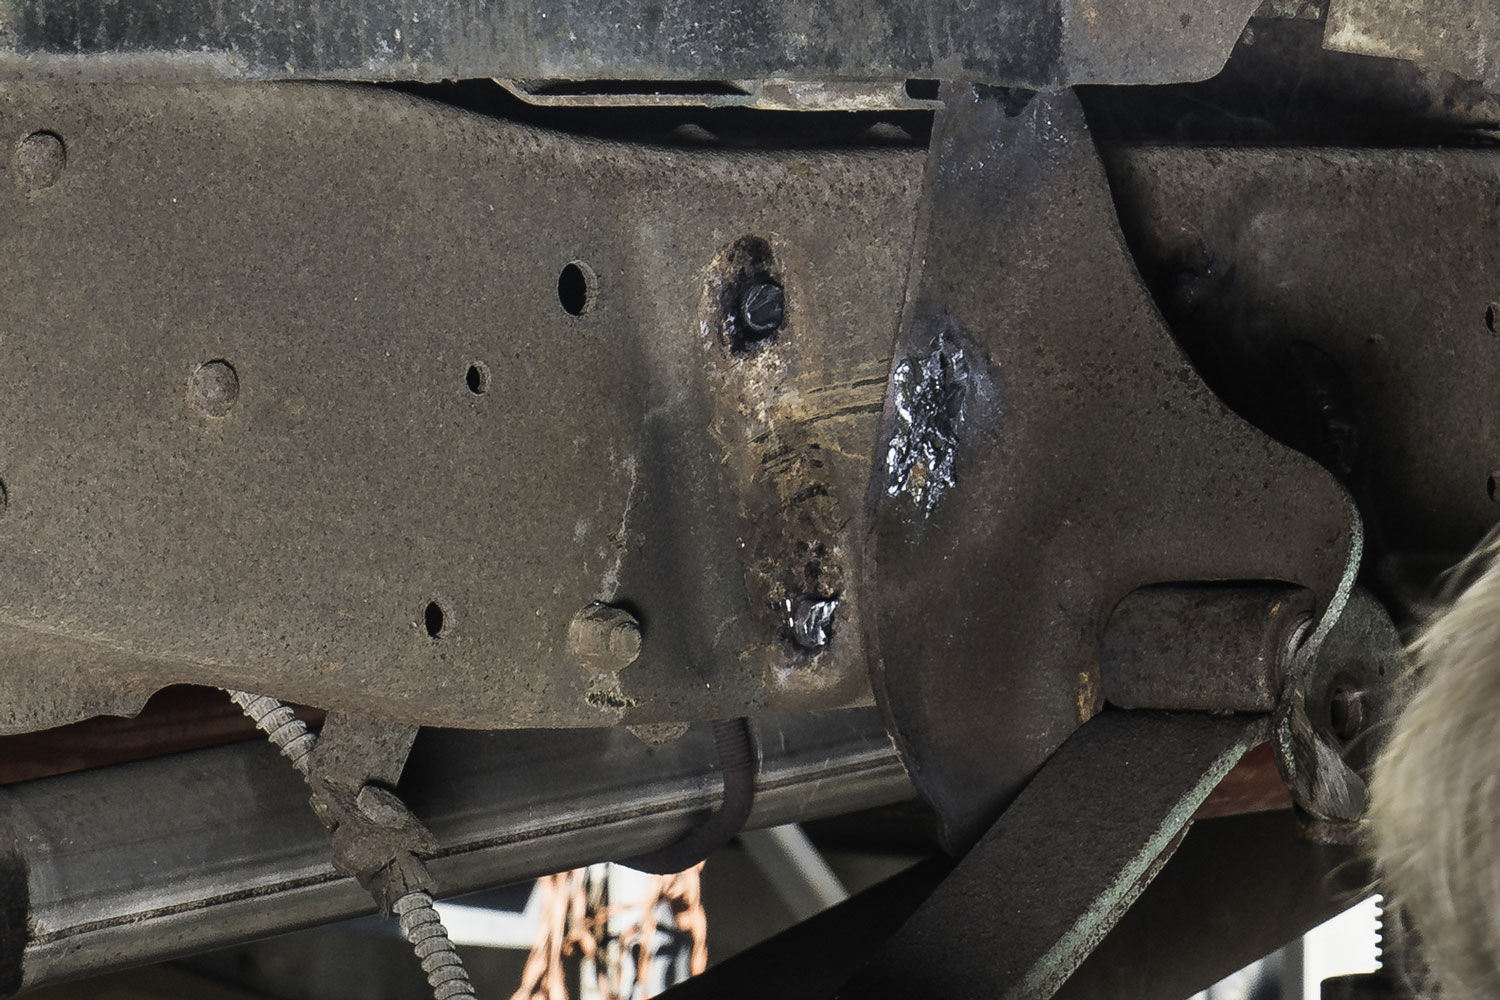
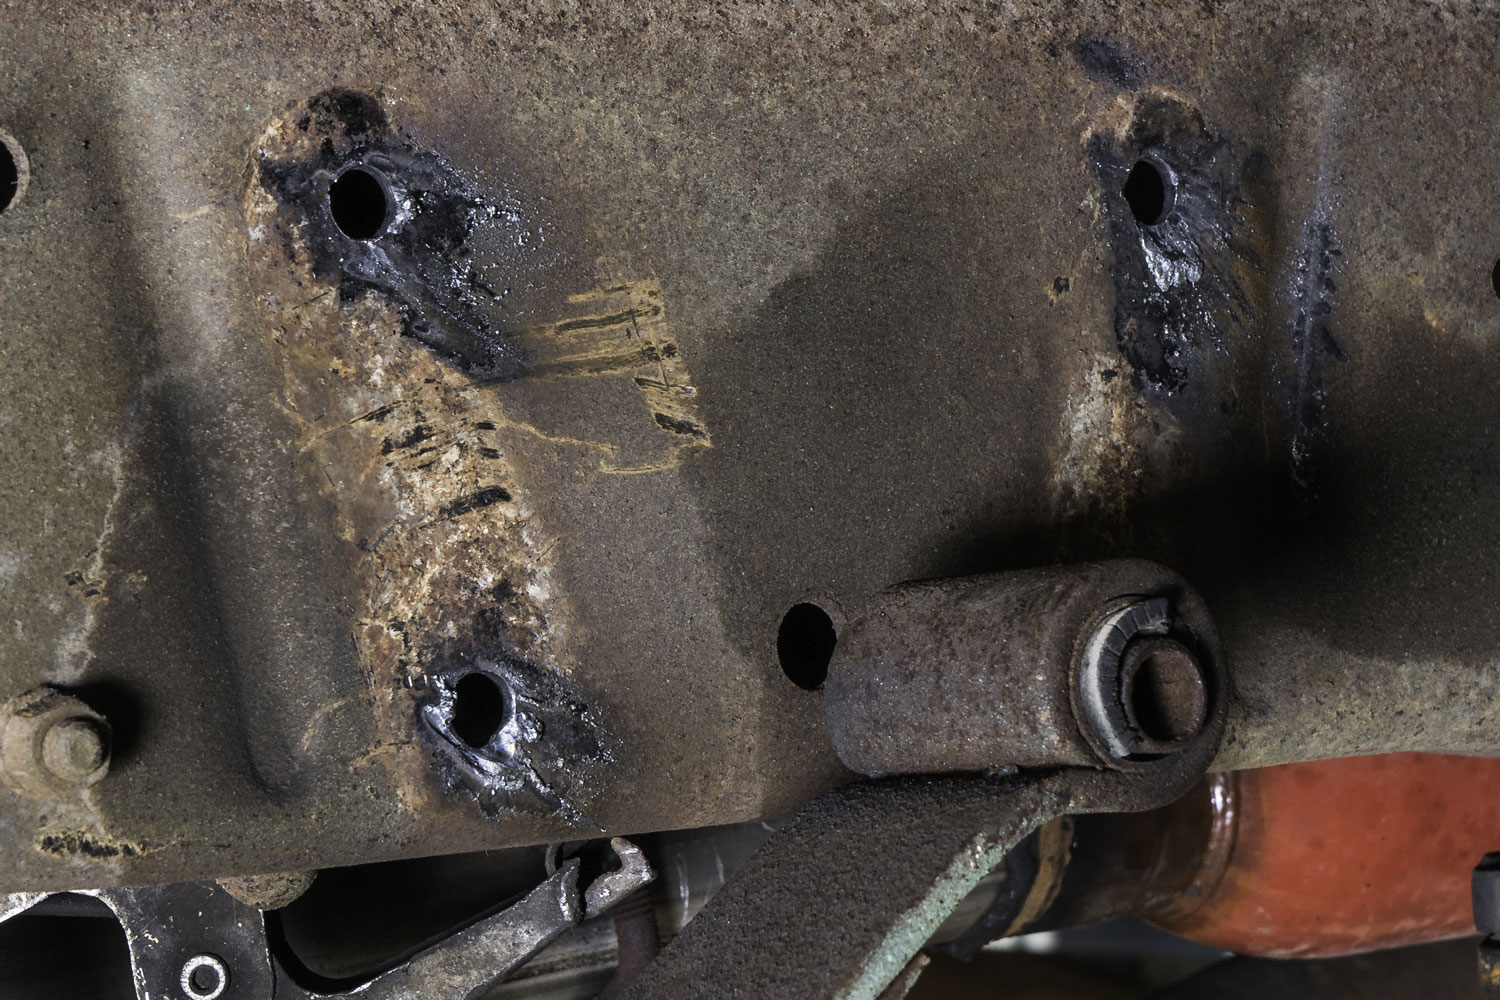
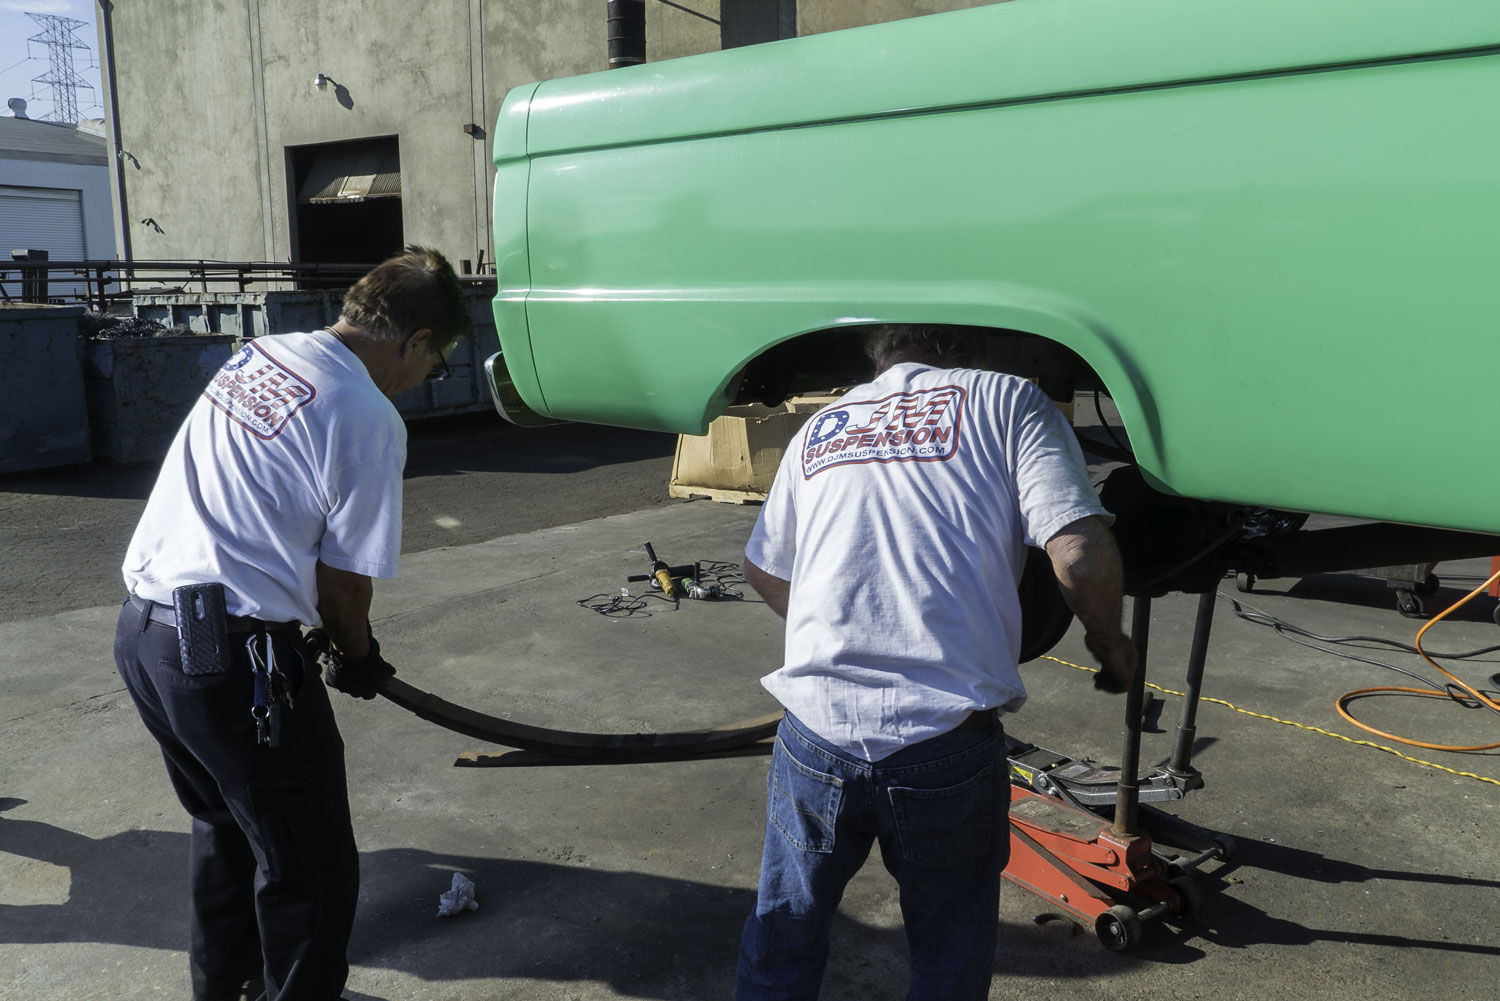
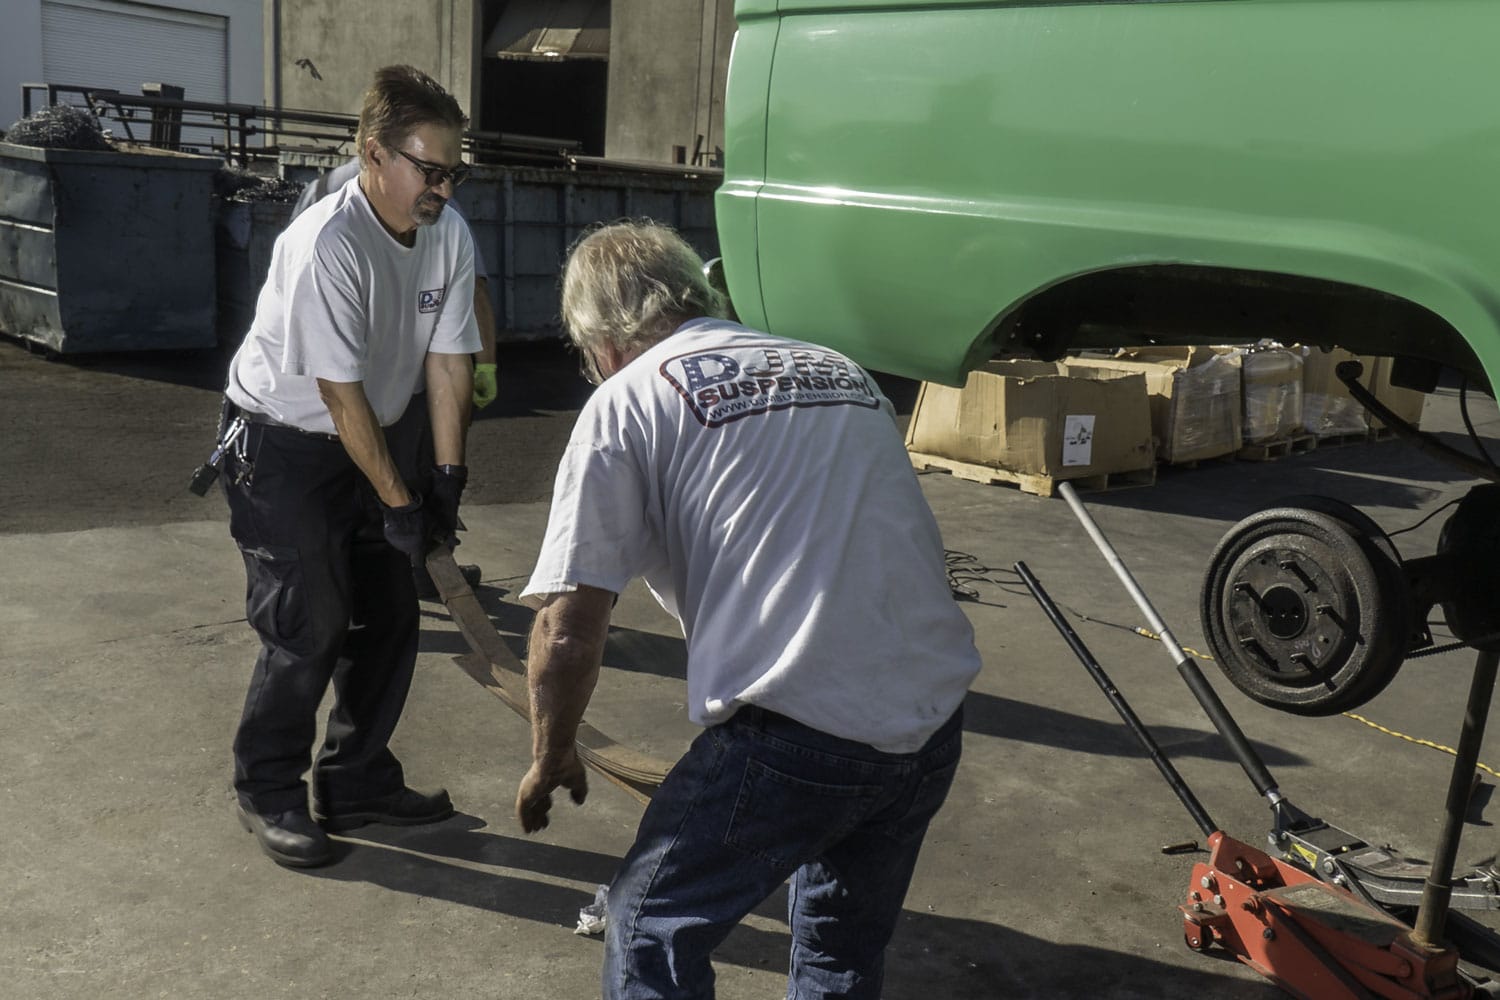
Start by carefully removing the factory leaf spring hangers. You can use a plasma cutter to cut off the rivet heads or chisel or drill them out. These rivets can be stubborn, so take your time. Once the hangers are removed, clean the frame around the mounting points to provide a solid surface for your new components.
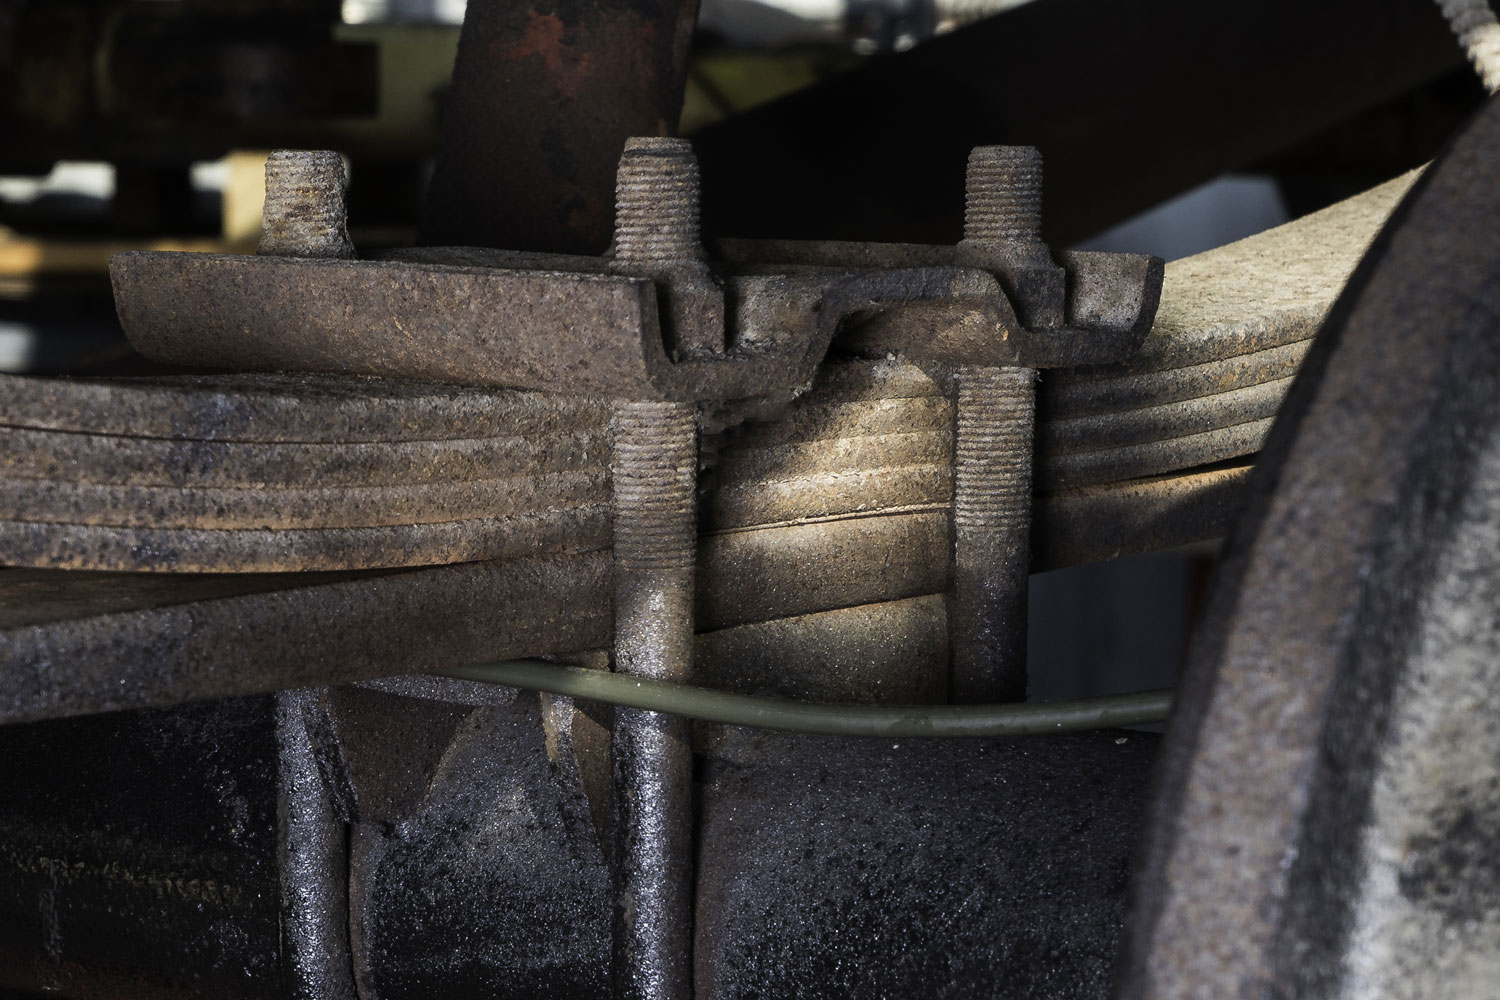
Next, consider the U-bolts that hold the rear axle to the leaf springs. While it’s not necessary to remove them unless they are damaged or worn. Replacing them along with your Ford F100 hanger and shackle kit is a good opportunity to refresh the entire assembly. Remove the old U-bolts carefully and inspect the leaf springs and axle plates for any signs of wear or damage.
Install the DJM Hanger and Shackle Kit
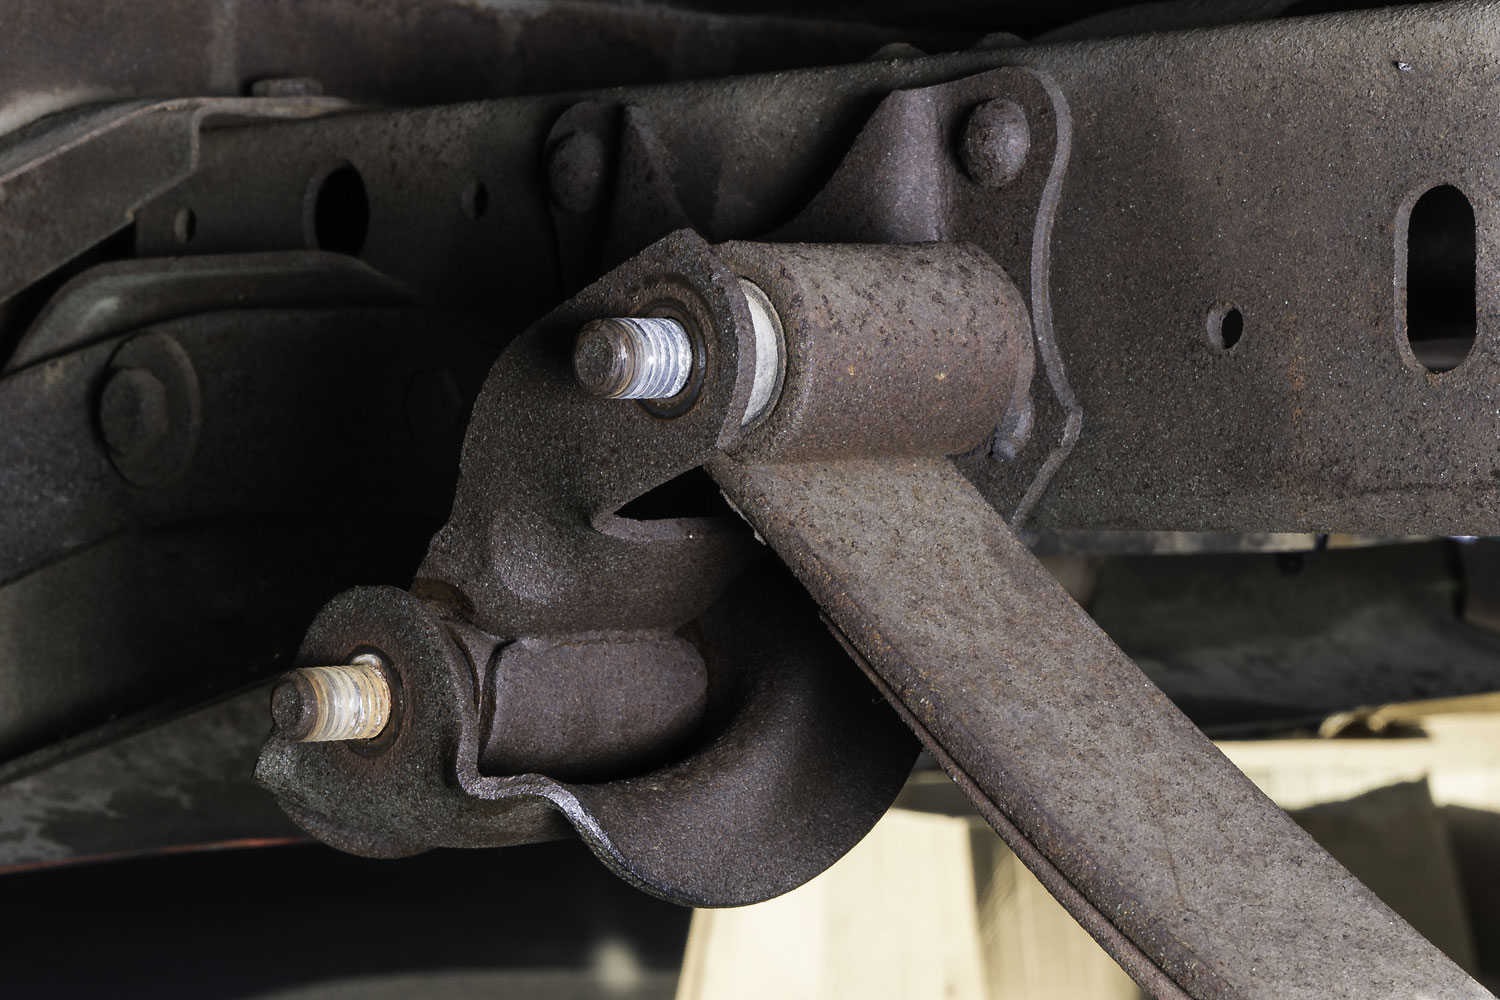
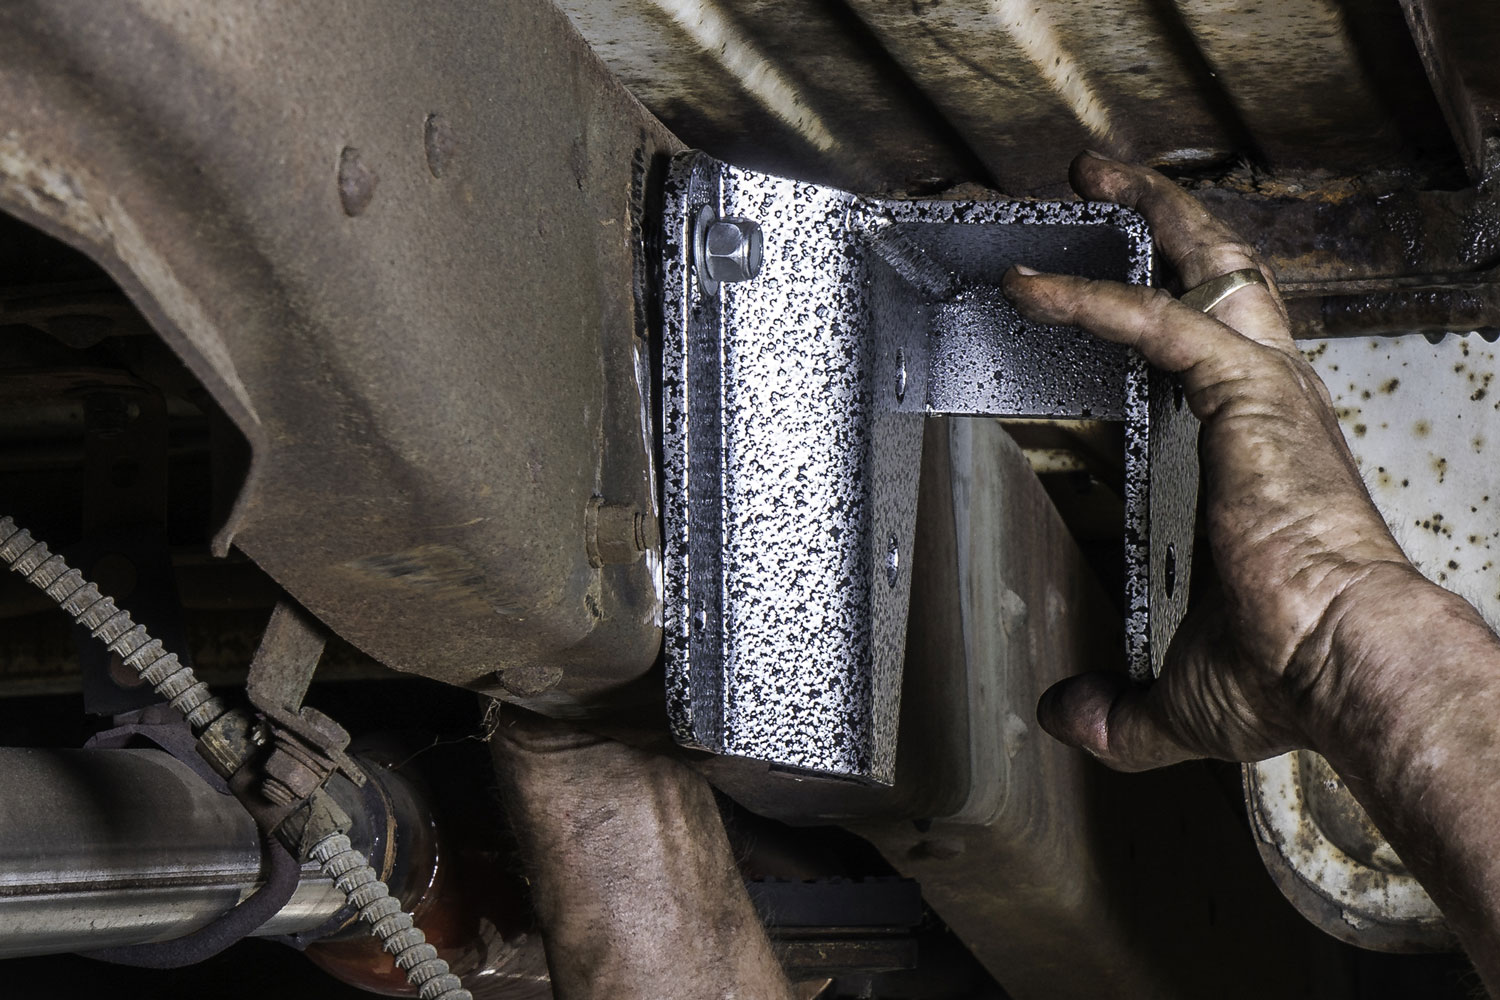
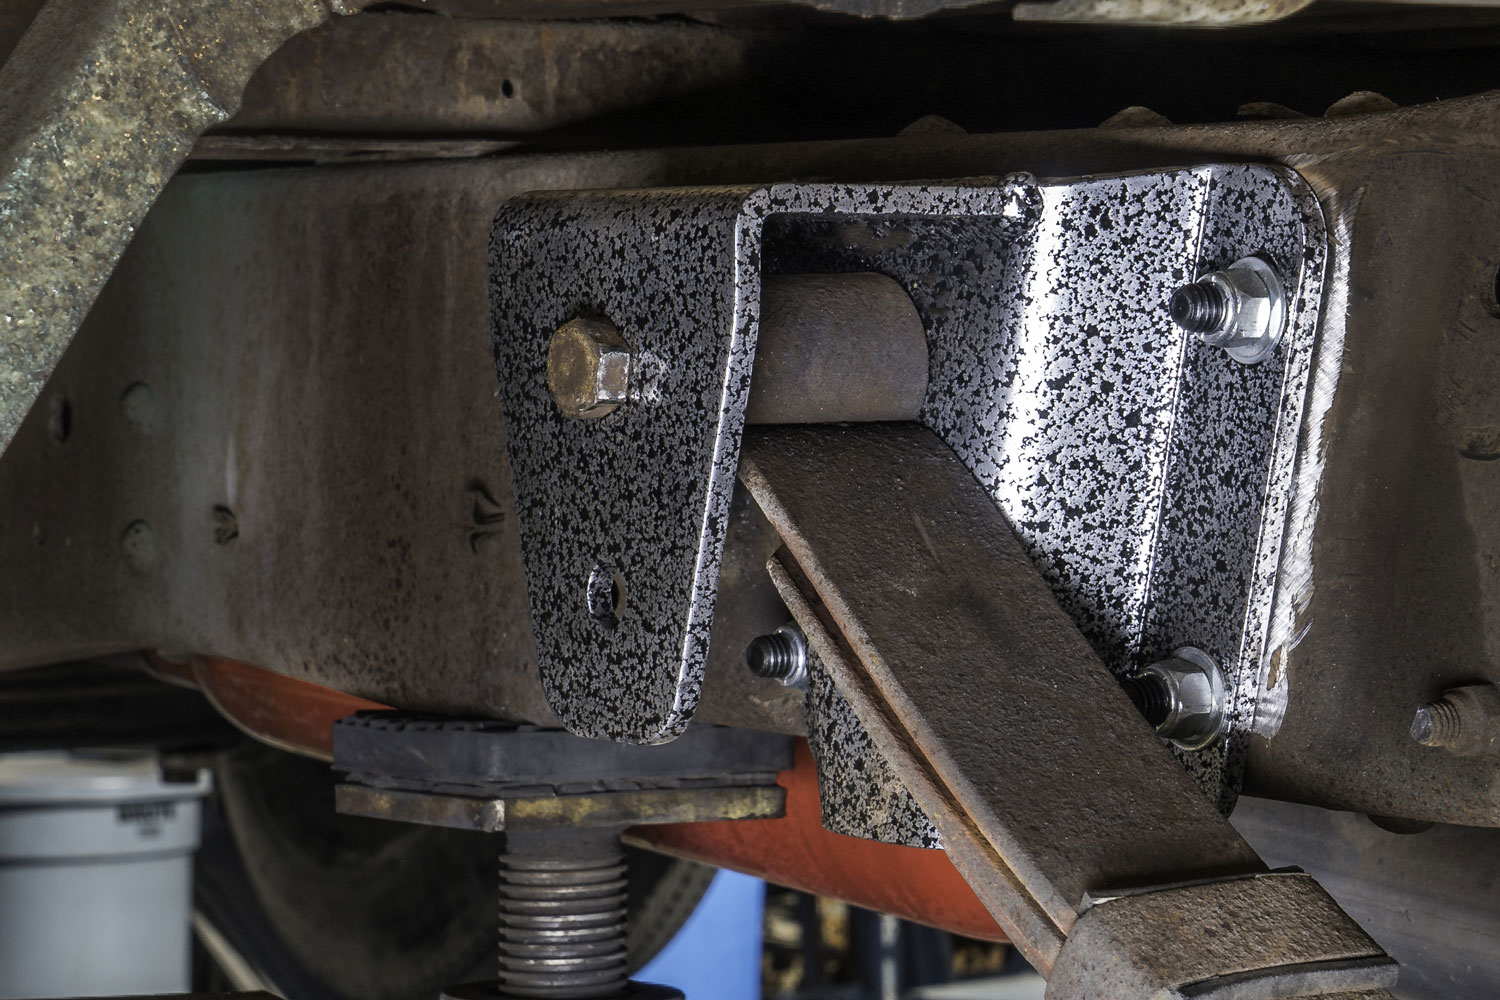
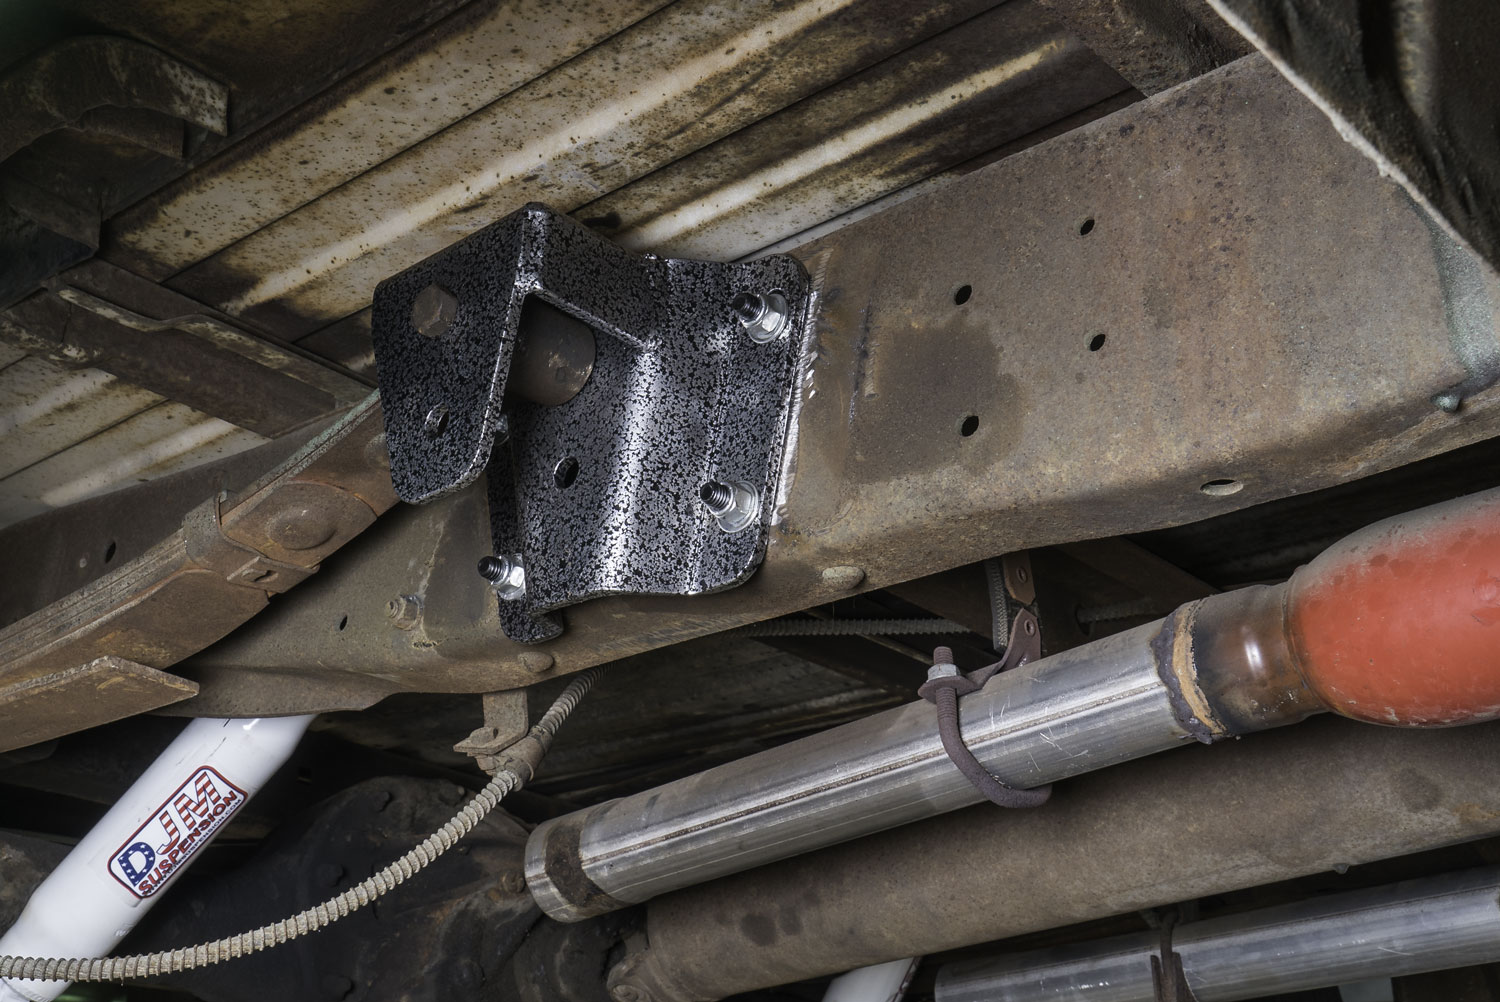
The key to a proper rear drop is installing your new DJM hangers and Ford F100 lowering shackles correctly. The DJM shackle is longer than the factory version. This length difference raises the mounting point of the leaf spring on the frame, allowing the spring to sit higher while the rear axle drops.
Position the new hanger at the front mount location and bolt it securely to the frame. Then, attach the DJM leaf spring to the hanger. With the rear of the leaf spring free, mount the DJM shackle to the frame. The shackle rotates as the suspension moves, allowing smooth operation as the spring compresses and extends.
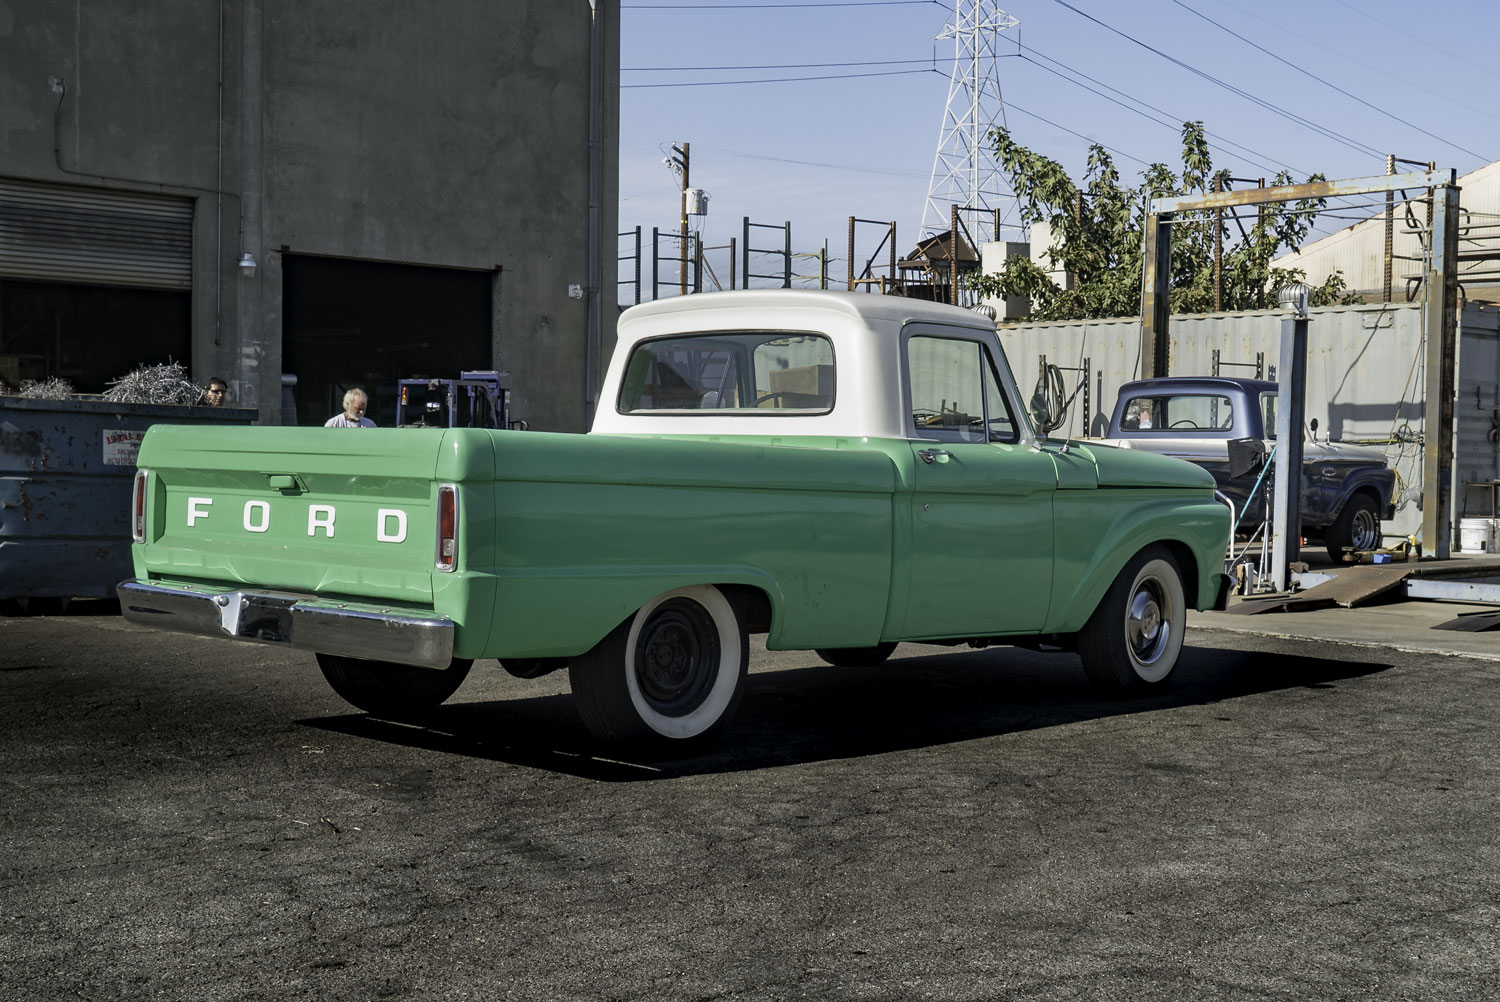
The longer shackle, which is a part of the 1966 Ford F100 lowering kit, contributes to roughly a four-inch drop in your rear end, giving your truck the classic stance. Once the hangers and shackles are installed, reinstall the leaf spring with the new U-bolts and plates.
Tighten all bolts to manufacturer torque specifications. Adding new DJM shocks will complete the rear suspension refresh, giving your truck a smoother ride and better handling.
Adjust Ride Height
With the new hangers and shackles in place, it’s time to check your ride height. The beauty of this setup is that the front and the rear drop work together to achieve a balanced stance without excessive modifications.
Measure the distance from the frame to the ground at multiple points to verify the height. Minor adjustments can be made by repositioning the Ford F100 lowering shackles or adjusting the spring alignment.
Remember, ride quality is just as important as appearance. The DJM Suspension kit keeps your classic Ford truck rear drop safe and functional, letting you drive daily without harsh suspension travel. You’ll notice that your lowered stance is clean, even, and doesn’t compromise axle alignment or spring tension.
Final Alignment and Fine-Tuning
After completing the classic Ford truck rear drop, check the alignment. With both the front and rear suspension lowered, improper alignment can cause uneven tire wear or handling issues. Adjust the leaf springs, shackles, and front hanger positions if needed to center the rear axle and maintain proper pinion angle.
Tighten all hardware again after your first test drive. Recheck the ride height and alignment after driving a few miles. Installing the 1966 Ford F100 lowering kit provides a clean, smooth ride that performs well on streets or highways.
Reconnect Other Components
Once the rear suspension is complete, reconnect any brake lines, emergency brake cables, or sway bar links that were disconnected during installation. Double-check all connections and clearances. With the rear fully assembled and aligned, your 1966 Ford F100 will sit lower, handle better, and retain its classic look.
Bonus Tip: Keep Your Lowered 1966 Ford F100 in Top Shape
Lowering your truck is only half the job. Keeping it performing well over time is just as important. With your new 1966 Ford F100 lowering kit installed, a little routine attention goes a long way in protecting your investment and maintaining that clean, balanced stance.
- Inspect your Ford F100 lowering shackles and hangers every 6,000 miles or at every oil change for signs of wear, cracks, or loosening hardware.
- Re-torque all U-bolts, hanger bolts, and shackle fasteners after the first 500 miles of driving, as new components tend to settle under load.
- Check your leaf springs for any signs of sagging, cracking, or shifting. Early detection prevents bigger alignment issues down the road.
- Monitor tire wear patterns regularly; uneven wear is often the first sign that your alignment needs attention after a suspension change.
- Lubricate all shackle pivot points and bushing contact areas during routine maintenance to reduce friction and extend component life.
- Inspect your shocks periodically for leaks or reduced damping performance, and replace them if the ride feels noticeably harsher or bouncier.
- Keep the frame mounting areas around the hangers clean and free of rust, especially if the truck is driven in wet or salty conditions.
- Schedule a professional alignment check at least once a year, or any time you notice pulling, drifting, or uneven handling.
Your 1966 Ford F100 Budget Makeover Is Complete
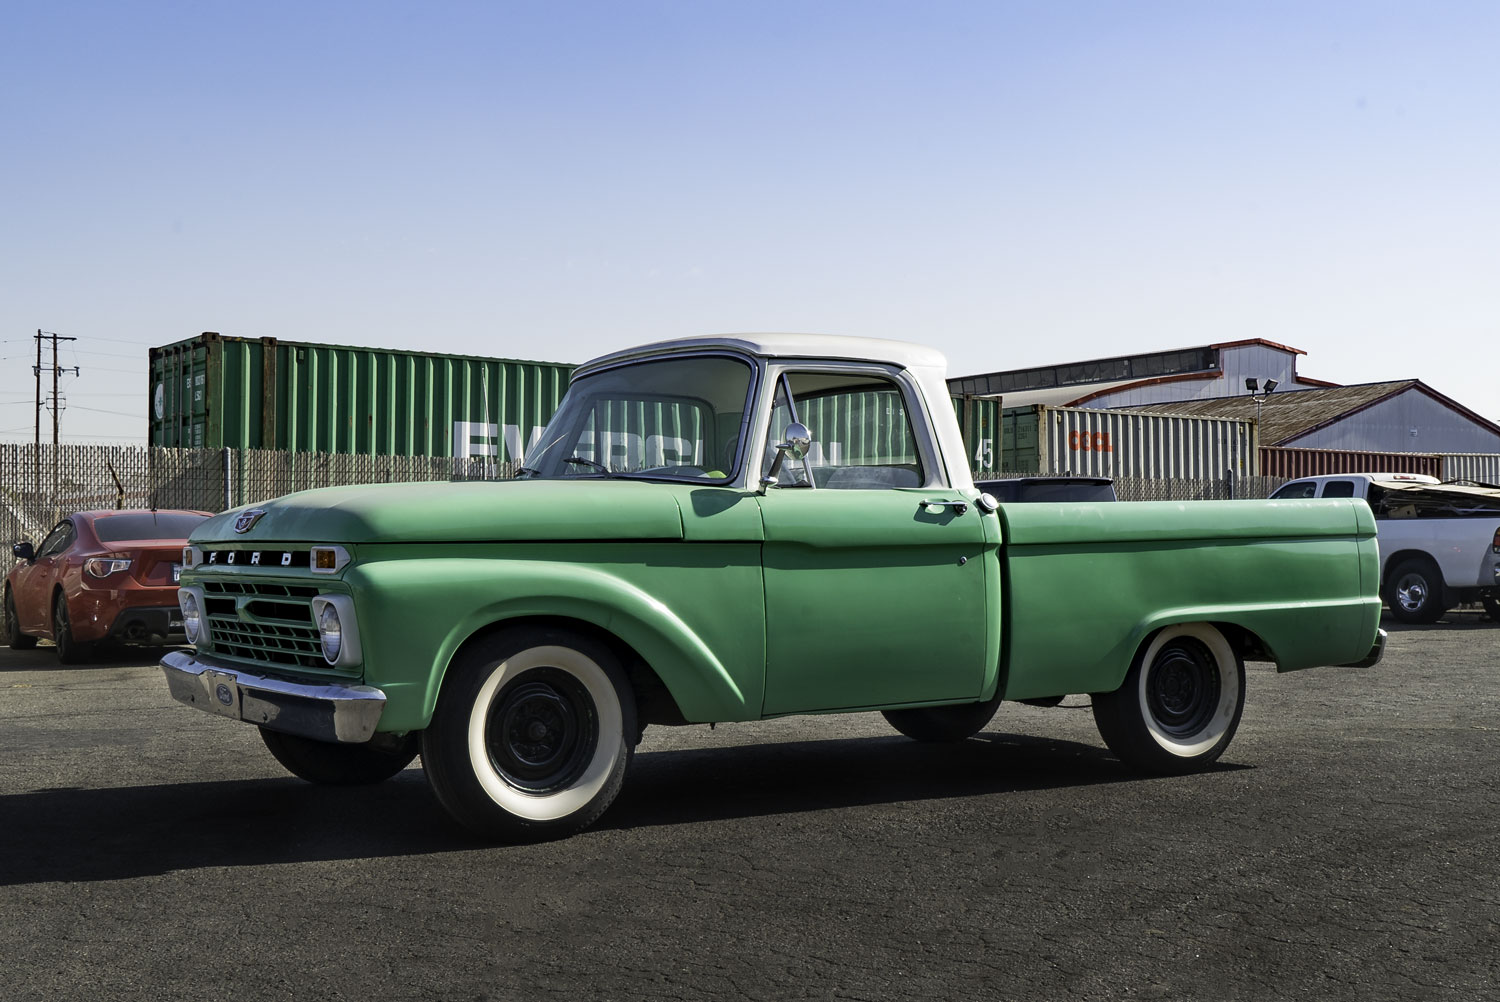
With the rear suspension fully lowered, aligned, and dialed in, your 1966 Ford F100 lowering kit installation is officially done. From the front end work covered in the earlier parts of this series to the classic Ford truck rear drop completed here, your truck now sits low, level, and road-ready.
This also brings the four-part budget makeover series to a close. From planning and measurements to the completed rear drop, your classic 1966 Ford F100 has gone through a full, budget-friendly transformation using 100% American-made DJM Suspension components.
If you are planning to upgrade your classic Ford or any other truck, you can count on suspension kits and components from DJM Suspension. Order any part you need from our website or contact us today if you need help.





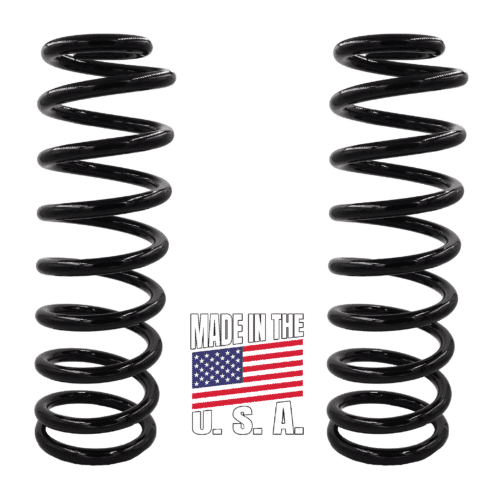
Products Featured in This Blog
Part 1 - 66 F100 Budget Project
DJM Lowers a 1966 Ford F100 with our popular Dream Beams.
Part 2 - 66 F100 Budget Project
DJM's F100 Budget Project move's into removing the factory suspension!
Part 3 - 66 F100 Budget Project
Part 3 of the DJM 1966 Ford F100 Budget Project is about installing your DJM Dream Beams